This week we are featuring a museum lesson from our infant teachers, Logan Crowley, Jill Manasco, and Rosalie Reyes. The infant class had been particularly interested in reading Brown Bear, Brown Bear, What do You See? by Bill Martin Jr. and Eric Carle. Logan, Jill, and Rosalie noticed the interest and decided to build a unit around their class’s intrinsic interests. They began by looking at the brown bear who saw the red bird who saw the yellow duck who saw the blue horse who saw the green frog. The class focused on each animal and then they moved on to the next. When they arrived at green frog, I joined the class for a lesson at the National Museum of American History. Below is a reflection from Logan, Jill, and Rosalie as well as images from the lesson. 
Here are some images from their lesson:
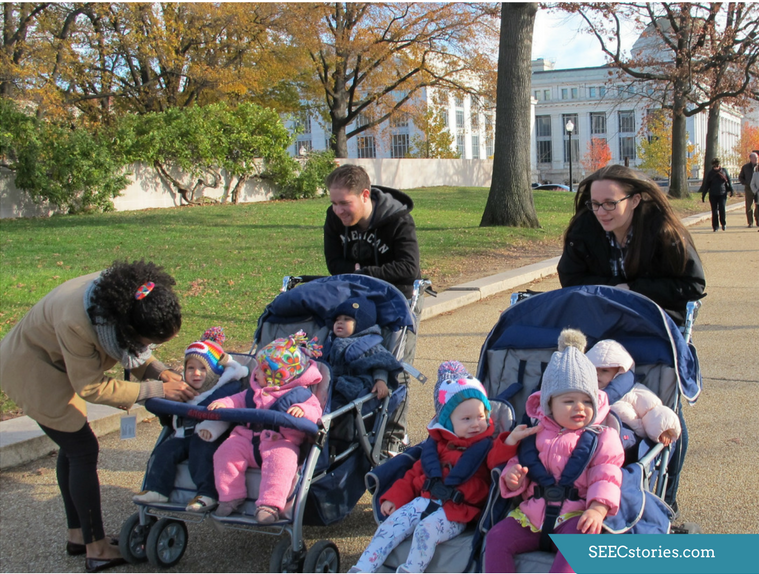
Sometimes getting the class to the museum is one of the most challenging aspects of the trip. The class made frequent stops to check in with the children and make sure that they were physically comfortable as well as mentally stimulated. See the teachers reflections below for more.
 Since Kermit the Frog was displayed at a height where adults were able to view it easily, the infant teachers picked the children up and held them closer to the Kermit the Frog.

While holding a child up, Rosalie was able to engage the child by pointing and paying close attention to the child’s nonverbal ques. She watched the child’s facial expressions and was aware of where the child’s eyes were looking.

The class was not able to touch the Kermit the Frog on display. Luckily, Jill was able to bring in her childhood version of Kermit. Touching Jill’s childhood Kermit played an important role in the lesson, since touch plays such a crucial role in brain development.
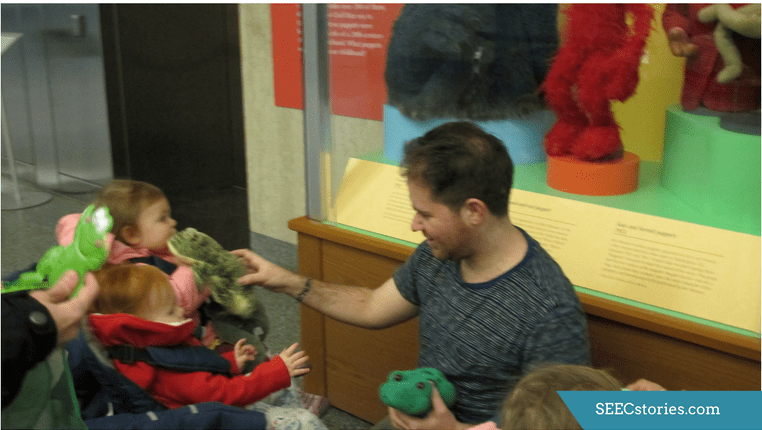
The class had other examples of frogs to compare to Kermit the Frog including puppets, rubber frogs, green scarves, and musical frogs.
 The infants were able to touch and explore all the tangible examples of frogs that their teachers brought with them.
A reflection from Logan, Jill, and Rosalie:
What were your topics of exploration? Why did you choose them? Where did they come from?
We had noticed that our infants really loved to read the book Brown Bear, Brown Bear, What Do You See? by Bill Martin Jr. and Eric Carle, so we decided to do a unit on it, focusing on the different types of animals featured in the book. We had already learned about several animals in the book and during this week we focused on the frog.
Why and how did you choose the visit?
I was scouring the websites of nearby museums for ideas and noticed that the National Museum of American History has a Puppets and Muppets display that included the original Kermit the frog puppet. As it so happened, Jill had a stuffed version of Kermit from her childhood at home and so we decided she would bring in her Kermit and we would head over to see the original Kermit in all his glory.
What were your learning objectives? (What did you want your children to take away from the lesson?)
With infants, museum visits tend to be a short and focused experience. While older children may be ready to spend more time talking about the history of Kermit or the detailed characteristics of real frogs, infants take in and process information differently. With this in mind, our main objective was to introduce Kermit the frog to our infants and then to help them make connections between Kermit and the frogs that they’d been learning about in the classroom. The more that infants are exposed to, the more points of reference they will have, so they will begin to understand that there are many different types of frogs. This is how a baby begins to make sense of the world around them. It gives them the ability to think flexibly, which is an essential skill for future success in school.
What was most successful about your lesson? How did the lesson reach your objectives to expand the topic? What was successful in terms of your preparation and logistics?
Since our main goal was to help our infants make a connection between Kermit (a fictional frog) and real-life frogs, we brought along not only a stuffed Kermit, but a variety of examples of frogs. The examples varied from very realistic (photographs of real frogs), semi-realistic (stuffed frogs), to more cartoonish depictions of frogs. We also had a video of Kermit the frog singing “The Rainbow Connection” for the children to watch, noting as they watched that he was sitting in a swamp, an environment where frogs are often found. The children remained largely engaged throughout the lesson and showed a great deal of interest in the various objects and in the Puppets and Muppets display.
Having all three teachers interacting with the children and showing them objects can feel a little chaotic in the moment, but these one-on-one interactions are key to keeping the children engaged and enjoying the experience. We spend a lot of time in the classroom building relationships with the children and establishing trust. These relationships are instrumental for meaningful learning to take place and we find they are key to successful museum experiences for our children. Our relationships with them help us to pick destinations that we know will engage them and also help us to connect with the children as we visit and explore what we see.
What could you have done differently to better achieve your objectives and expand the topic? What was challenging regarding logistics? What recommendations would you have for another teacher trying out this lesson?
The most challenging logistic in any museum visit with our infants is simply getting out the door. Between making sure that the class has clean diapers, is fed, has had their bottles, and has napped, it can be tricky just finding a time to make it out. But we know how important it is for our children to explore, get some fresh air, and see the museums, so we make it work. The other major challenge is that infants attention is easily diverted so visits are typically short and sweet. I would recommend bringing tangible objects for infants to explore that will hold their attention. Most of all, when doing any sort of lesson with infants, the main thing is to be flexible and to be open to changing your plans if you find something doesn’t work. I constantly remind myself that the most important part is that the children have a positive experience and that as long as I can make that happen, it’s okay if a lesson doesn’t turn out exactly like I envisioned. I think the main takeaway is to have fun with it. If you are enjoying yourself and focusing on making a connection, the children will almost certainly enjoy themselves too.
The class continued to looked at frogs for the rest of the week. They explored many green objects and played in water to gain a better understanding of the habitat of frogs. When the class felt ready to move on from frogs, they continued learning about Brown Bear, Brown Bear, What do you See? by exploring colors and color mixing. Be on the lookout for our Roundup on the unit Brown Bear, Brown Bear, What do you See?

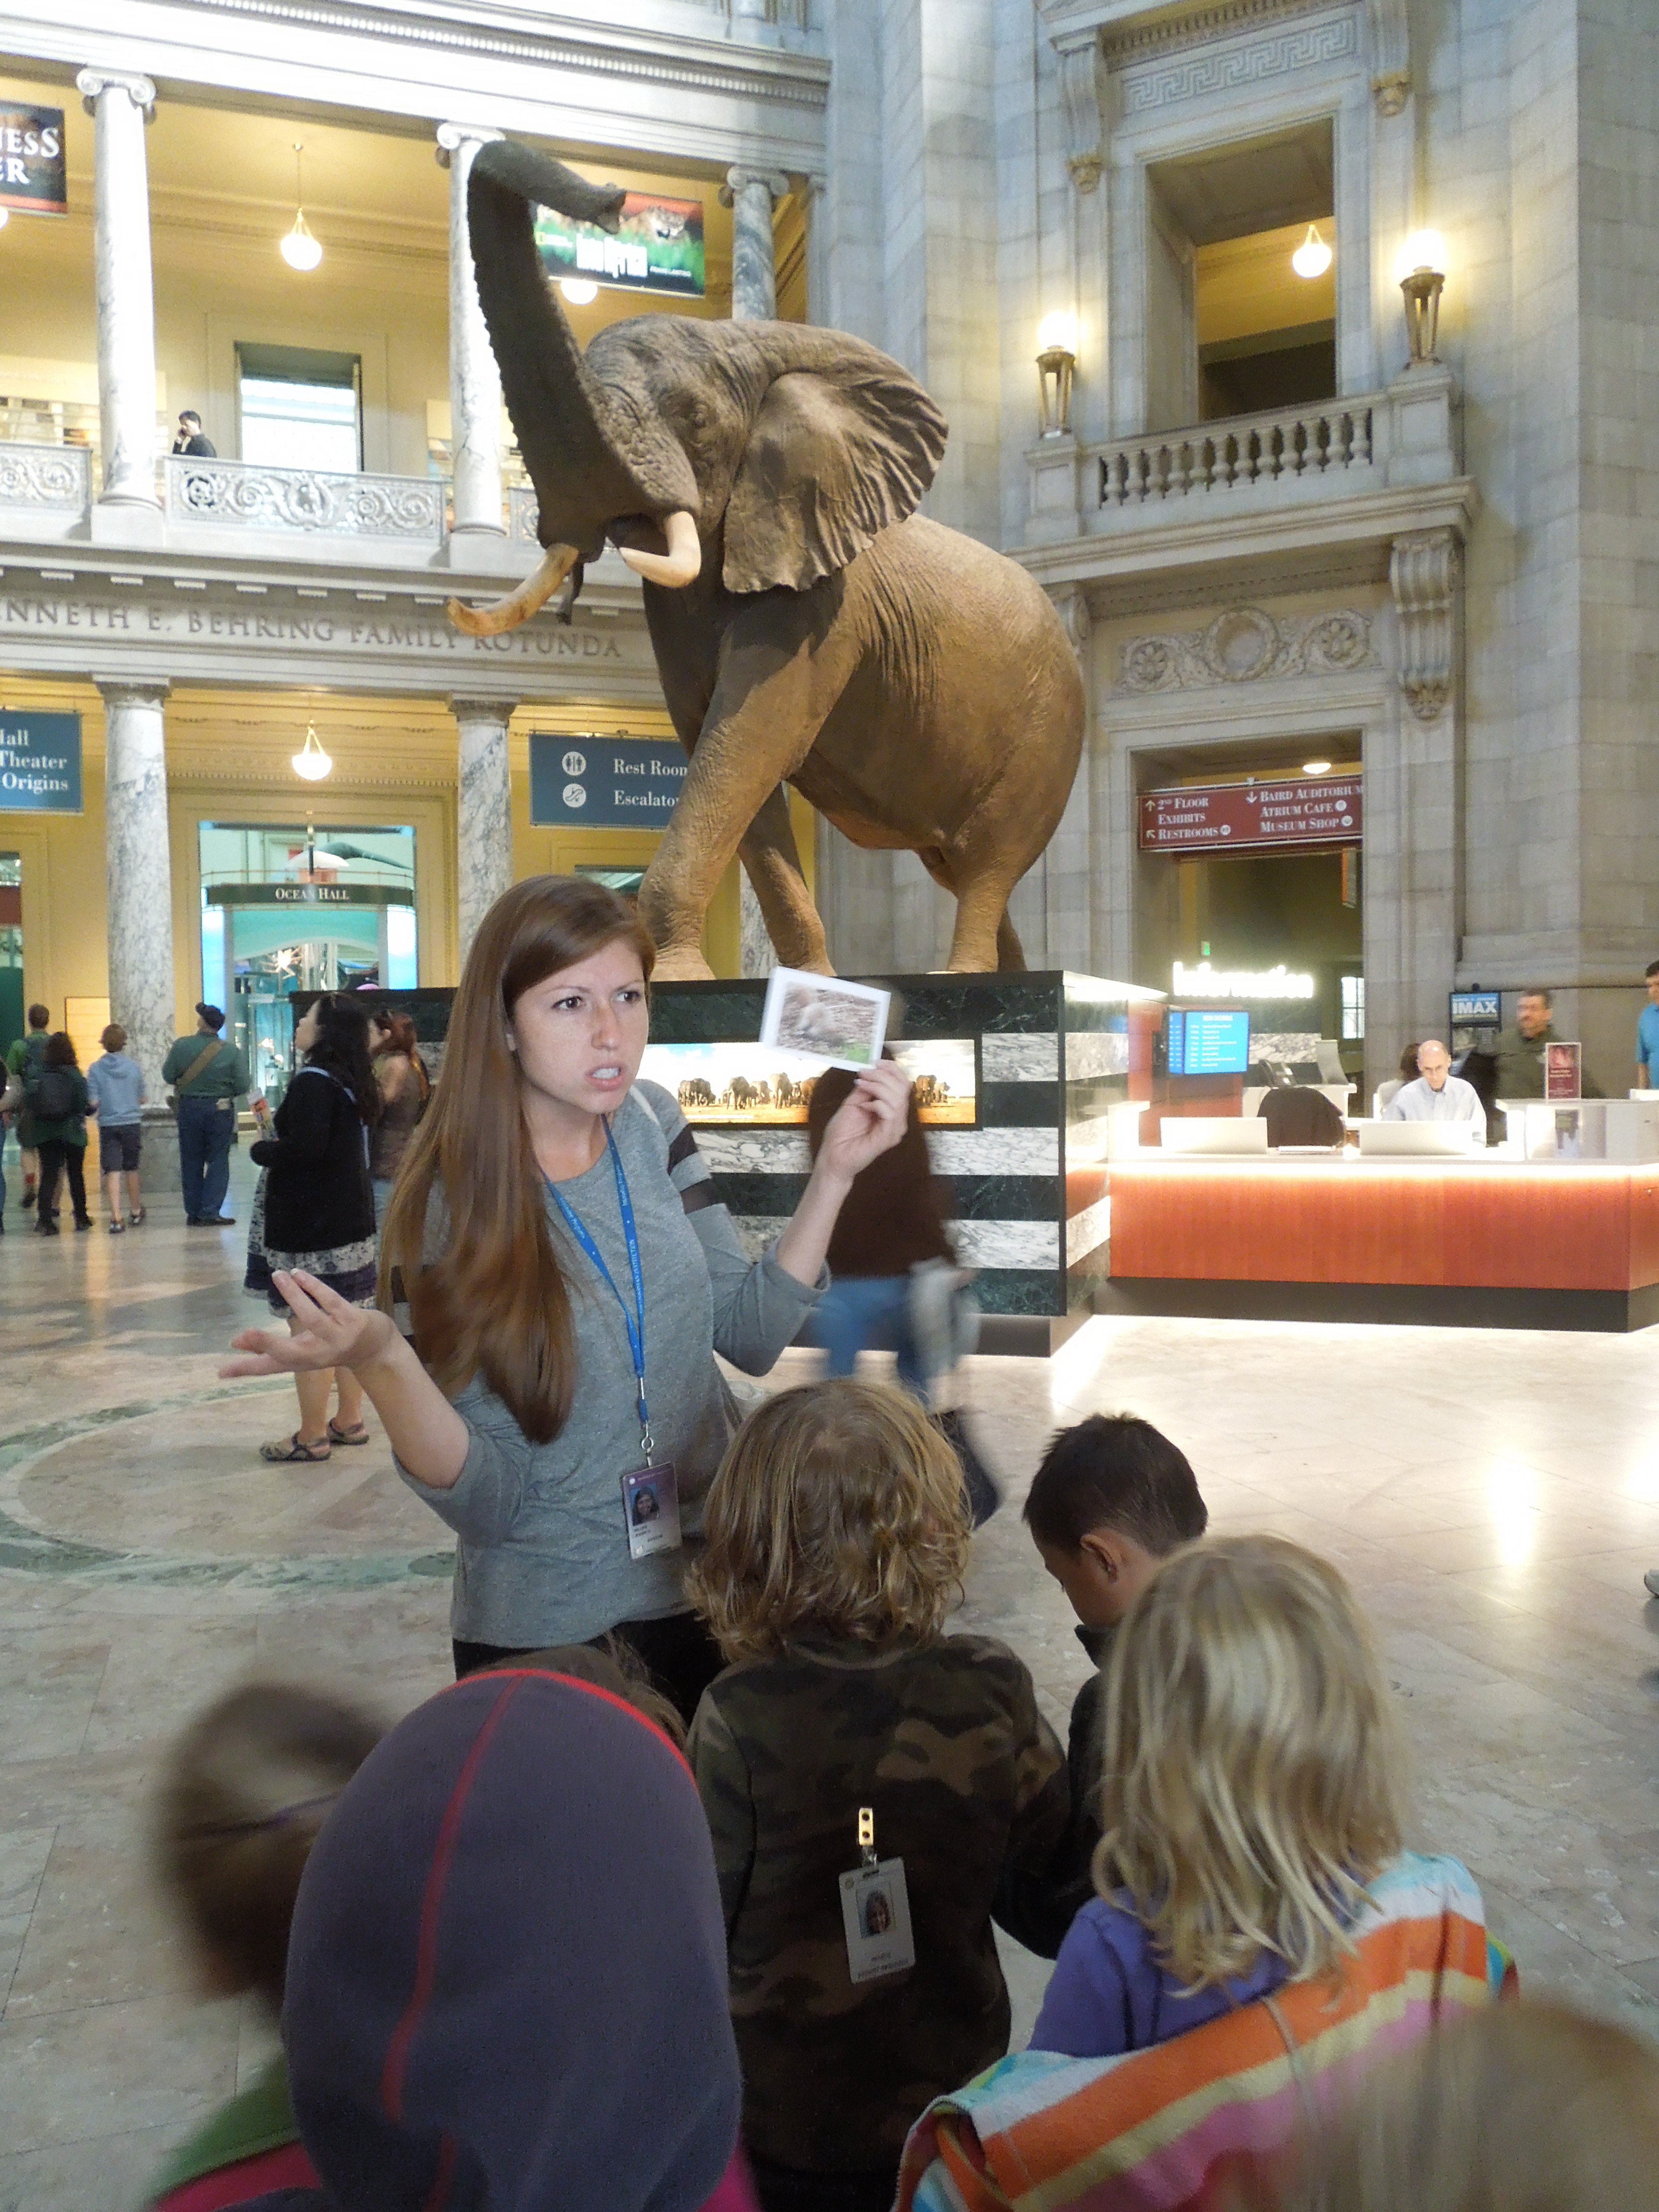
 Jessie began the lesson by reminding the children of the different museums they visited around the mall. Will and Jessie used a token object to remind the children of the Museum collection and asked the children to reflect on their visits.

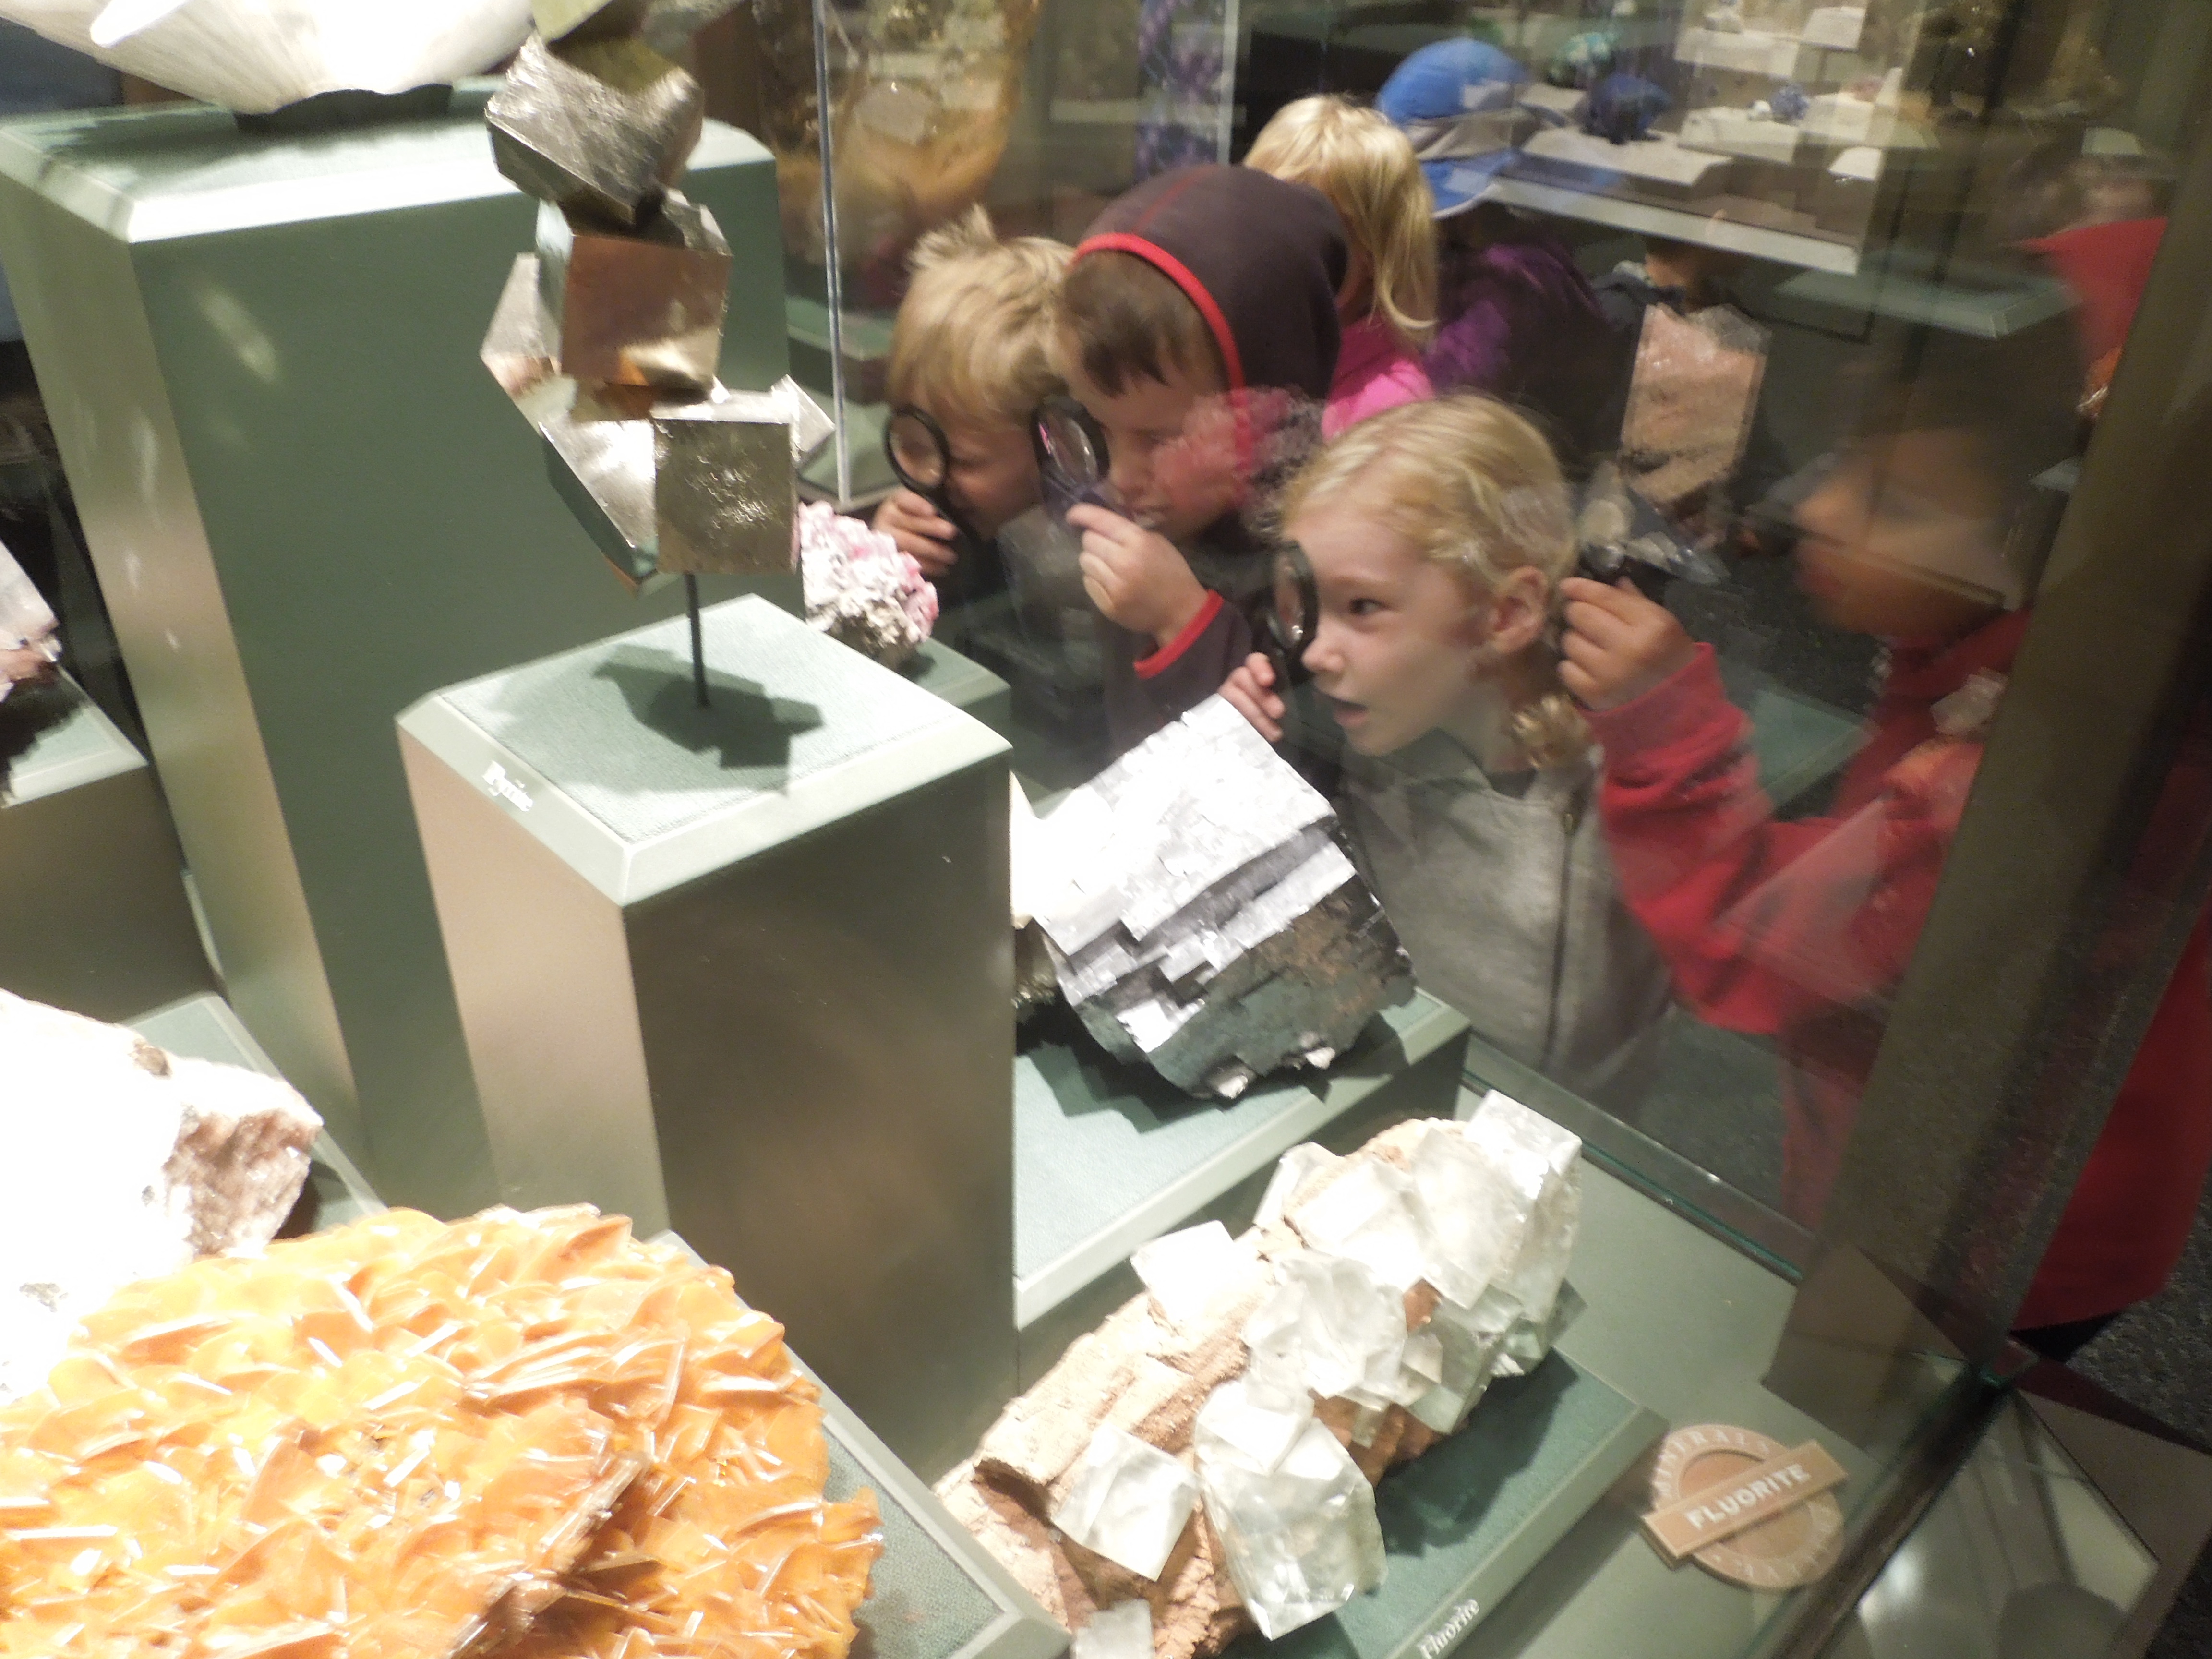
 The students did some close looking with the magnify glasses and found crowns, gold and uncut gems.
 Their next clue took them to the Live Insect Zoo to see insect digging in action.
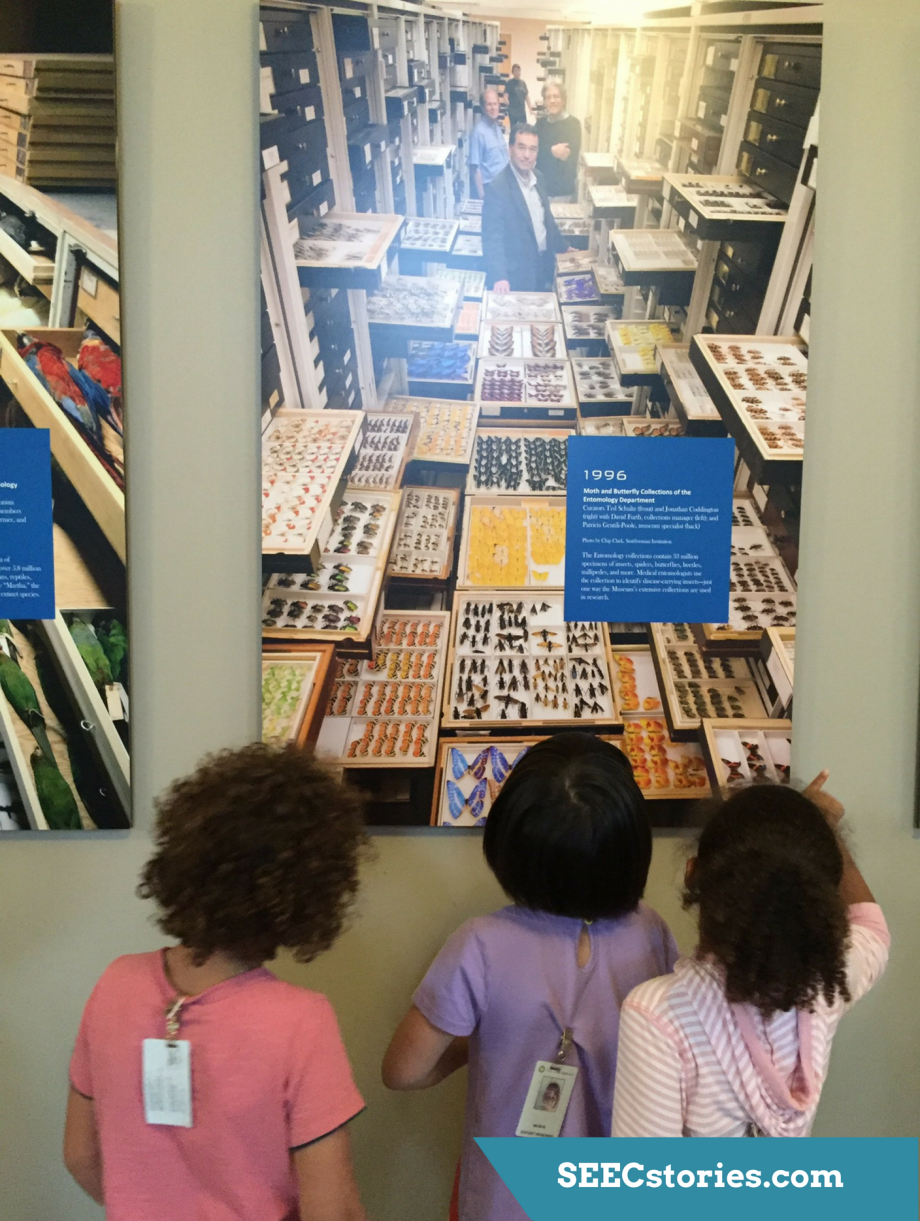
 Their final stop was to the Last American Dinosaur Exhibit to learn about paleontologists and what they are able to dig up. One of the paleontologists came out and talked to the children about his job and brought out a real fossil for the children to examine.
 The students all took turns looking very closely at the fossil.
 Count: There are innumerable categories of things to count on public transportation. You could start by counting the number of doors, windows, or chairs and then ask your child what they would like to count next. If you are on a bus or if the Metro goes above ground, you can also include those objects you can see outside the train.
 child’s league but really this is an easy concept to take on! Newton’s First Law of Motion is that an object in motion will stay in motion until affected by an external force. This is why you lean forward when the train car comes to a stop. Your child probably has already started exploring this when they want to stand and “surf” on the train. A safe and easy way to explore this concept to sit on the edge of your seat leaning away from the back of the chair. You and your child will feel the pull forward as the train comes to a stop!
 paper and share some of the appropriate stories with your child. If you have a pen you could also use it as a doodle-pad for you and your child.
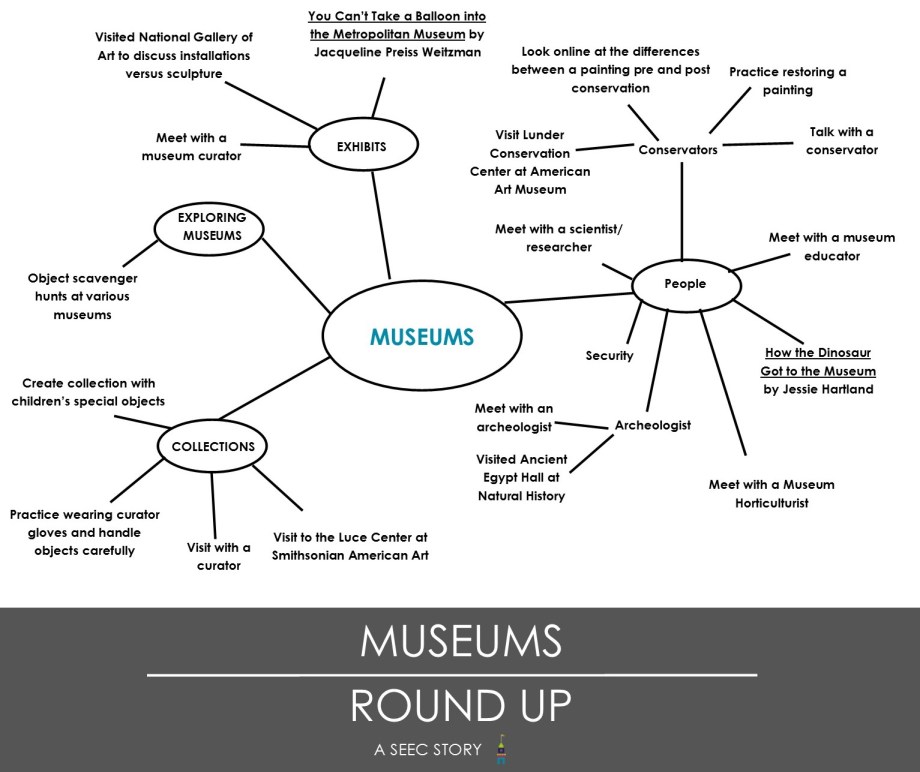
 After exploring many of the museums on the National Mall, the class focused their attention on collections. They visited the third floor of the
 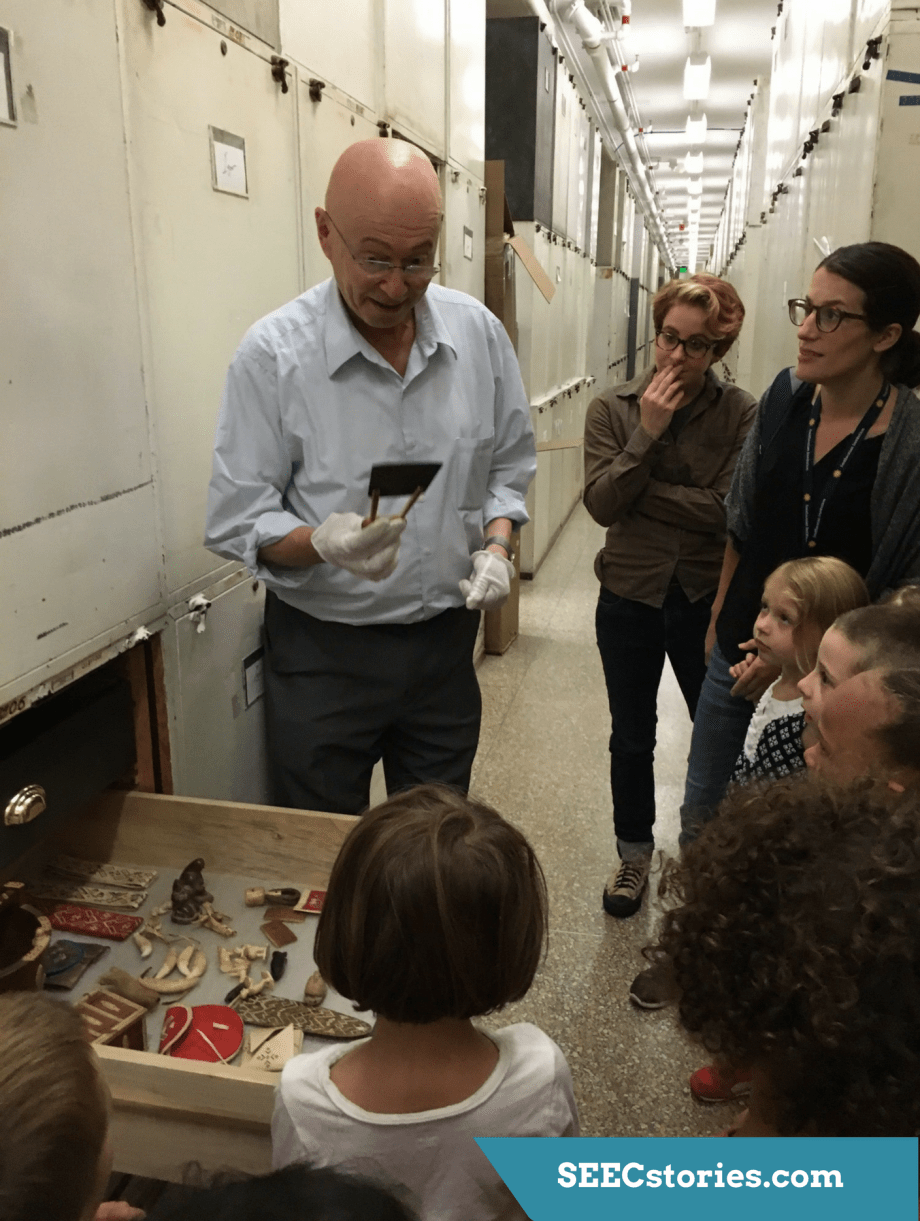 The kindergartners were in for a surprise when Igor Krupnik, a curator from Anthropology Department happened to walk by, and invited them to view his collection from Greenland. The children were able to see firsthand how the objects in a collection are stored safely while not on display. He also talked about how some of the objects are used by people. He is holding a woman’s knife called an ulu, which is used to scrape animal skins and cut food.
 To further understand collections, the class worked in teams and sorted a variety of objects into categories. As they touched the objects they wore gloves and handled them gently, reminding them that objects in a museum’s collection need to be protected and preserved so people can view them for years to come.
 The class met with Tim Winkle, a museum curator at the National Museum of American History. Mr. Winkle explained that he is in charge of the firefighting collection, and walked the class through an exhibit he curated:
 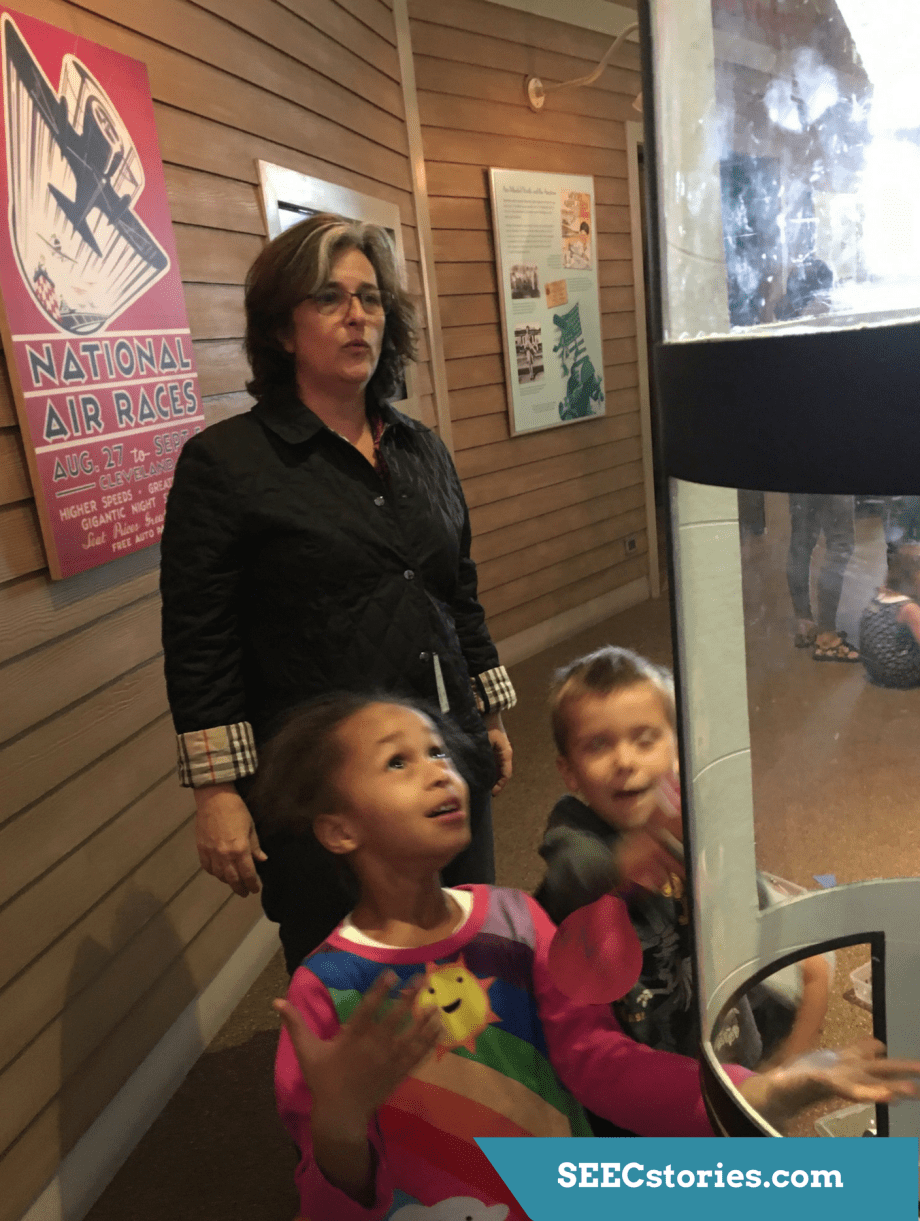 Ann Caspari, a museum educator at the
 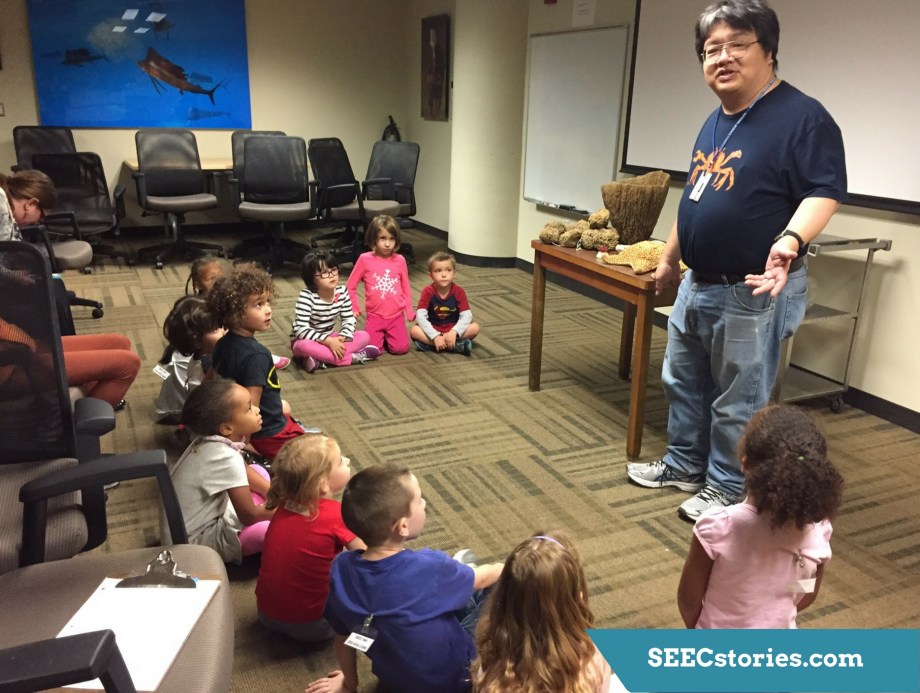 The children met with Chris Mah, a marine biologist who studies at the National Museum of Natural History. He shared invertebrate specimens with the children and explained how scientists use questions to classify objects. Two important questions to his work are about shape and symmetry.
 The class also met with Alexander Nagel, an archaeologist who worked in Persepolis in Iran. He showed the children how he restores objects back to their original colors, and took them through the
 To learn about art conservation the class visited the
  To begin the conversation, Silvana pulled up
 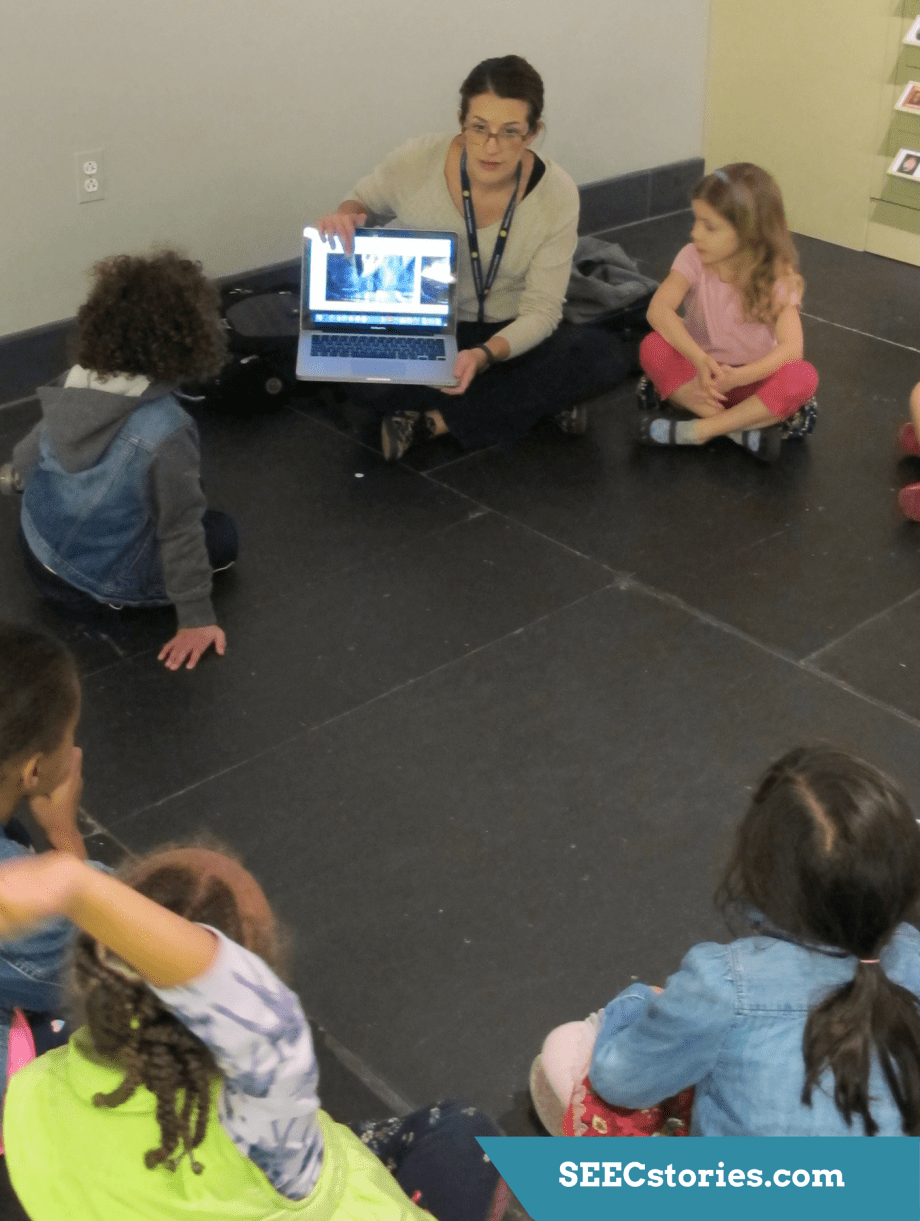 Silvana explained that painting restoration is done in two different places – the
  Lastly, Silvana used her computer to show photos of the tools that conservators use, and brought some along, including a q-tip and a magnifying glass. She showed the class how conservators use these tools to look for tears, wrinkles, dirt, etc., and fix them before they go on display in the museum.
 Then the kindergartners were in for an exciting surprise. Martin Kotler, a frame conservator at the Smithsonian American Art Museum walked by, heard the conversation and stopped to talk about his job.
 He brought out some of his tools to share with the class. He explained that he makes a special batch of glue every day that gives flexibility, and he uses a syringe to apply it.
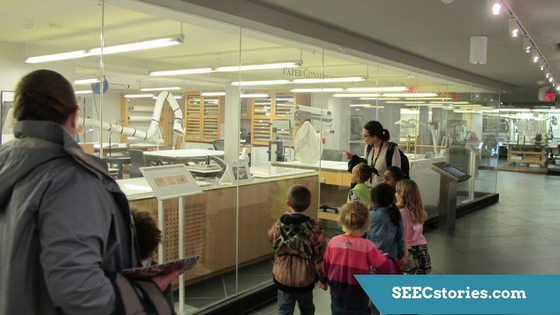 After learning about the elements of art conservation, the class walked through the Center and looked at the conservation labs to see tools they had just learned about.
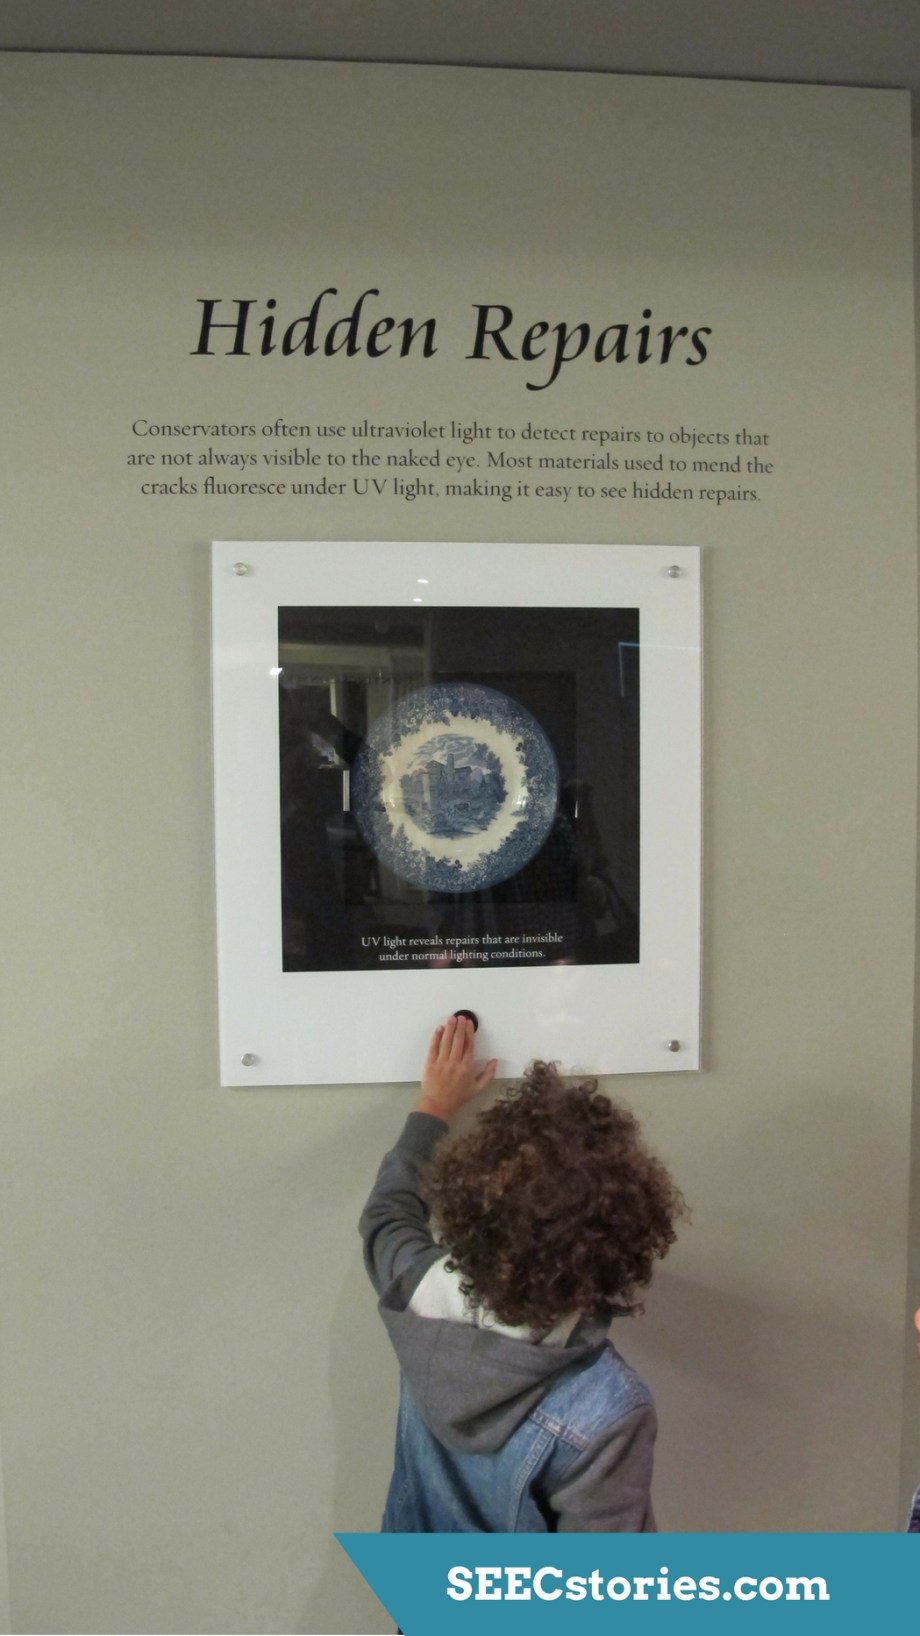 The children also enjoyed seeing the interactive exhibit pieces that display how artwork and objects are conserved and restored.
 They even went upstairs to see another section of the lab and to get a better idea of all the work that goes into art conservation.
 After their museum visit, it was their turn to conserve some artwork! The class went back to the playground, and split into two groups: the Paintings Lab and the Paintings Studio.
 The Paintings Lab group used magnifying glasses to look for structural damage like tears, ripples and flaking paint. They also noticed some dirt and used a q-tip to scrub it off.
 Once the Paintings Lab were done, the Paintings Studio group took over. They pretended to touch up paint that had lost its color.
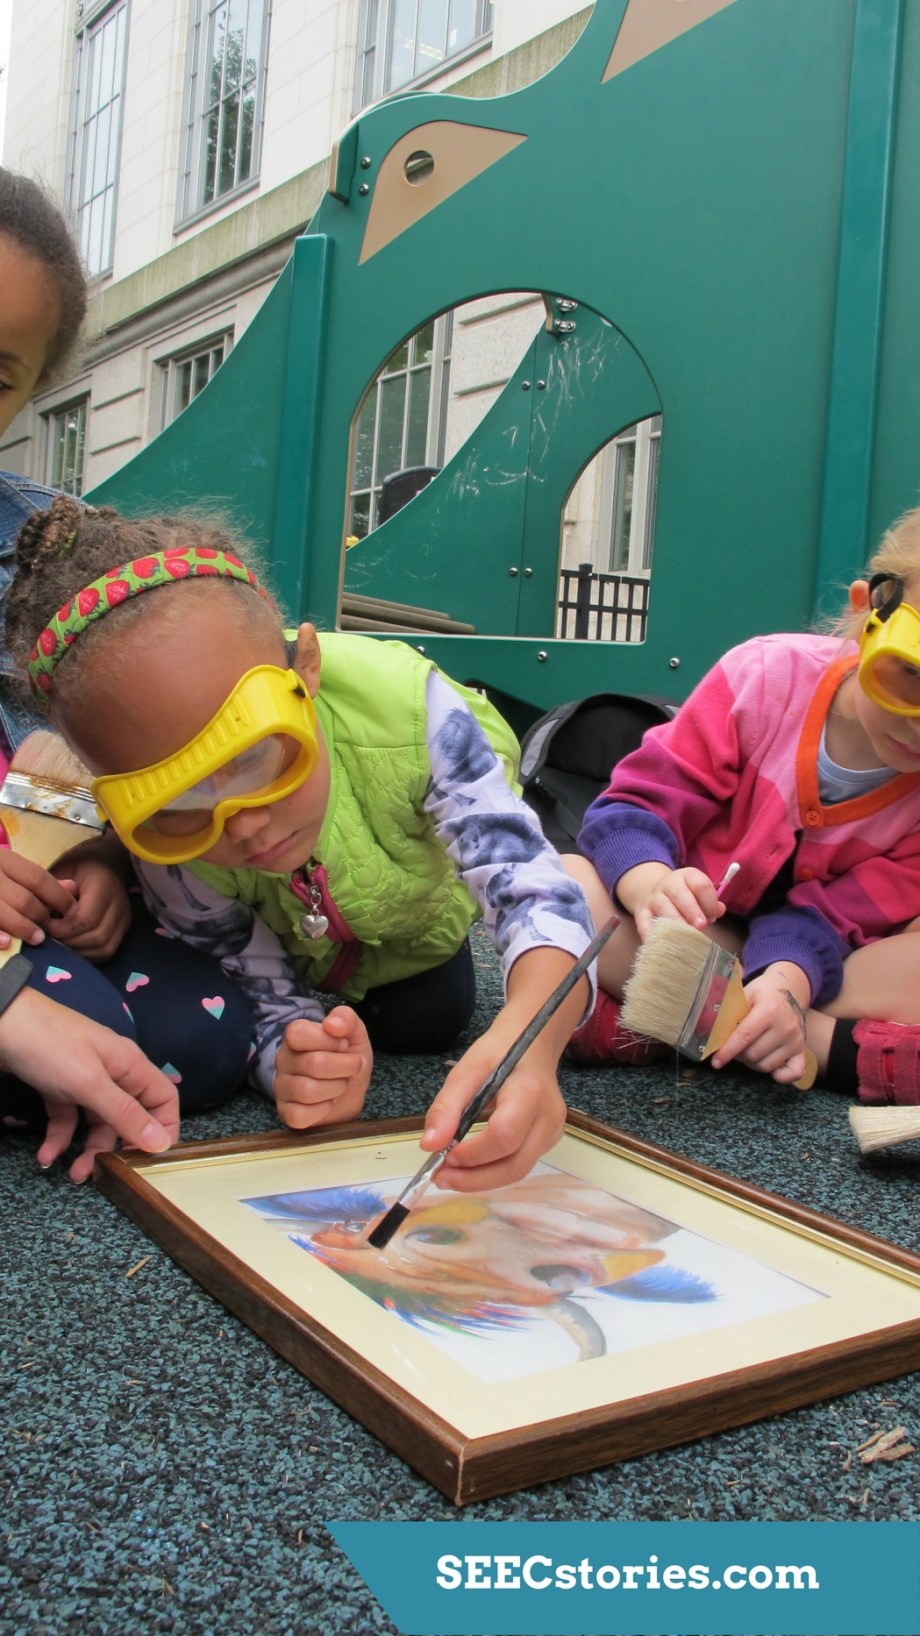 They even spotted some white patches and pretended to do some inpainting, which is the process of restoring areas of lost paint.