It’s Teacher Feature Thursday!
This week we are featuring Jessie Miller. Her three year old classroom was learning about architecture and decided to spend a day creating models. Below you will find a reflection from Jessie and images from her lesson on architecture.

What were your topics of exploration?
During our exploration of architecture, we talked about the process architects and builders go through to create houses. With the help of Chris Van Dusen’s book If I Built a House, we discussed what kinds of things we would want to include in our own dream house. After the architects make blueprints they often create models of what they want to build. The students used their previous knowledge of architecture and their new ideas from the story we read to create their own model of a house. Each child was given a shoe box as a starting point and they used materials such as cardboard, paper, ribbon, tape, markers, scissors, etc. to build their model homes. During this activity, we talked about making sure the houses have a solid foundation on which to build and what kinds of essential elements they needed to function as a home. It was also a way to show them how models are created to help architects visualize what they want something to look like before they actually begin building it.
What were your learning objectives? (What did you want your children to take away from the lesson?)
The class had been studying architecture for a few weeks prior to this lesson and I wanted them to have a hands on experience related to this topic. We had read countless books on architecture, created our own blueprints, observed the architecture around us, learned about building materials and tools, and even met with some real architects! I wanted the children to use all this knowledge they had learned and apply it to this project. After this lesson, they should understand the concept of what a model is and why they are an important tool for architects. I also wanted the class to take on the role of the architect and see how they can use their own ideas to create something. They should also be able to compare the things they were putting in their model to real life. For example, if they added cardboard to the top of their shoe box it could represent a roof or if they cut a hole in the side it may be a door.
What was most successful about your lesson?
This lesson was a great way to have the class express themselves in a creative way without many restrictions. They were given a lot of space and a range of materials to work with, which allowed them to all work on a project at the same time but at their own pace. There were three adults and twelve children so there were extra hands when the children needed help with something. I think the most successful part of the lesson was that the children were able to create something of their own and have fun with it. The lesson was structured in a way that allowed them to move around a lot and not be confined to sitting in one place or having to wait long periods of time to get a turn. The Wallabies really impressed me with all of the conversations they were having about what they were building and how they were able to take their ideas and turn them into something real. This lesson also leaves the children with a final product they can keep and be proud of.
What could you have done differently? What recommendations would you have for another teacher trying out this lesson?
This was a fun activity for the Wallabies but it takes some time and effort to complete. We were able to do the activity on the floor of a large art space which was much more conducive then tables in the classroom. However, because of the amount of children and materials it could get a bit cluttered at times and the clean up is a process as well. One issue that arose was how much tape the children needed. Because they still needed help from teachers to get tape, it was hard for me to pass it out as quickly as they needed it. Therefore, I would have more of that ready for them beforehand. Doing this activity with smaller groups could be helpful as well so the teachers can work with more children one on one. It is also important to either have a set time when everyone stops or have something for them to do once they begin finishing the activity. Some children get really detailed with their models, while others may rush through it quickly so it is important to be mindful of this difference.
Here are a few images from their unit on the architecture:
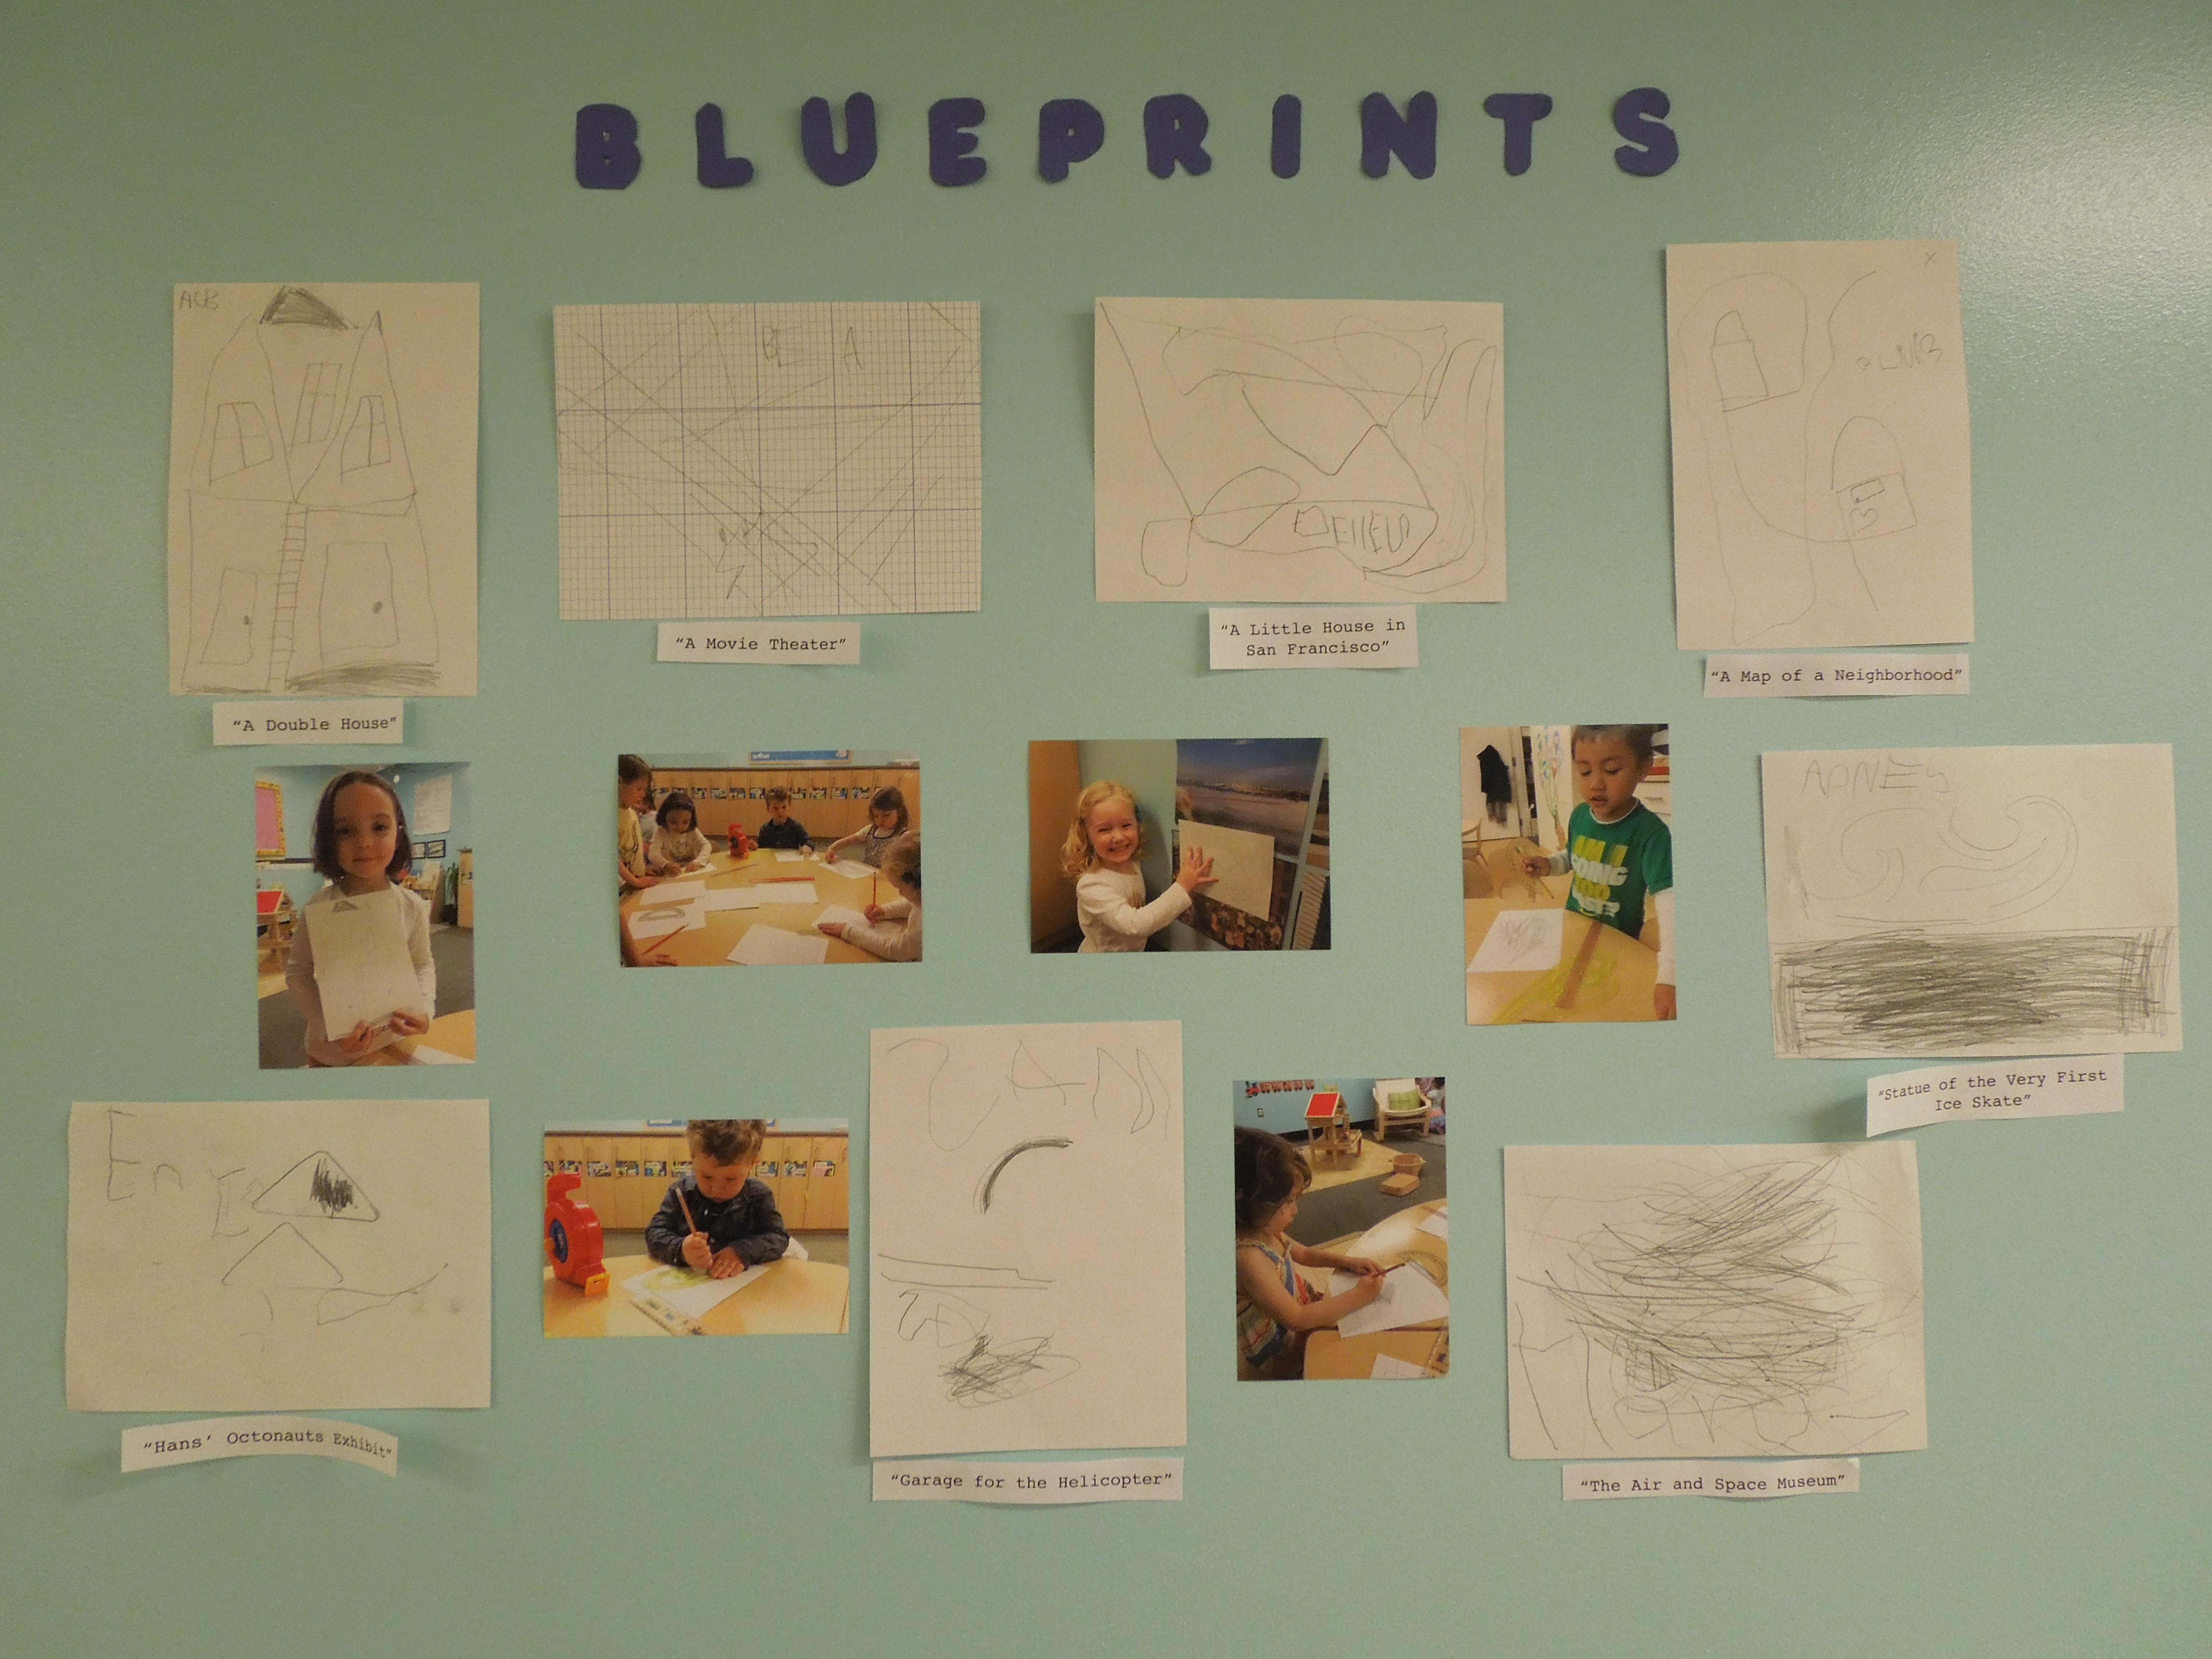
Throughout the week the group studied blueprints and worked on their own sketches.
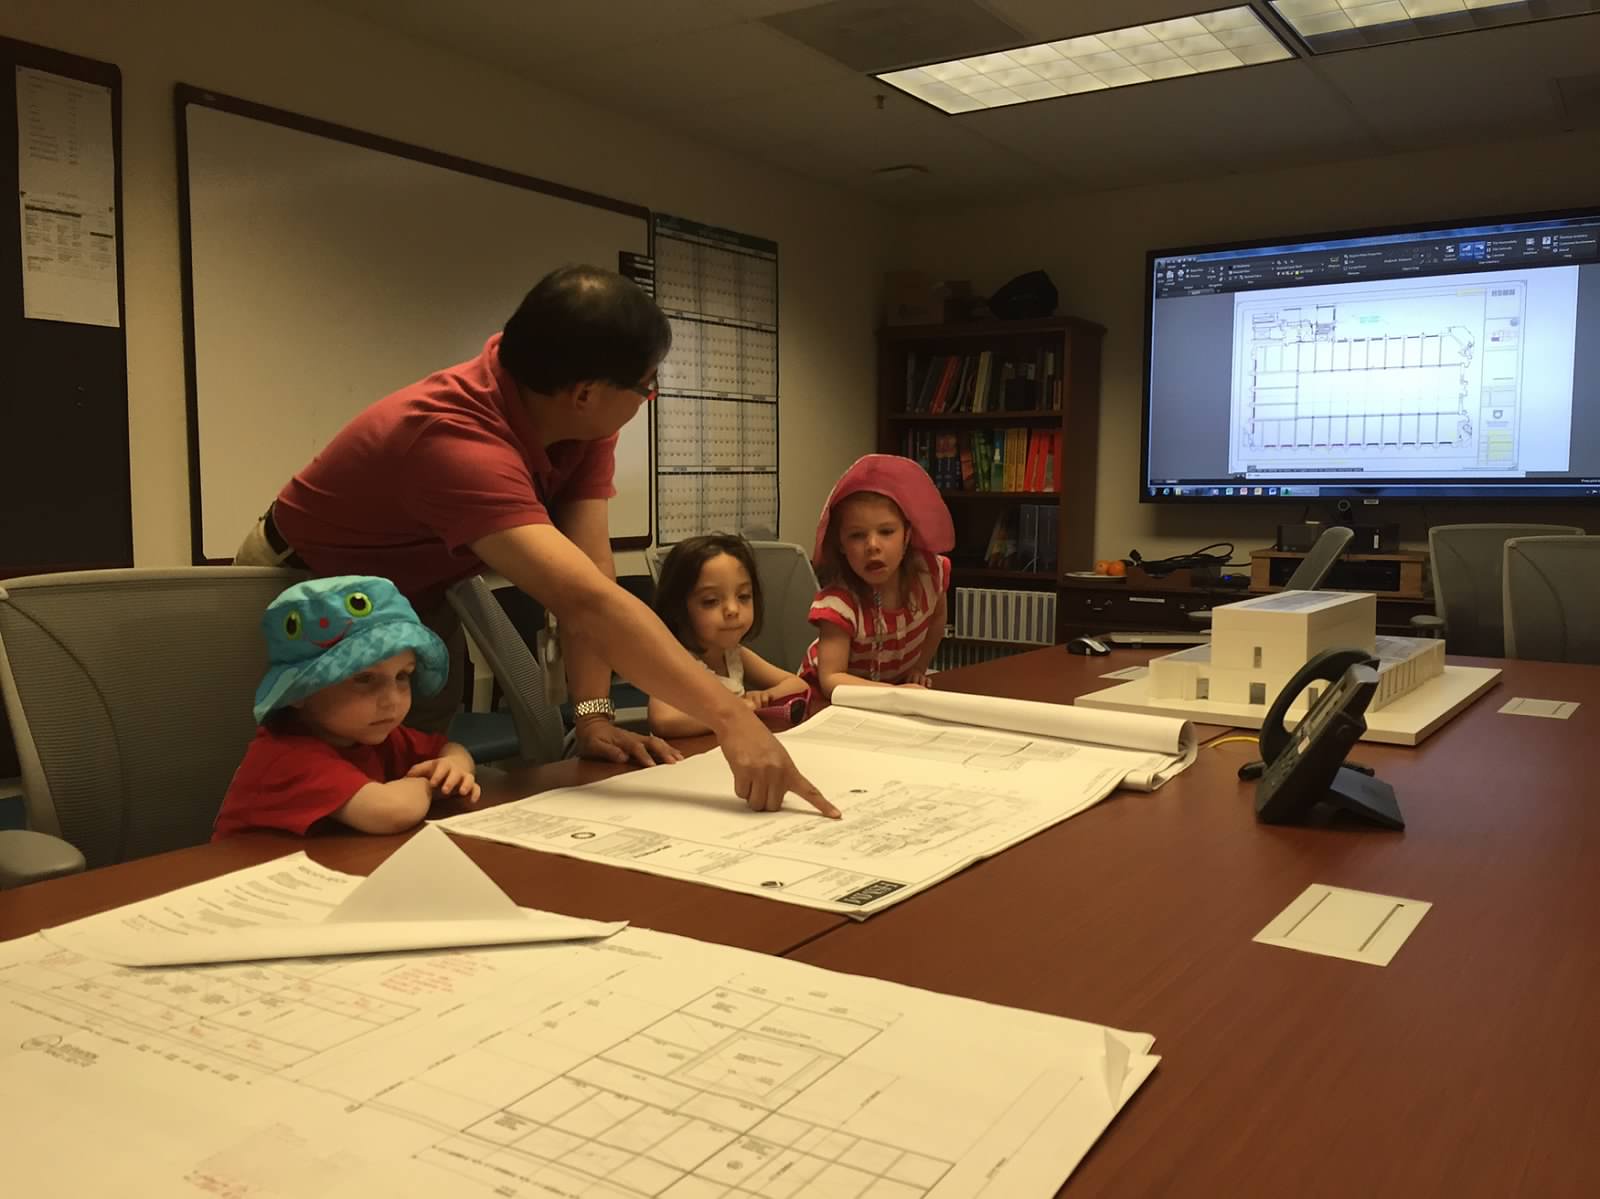
The group even visited with Natural History Museum’s building manager to look at blueprints for the museum and learn about the role of an architect.
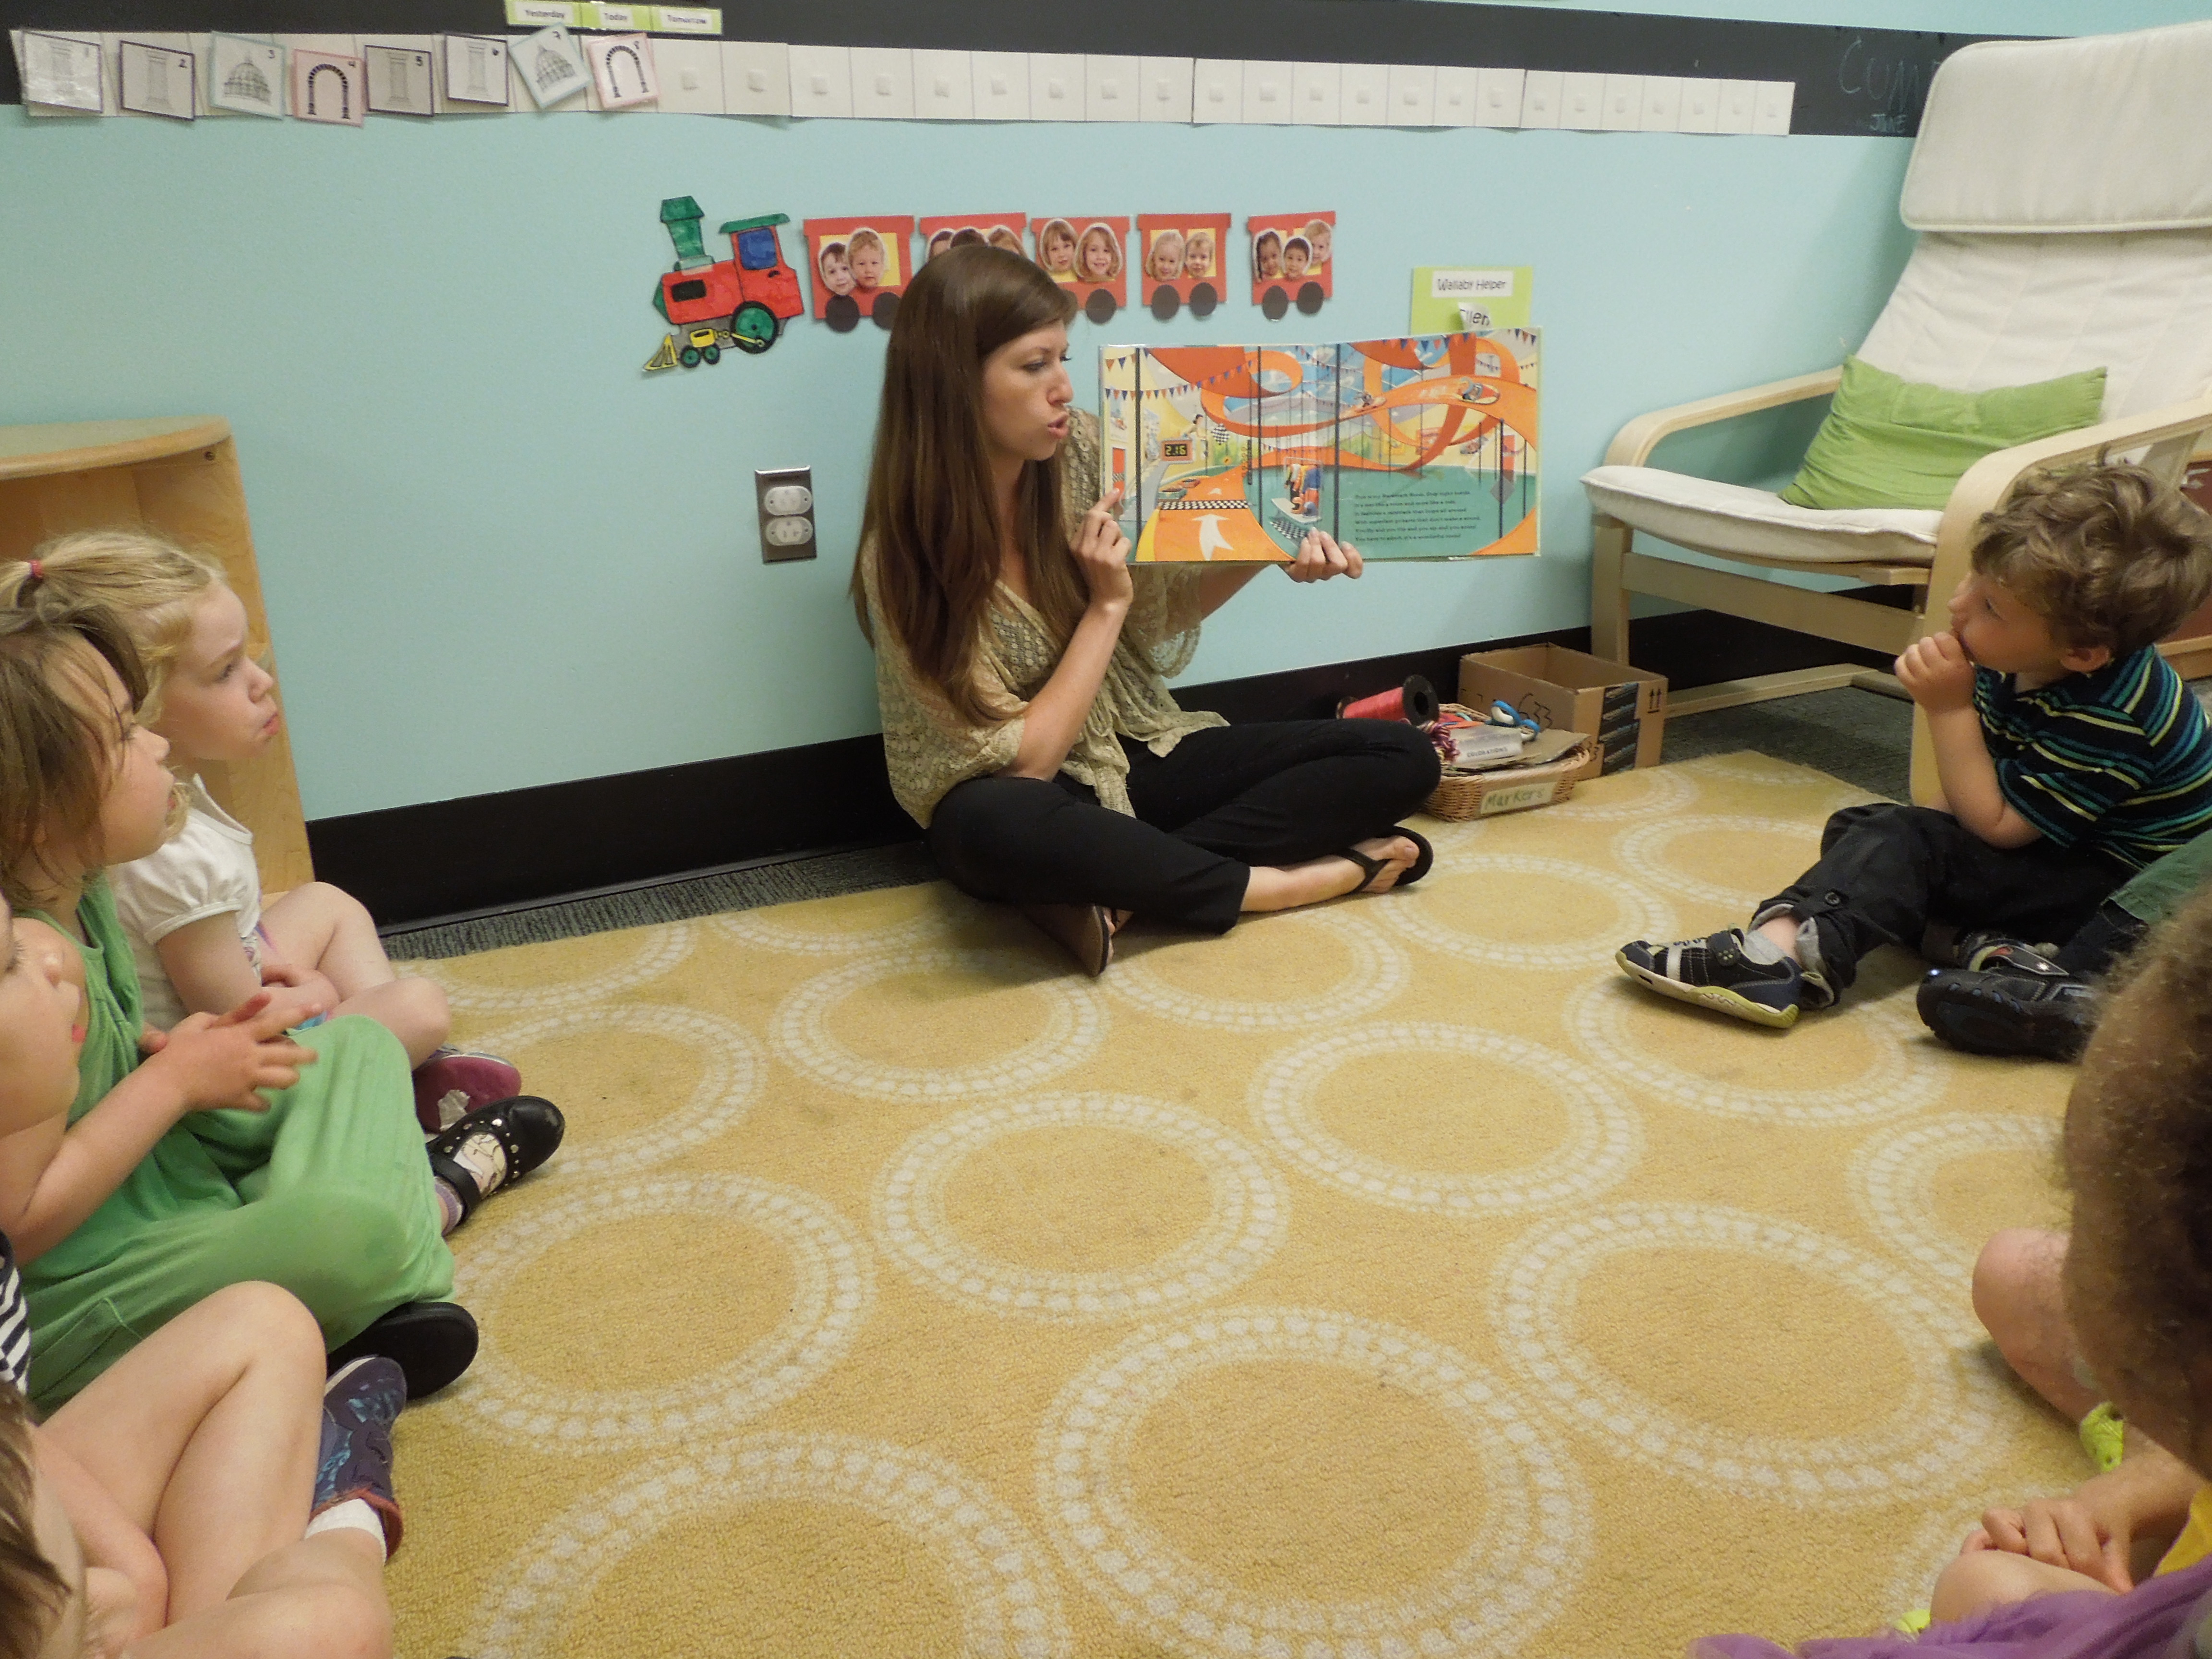
For this lesson, Jessie wanted to focus on the children creating models of a house of their own design. She read the group If I Built a House to inspire them to think creatively about what their dream house might include.
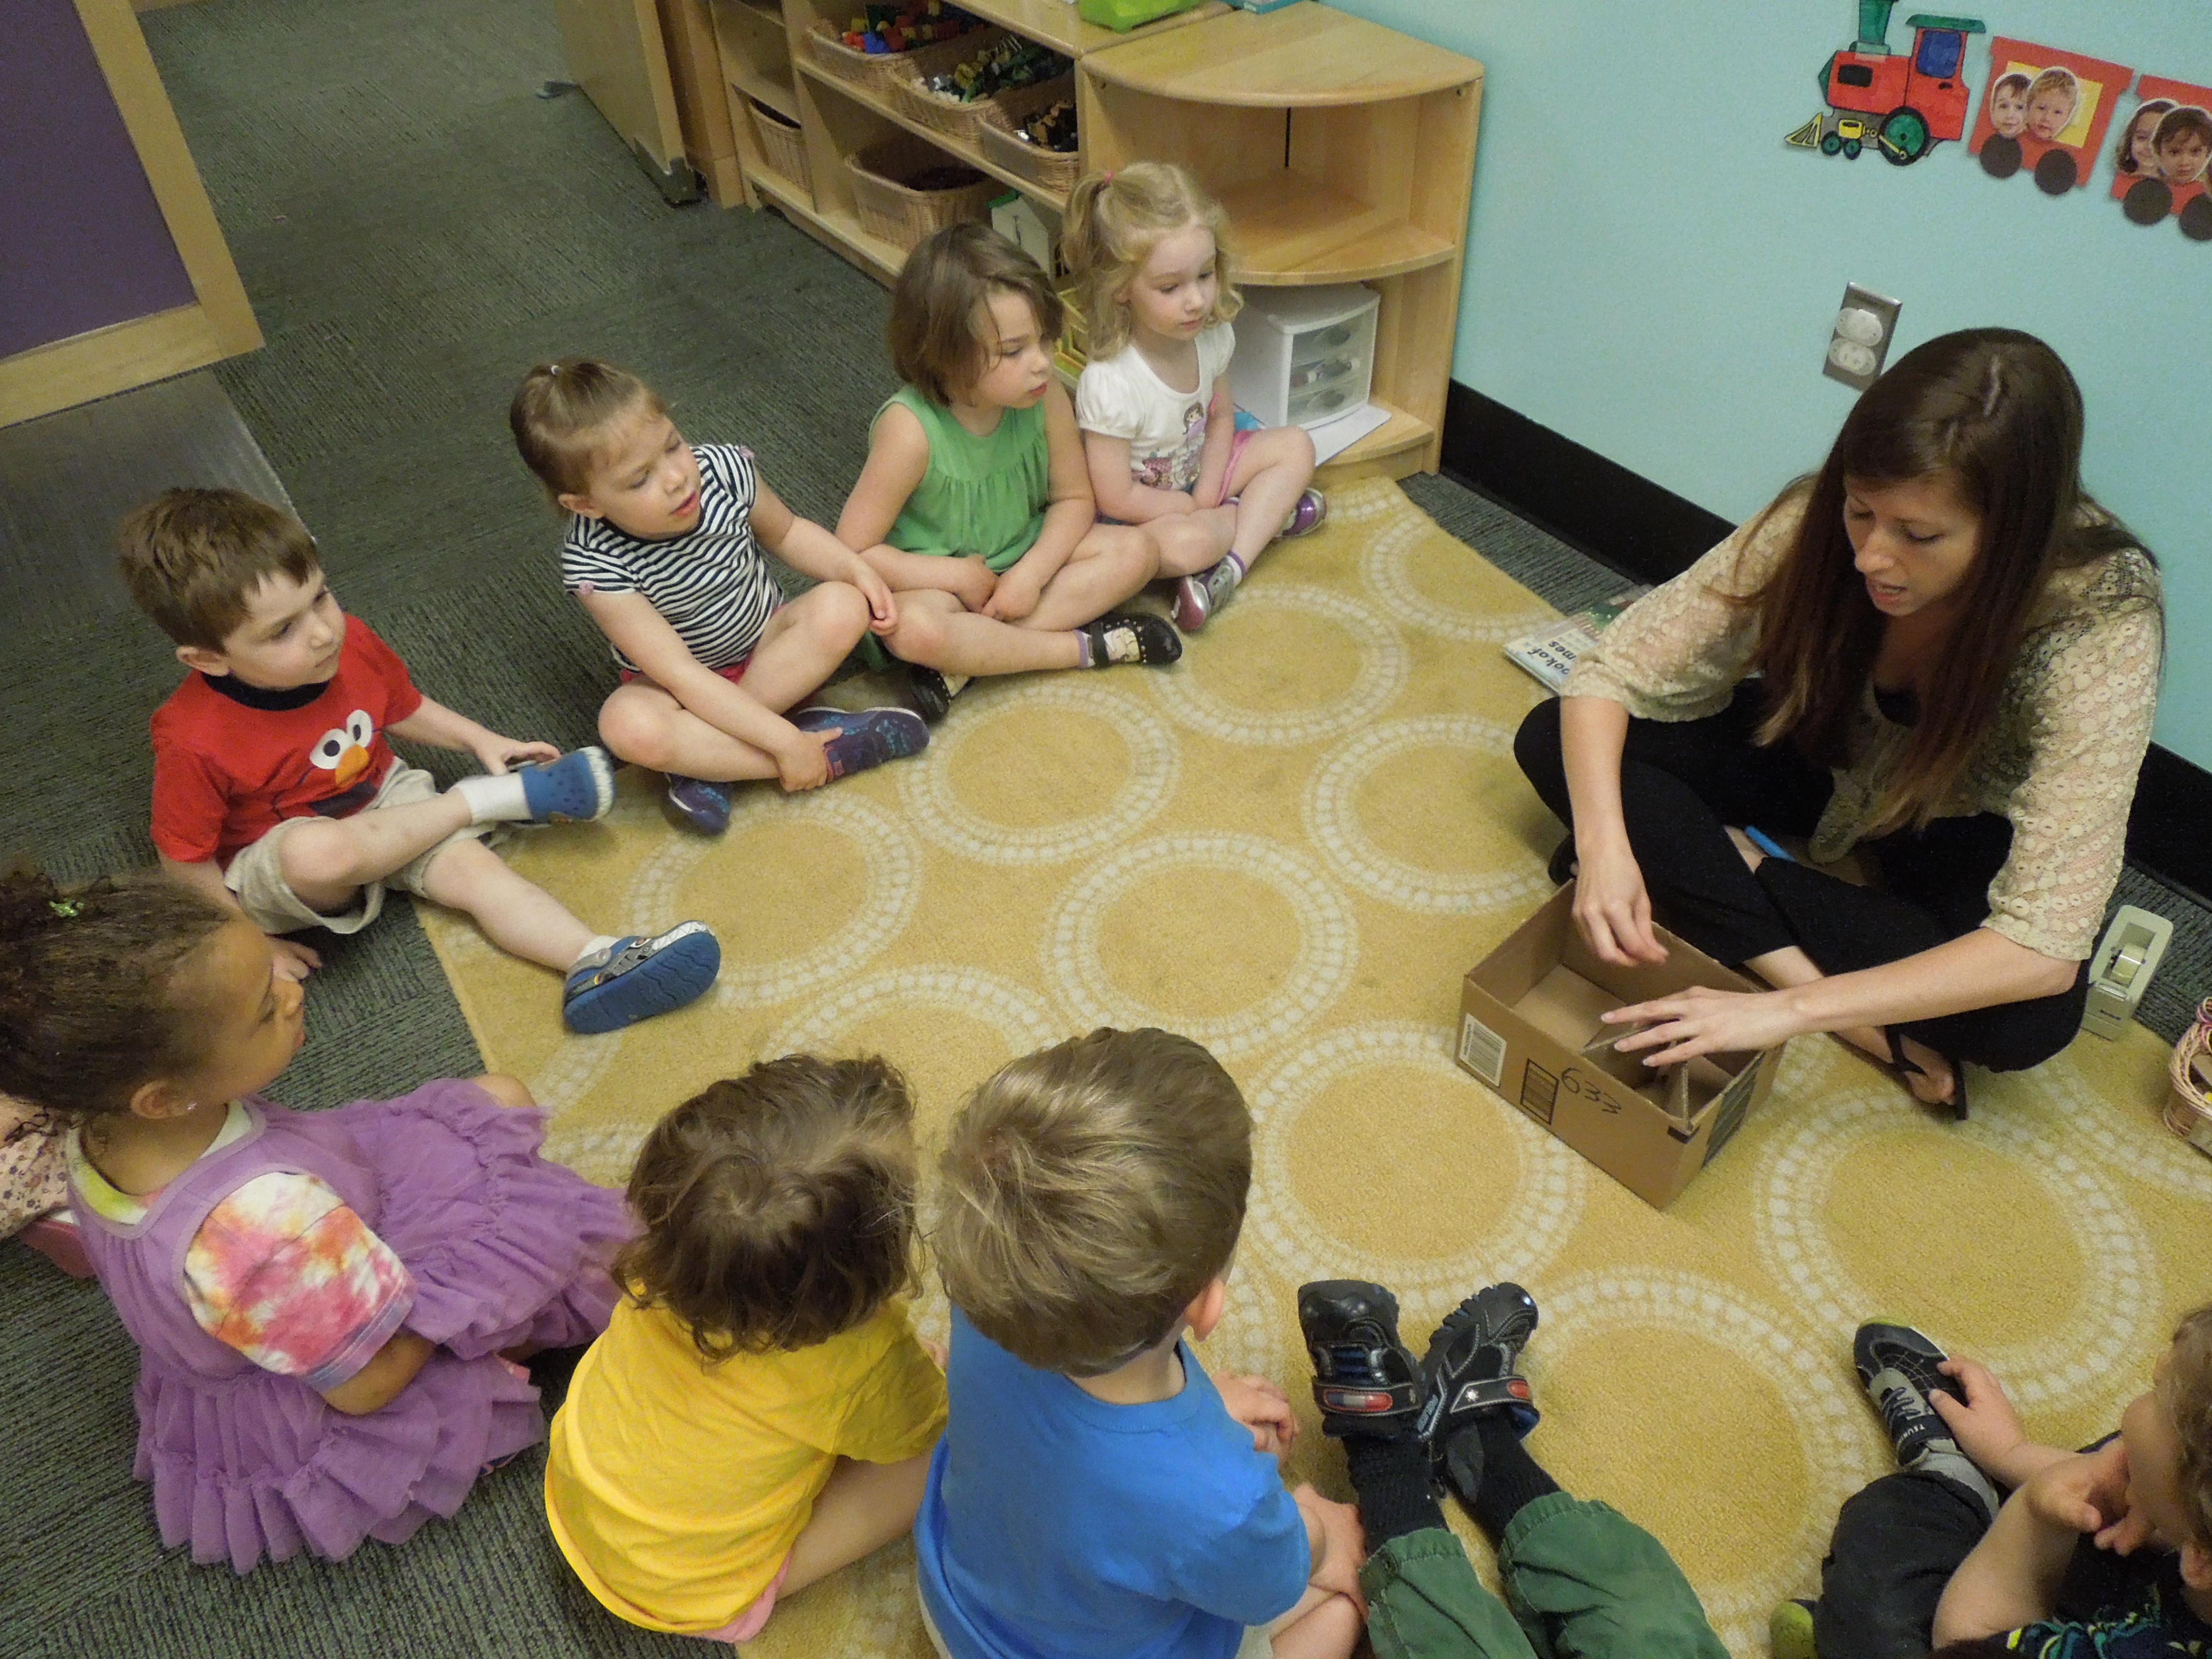
Jessie then explained that each child was going to get a box and could use any of the materials she collected (string, ribbon, cardboard pieces, dot paint, straws, etc) to create their model. Jessie had the group work together to help build her model before beginning to work on their own.
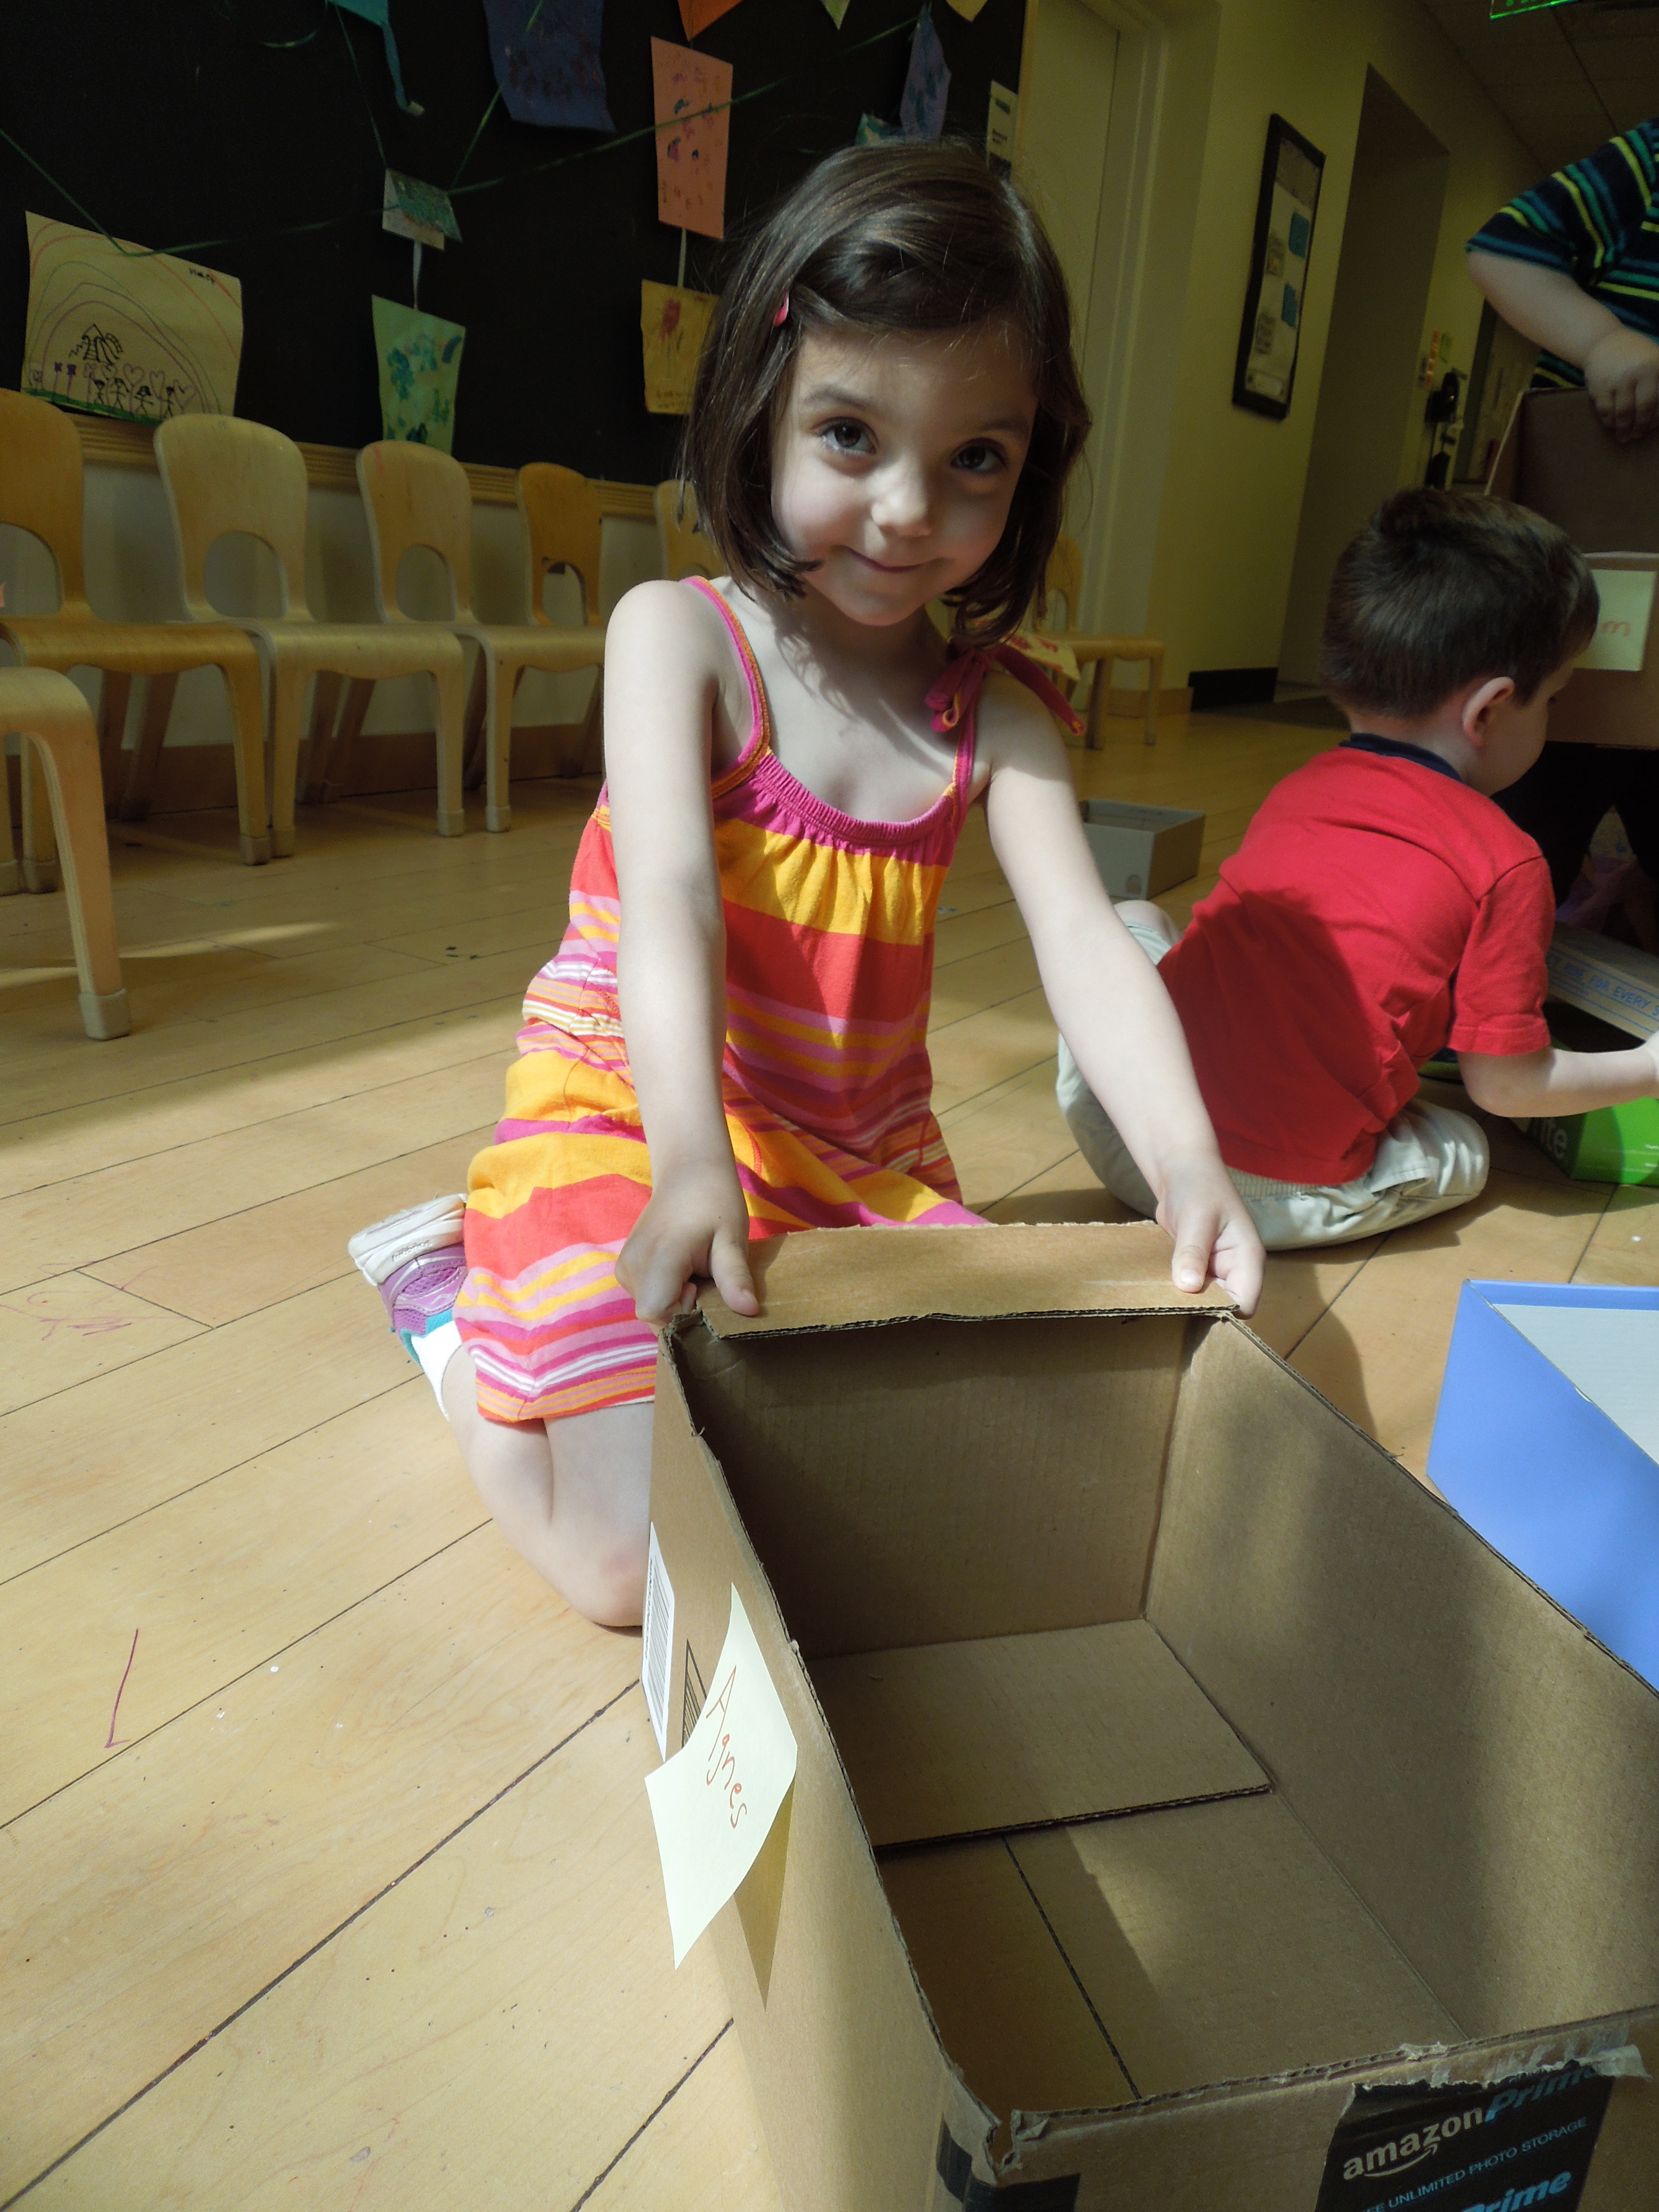

The children were able to get lots of fine motor and problem solving practice during their construction.
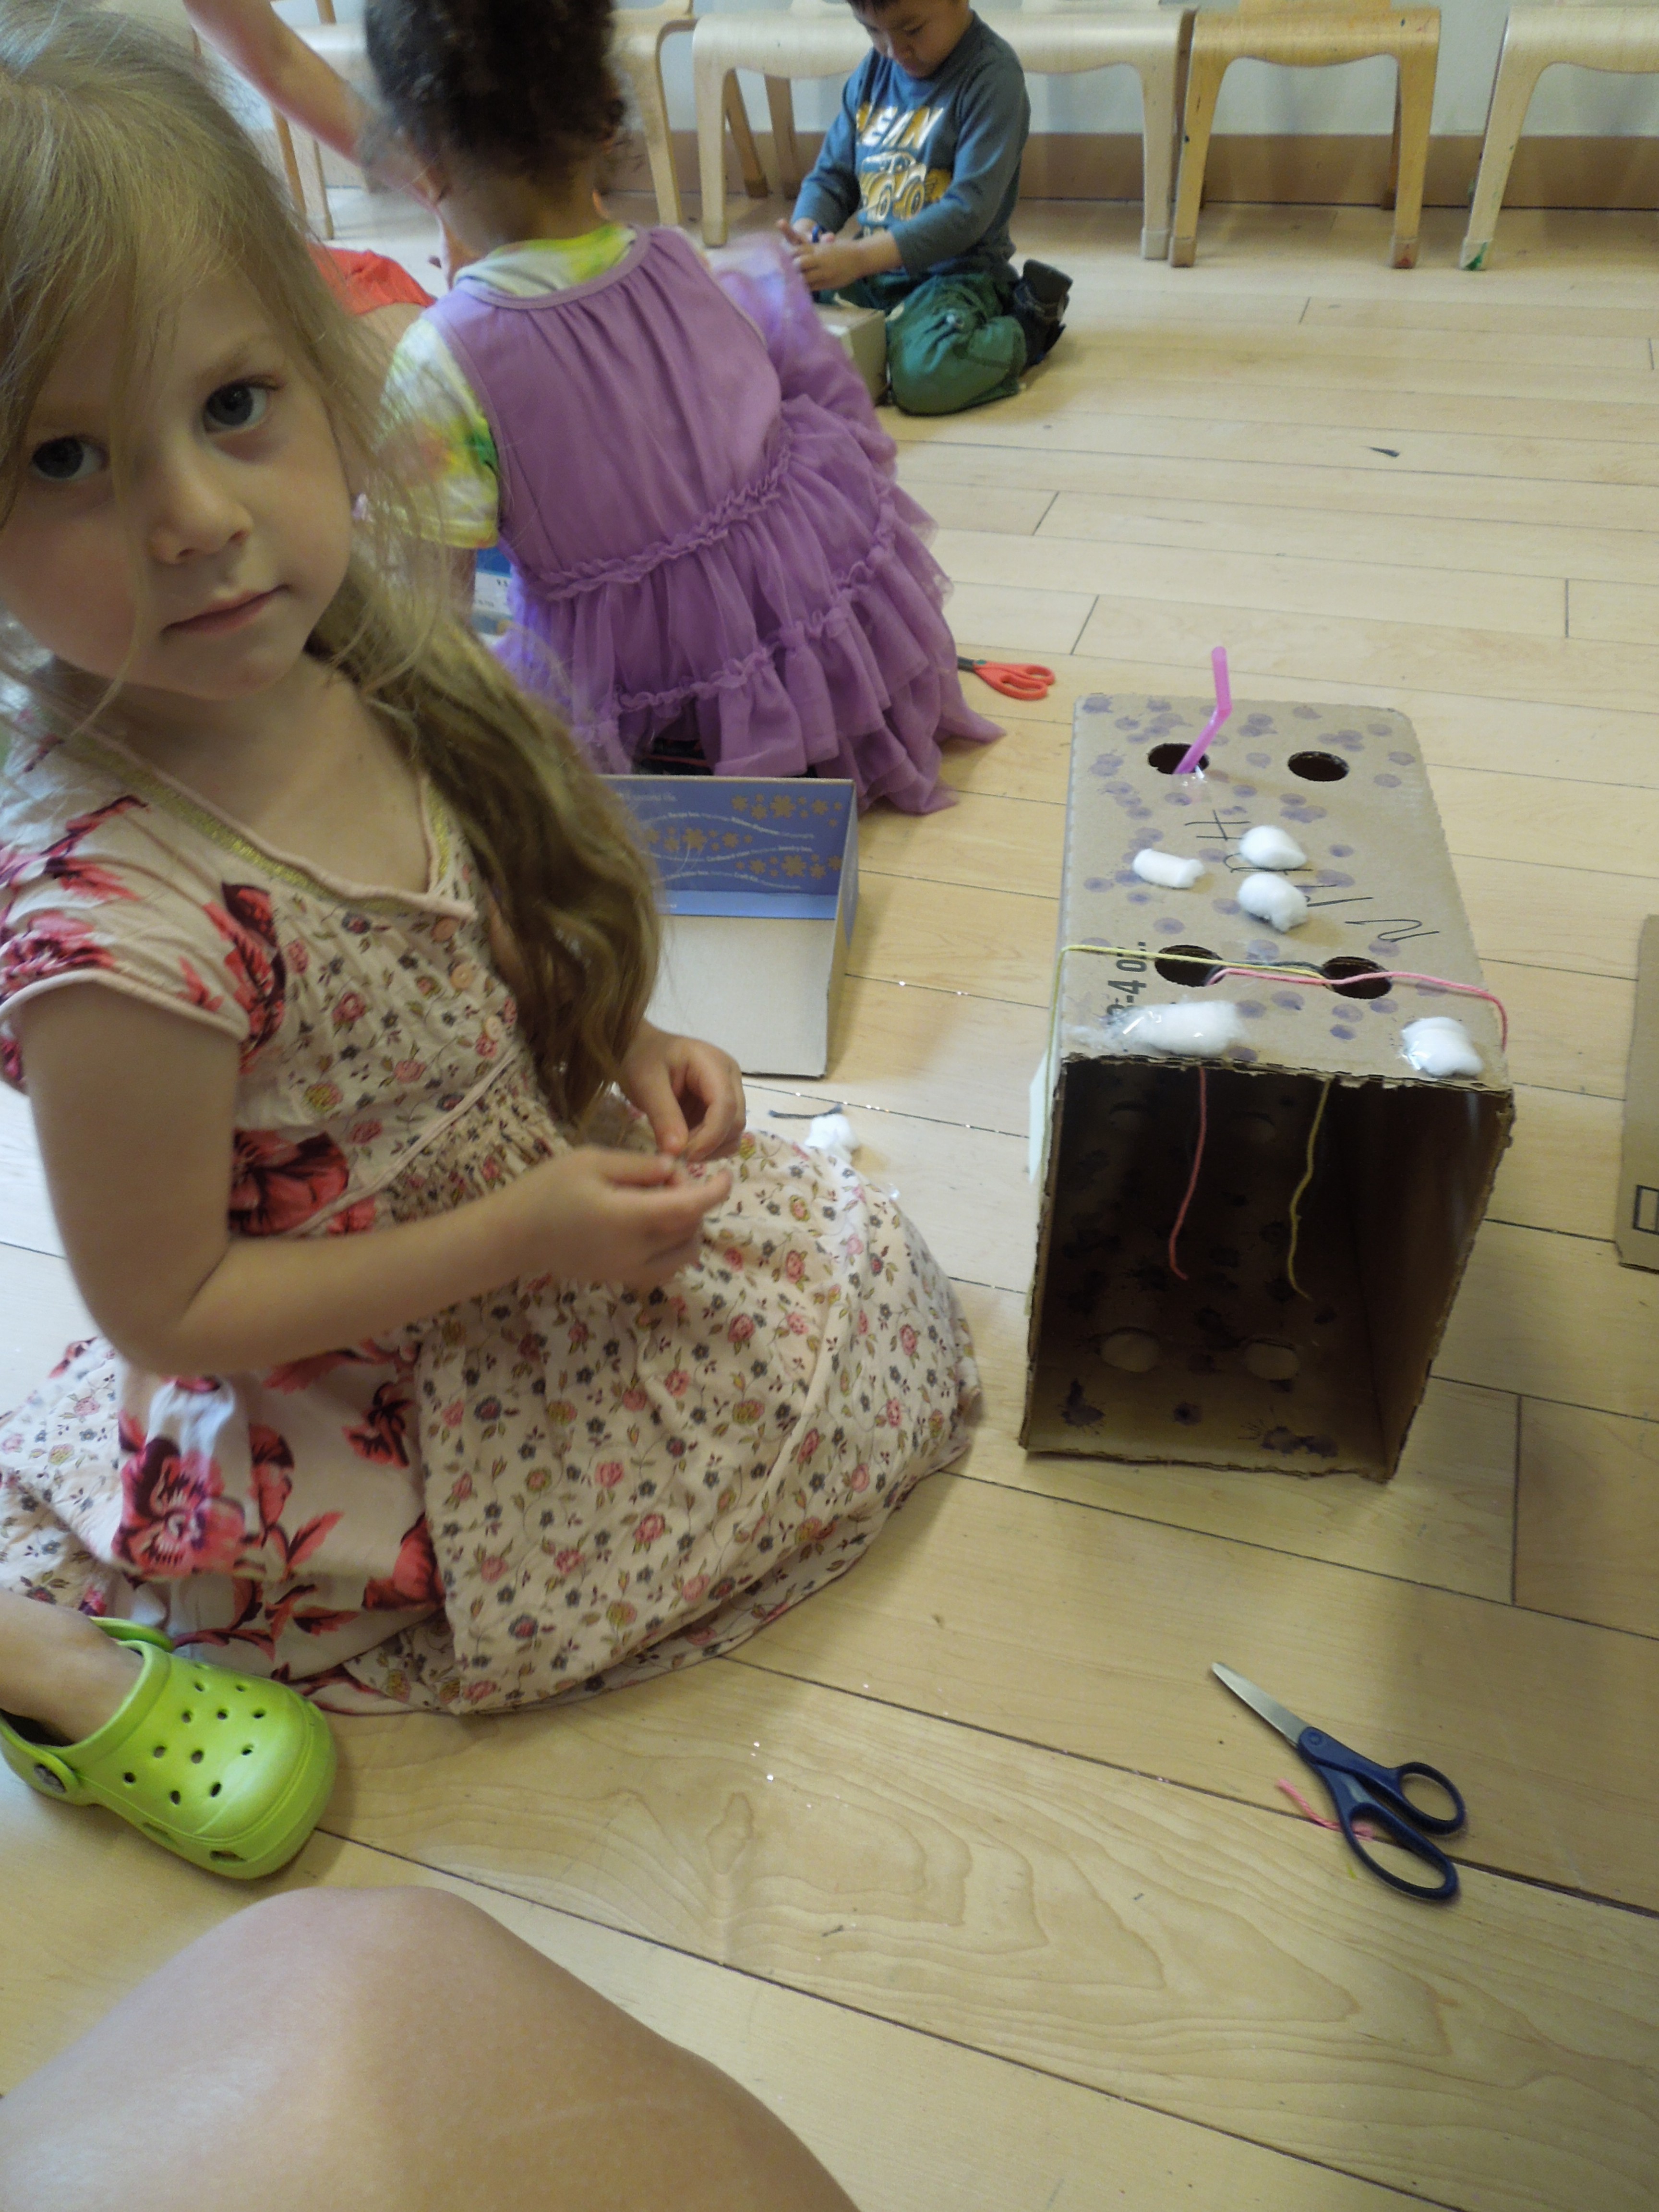
When the children were finished, they would describe their house to one of their teachers. This little girl explained: “I love the house. The strings are woggly and there are dots on the bottoms and dots on the top. The cotton balls are windows up top.”
This class had a wonderful time learning about architecture! Be sure to check back for our Teacher Feature next week!
