Why Make Books?
For young children, books are magical, useful, and familiar. They are a classic circle time tool and are wonderful for explaining complex topics. Yet, for many museums no published books exist that explain their objects or their institutional values. Instead of relying on existing children’s books, the Smithsonian Early Enrichment Center (SEEC) has started creating our own books which act as scripted lesson plans with embedded images. These books can be easily applied to multiple programs.
Getting Started
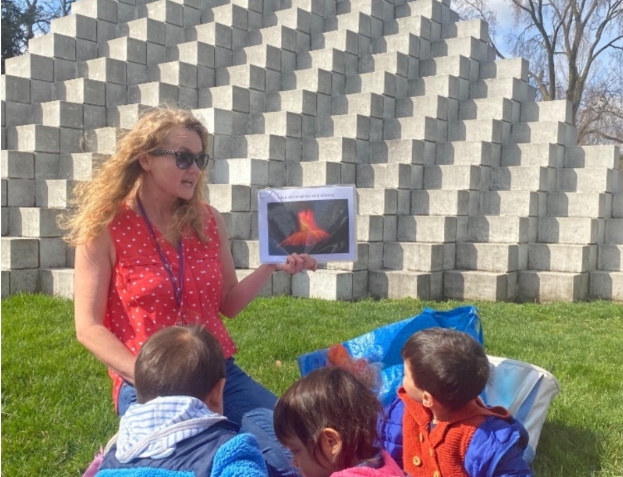
To design our books, we use a presentation program. Best practice is to include one or two large photos and two lines of large font text per page. (There are several examples of pages from our books found in this blog.) If the object needs more context or explanation, it can be included in the author’s note. Books can be printed, laminated, and then collated in a ring binder for ease of use. A photo album service can also be used to create a more traditional looking book.
Interactive Stories
Interactive elements for your story times can be built into the books you create. The book can prompt you to encourage children to pretend, move, sing, and experiment. Writing activity breaks directly into the book allows children to have the opportunity to be active participants throughout the whole story time experience.
Questions & Wait Time
Core museum education practices such as asking questions and giving wait time can be written into books, too. We often ask a question on one page and make sure the answer is on the next page. Making the educator or docent turn the page is one way to intentionally slow down the reading of the story and allow for thoughts and conversations to develop.
Familiar / Unfamiliar
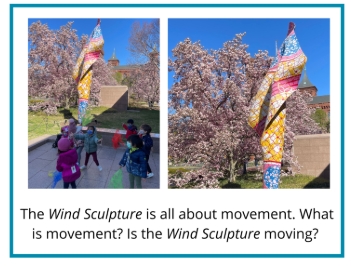
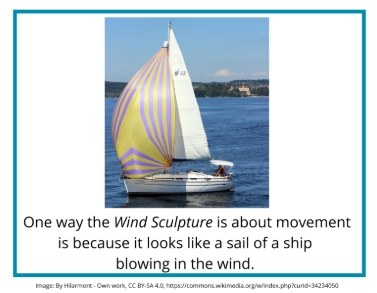
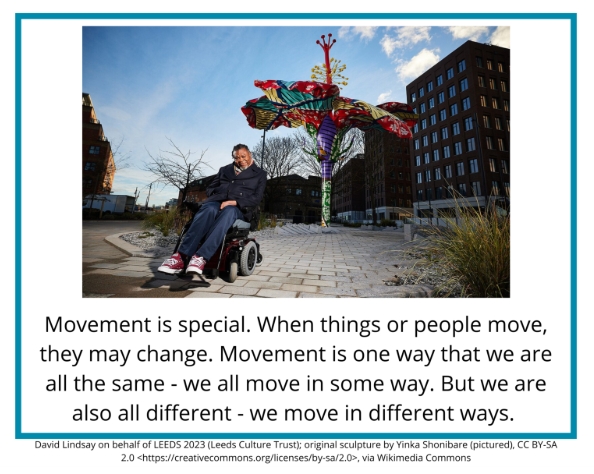
To start creating books, we identify and leverage subjects that are familiar to young children to create context for the unfamiliar. In writing our Wind book, we knew that most pre-k children have some familiarity with sailboats. They may play with boats in the bathtub or may have sailed on a real boat. Early in the book we made the connection that the Wind Sculpture was like a boat. This grounded the book in the familiar, and from there, we made additional connections to the unfamiliar.
Translating Complex Ideas
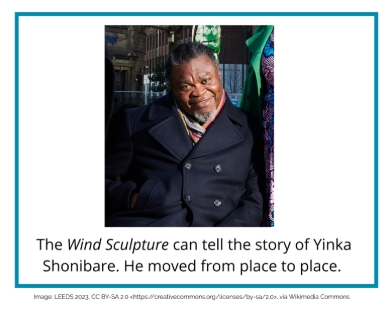
Our goal when creating books is to convey the true meaning of the objects to young children. Since source materials are not accessible to children, it is our responsibility to adapt them to make connections to the familiar. Artist Yinka Shonibare described the meaning of his piece as “None of us have isolated identities anymore, and that’s a factor of globalization” and we translated that quotation as:
Scripts & Key Phrases
Rooted in the philosophy of anti-bias education, SEEC uses the phrase, “We are all the same. We are all different.” This key phrase helps young children foster a positive sense of self while embracing diversity. Since this phrase is core to our hidden educational theories and values, we embed this script into our books. We encourage you to consider what values are core to your organization and how you can create a script that is relatable to young children and reflects those core values.
Longevity of Books
These books that we write can easily be pulled off a shelf and read. This makes them incredibly useful and easier to implement than a lesson plan. We love that they can be used over and over again by different classes and educators. Writing books may not be something that every preschool or museum educator does in their daily practice, but we encourage you to try, and you will likely have a product that you reach for again and again.


 Smithsonian and stop by the Sackler Gallery to see the

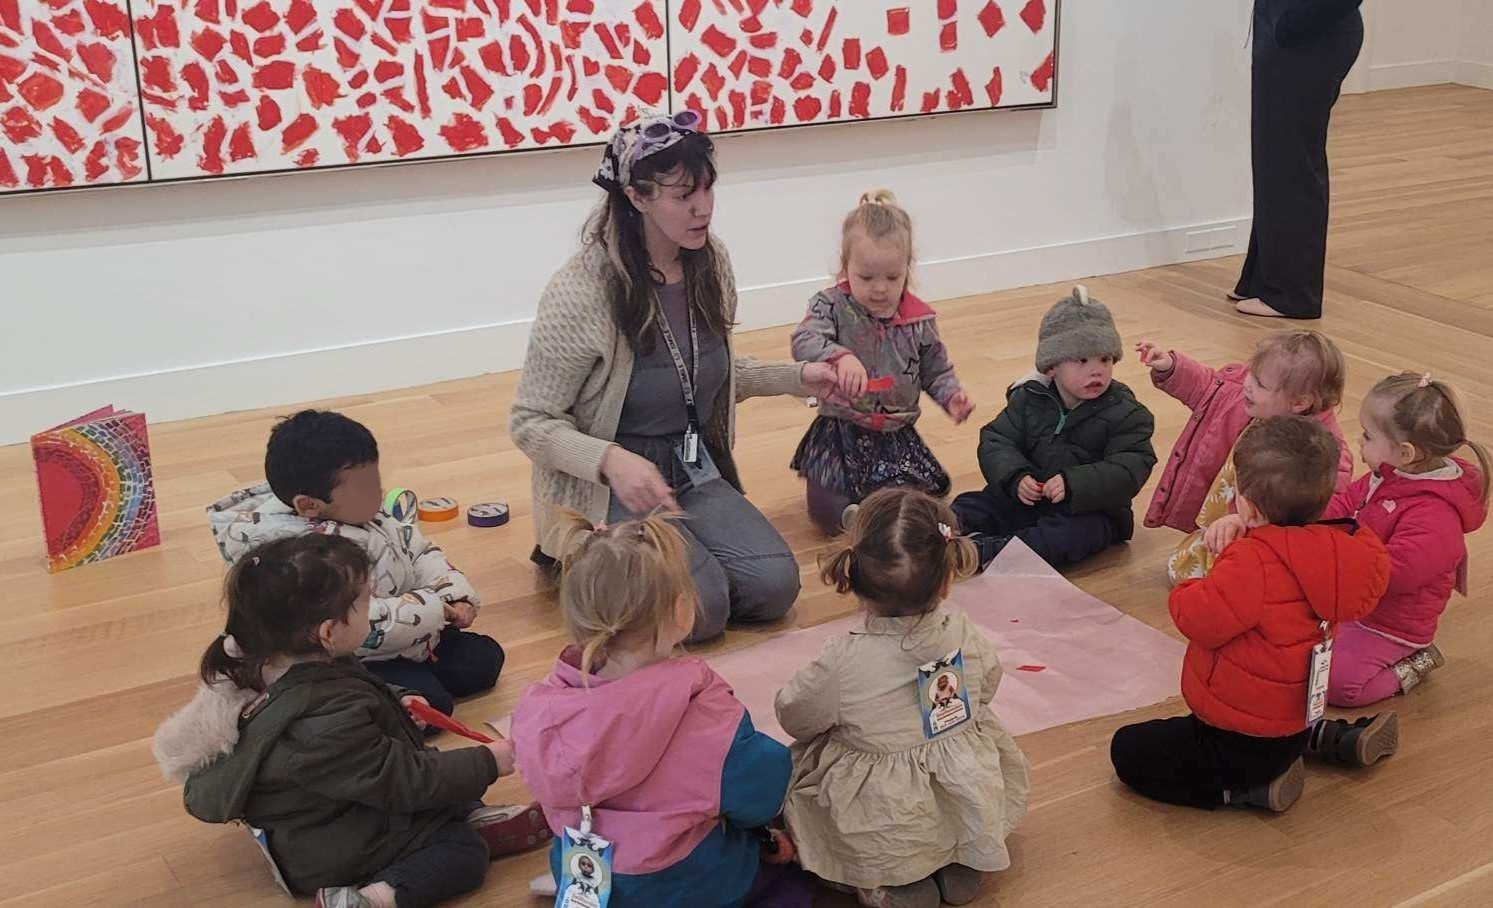
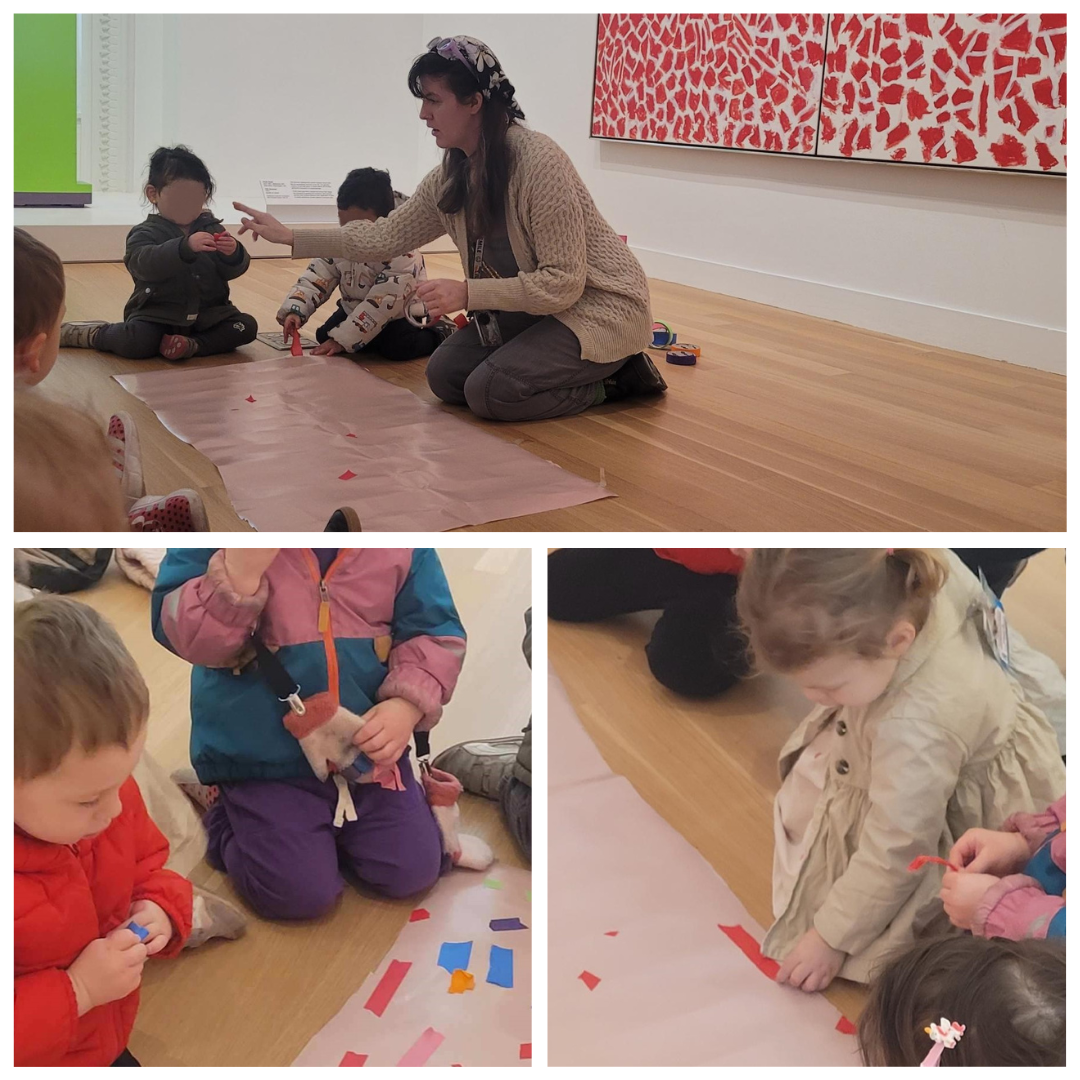
 As the last part of the object lesson, I laid out several objects and asked them to work together to recreate the painting. They needed no instruction, but went right to work, collaborating until the composition was complete. Was it exactly like the painting, no, but they had used these tools to create their OWN composition. They were quite proud and were completely engaged in the activity. I saw them looking back at the painting, rearranging objects and making their own decisions.
 To learn more about NAEYC’s Week of the Young Child™ visit