It’s Teacher Feature Thursday!
This week we are featuring Silvana Oderisi and Cathryn Prudencio of our Kindergarten classroom. To begin their school year Silvana and Cathryn wanted to provide the children with a foundation of what museums are, who works in them, and how they run. To do this they met with many people who hold very different roles, but who are all responsible for ensuring the Smithsonian museums run smoothly, and that the objects in the collections are cared for. I joined their class for a lesson on Art Conservation. Below you will find a reflection from Silvana and Cathryn, and images from the lesson.

A reflection from Silvana and Cathryn:
In the beginning of the school year, our kindergarten class explored museums as a topic. Our purpose of this unit was to really delve into what happens behind the scenes of the museums that we visit on a daily basis, so that we can understand all of the work that goes into the different exhibits, installations, and artwork on display. After spending some time exploring what collections, exhibits and installations are, we decided to learn about the people who take care of the objects that go into these museum spaces, one being art conservators. We visited the Lunder Conservation Center at the Smithsonian American Art Museum to talk about what the conservators do in the Paintings Lab (restoring the structure of a painting by examining the damage, fixing tears, cracks, and the like) and the Paintings Studio (cleaning and in-painting to fill in the missing parts of the painting to match the surrounding areas), as well as the tools they use to accomplish those tasks (magnifying visors, cotton swab, brushes, heated micro-spatula, etc.). This lesson did require a great amount of research on their website, which described what they do in each portion of the Lunder Conservation Center.
The Lunder Conservation Center website and the facility itself, both proved very useful in creating a rich understanding of art conservation for the children. The website includes videos with interviews of actual conservators and examples of paintings that had undergone the conservation process, and these helped demonstrate for the children the changes that conservators make in a painting, and why. After viewing and discussing the videos, our class was able to walk around the Center, which has glass walls so you are able to see conservators hard at work- researching, painting, and restoring, which was very exciting. This lesson was a great way of making concrete connections between science and the arts. Another successful part of the lesson, was allowing the children a hands-on experience in restoring their own painting. The children were very excited and invested in going back to our playground to become conservators and “fix” a painting we had bought at a thrift store.
An area of the lesson that we will rethink if we do it again, is the amount of time the kids were sitting watching the videos and listening to an explanation of the work conservators do. We sat for a long time, and some of the children were getting fidgety, however, we were very lucky to have an actual conservator walk up to us and show some of his tools, which refocused our attention. If we were to do this lesson again, we would make the lesson more effective by starting with the videos and pictures as an introduction, then go for a walk through the Center, and conclude with a debrief of what we saw, discussing the importance and significance of the work they do. Another area of the lesson we might rethink is the amount of materials that we wanted to use. We had a computer, a bag with the materials and “tools” for conserving our own painting, a book with some information of a restored painting at the National Gallery of Art, and an anchor chart. Because we had so many materials, we ended up accidentally leaving the anchor chart in the classroom. We believe the anchor chart is a valuable visual, and perhaps we would not have left it behind if we had organized the materials better or been more mindful about which we really needed. One last recommendation we have for this lesson, is to ensure there is some sort of context for a lesson like this- we really believe one of the reasons the children were so excited to learn about the job of a conservator was because they had a firm grasp on the concept of objects in a museum. Art conservation would definitely not be something to teach without context because then it might fall flat.
This lesson was really fun for us as educators as well, because it helped us to better understand all of the work that goes into putting the different pieces of artwork on display in the museums- from the paintings and even to the frames! All in all, we were very surprised by how enthusiastic the children were about the topic. What might seem like a dull topic (even to some adults) was completely absorbed and taken in by the children and they really enjoyed it! After this lesson we continued to learn more about the people who work behind the scenes in museums like archaeologists that restore artifacts at Natural History, scientists who research animals at Natural History, security officers, horticulturists, and more!
Here are a few images from their lesson on Art Conservation: To learn about art conservation the class visited the Luce Conservation Center, a visible art storage and study center located within the Smithsonian American Art Museum. With the view of conservation labs, it was the perfect place to visit to learn about art conservation.
 To begin the conversation, Silvana pulled up two photos of Charles Bird King’s Miss Satterlee– a before and after of the painting’s restoration work. Silvana asked the class to look at the first photo and explained that the photo shows how the painting looked when the museum received it. She asked if they could tell what the painting showed, and the children said they had a hard time seeing what it is, and that it looked like it was from a long time ago. Then they looked at the second photo and noticed that it looked much clearer. Silvana explained that the second photo was of the painting after an art conservator restored it – to make the painting look like it did when it was first painted.
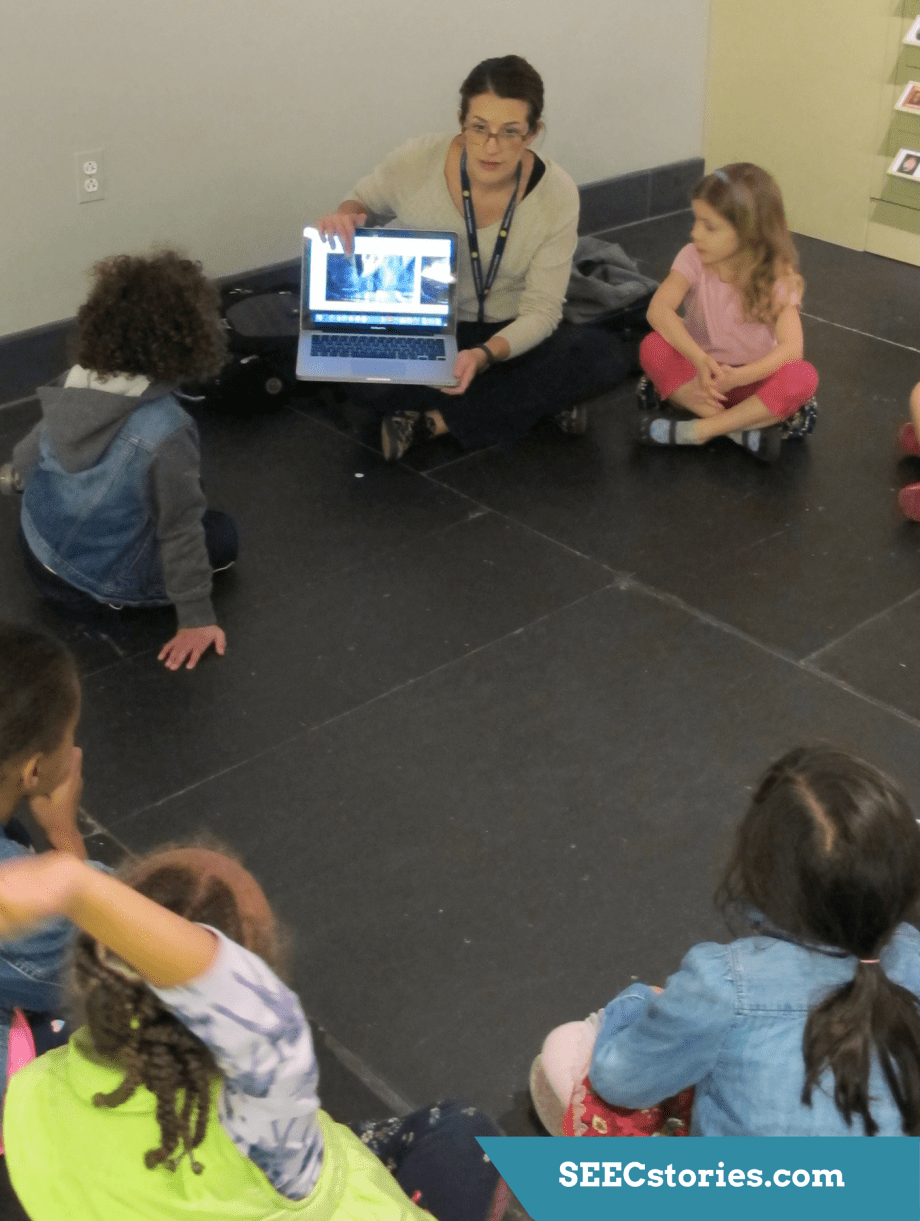 Silvana explained that painting restoration is done in two different places – the Paintings Lab, and the Paintings Studio. While looking at photos and viewing examples of conservator’s work from the Lunder Conservation Center website, the children learned that the Paintings Lab is where structural damage, tears, flaking paint, and ripples in the canvas are repaired, while the Paintings Studio cleans and restores areas of lost paint.
 Lastly, Silvana used her computer to show photos of the tools that conservators use, and brought some along, including a q-tip and a magnifying glass. She showed the class how conservators use these tools to look for tears, wrinkles, dirt, etc., and fix them before they go on display in the museum.
 Then the kindergartners were in for an exciting surprise. Martin Kotler, a frame conservator at the Smithsonian American Art Museum walked by, heard the conversation and stopped to talk about his job.
 He brought out some of his tools to share with the class. He explained that he makes a special batch of glue every day that gives flexibility, and he uses a syringe to apply it.
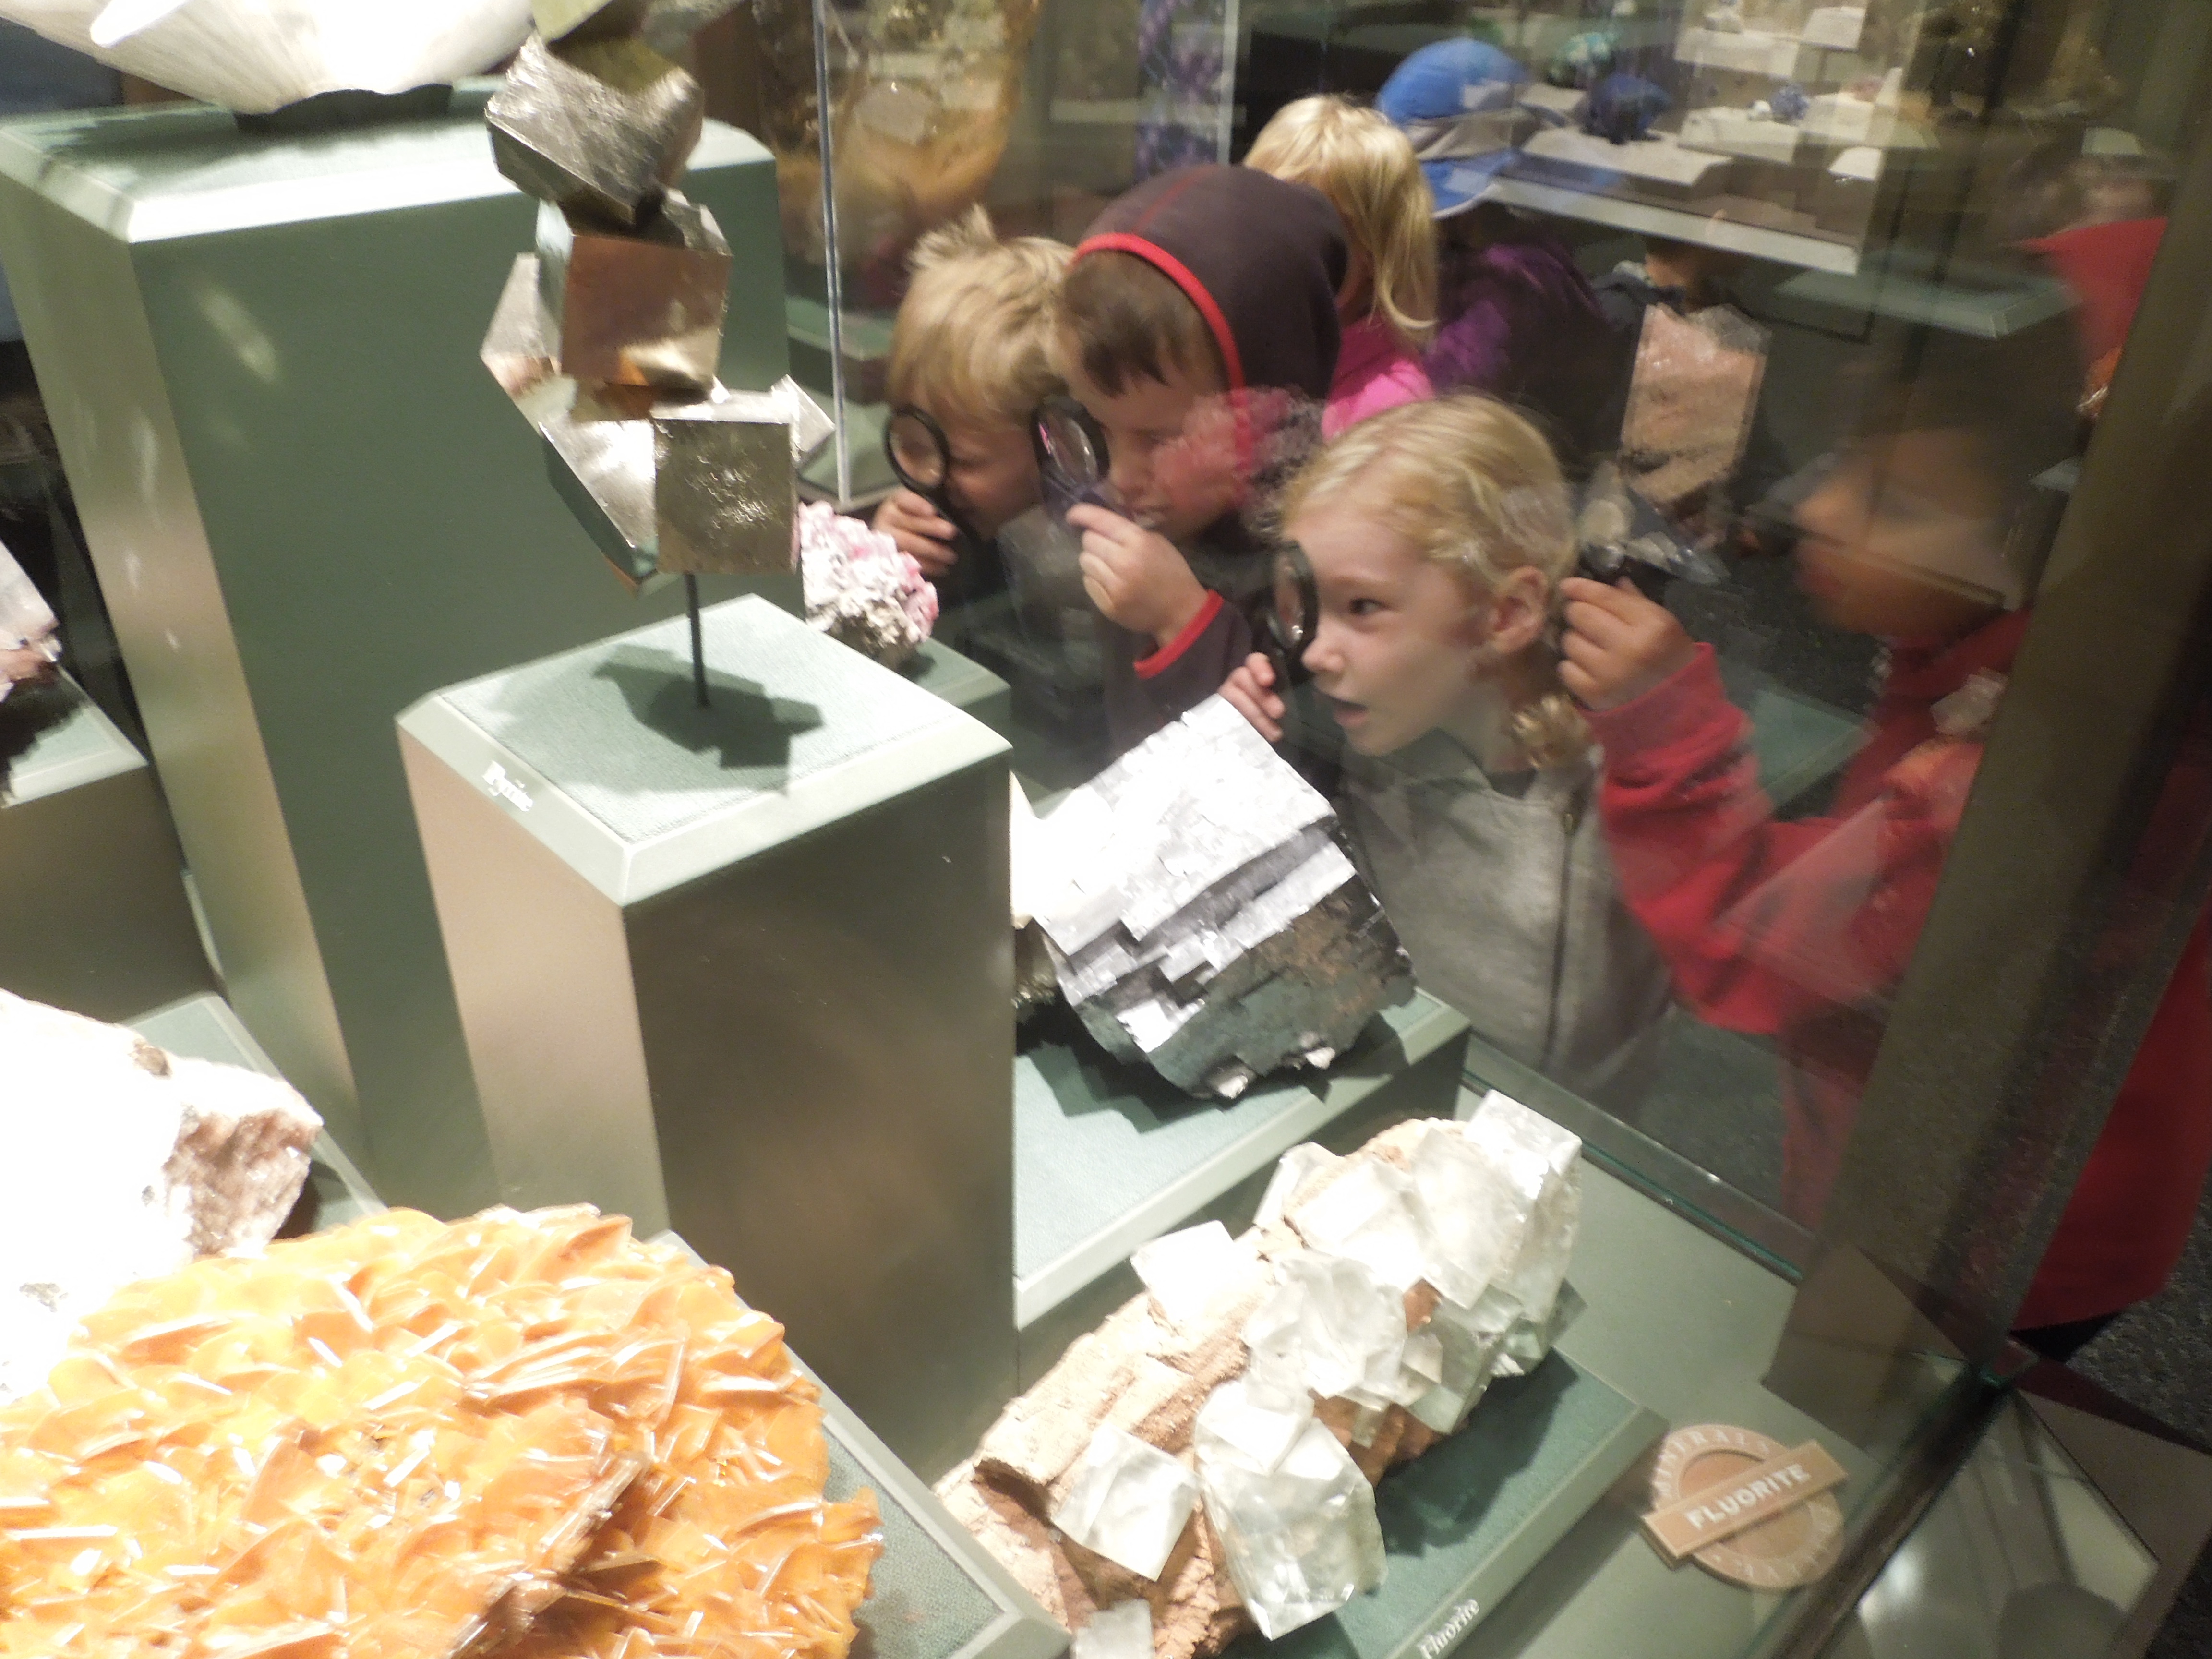
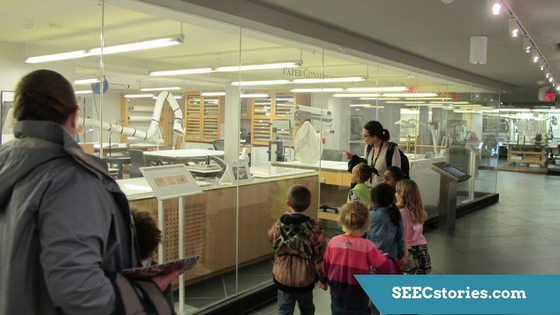 After learning about the elements of art conservation, the class walked through the Center and looked at the conservation labs to see tools they had just learned about.
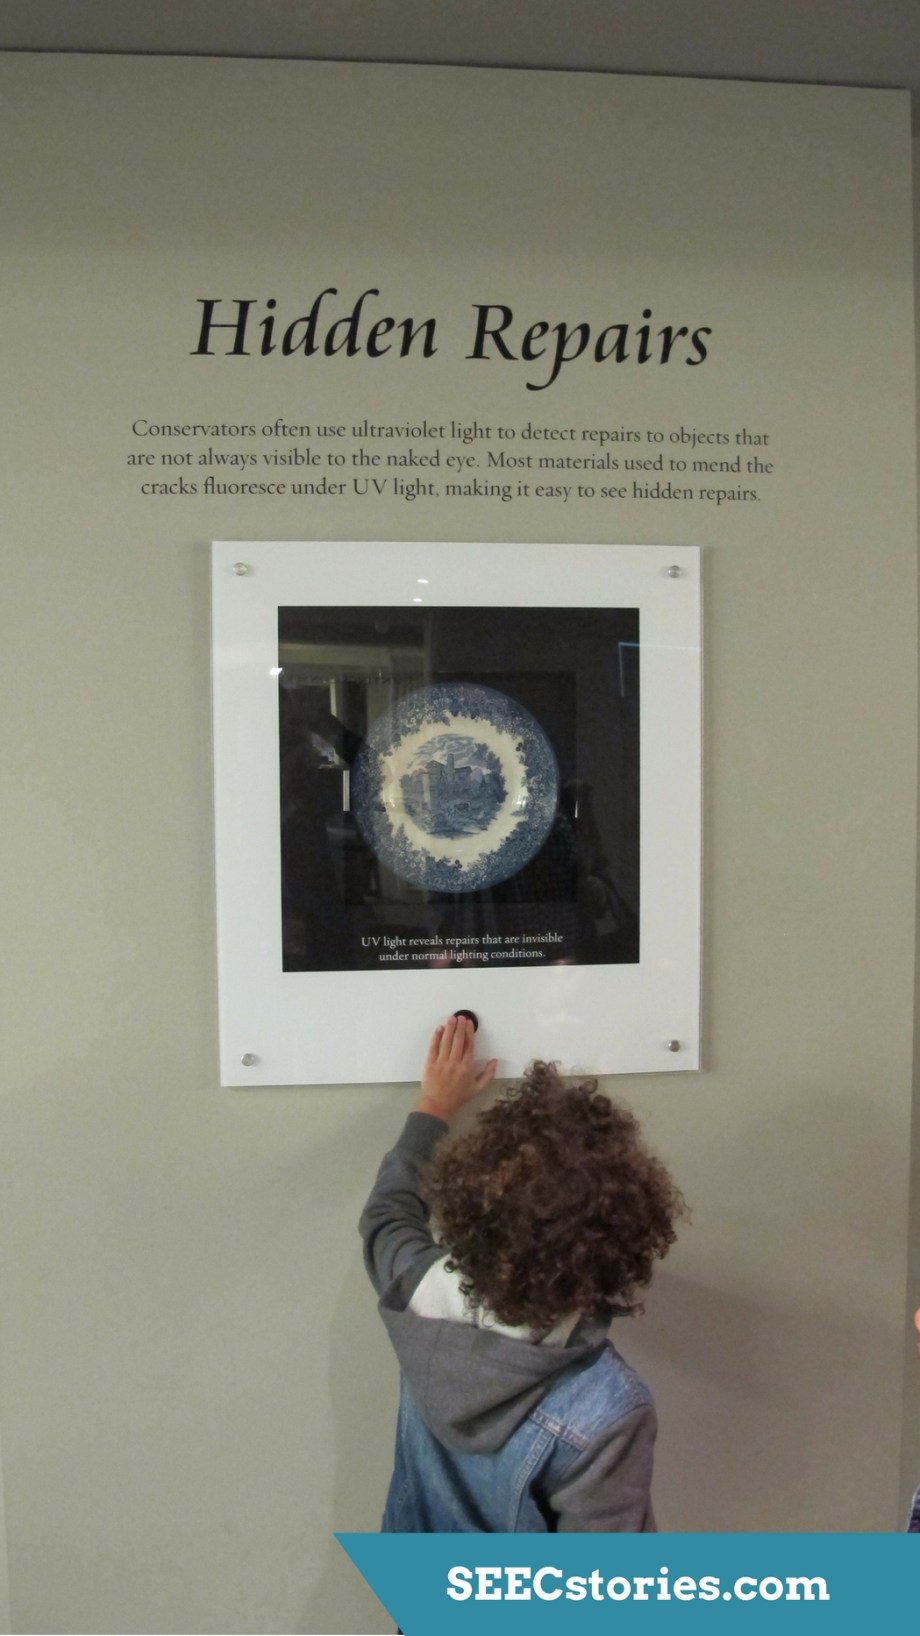 The children also enjoyed seeing the interactive exhibit pieces that display how artwork and objects are conserved and restored.
 They even went upstairs to see another section of the lab and to get a better idea of all the work that goes into art conservation.
 After their museum visit, it was their turn to conserve some artwork! The class went back to the playground, and split into two groups: the Paintings Lab and the Paintings Studio.
 The Paintings Lab group used magnifying glasses to look for structural damage like tears, ripples and flaking paint. They also noticed some dirt and used a q-tip to scrub it off.
 Once the Paintings Lab were done, the Paintings Studio group took over. They pretended to touch up paint that had lost its color.
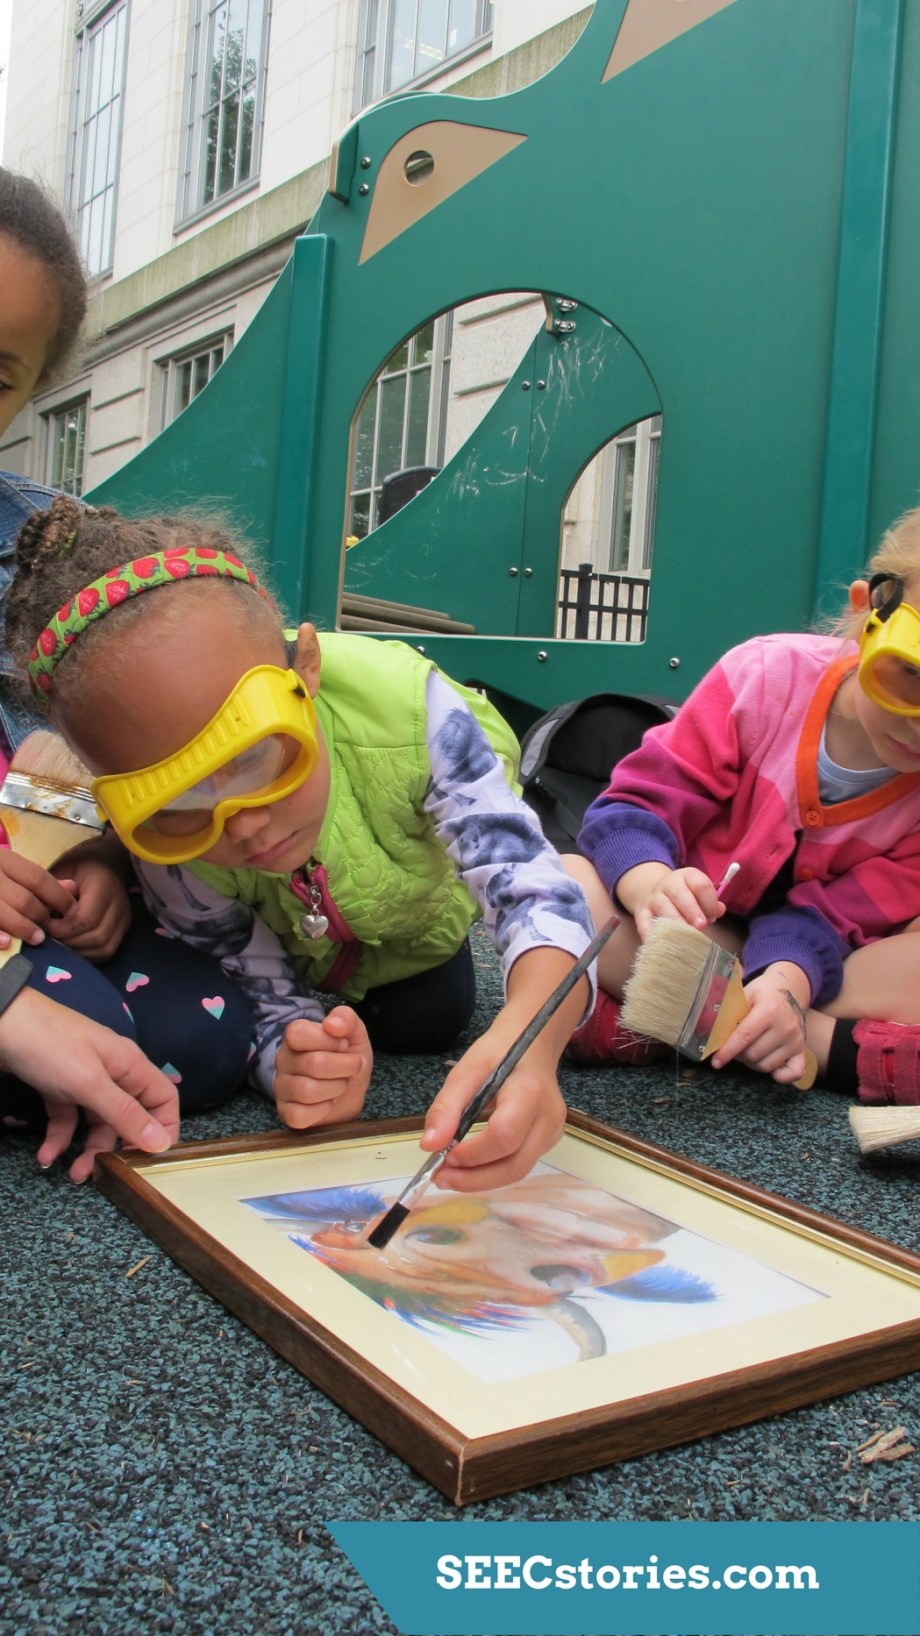 They even spotted some white patches and pretended to do some inpainting, which is the process of restoring areas of lost paint.
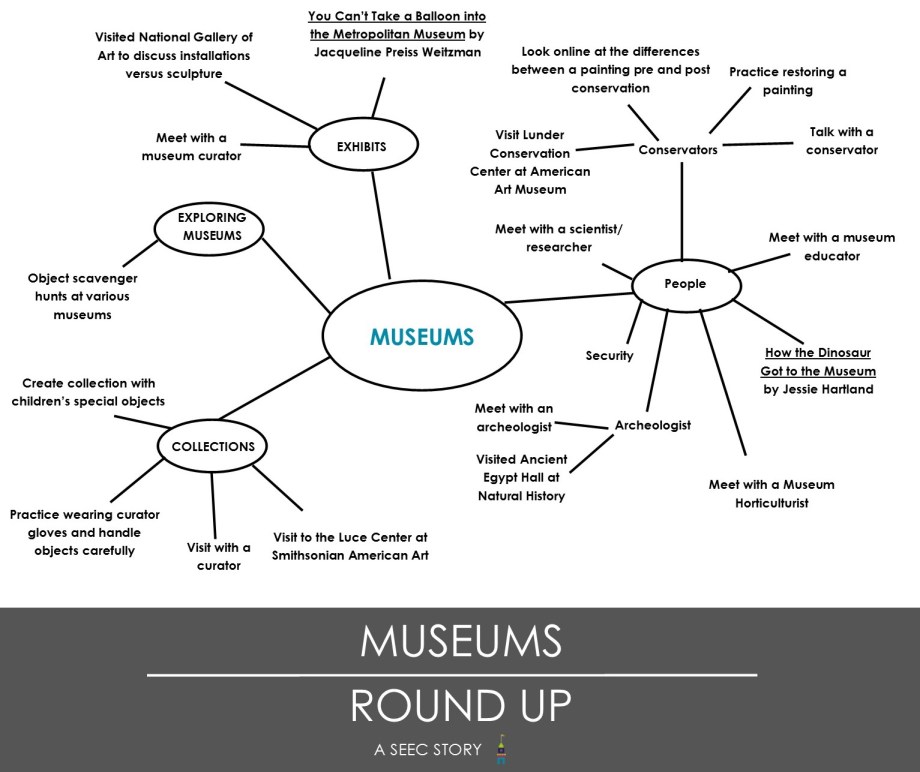
Silvana and Cathryn continued to explore the roles and responsibilities of museum employees for a few more weeks. Stay tuned for the Museum Round Up for more ideas from their unit!
 They talked about Luke Skywalker and then visited the National Portrait Gallery to look at a painting of William Campbell, a fighter pilot who flew more than 100 missions across three different wars. They talked about the characteristics of a hero and what makes a person brave and what courage looks like.
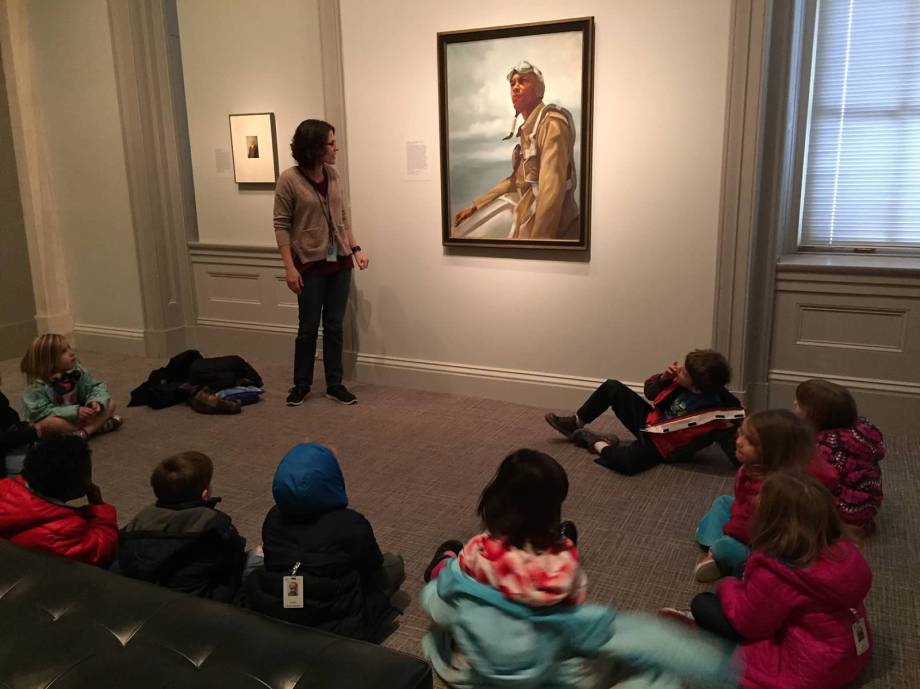 They learned math and compared their own heights to the height of C3PO, learning to measure and compare.


 (Pictured Sculpture:


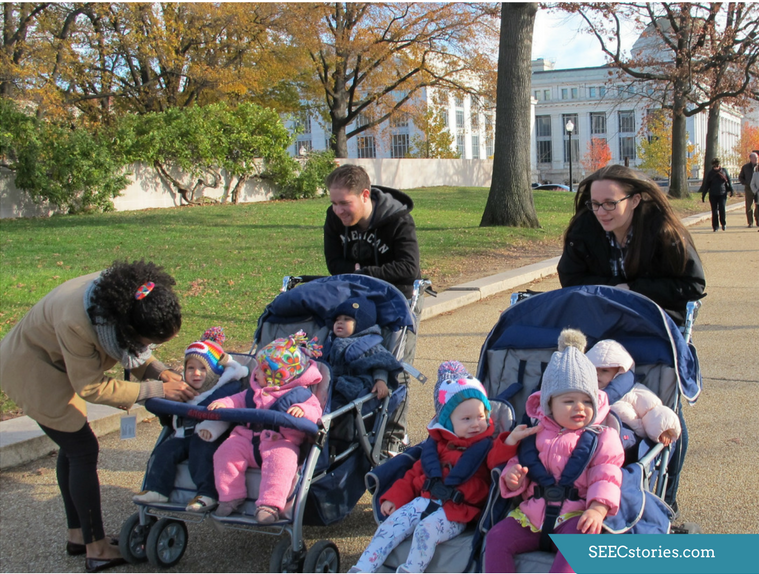
 Since Kermit the Frog was displayed at a height where adults were able to view it easily, the infant teachers picked the children up and held them closer to the Kermit the Frog.

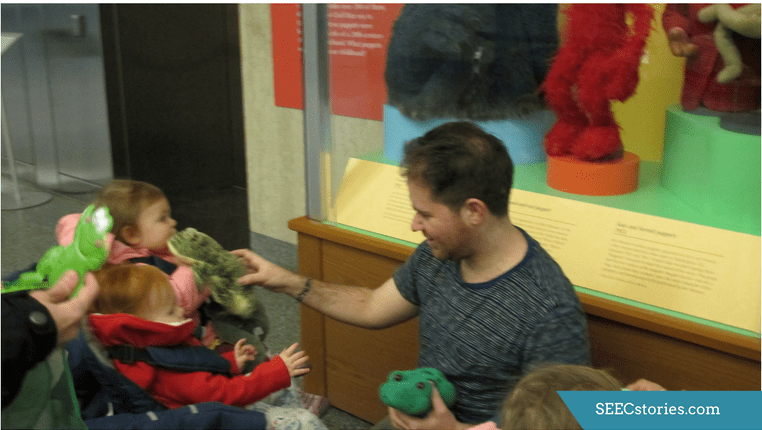
 The infants were able to touch and explore all the tangible examples of frogs that their teachers brought with them.
 Jessie began the lesson by reminding the children of the different museums they visited around the mall. Will and Jessie used a token object to remind the children of the Museum collection and asked the children to reflect on their visits.
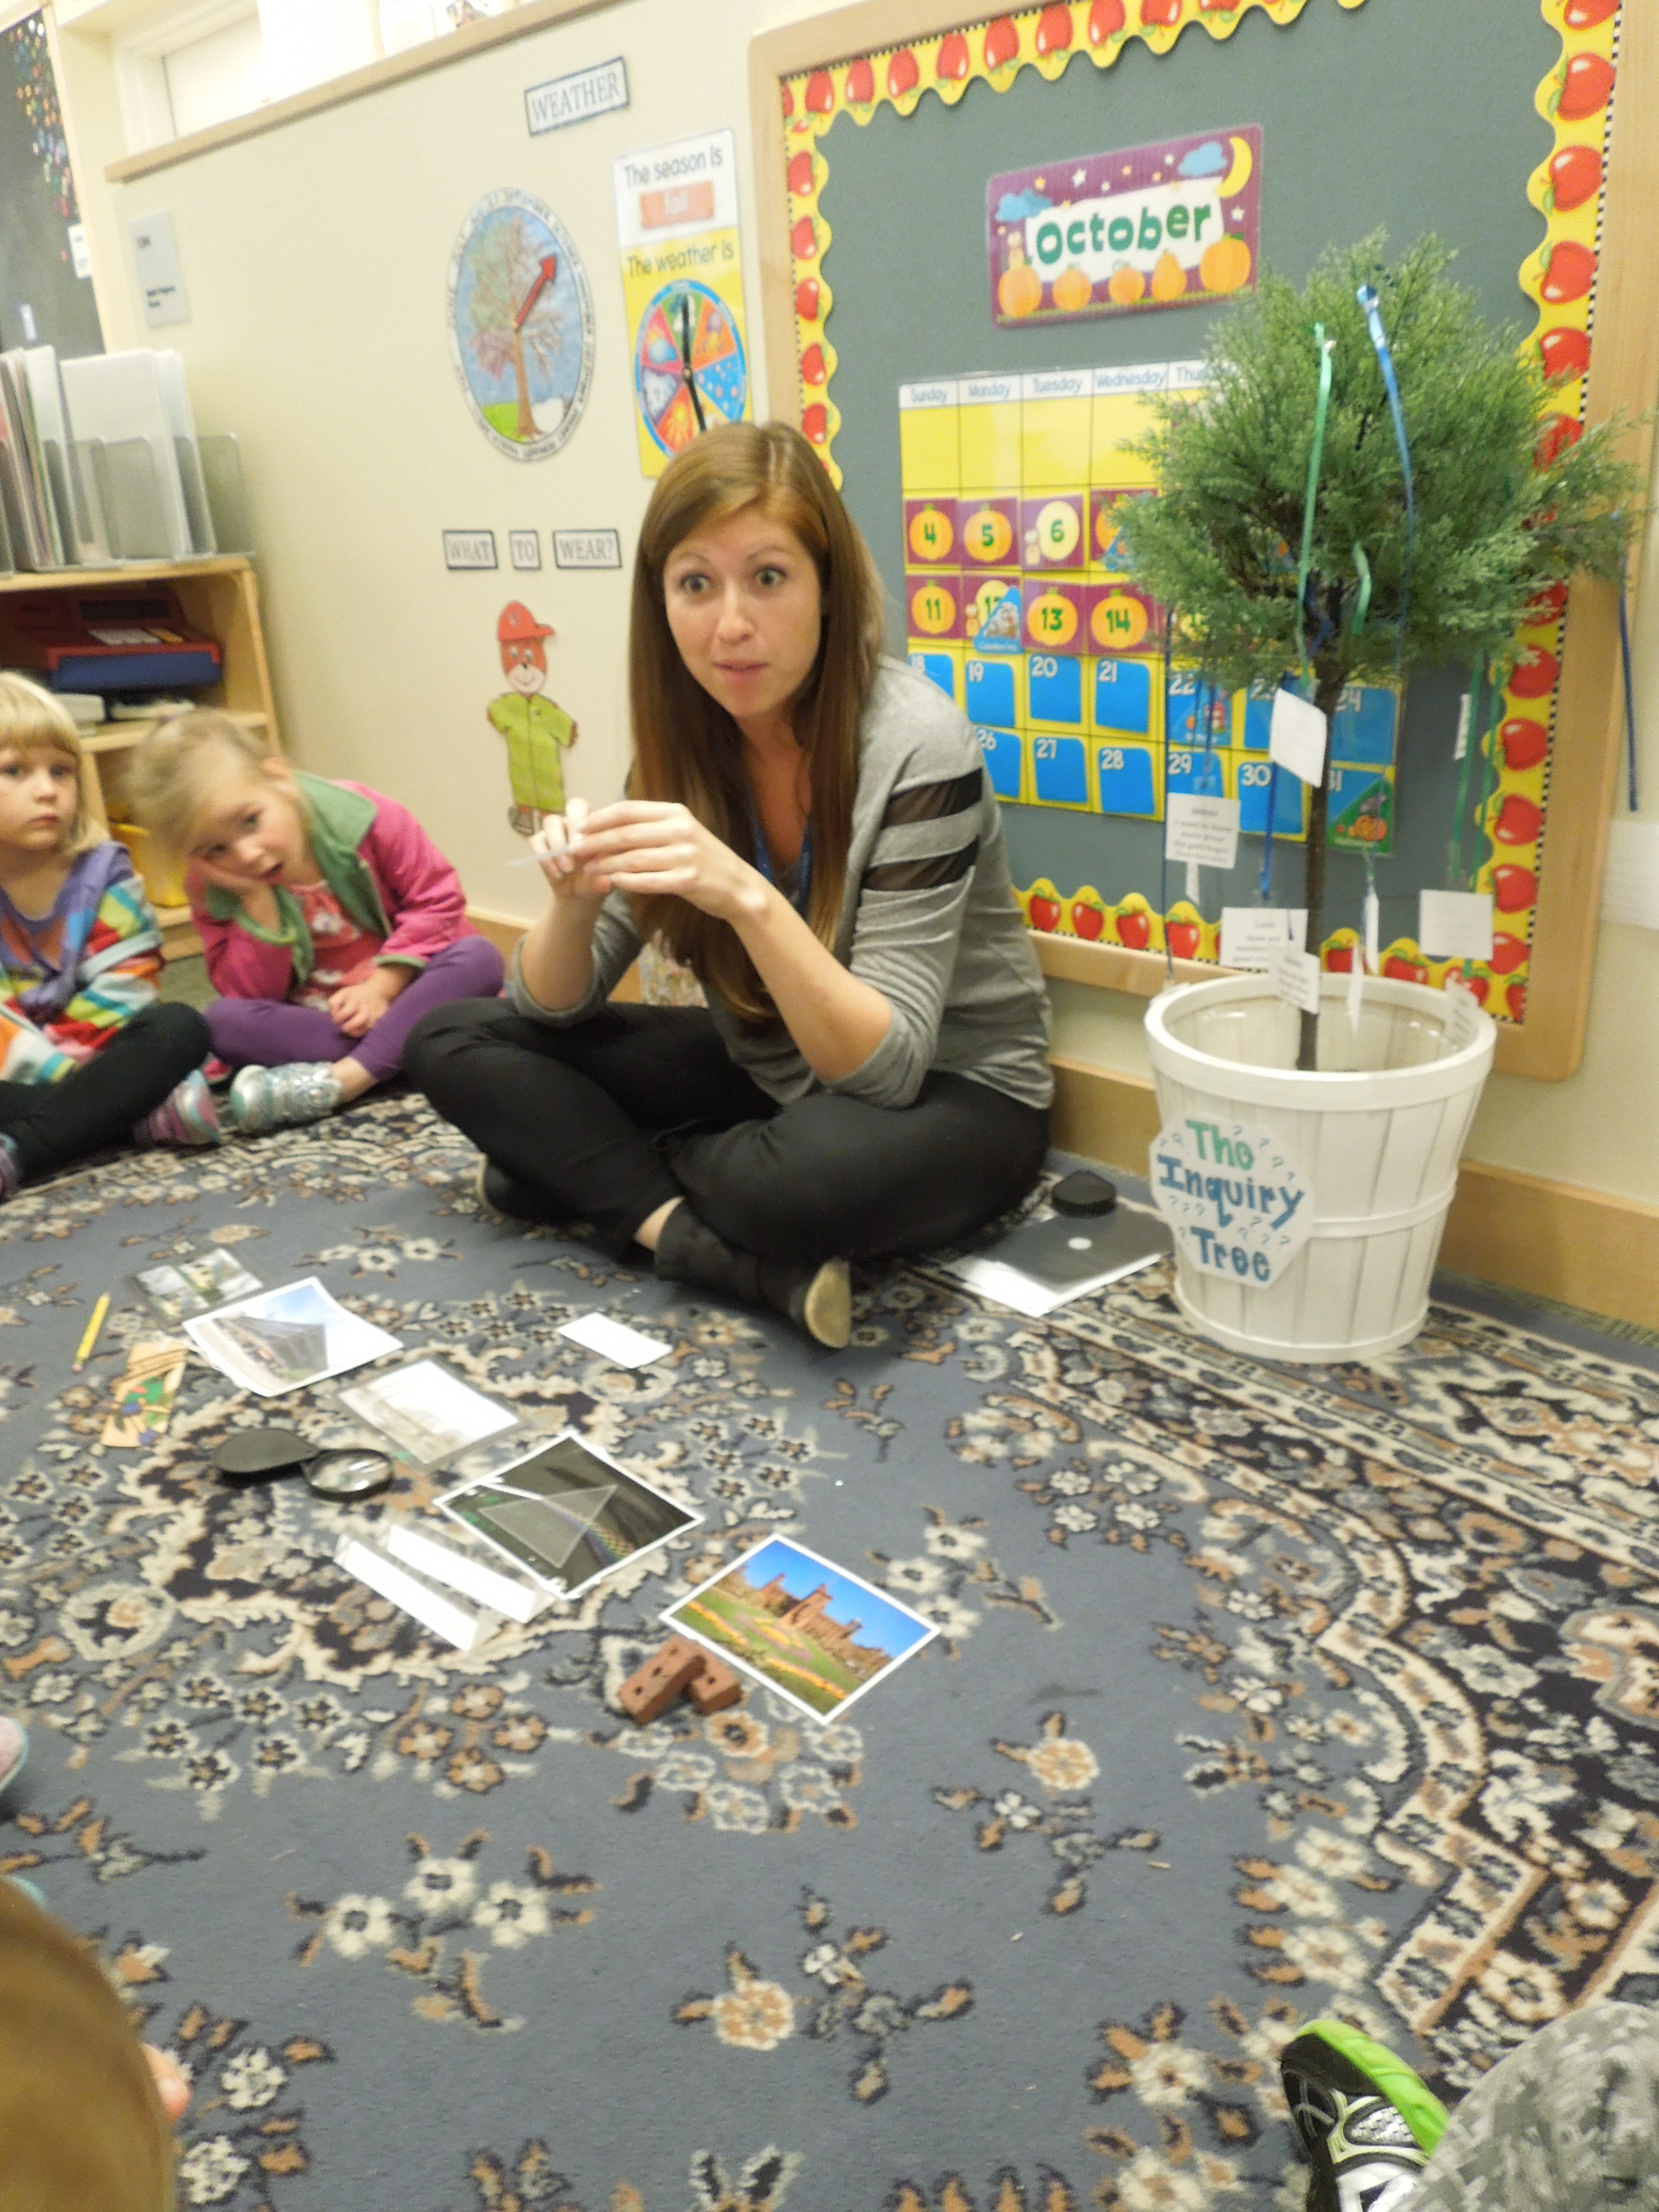

 The students did some close looking with the magnify glasses and found crowns, gold and uncut gems.
 Their next clue took them to the Live Insect Zoo to see insect digging in action.
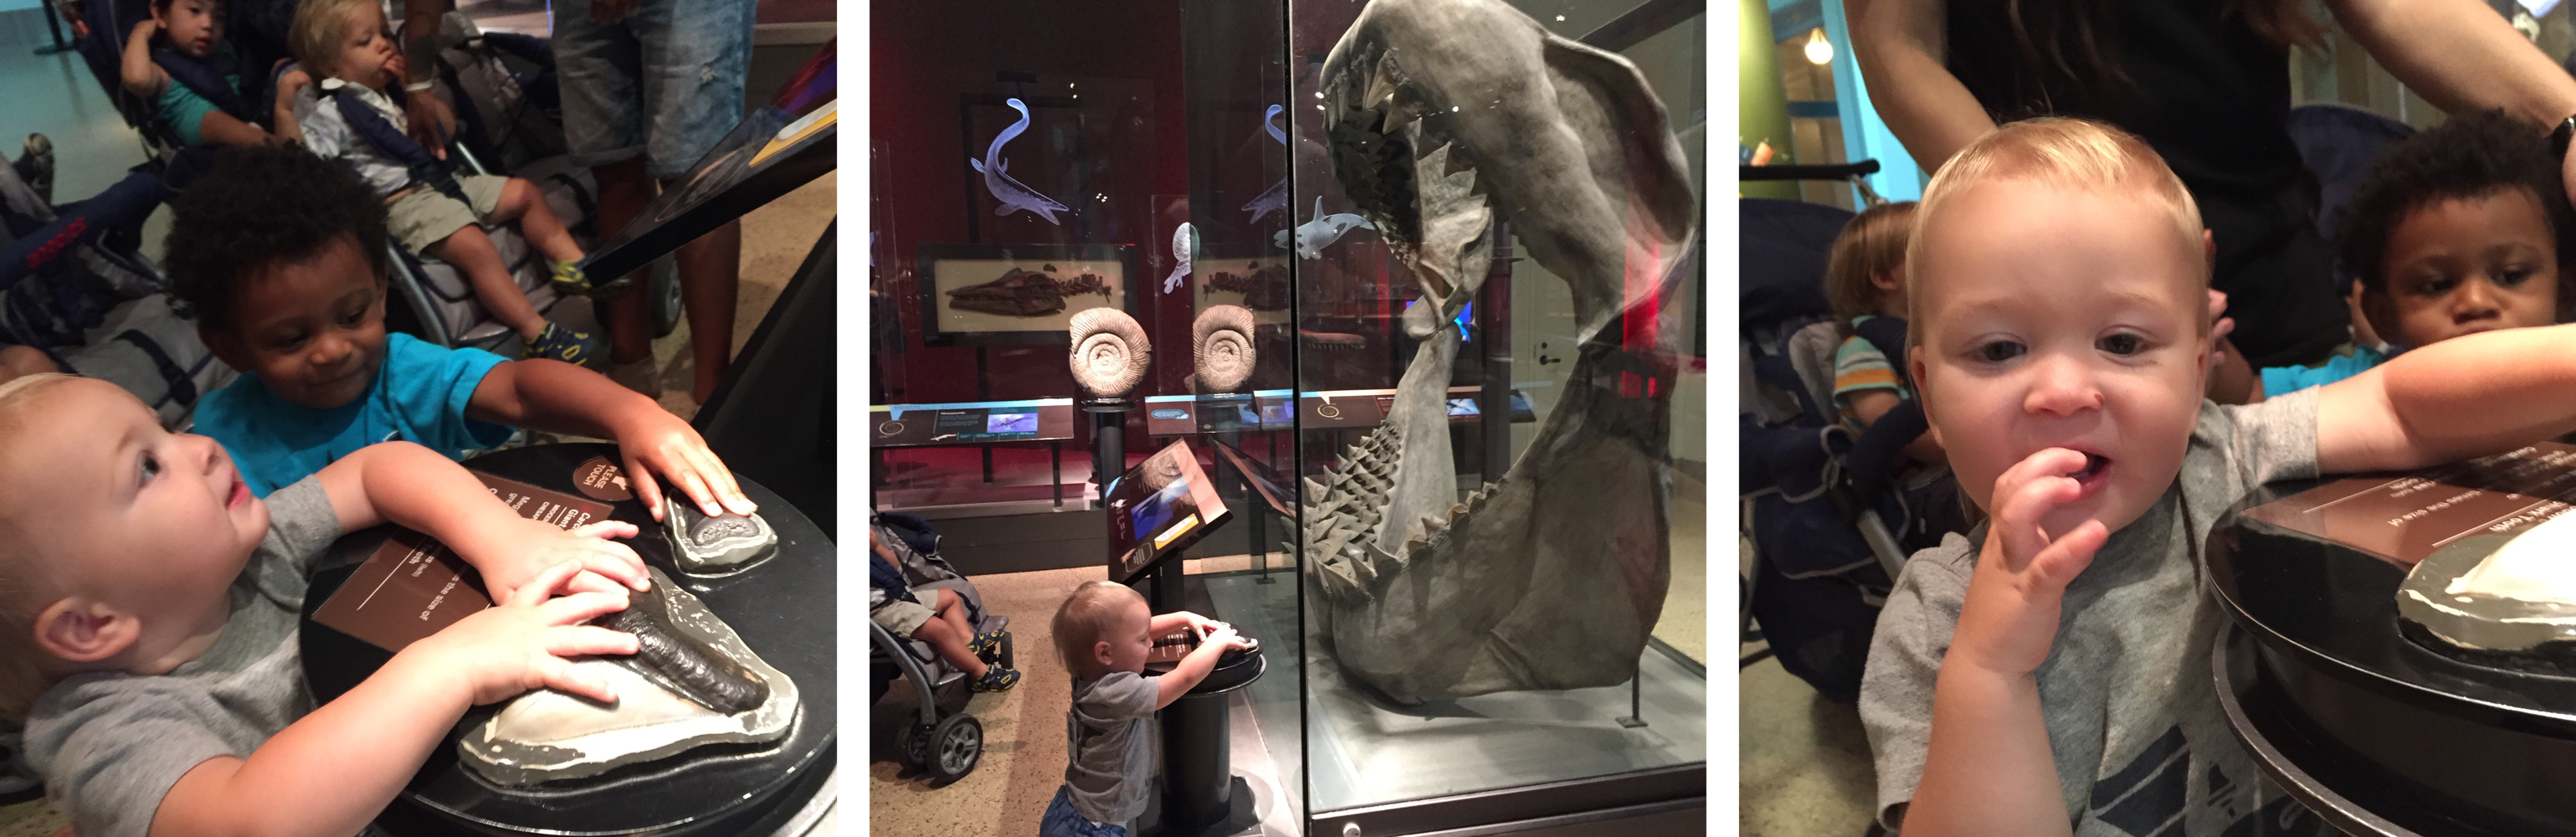
 Their final stop was to the Last American Dinosaur Exhibit to learn about paleontologists and what they are able to dig up. One of the paleontologists came out and talked to the children about his job and brought out a real fossil for the children to examine.
 The students all took turns looking very closely at the fossil.
 Count: There are innumerable categories of things to count on public transportation. You could start by counting the number of doors, windows, or chairs and then ask your child what they would like to count next. If you are on a bus or if the Metro goes above ground, you can also include those objects you can see outside the train.
 child’s league but really this is an easy concept to take on! Newton’s First Law of Motion is that an object in motion will stay in motion until affected by an external force. This is why you lean forward when the train car comes to a stop. Your child probably has already started exploring this when they want to stand and “surf” on the train. A safe and easy way to explore this concept to sit on the edge of your seat leaning away from the back of the chair. You and your child will feel the pull forward as the train comes to a stop!
 paper and share some of the appropriate stories with your child. If you have a pen you could also use it as a doodle-pad for you and your child.
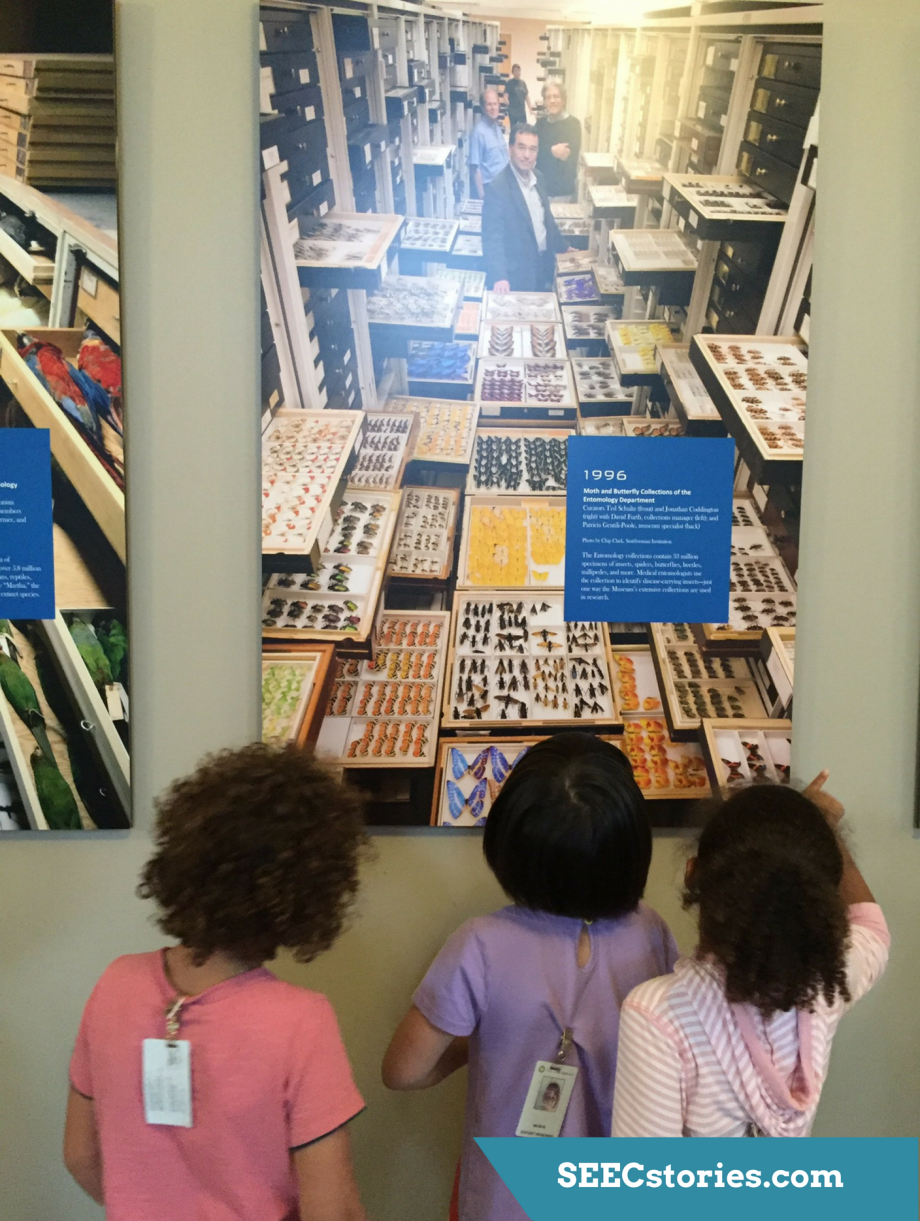 After exploring many of the museums on the National Mall, the class focused their attention on collections. They visited the third floor of the
 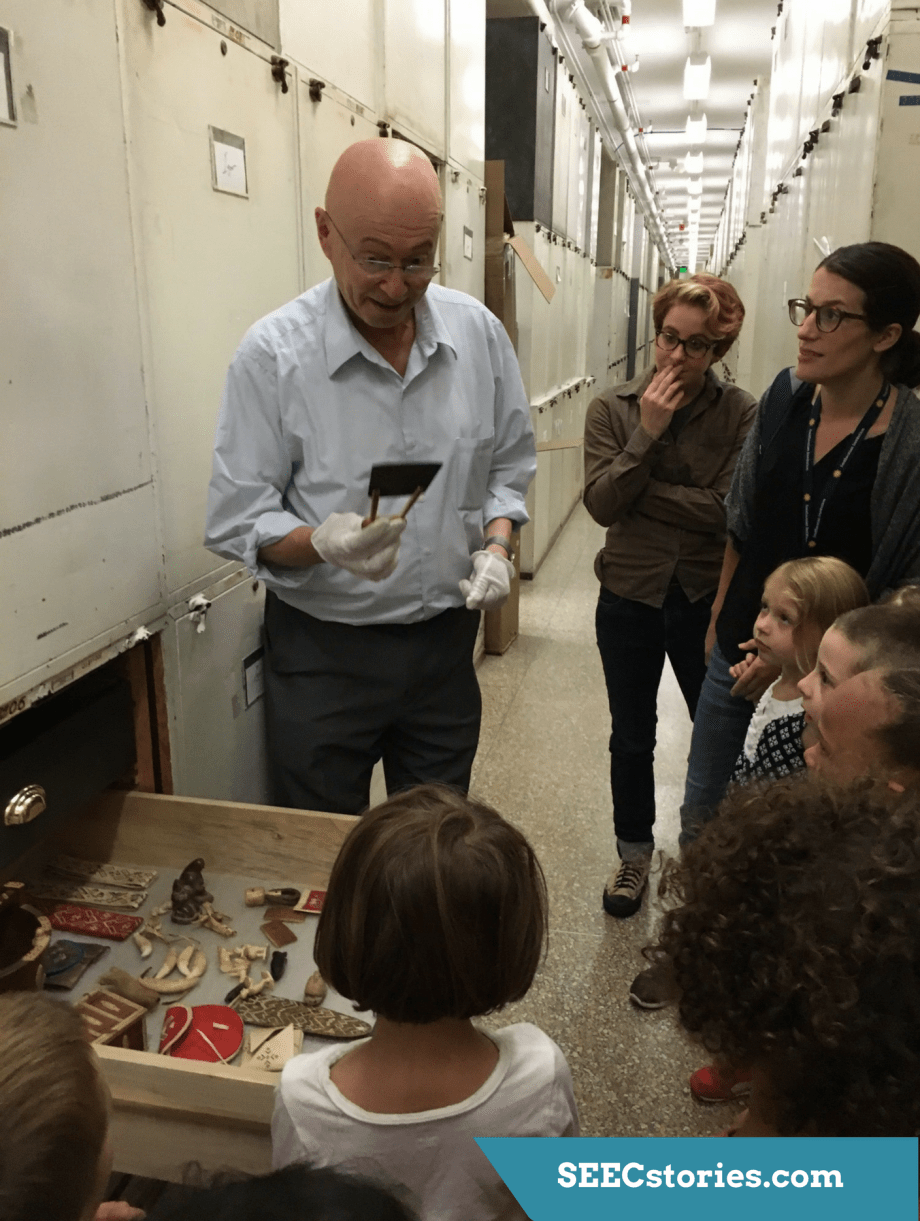 The kindergartners were in for a surprise when Igor Krupnik, a curator from Anthropology Department happened to walk by, and invited them to view his collection from Greenland. The children were able to see firsthand how the objects in a collection are stored safely while not on display. He also talked about how some of the objects are used by people. He is holding a woman’s knife called an ulu, which is used to scrape animal skins and cut food.
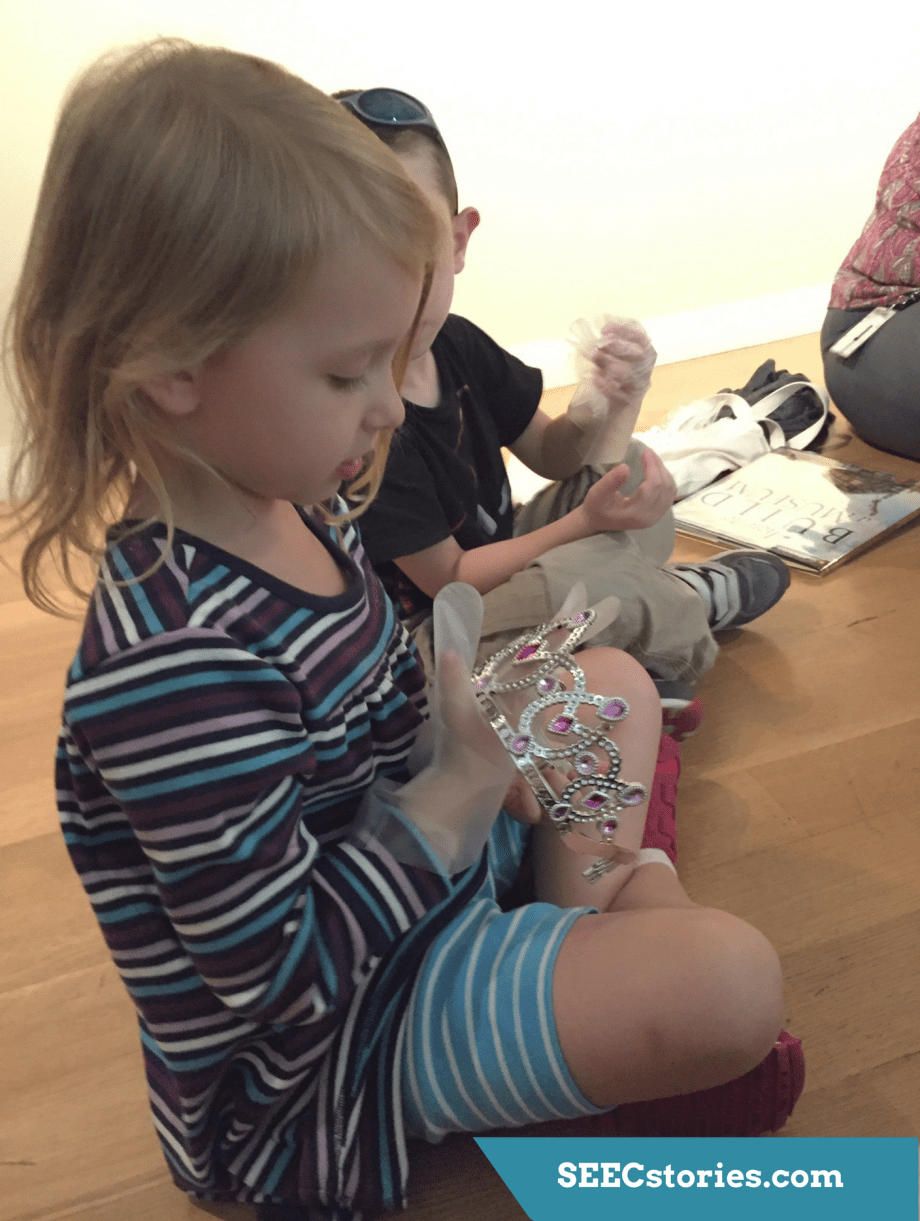 To further understand collections, the class worked in teams and sorted a variety of objects into categories. As they touched the objects they wore gloves and handled them gently, reminding them that objects in a museum’s collection need to be protected and preserved so people can view them for years to come.
 The class met with Tim Winkle, a museum curator at the National Museum of American History. Mr. Winkle explained that he is in charge of the firefighting collection, and walked the class through an exhibit he curated:
 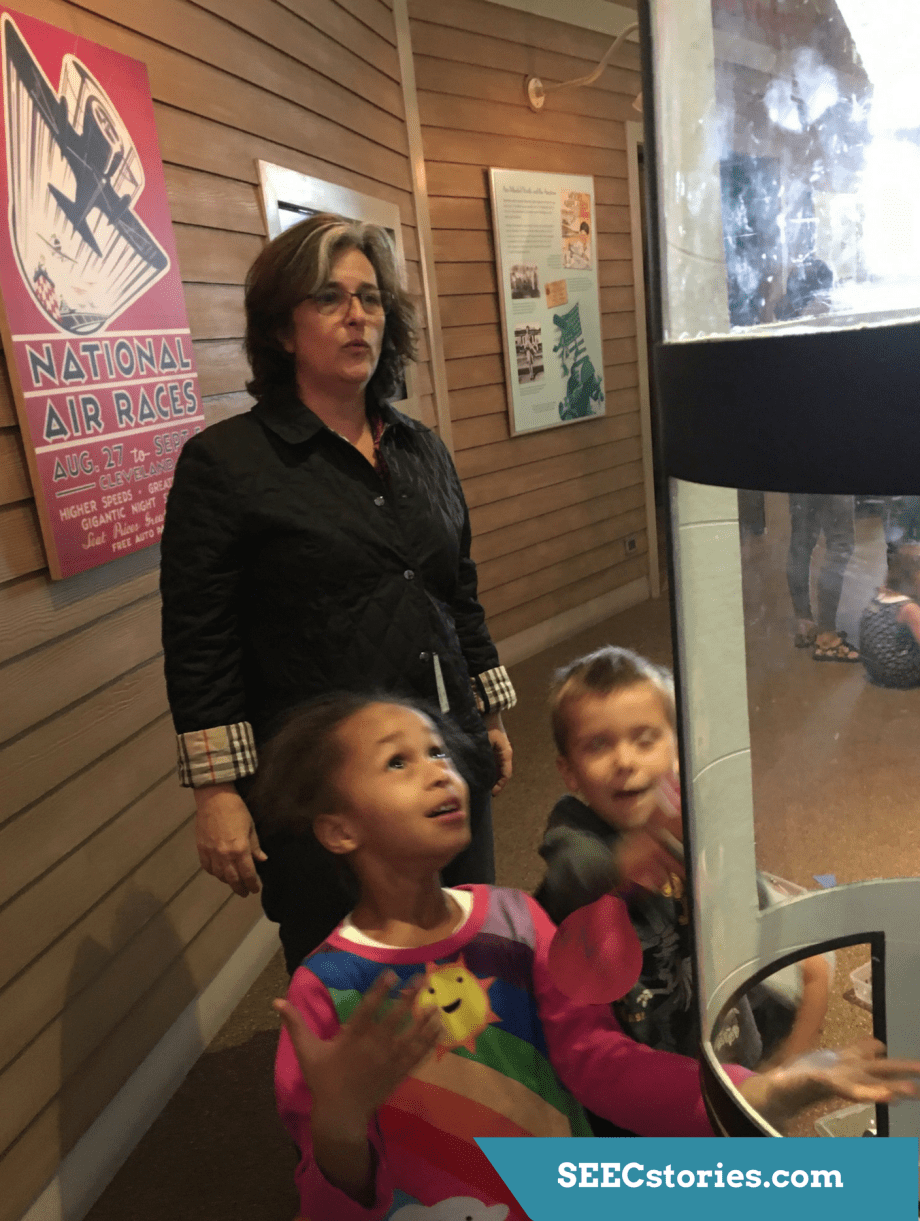 Ann Caspari, a museum educator at the
 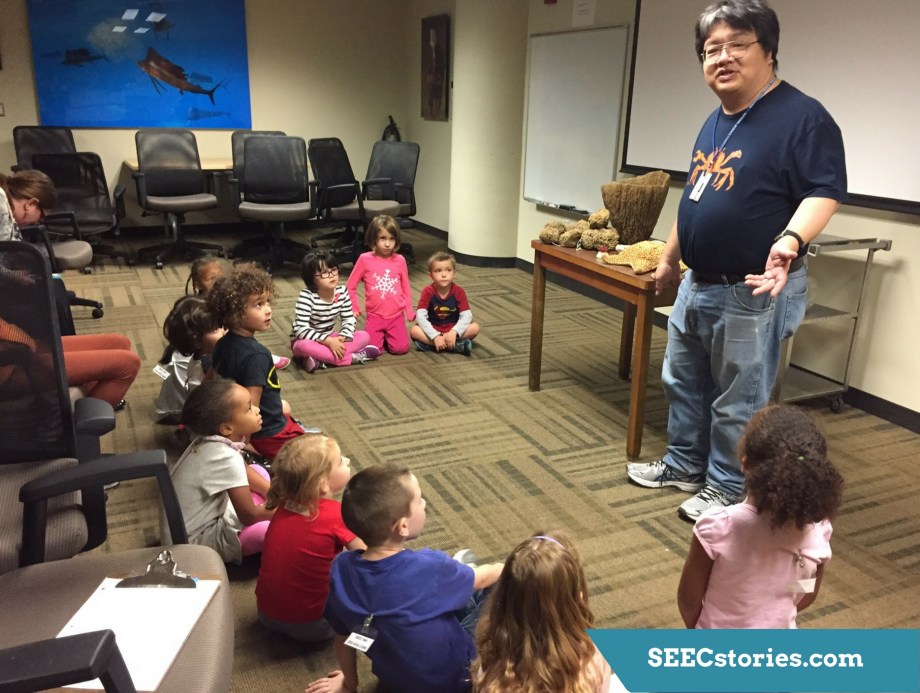 The children met with Chris Mah, a marine biologist who studies at the National Museum of Natural History. He shared invertebrate specimens with the children and explained how scientists use questions to classify objects. Two important questions to his work are about shape and symmetry.
 The class also met with Alexander Nagel, an archaeologist who worked in Persepolis in Iran. He showed the children how he restores objects back to their original colors, and took them through the
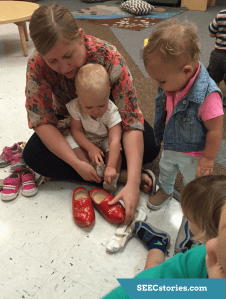
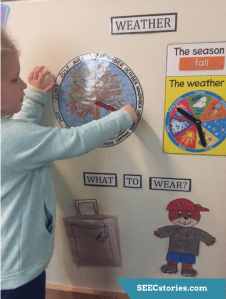
 You may also consider posting a few images of how people dress around the world. You will want to be thoughtful about not perpetuating stereotypes. For example, along side a photo of Indian woman in a sari, you might want to also include an Indian man/woman wearing jeans and a t-shirt.


