It’s Teacher Feature Thursday!
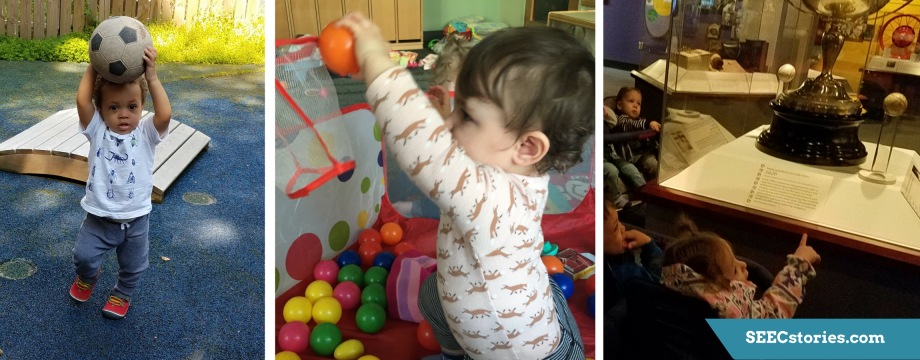
This week we are featuring Jessie Miller and Will Kuehnle of the four-year-old Honey Bear classroom! After showing an interest in games and physical play, Will and Jessie decided to embark on an exploration of sports. They began by learning about the important traits of athlete, including teamwork, integrity, and persistence. They continued their unit by delving into a different sport each week. On this particular day, the class was learning about crew and rowing at the National Gallery of Art. Below you will find images and descriptions of the lesson, and a reflection from Jessie.

Here are a few images from their lesson on rowing and crew: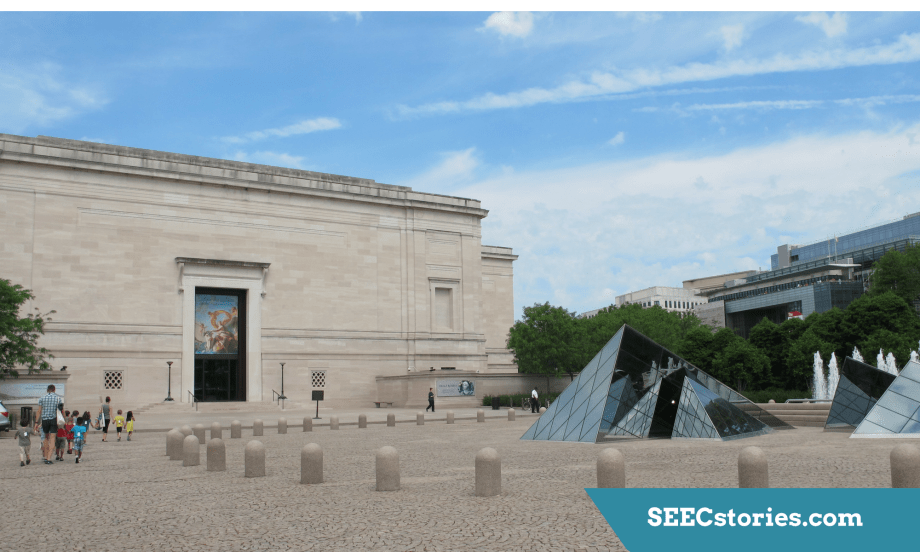 On their walk to the museum, the children pretended that their line formation was a boat. Jessie reviewed the parts of a boat by asking the children to raise their hand if they were they were on the starboard, port, bow, or stern.
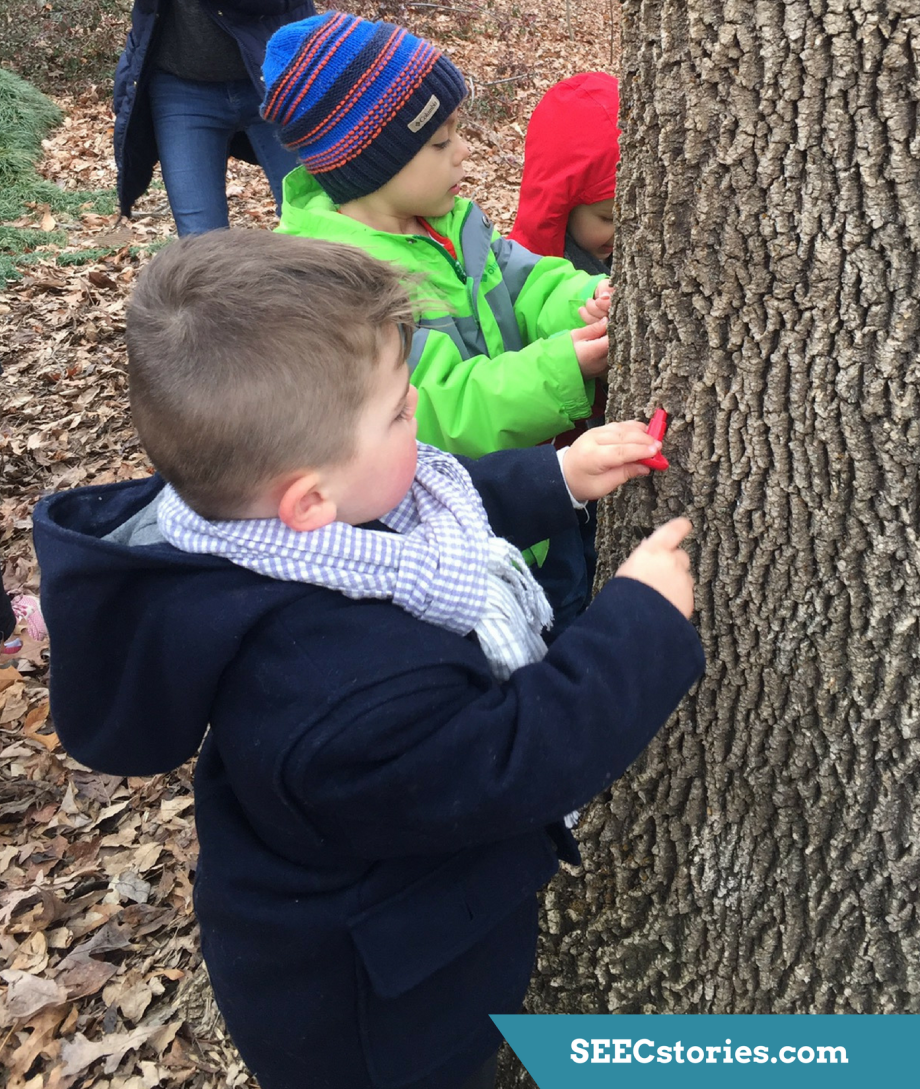
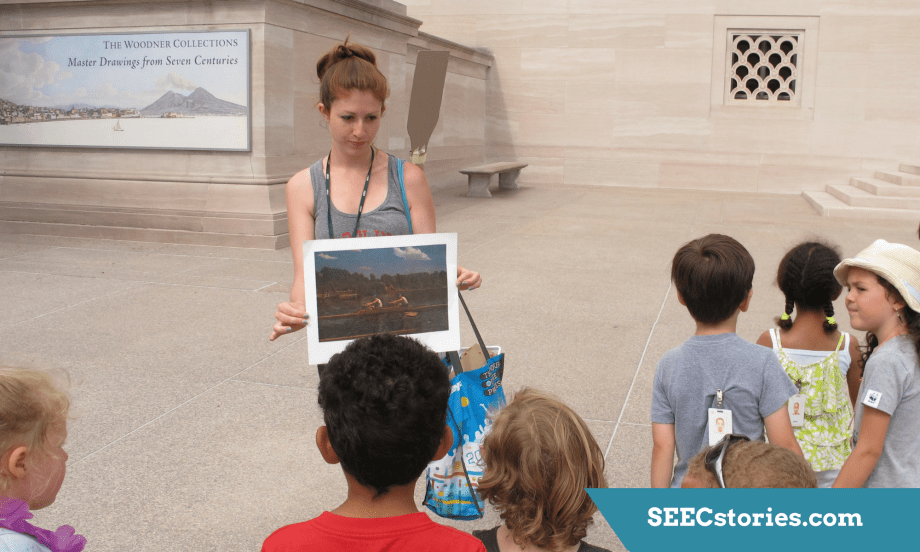 Once they got to their destination, the National Gallery of Art, Jessie showed the children a print of the painting that they would be looking for inside. She also told the class that the painting was located in Gallery 68, and to keep a lookout for that number. Given this information the class went inside with a purpose, and excitedly looked for the painting, noticing the gallery numbers.
 When they found the painting, The Biglin Brothers Racing by Thomas Eakins, they sat down and reviewed what they had learned about boats so far. They remembered learning about parts of a boat and buoyancy. Next they looked more closely at the painting and noticed two people in a boat. The children enthusiastically shared memories of times they have been on or near a boat. Jessie explained that this boat is used for a sport called crew, where teammates work together to row their boat in a race.
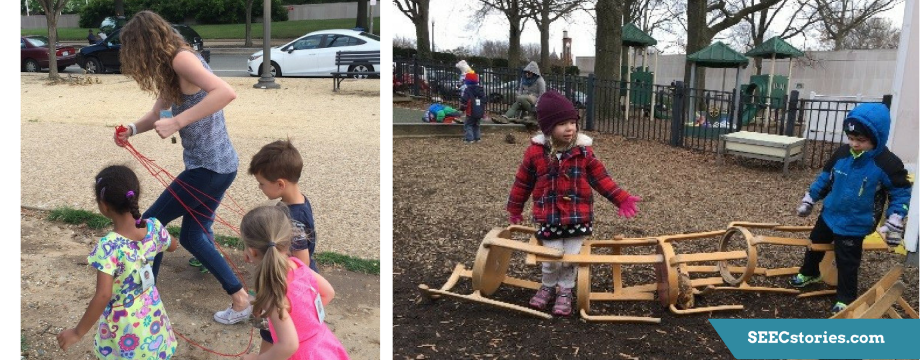
 Jessie shared that she was on a crew team when she was in college, and her job was that of a coxswain, the teammate who helps to steer the boat by shouting out directions and controlling the rudder. Jessie made a pretend rudder using yarn, cardboard and a basket, and she explained how each part was used to steer the boat.
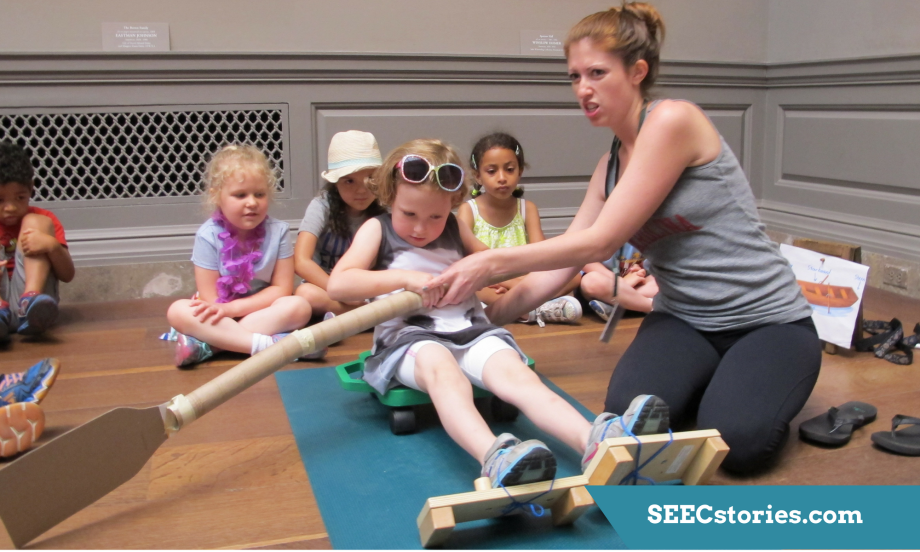
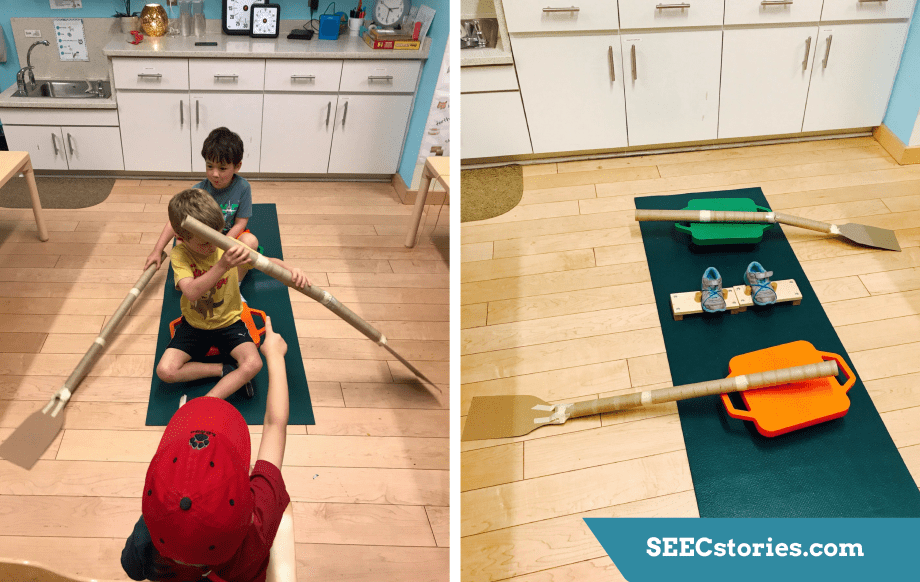
 Then it was time to practice rowing! Of course, Jessie couldn’t bring a boat into the gallery, but she brought items from the classroom that represented the parts of the crew boat to simulate the experience of rowing. She took out the items one at a time and explained them: The mat was to represent the water (and to ensure that the floor of the gallery would not be damaged). A scooter acted as the seat in a crew boat that is on wheels so it can smoothly glide back as the teammate rows. Next came blocks with shoes attached, which simulated the footplate – where crew members put their feet so that they are secure in the boat as they row. Last came the oar, which Jessie had made out of cardboard. She took a turn on their constructed boat showing how a crew member rows the boat highlighting the importance of using your brain, muscles, balance, and teamwork.
 Then some of the children got a turn! They put their feet in the boat shoes, and practiced sliding back and forth.
 They used their muscles to pull the oar back as they pushed with their feet. Through this simulation, the children were able to apply their observations of the painting to something concrete, which deepened their understanding of the concept and sparked excitement for the topic. Due to time, only two children tried the boat in the gallery, but Jessie assured the class that they would all have a turn that afternoon back in the classroom.
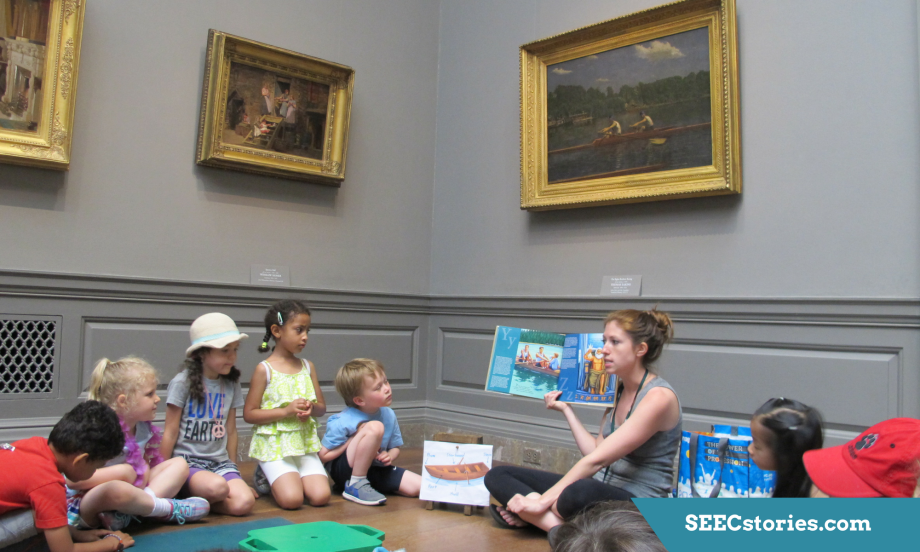 To end their circle, Jessie read a page from G is for Gold Medal: An Olympics Alphabet by Brad Herzog about a young boy in the 1900 Olympics who won an Olympic medal for crew.
 To conclude the lesson the children shared observations and asked lingering questions. They wondered where the life jackets were on the crew members, and noticed other paintings around the gallery of boats. They were curious to know more about these paintings, and Will honored their inquiries by reading the labels out loud, and sharing his own observations.
 That afternoon, the children continued to explore rowing and crew by playing with the objects Jessie had created. They enacted the painting they had seen that morning by having two crew members on the boat, and they added a coxswain at the front who helped steer the boat with instructions.
 They also cheered on the US crew team team as they excitedly watched crew races from the Olympics on Jessie’s laptop.
A reflection from Jessie:
The Honey Bear teachers observed that the students gravitated towards games and play with a lot of physical movement. This led to our exploration of sports! We first focused on three tools an athlete needs when playing a sport including teamwork, persistence, and integrity. Afterwards, the Honey Bears began learning about some specific sports and how these tools are used in each. This lesson was done during our week about crew. I was inspired to teach them about this water sport because I was a coxswain for five years when I was in school. I was able to bring my previous knowledge, as well as enthusiasm, into the activities and lessons. I chose to take the Honey Bears to the painting The Biglin Brothers Racing by Thomas Eakins at the National Gallery of Art because it shows a clear picture of crew in action. The gallery is conducive for a lesson because it is usually quiet and has enough space for us to do a floor activity.
The objectives of the lesson were to scaffold the information we learned about boats that week, explore and learn new concepts involving a sport many of the students were not familiar with, and strengthen gross motor development with hands-on recreations of the rowing. Already having a vast knowledge on the subject allowed me to focus on the objectives and gathering of materials for the lesson rather than having to research the topic first. I see this as a benefit because I could spend more time going over the lesson itself as well as answer many of the children’s questions in the moment. My passion and excitement for the topic was also a benefit because the children could see my enthusiasm and therefore, become more interested themselves. I was pleasantly surprised to see how engaged and curious the children were about the topic.
I think the most effective part of my lesson was the ability to recreate the rowing in the museum. Being able to observe the crew painting, discuss the topic and then immediately role play the sport, gave the children multiple avenues to learn about a new subject. I believe the lesson reached and even surpassed the objectives I had set. The children were excited to share the previous information they had learned about boats such as where the bow, stern, hull, starboard, and port were located. They were also able to get first-hand experience with crew rowing by observing and discussing the painting, watching myself and a few of the students row in the museum, and practicing this sport on their own back in the classroom. To give the children even more exposure to the sport, we watched video clips of crew boats racing in the Olympics. This allowed them to see what they had been practicing in real life. They were all chanting “USA! USA!” as the boat representing the United States neared the finish line.
Although this variety of exposure to a sport helped the Honey Bears learn about a new topic, it is still not exactly the same as the real thing. It would have been helpful to have some of the real equipment rowers use and see an actual crew boat in real life. However, I will say it is much more beneficial for the children to be able to touch and actually use the objects to recreate the sport rather than just observing them in a museum, whether that is in a painting or inside a glass case. I believe this part of my lesson was successful even though there were a lot of materials to bring out and use. I was also surprised to see how they calmly accepted the fact that only a few of them would be able to practice in the museum. Allowing each child to get a turn to row during the lesson would have taken too long and the children who wanted a turn back at school were given that opportunity.
The National Gallery of Art West Building is made up of quiet spaces that do not include things for children to explore through their sense of touch, as it is all visual. Therefore, we needed to make sure in advance that the rowing activity would be allowed in the space. We made sure to let the security know what our plan was, and use the materials in a way that were safe for the museum and its collections. We used a mat on the floor underneath the scooter so there would be no noise or scratches, and we had children practice one at a time with adult supervision. The children were able to practice back in the classroom two at a time, but I would have liked to build more oars and recreate an eight person boat with a coxswain and pretend we were participating in an actual regatta. I would have also liked to take the children down to the Potomac River in search of a real crew boat in action. I would recommend adding another week of exploration on this topic. The first week could be spent solely focusing on boats, buoyancy, and other nautical terms. The second week could be about crew rowing specifically.
After building on both topics and seeing how engaged the children were in the videos of Olympic racing, we are going to explore the Olympic games and see where this next topic takes us!
Be sure to check back soon for the Honey Bear’s Sports Round Up, which will provide a fuller picture of their unit, ideas on how to take a closer look at athlete’s tools, and specific sports in the classroom and the community. For more ideas now, check out our Sports Pinterest board!

 The class began their morning by walking to the National Gallery of Art. Along the way they spotted cherry blossom blooms that were just starting to emerge around the city.
 Once inside the museum, the class found Robert Rauschenberg’s
  After reading the book, Krystiana asked the children to look carefully at the artwork, and make observations about what they saw. The children sat for a minute silently looking and then began sharing observations. Krystiana went down the line and asked each child to share something they observed. One child noticed an area on the painting that looked like lightening, another observed that there might be tissue paper on the artwork because there were lines that looked wrinkled. The class also noticed green blobs, a map, a crane, photos, and a big fish.
 Krystiana congratulated the class on their concentration and thoughtful observations. She explained that the fish is a carp, which is seen often during a holiday in Japan – Children’s Day or Kodomo No Hi, which celebrates how wonderful children are. She read a section of
  Next, Krystiana explained that the big carp on the artwork was in fact a big carp kite, and she brought out a carp kite that she had made herself. She asked the children why they thought carp might be important to this holiday. The children had lots of ideas including, “they have scales, and because you catch them and it’s yummy”, and “because it’s [Japan] is an island and there’s lots of fish around”. Krystiana explained that when carp travel in the water, they go up stream and it takes a lot of power and speed to swim against the flowing water. She said that the carp have to have lots of perseverance to keep trying even when it’s hard. She went on to say that these traits (bravery, strength, and perseverance) are what families want their children to have, which is why carp are a symbol of Kodomo No Hi. The children discussed and agreed that their families wanted them to have these traits. They also discussed what else their families wanted for them.
 Back in the classroom, Krystiana set out the books that she had brought to the museum and encouraged the children to do their own research to learn more. Many of the children sat with the books, looking through them and asking questions of their peers and teachers.


 A few weeks later, the class revisited their kites, and took them out to fly on a particularly windy day!

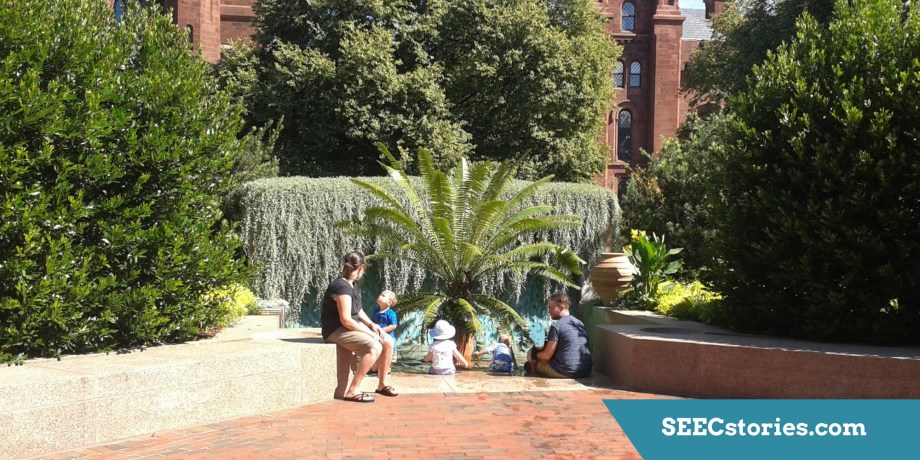
 Be sure to stop back by in the winter as National Gallery of Art turns its fountain into an ice rink during cold months!


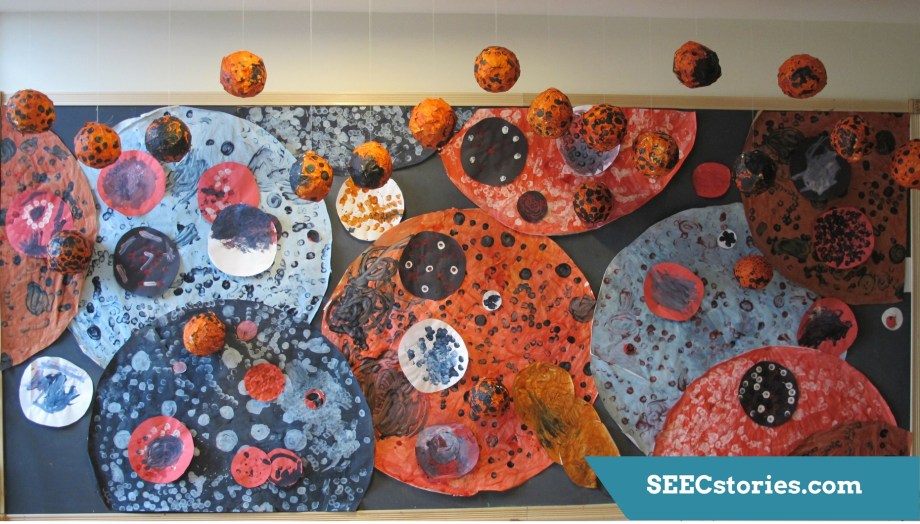 Carolyn started this particular lesson by reviewing what they had done so far in their Kusama unit. They remembered the flat pieces that Kusama makes, and looked at the flat artwork they made with inspiration from Kusama.
 They also talked about Kusama’s sculptural art, and looked at their spheres and “sock-sculpture” they had collaboratively made together in previous art classes.
 Carolyn told the children that there was one more type of art that Kusama makes that they hadn’t talked about yet – clothes! Carolyn explained that when Kusama came to the United States from Japan, she began to make her own clothes.

 The class then looked at images of Kusama in her clothes and noticed patterns. Some questions Carolyn asked were, “Are the polka dots carefully placed or random?” “Do the polka dots go in a line?” “What size are the polka dots?” Through this careful looking of Kusama’s art, the children were analyzing the fundamentals of art that they learned about at the beginning of the year including shape, line, and color.
 Then it was the children’s turn to be a clothing designer! They had each brought in an old shirt from home, and the first step was placing a piece of cardboard inside the shirt so that the paint didn’t leak through from one side to the other. This was tricky for many of the children, and Carolyn encouraged teamwork to accomplish the task.
 The next step was taping down the sleeves on the back, so that the shirt was tight on the cardboard, making an easy surface for the children to paint on.
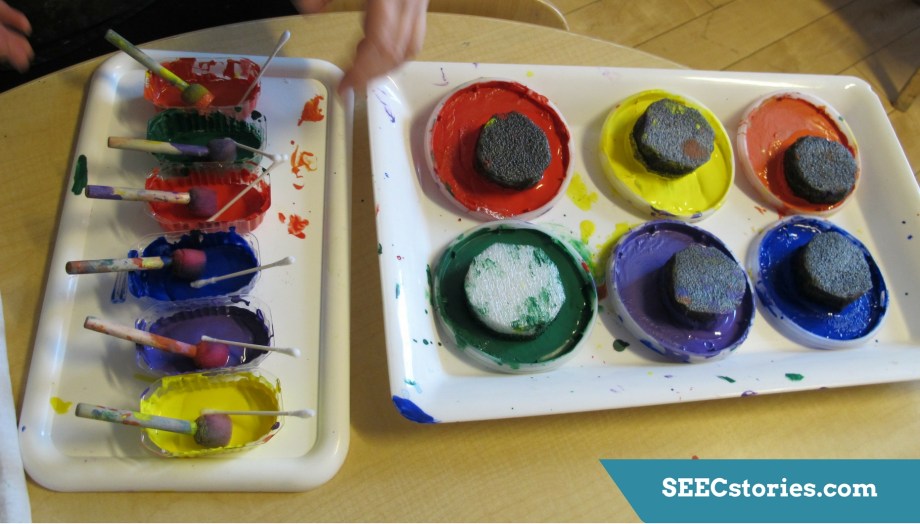 Carolyn had acrylic paints and tools ready to go. She explained that unlike the paint they normally use, acrylic paint does not wash out of clothing, so they needed to be extra careful! She showed the children the colors, as well as the tools to make different sized polka-dots. There were cotton swabs for small dots, foam circle paint tools for medium dots, and circles cut from foam packaging for large dots.
")


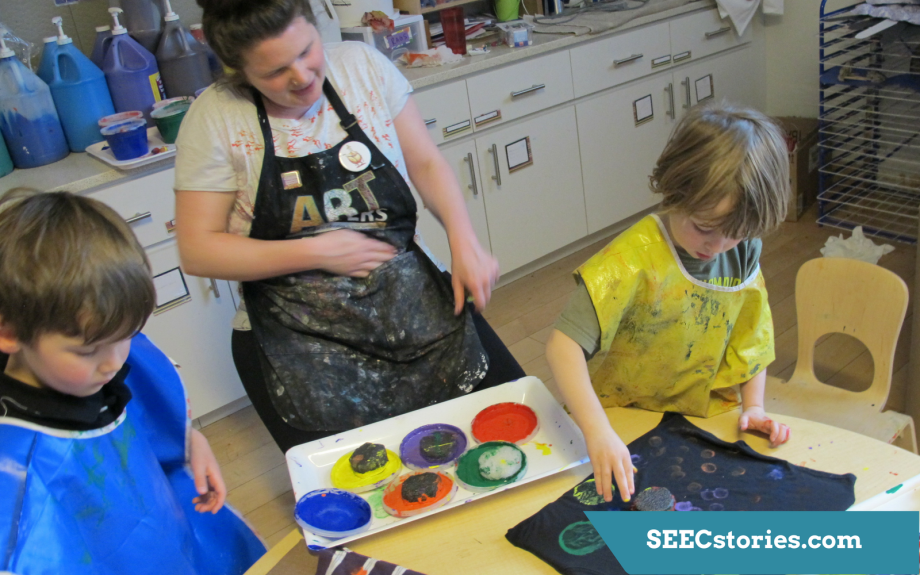
 While all the children used the same tools and artist as inspiration, each designed a very unique shirt. When I asked this child about her design, she said, “I just had to think of it, and then I made it. It’s a flower!”


")


 During their morning lesson, Maureen met with the kindergartners in small groups to introduce them to the day’s topic. She began by sharing a map of the world with the children. They were quick to point out the countries they had already learned about. Maureen explained that today they would be moving to a country in South America – Colombia!
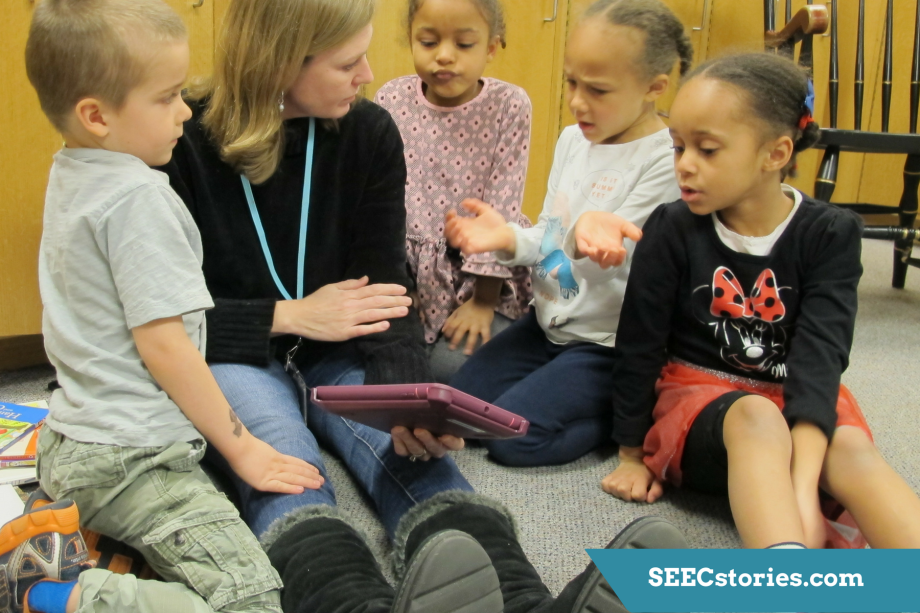 In preparation for this lesson, Maureen asked each child to bring a special book from home. After looking at the map, one child exclaimed, “If we’re talking about Colombia, why did we bring in our books?” Maureen said that was a great question, and she had a video to show them that would make clear the connection between Colombia and books.
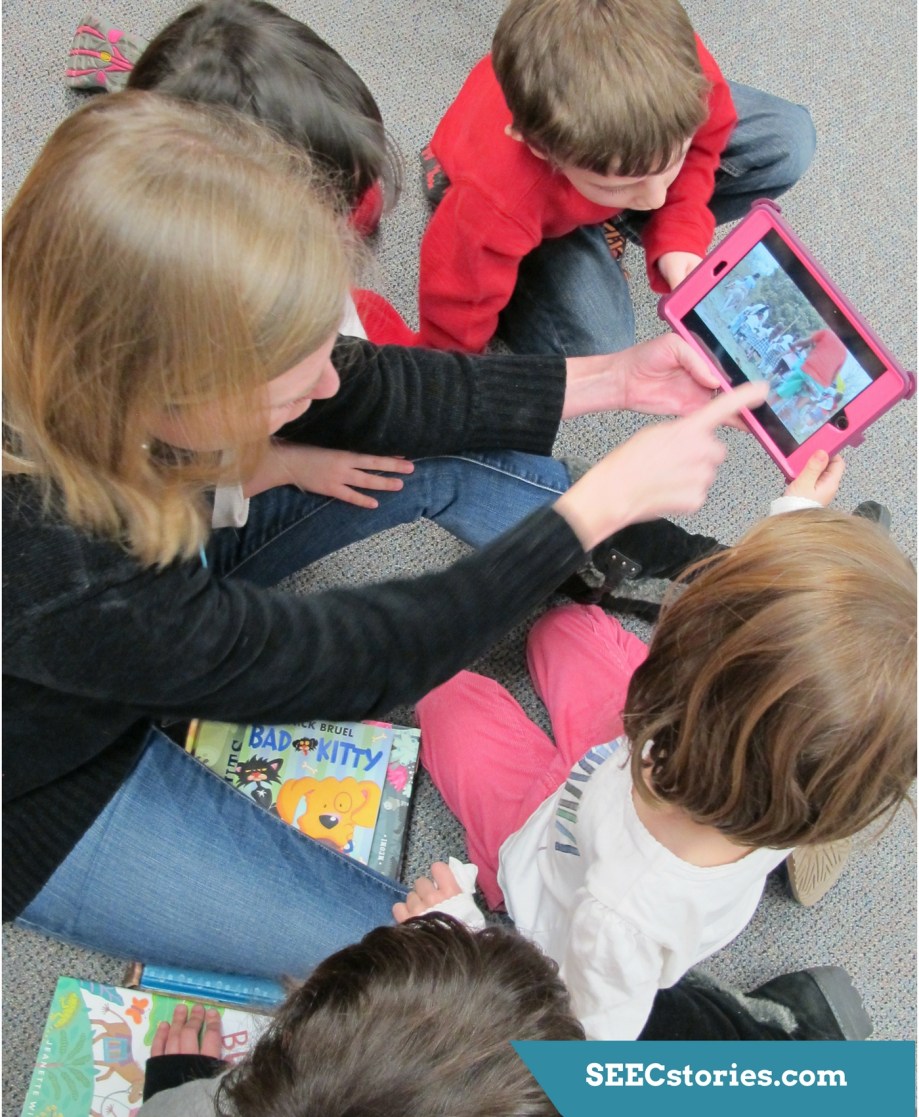 Maureen introduced the children to a man from Colombia named
  As the children watched the video, they were impressed by the number of books that the donkeys carried. Maureen asked questions to get the children to think about what it would be like if they lived in a place where they did not have easy access to books. The children were very engaged in the video, and had comments and questions of their own including, “I can tell he loves books!”, “Is this happening right now?”, “Does he still have that donkey?”, and “I think it makes sense that we brought in our books!”
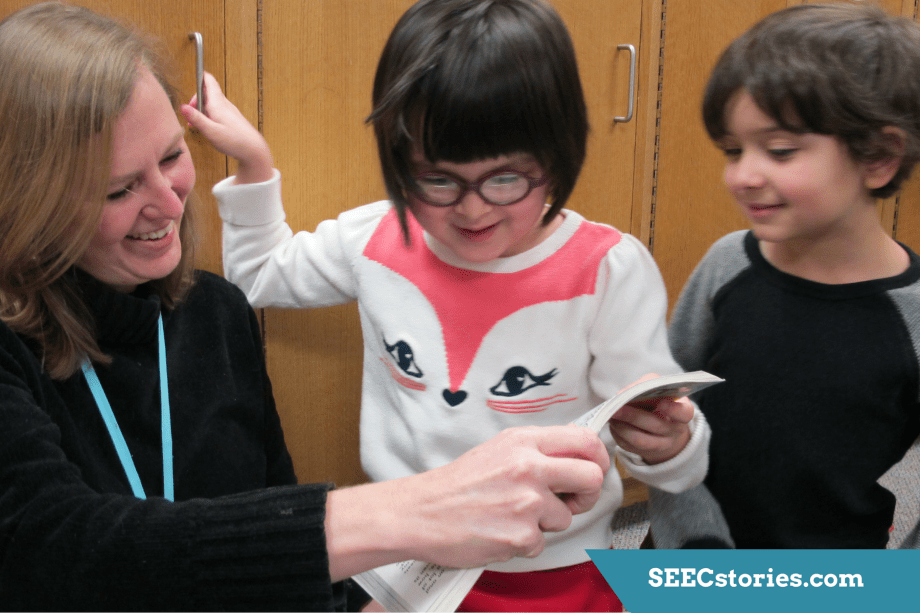 After watching the video, Maureen turned to the children’s special books from home. She asked why they thought books were important. All the children had something to say about this including, “because if you don’t have school, you need to learn from something”, and “you can learn words from books.” Then the children took turns sharing their books, and why they were important to them, whether they were gifts, they loved how funny they were, or provided knowledge.
 To end their morning lesson, Maureen read the children
  That afternoon, the class went to one of the
 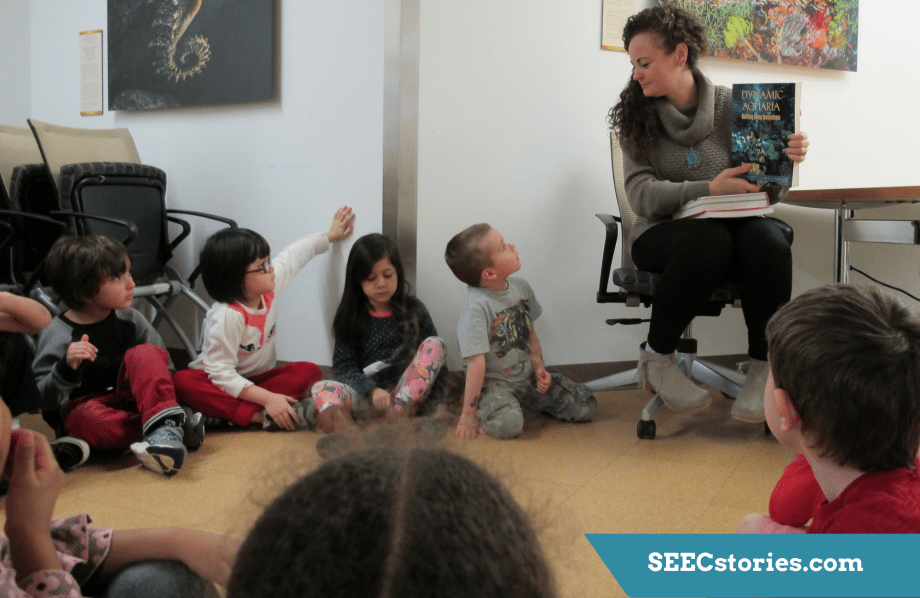 The class sat down and discussed with Sara what you can do in a library including reading, and finding out information if you have a question. The children talked about what they normally check out from libraries, such as books, CDs and DVDs. Then Sara told them a little bit about the Smithsonian Libraries and how they differ from the libraries they might be familiar with. She explained that all the Smithsonian Libraries are usually used by people who work within the Smithsonian who need to do research about something specific.
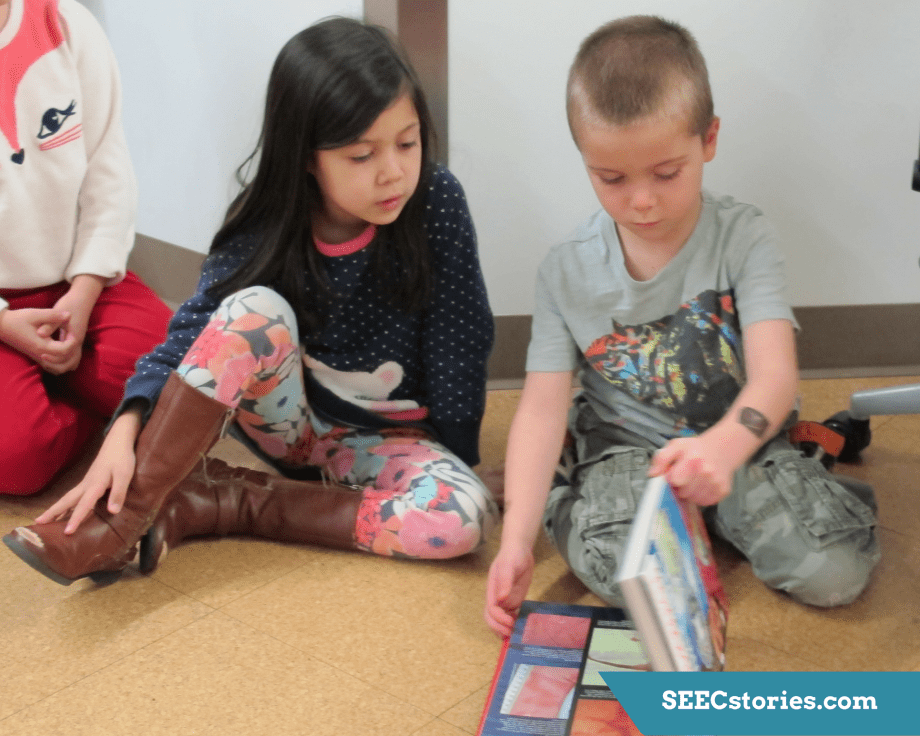 She shared several books from the library about marine life with the children since they were currently studying the ocean. As they flipped through the books, they noticed that there weren’t many photos, and that they contained lots of words, unlike the books that they might check out from the library near their homes.
 On the way out of the library, Sara showed the class an interesting feature of the bookshelves. She explained that since they have lots of books, and not too much space, the bookshelves are on tracks and can move apart if a book from a particular shelf is needed.
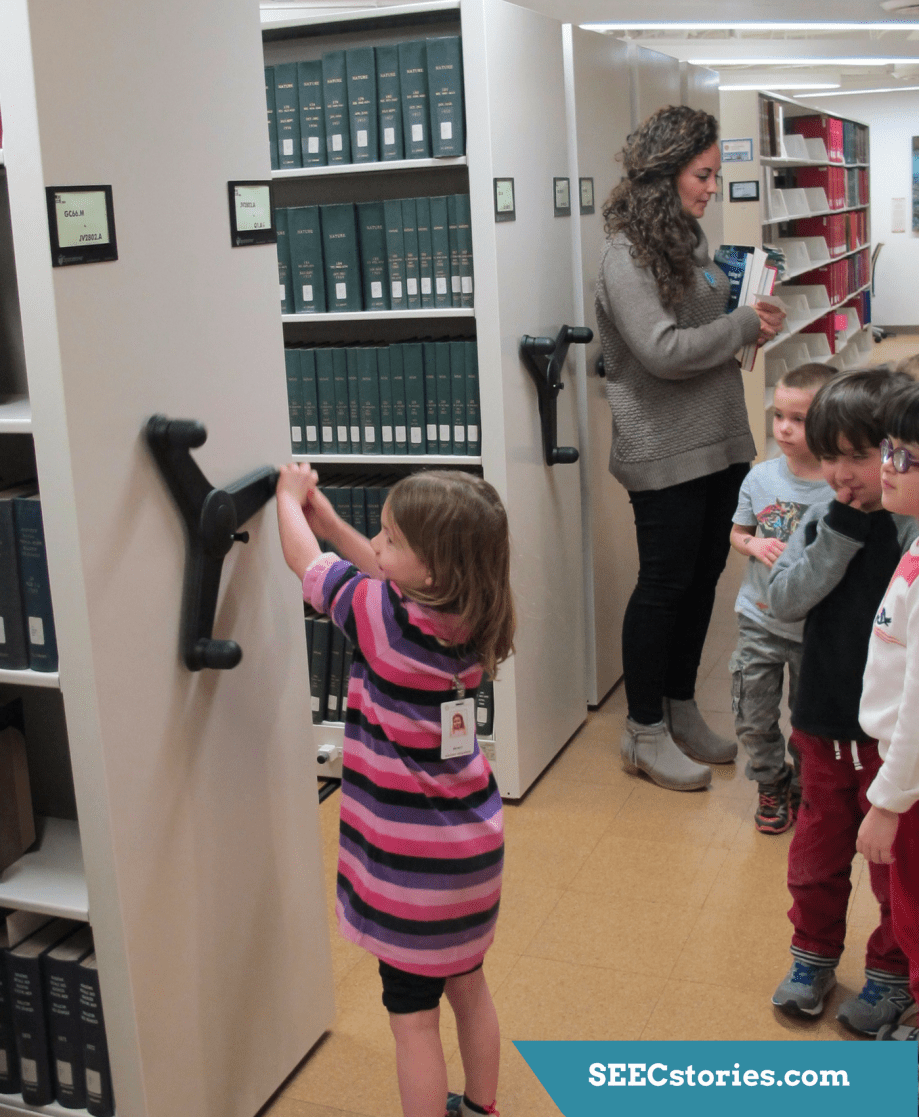 All the children enjoyed taking a turn using their muscles to turn the wheel to move the shelves.
 Following their trip to the library, Maureen brought the lesson full circle by reading
 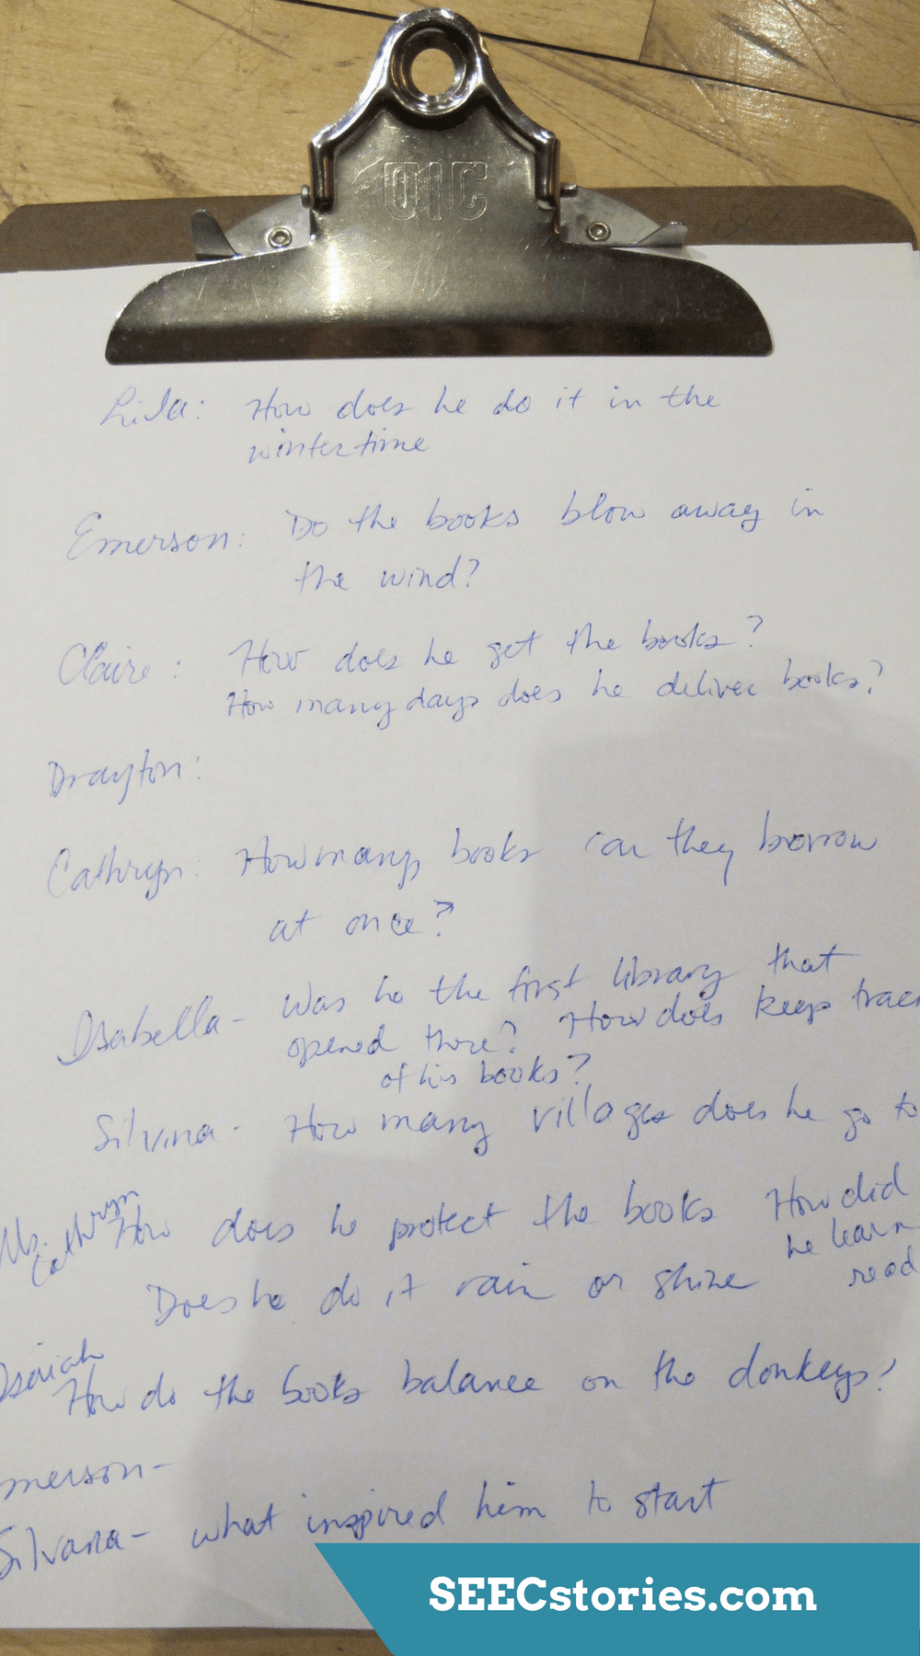 She asked the class if they would like to create their own book and send it to Mr. Soriano to add to his book collection. They were excited at the idea and also had some questions that they wanted to send back to Mr. Soriano. After this lesson the class corresponded with Mr. Soriano to find out more about him, as well as began their work on their book and a fundraiser for the library.
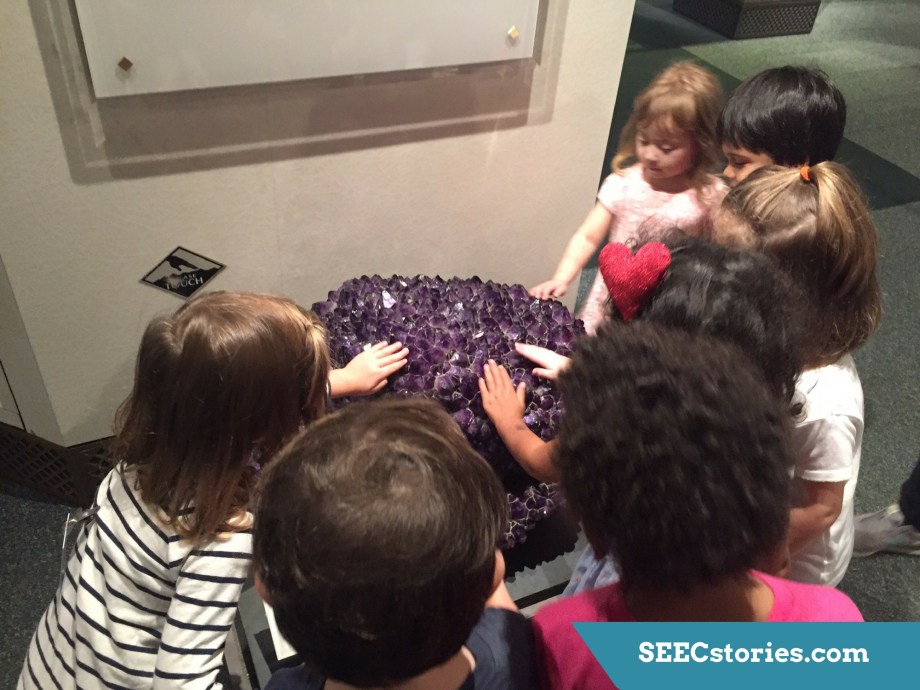 To explore their sense of touch, the class went to the
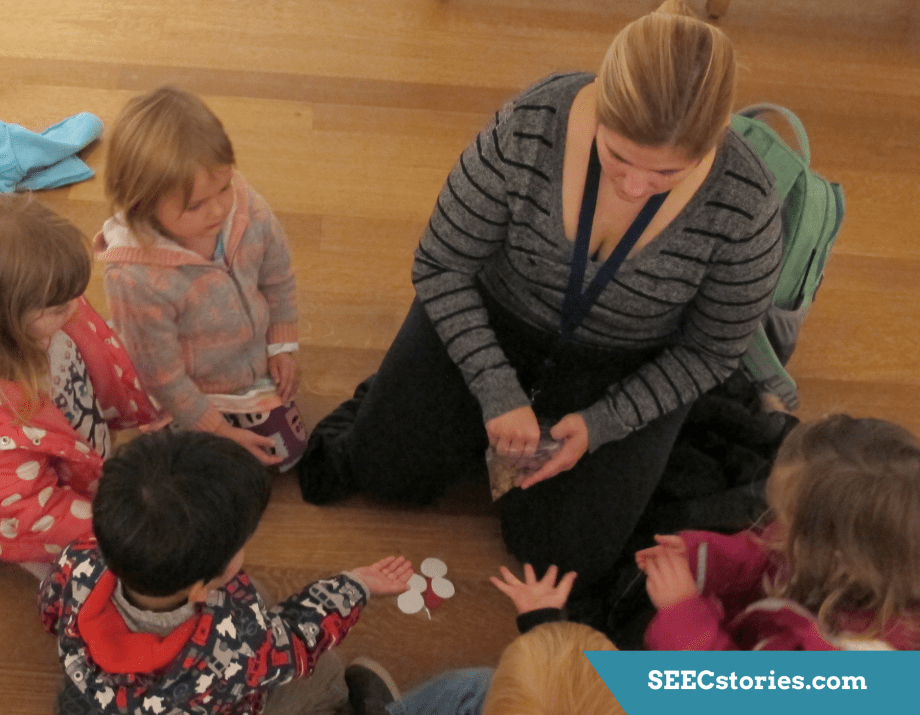
 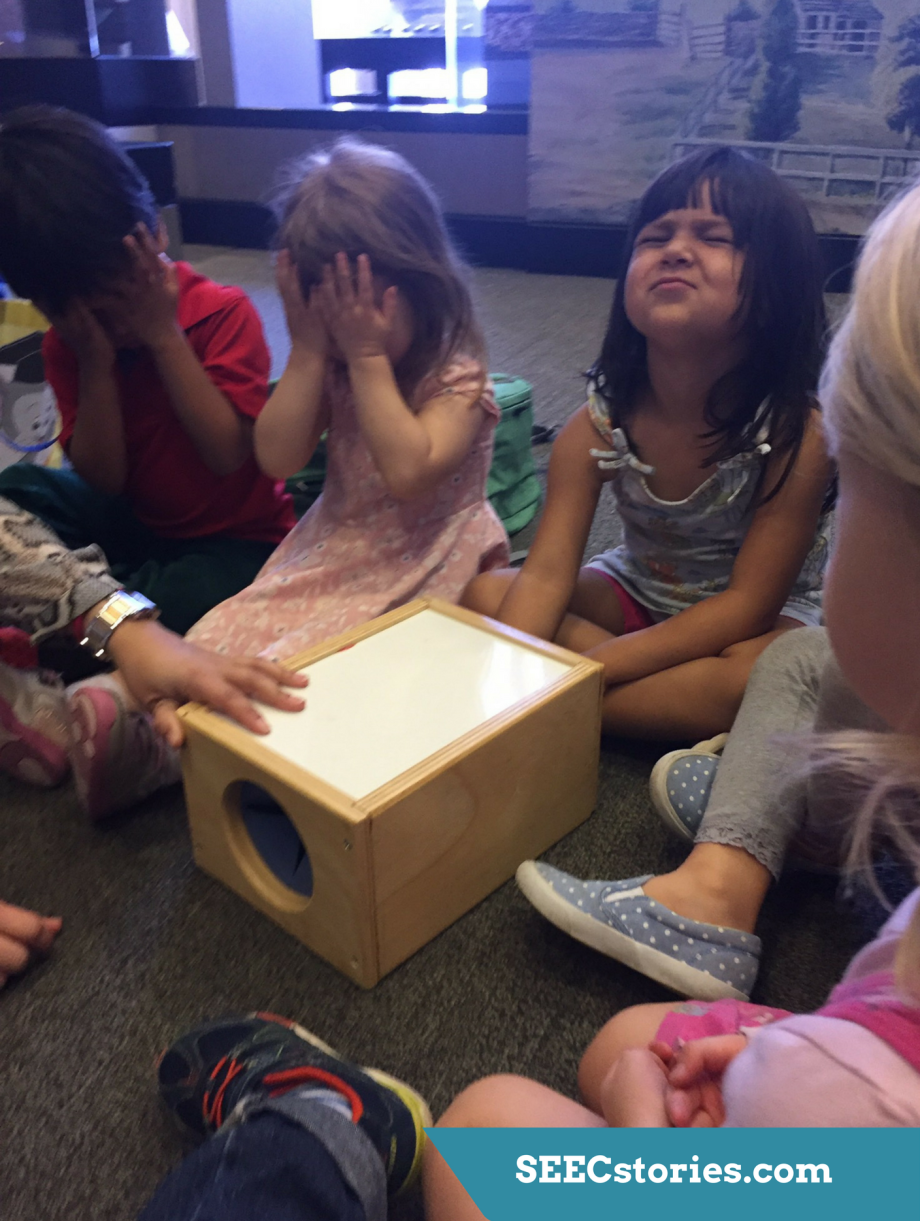 Afterwards, the class sat down and played a game using their sense of touch. Laura brought objects to put in the
 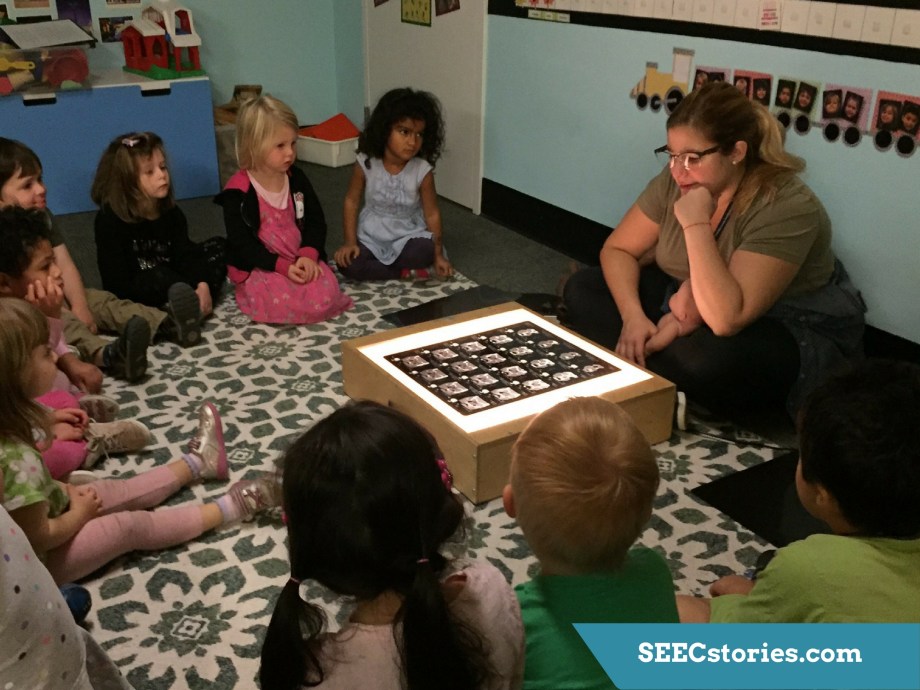 While learning about the skeletal system, the class talked about bones, and what happens when they break. Since we know we cannot see our bones from the outside, the class learned about x-rays and how doctors use them to take a look at our bones if we hurt them. To illustrate this, the class looked at bone x-rays on a light table to get a better idea of what doctors look at when seeing if a bone looks normal or injured.
 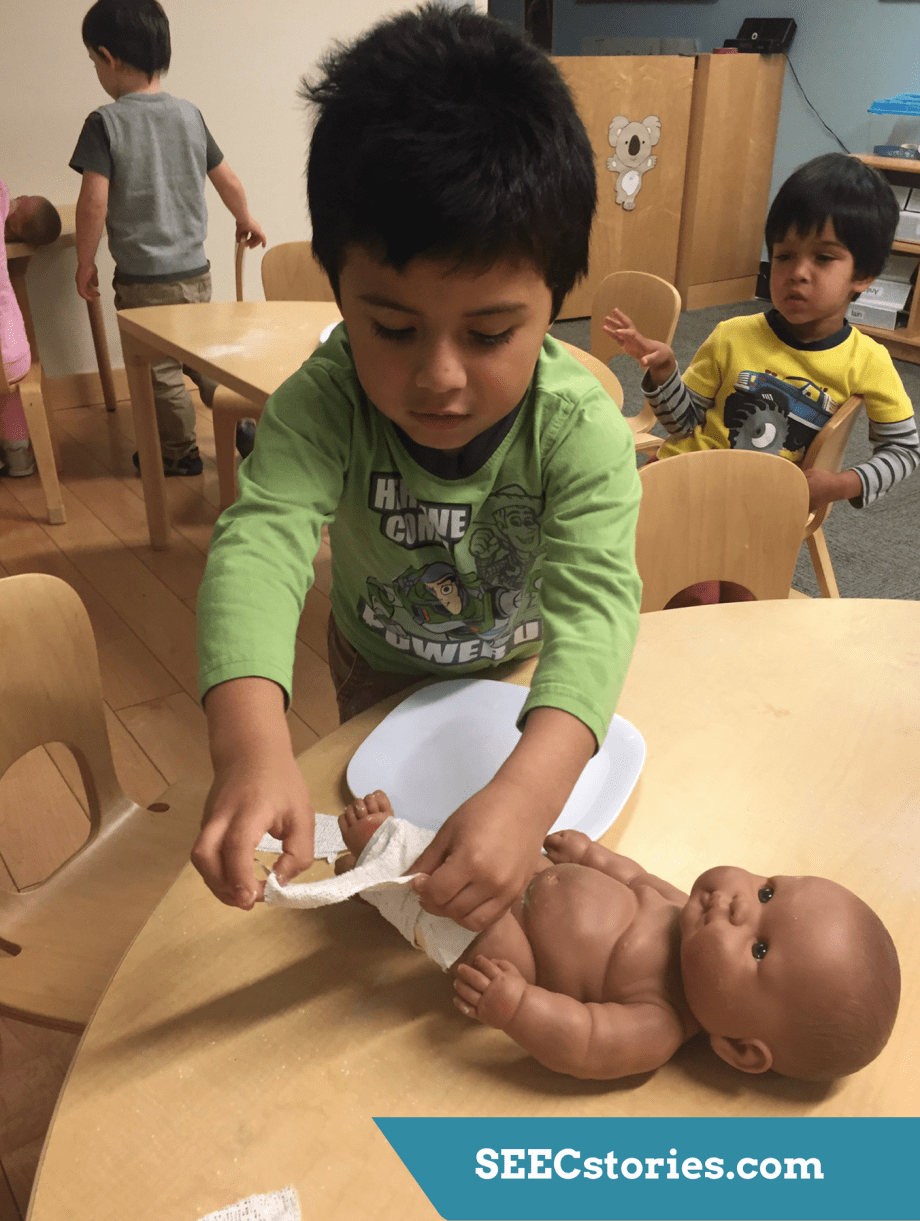 Laura explained how broken bones are wrapped in a cast so they can heal. To make this concept more concrete, the children used bandages to cast a baby doll’s leg.
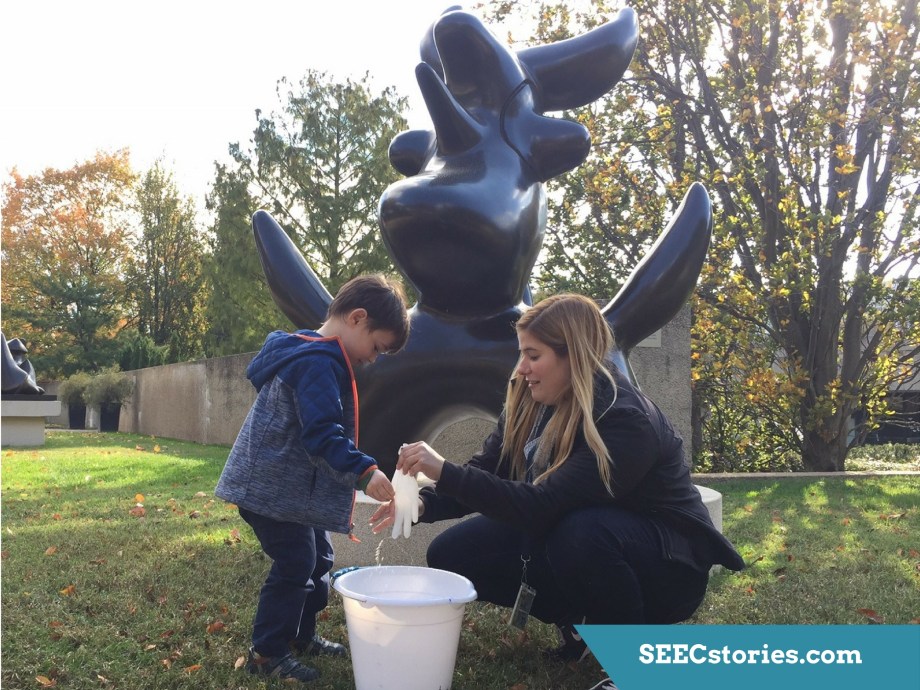 To cap off their week on bones, the class talked about the ways in which we can keep our bones healthy and strong, including drinking milk, which contains calcium. To explore where milk comes from, the class went to the
 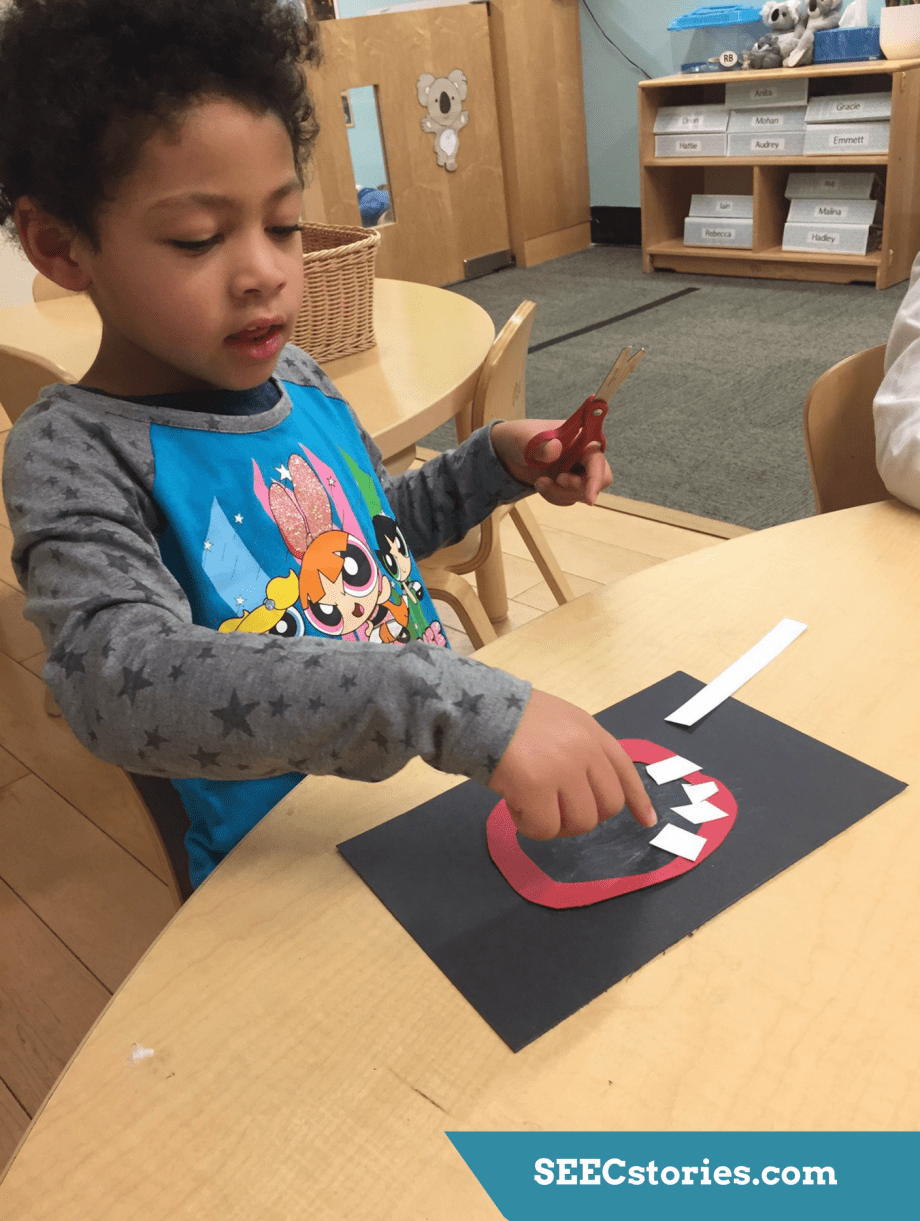 The class began their week on the digestive system by focusing on where food enters our bodies – the mouth! After seeing a giant mouth of a dinosaur, the children practiced their fine motor skills by cutting long strips of white paper into teeth and gluing them into a mouth.
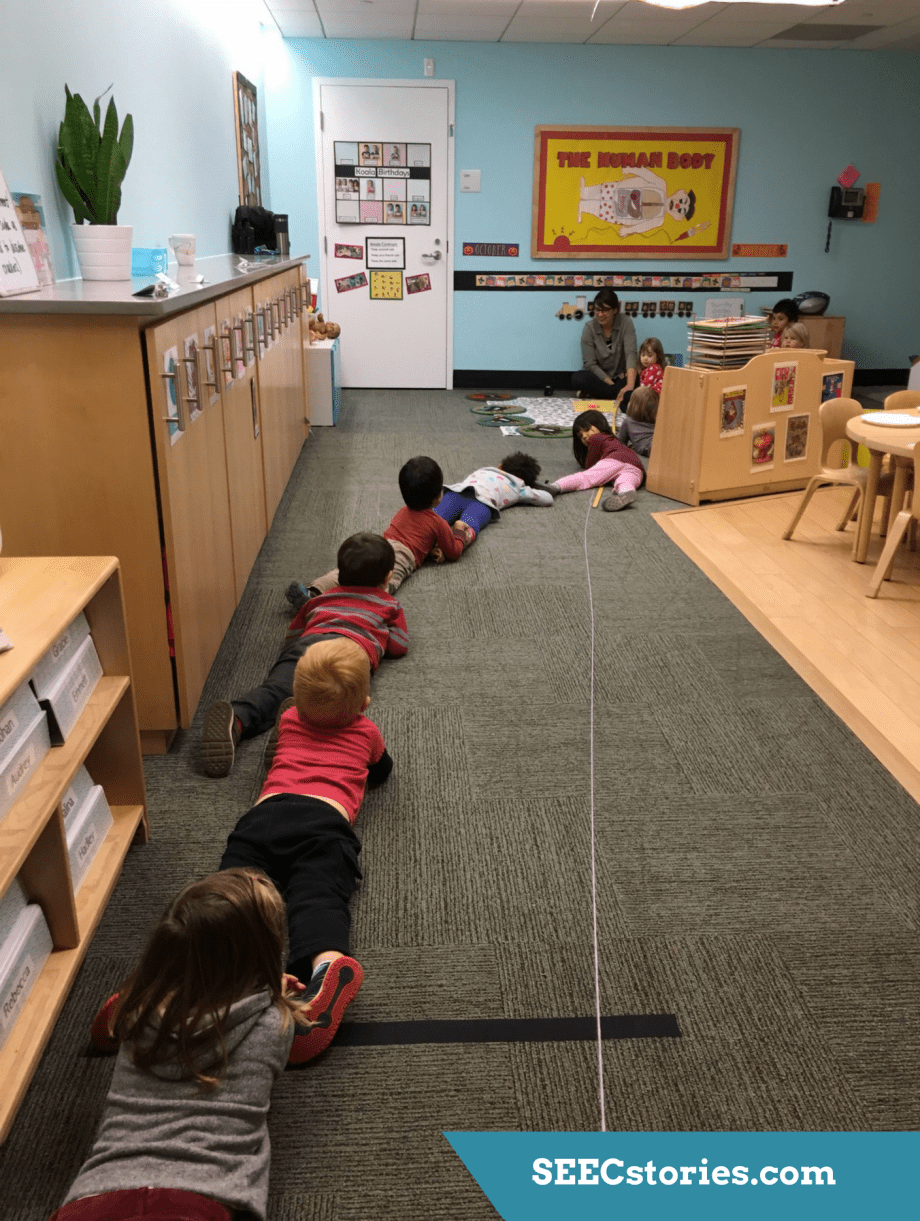 Explaining the length of intestines using only words can prove difficult for young children to understand, so Katie made it more concrete by measuring yarn to visualize how long intestines actually are. After they measured the yarn, the class lay on the floor along the yarn to see how many kids it would take to make the length of the intestine, which turns out to be a lot!
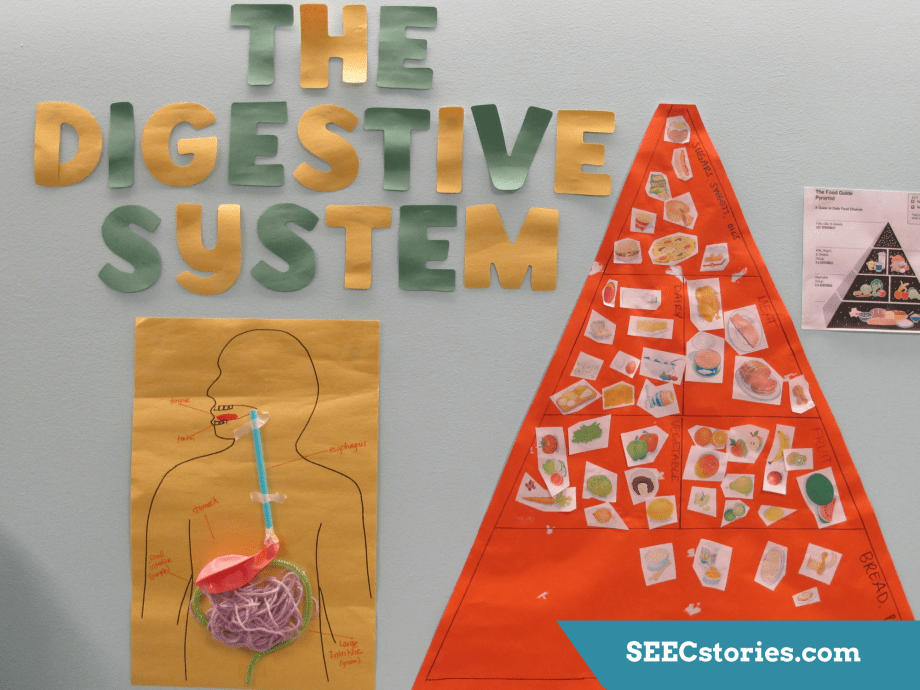 As they went through their week on the digestive system, the class added pieces to a paper model. They used a straw to represent the esophagus, a balloon as a stomach and yarn and ribbon as the intestines.
 When the class first sat down, Katie asked the children to look at the painting Red Dance by Kenneth Young, and share what it reminded them of. The piece reminded children of a brain, blood, and strawberries. Katie shared that the painting reminded her of blood too, and that was what they were going to learn more about that day. The class had already learned about how hearts and veins move blood around the human body, but now they were going to look at blood more in depth and see what elements make up blood.
 Katie asked, “Who has ever cut themselves and had blood come out?” Immediately the children began to roll up sleeves or pant legs to display a cut, and several told stories about how they got their boo-boos. Katie asked, “Did your cut keep bleeding forever, or did it stop? Is your cut still bleeding or has it stopped?” The children said they weren’t still bleeding anymore, and Katie explained that cuts stop bleeding because a hard scab is formed by some platelets, just one part that makes up our blood.
 To take a closer look at blood, Katie read
  Katie asked the children what blood looks like when we cut ourselves, and the children said, “red”. She explained that when we bleed it looks red like the red dots on the painting, but if you look really close, with a microscope, you can see the different parts of blood. While the children are not as familiar with the concept of a microscope, they are very familiar with magnifying glasses, and Katie brought some out to make the connection that a microscope helps us to see small things that we can’t see with just our eyes.
 As they went through the book, Katie paused to talk about white blood cells, red blood cells, plasma, and platelets. The children passed around pictures of each to get a closer look, while Katie explained why each part is important for our bodies.
 After reading the book it was time to make their own blood! This activity provided a hands-on and engaging way for the children to practice what they had just learned. Katie brought out three “drops of blood”, which were three circles of contact paper. She said that the contact paper is sticky and looks wet, so it would be like the plasma, which keeps everything together. Then the children came up in turns to add red blood cells, and white blood cells (circles of red and white paper).
 To finish the blood, they added platelets, the small blood cells that come together to form a clot and stop a cut from bleeding.
 After making one blood cell together, the class split up into two groups and worked together to make more drops of blood. After they finished, there were some stray blood cells on the gallery floor, and the children were excited to help pick them up to leave the space clean.
 Back at school in the afternoon, the class made their own blood cells that they could take home.
 Then it was time to make more blood, but this time it was an edible version for their afternoon snack! First the class helped mix red food coloring into yogurt, which was the plasma.
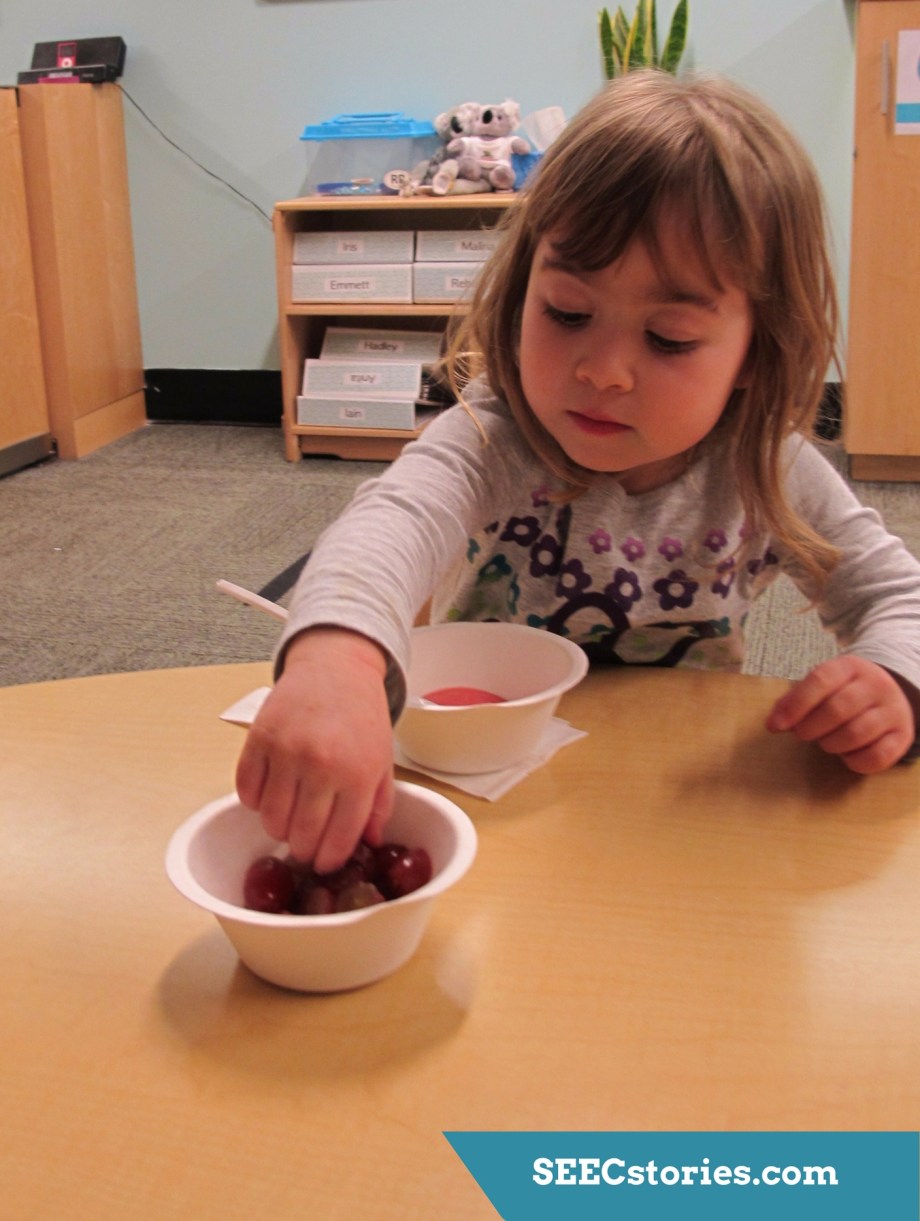 Next they added sliced grapes as the red blood cells.
 For the white blood cells, they added sliced bananas.
 And finally, they topped off their blood snack with red sprinkles, acting as the many platelets found in our blood.
 The only thing left to do was enjoy eating it! By making blood in another way, the children experienced multiple exposure to the same concept, which helps to reinforce it. They were also actively involved in the process, which not only makes it more fun, but helps to strengthen their understanding of the concept.