It’s Teacher Feature Thursday!
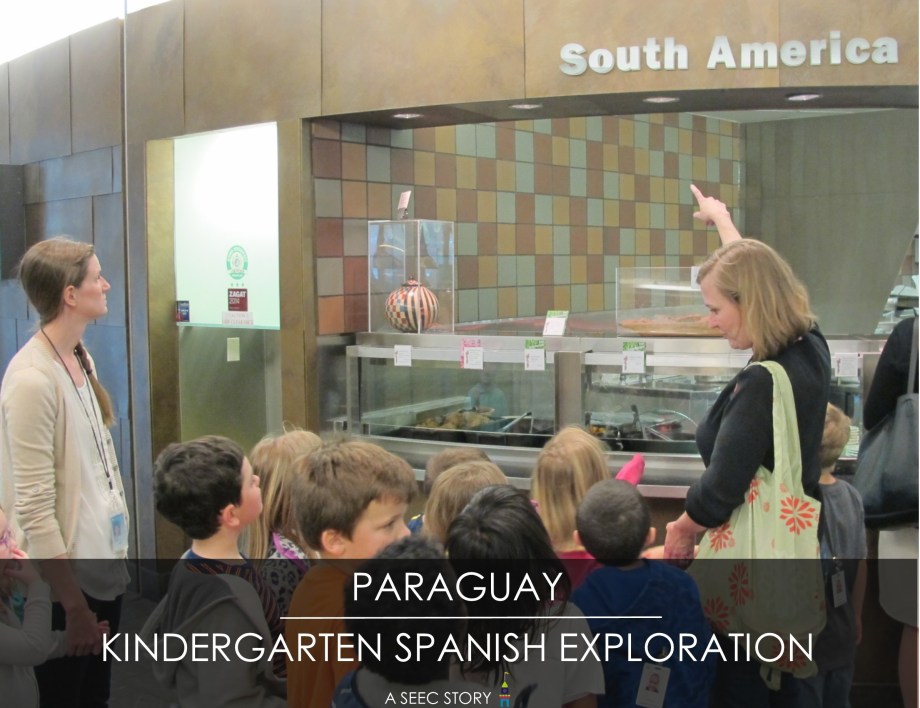
This week we are featuring Maureen Leary who teaches Spanish in the Kindergarten classroom, which consists of small group lessons two mornings a week, and a connecting museum visit one afternoon a week. The Kindergarten class has been learning about different countries in South America, and I joined them for a lesson about Paraguay and a common food found there – cornbread. Below you will find a reflection from Maureen and images from the lesson.
What were your topics of exploration? Why did you choose them? Where did they come from?
We were exploring the country of Paraguay, and a traditional dish called Sopa Paraguaya. The name means Paraguayan Soup but it’s actually a type of cornbread!
I chose Paraguay because we have been exploring all the countries where Spanish is an official language. We have done this geographically, starting with Spain, where the language originated, and then moving on to Mexico, Central America, the Caribbean, and now South America. For each new country, we take a look at the map to see where it is in relation to the others we’ve learned about. In this way the students can see the connection between all the countries we explore, and the curriculum follows a natural progression.
I try to choose diverse topics from week to week, to keep the students interested and to emphasize that Latin American culture is very rich and has contributed so much to the global community. Over the course of the year we’ve looked at art, music, geography, history, architecture, and of course, cuisine! For our classroom lesson we learned a bit about the history of Sopa Paraguaya and we followed a recipe to make our own. Cooking with kids is a fantastic way to target numerous learning objectives at once. We covered the cultural piece with the history of the dish, we focused on literacy and vocabulary in both Spanish and English by reading the recipe together, we practiced math concepts by measuring the ingredients, and we learned a little science by observing how the ingredients came together to make the bread.
Why and how did you choose the visit?
We visited the Mitsitam café at the National Museum of the American Indian. We started with a visit to an exhibit case that highlights how traditional Native American foods from both North and South America have become essential to our cuisine. Some of the ingredients we had talked about were included in the case, and we had a couple of food items with us to pass around. We then went into the café to take a look at what types of foods were featured in the South American section. We purchased some cornbread so that we could all try a taste and compare it to the cornbread we made in the classroom. I chose this visit because it gave the students a chance to see how relevant traditional Paraguayan/South American foods are to US and world culture.
What were your learning objectives? (What did you want your children to take away from the lesson?)
My learning objectives were to introduce the students to some of the staples of Paraguayan food and to show how they might be similar to and/or different from foods the students are familiar with. We had previously done lessons on Mexican food and Cuban food, so I also wanted to make connections with those lessons, to help the students understand that cuisine can vary quite a bit regionally, but there can also be a lot of overlap and influence of cultures on one another.
What was most successful about your lesson?
Cooking in the classroom and eating at the museum were definitely the most successful parts of the lesson. The students really enjoyed the cooking experience and they were so excited to try the finished product.
How did the lesson reach your objectives to expand the topic?
Going to the museum and seeing the foods we had talked about highlighted in an exhibit case, and then on sale in the café, helped the students to understand the relevance and importance of the South American contribution to global food practices and traditions. Instead of just taking my word for it, they could see the concept in practice at the museum.
What was successful in terms of your preparation and logistics?
The preparation of the cornbread in the classroom went really well. I put a lot of time into writing out the recipe in a way that would be visually understandable for the kids (large print, pictures to go with food items, etc). I also thought about how to break up the steps so all the kids got a chance to participate in a hands-on way that they enjoyed (measuring, pouring, mixing, etc).
What could you have done differently to better achieve your objectives and expand the topic?
If I were to do this lesson again I would definitely test the recipe at home before making it with the students. The students and I thoroughly enjoyed making the bread, but when it came time to eat it, it turned out to be pretty bland and not many kids liked it. A different variation on the recipe would have probably been better. Fortunately we also had samples of the cornbread sold by the café, and that was delicious! One way I could have expanded the topic would be to provide more food items for the students to touch, smell, etc., as examples of staples that come from Paraguay. I intended to do this, but had difficulty finding the items at the store. If I had looked for them a bit more in advance I probably could have found them.
What was challenging regarding logistics?
This lesson required significant time outside of the classroom for preparations. Although I always spend time on research and often on preparing materials, this lesson also required a trip to a specialty grocery store as well as some prep work at home on the ingredients to make the cooking process smoother in the classroom. I also needed to enlist the help of another teacher in pulling the bread out of the oven, as I was out of the center when it was done cooking! We also had one student who was not able to eat the bread due to food sensitivity issues, so we had to make sure to alert the family in advance to provide an alternative when we were sampling the bread.
What recommendations would you have for another teacher trying out this lesson?
The main recommendation I have is to test the recipe before trying it with the kids. The kids were so excited to make the bread and were really looking forward to trying it, so it was a disappointment that it wasn’t very tasty.
Here are a few images from their lesson on Paraguay:
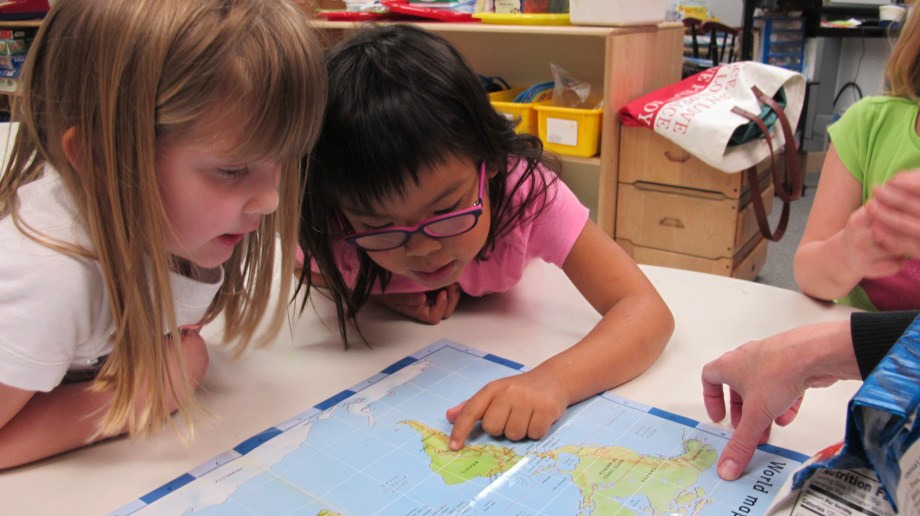 In the morning Maureen met with small groups to introduce the lesson and make cornbread. First she showed the groups a map of the world and the students were quick to point out the countries they had previously learned about. Then she showed them where Paraguay is and explained that it is different from the other countries they have learned about so far because it is very flat with no mountains, and that it is sometimes called “the heart of South America” because it is centrally located, with no water around it.
 Next she introduced a recipe for Sopa Paraguaya, a traditional food in Paraguay. She told the children the folk story of the dish: a long time ago there was a president of Paraguay who loved a soup made of milk, cheese, egg, and corn flour. One day the president’s chef accidentally added too much corn flour, and not having the time to make a new dish, decided to bake the mixture, making a “solid soup”. The president loved it and named it Sopa Paraguaya.
 Then it was time to make their own Sopa Paraguaya. Maureen read the recipe in Spanish and then in English, with the children helping to measure and add the ingredients.
  Each group helped to add and stir all the ingredients. Maureen then cooked the cornbread during the children’s afternoon rest time.
  At SEEC we believe young children need real life experiences in the community to make concrete connections to what they are learning in the classroom. So, after rest time Maureen took the class to the National Museum of the American Indian to learn more about Paraguay, and its food, through observation of objects and hands-on exploration.
 The class sat in front of the “American Indian Foods in the Global Pantry” Exhibit Case and Maureen explained that a lot of food we eat today originated from other countries.
The children noticed many familiar foods including corn. Since the objects were in a case, and could not be handled, Maureen came prepared with an ear of corn and passed it around so the children could examine and feel it. They ran their fingers over the kernels, smelled the corn, and felt the husk. Bringing (non-messy) objects along to the museum makes traditional gallery spaces more interactive for children.
 The children recognized lots of food in the case and remembered how they had used it in the past (“We used avocados when we made guacamole!”), or were excited to see some of their favorite foods, like peanut butter, and were surprised to learn that items we eat so commonly in the United States actually originated somewhere else. In this way, the children made personal connections to the objects in the museum and gained a new perspective about where their food comes from.
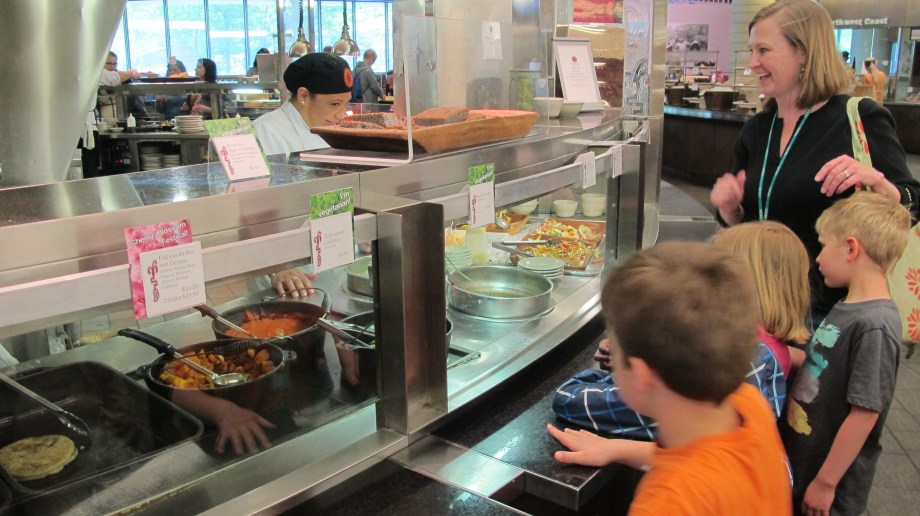 Next they went into the Mitsitam Natives Food café , which offers Native foods from throughout the Western Hemisphere. Maureen asked where Paraguay is located and the class said, “South America”, so they went to the South America section to see what foods were being prepared. They noticed blue cornbread, and Maureen explained that it was blue because they used blue corn to make it. They asked for two pieces of cornbread in Spanish and went to try it.
 The class sat down and Maureen and the Kindergarten teachers passed out a piece of the cornbread they had purchased, and a piece of the cornbread they had made.
  The Kindergartners tried both kinds, discussed the differences between the two, and their preferences. They preferred
They enjoyed taking a bite out of both and exploring the foods that originated in Paraguay, and South America.
Through this South America unit, the Kindergartners learned about different countries and their unique characteristics. Check out our Facebook, Twitter, Instagram, and Pinterest for more ideas from their Spanish classes! See you in two weeks with our next Teacher Feature!


 The class made it to the Hirshhorn and went to the Robert Irwin’s “All the Rules Will Change” exhibit.
 They found a piece entitled, “Jake Leg”. Silvana asked the children to think about what the artwork reminded them of. Some of the children shared that this piece’s color reminded them of a dust storm, the desert or dust devils.
  Next Silvana showed a diagram of a haboob, and pointed out that she had written haboob in arabic, which means, “strong wind”. She explained what a haboob is and how they form using the diagram and a video of a haboob.


 Next they focused on what it would sound like to be in a haboob. They brainstormed sounds they might hear such as crashing noises, gushing winds, sand blowing, footsteps, and people saying, “I want to get inside!” Then they used their voices and bodies to make these sounds together to make a soundscape of a haboob.
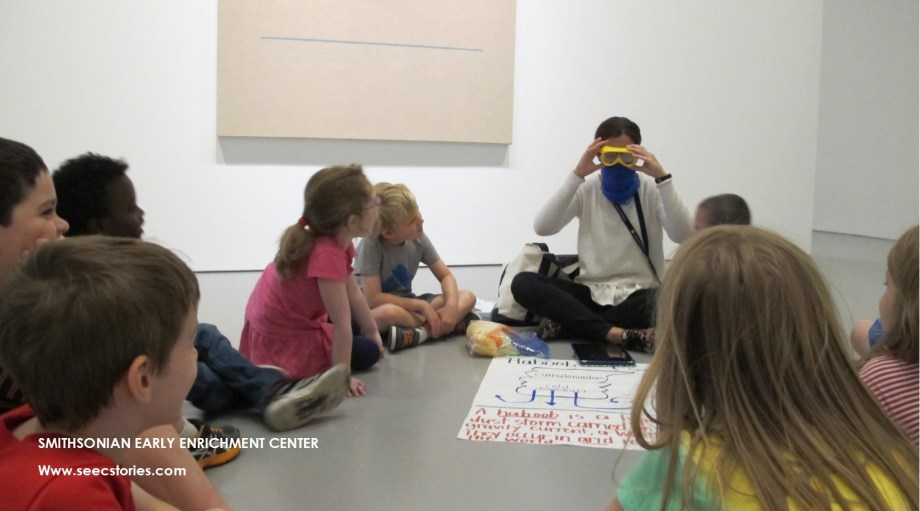 Silvana told the class that haboobs typically happen in the southwest from mid June to the end of September, but they cannot be predicted like a rainstorm. She said that in order for people to stay safe and protected in case of a haboob, people might carry a scarf and goggles with them. She put on a scarf and showed the children how this protected her ears, nose and mouth, while the goggles protected her eyes, keeping her body safe.


 As they crossed the construction site their faces were protected from the dust and dirt by their gear, much like it would be in a haboob.
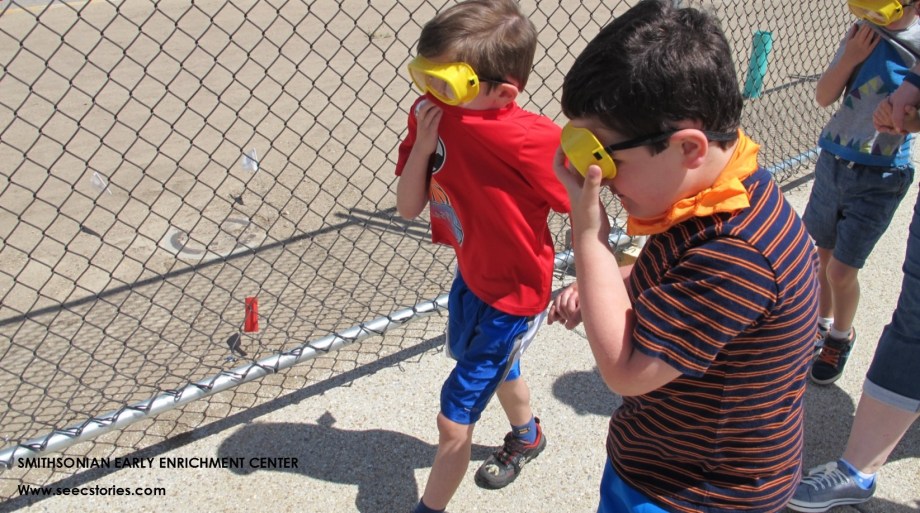 While the conditions of a haboob are much more intense, the strong wind and blowing dirt helped the children imagine what it would be like to be in a haboob.


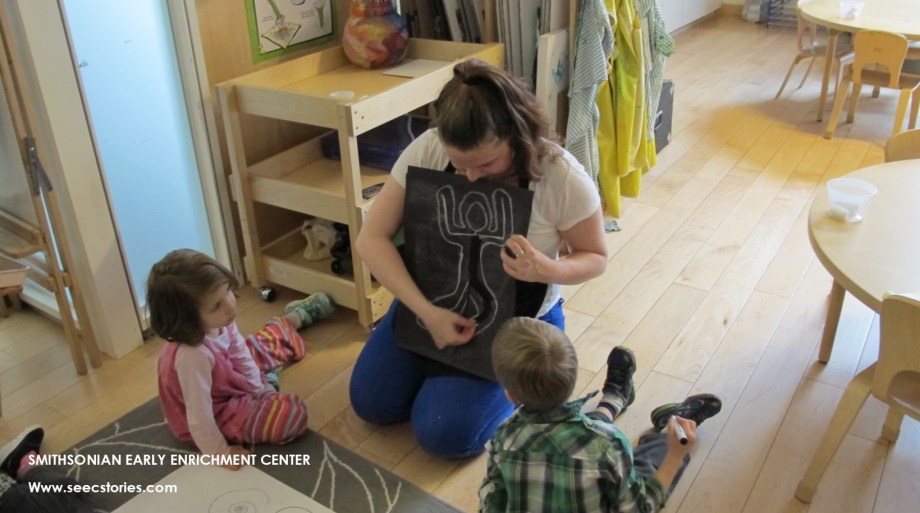
 Then the group got busy drawing!


 Before putting their pieces in the rack to dry, Carolyn helped each child spray their work with starch spray so that the chalk would stay in place.

 Once the children completed their artwork, Carolyn invited them to play more with the projector. She provided popsicle sticks and encouraged the children to arrange them in different shapes, letters or numbers and see how it looked on the wall.


")
")
")


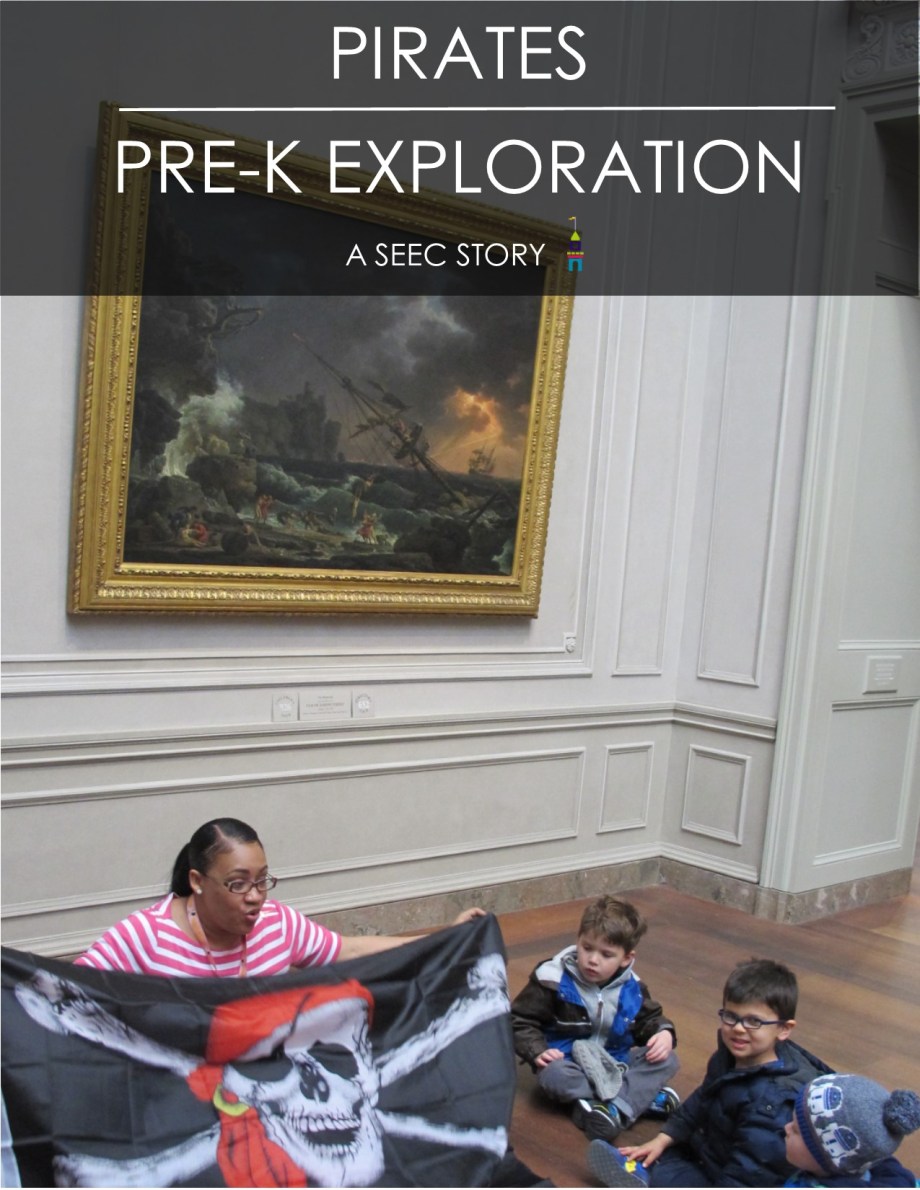
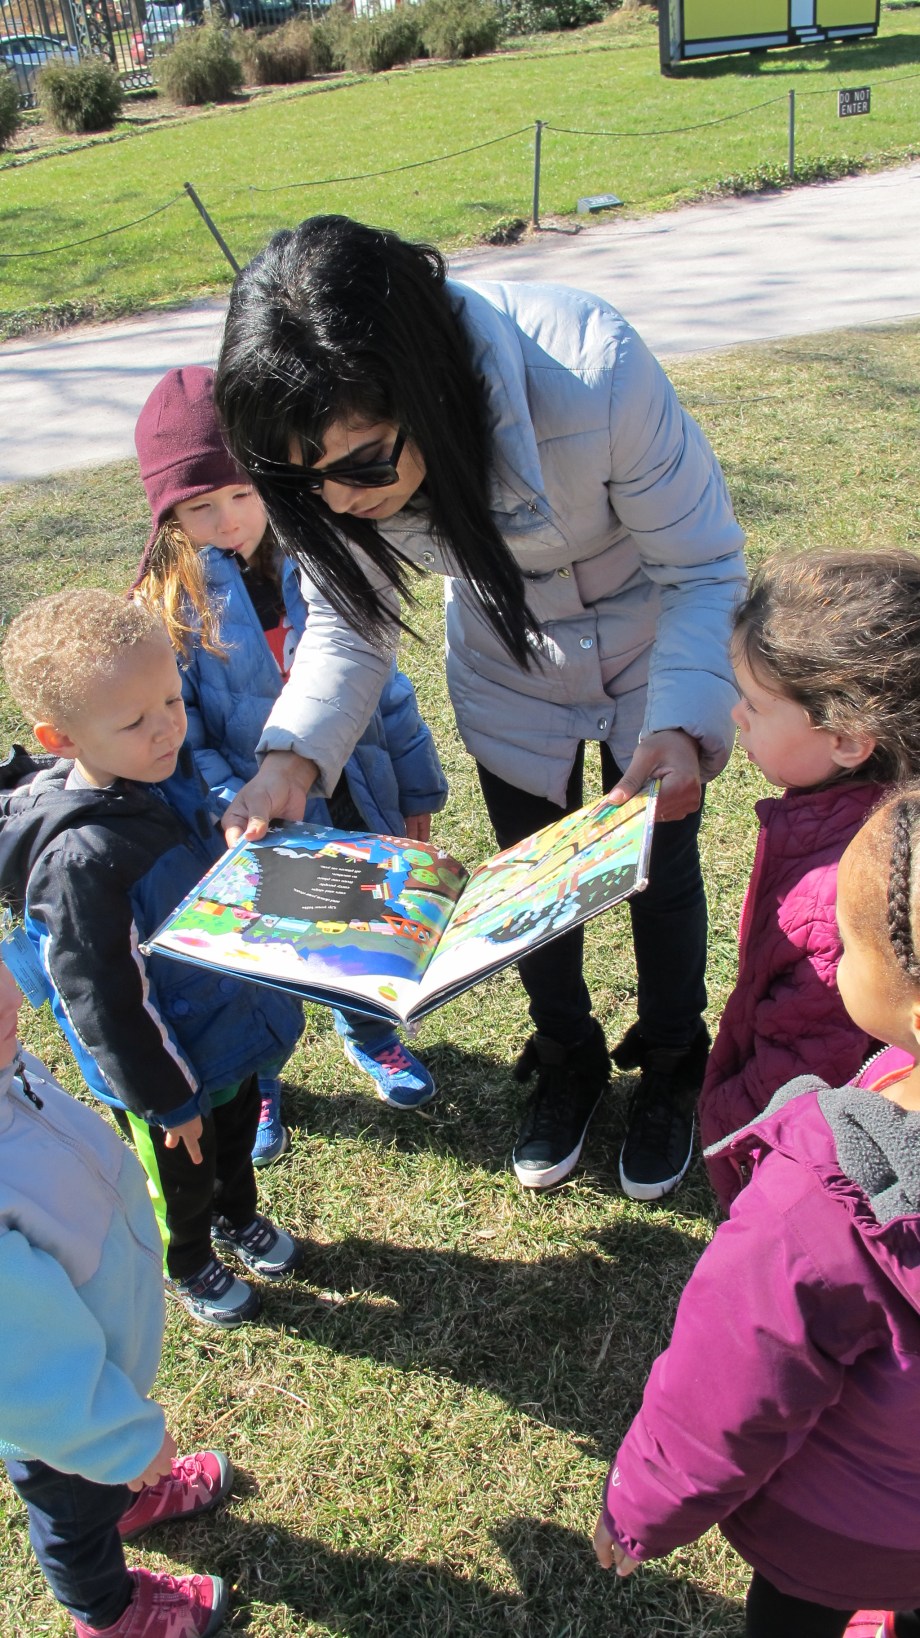
 The Wallaby team noticed an interest in pirates among their students, so they thought exploring pirates during their unit on Peter Pan fit perfectly. The class went to the National Gallery of Art to find The Shipwreck by Claude Joseph Vernet.
 Dana began by reading
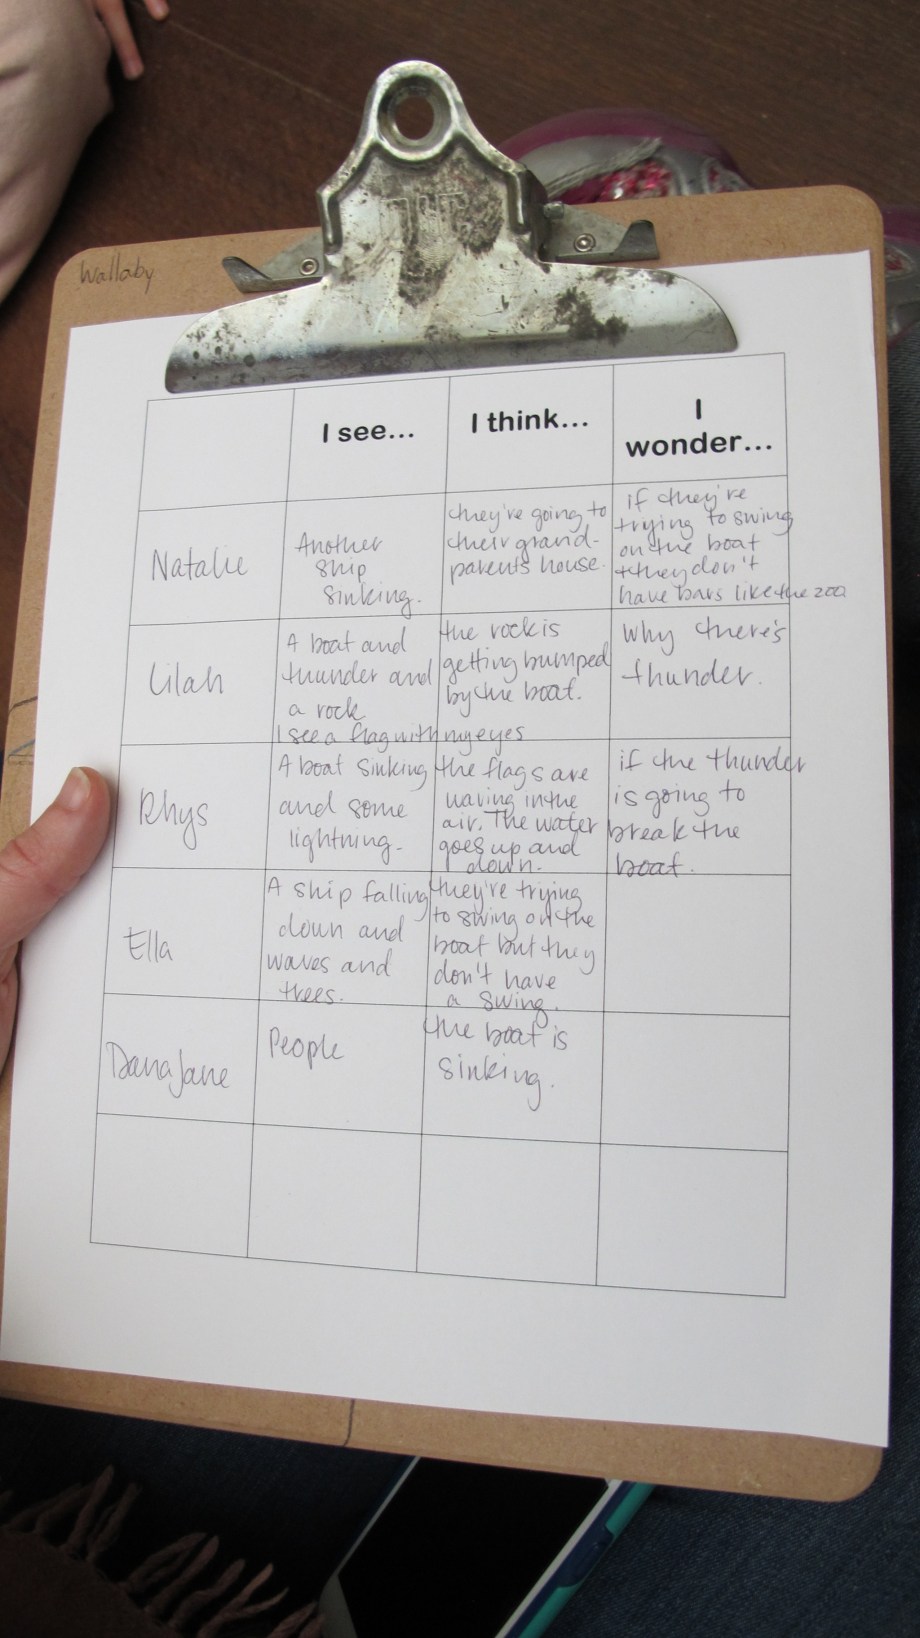
 First Dana and Erin asked each child in their circle what they saw in the painting and recorded what they said. Next they went around the circle again and asked each child what they thought about what they saw. Lastly, they asked each child what they wondered about the painting. This gave the children time to observe and think about the painting, and also gave them a turn to talk frequently, keeping them engaged in the activity.
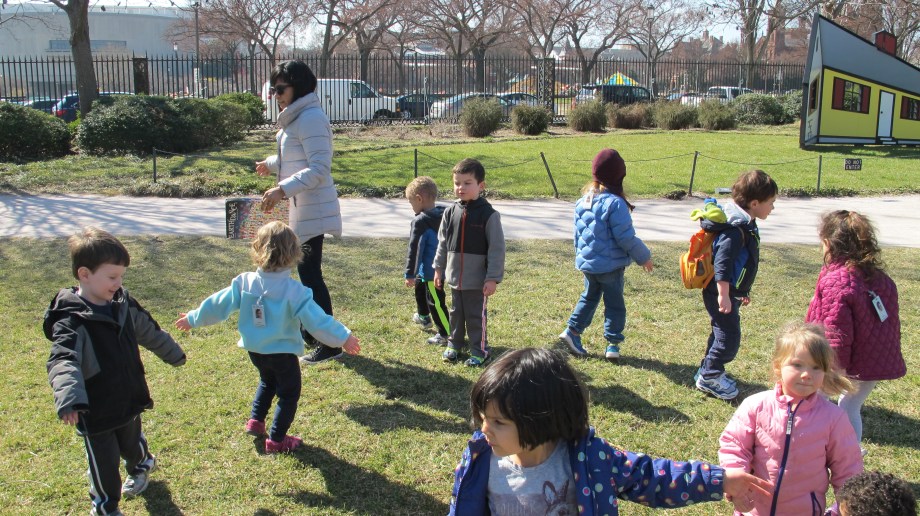
 To end their lesson on pirates they went onto the National Mall to play a game of Capture the Flag. First the children practiced their mean pirate faces and saying, “Arrrr matey!”
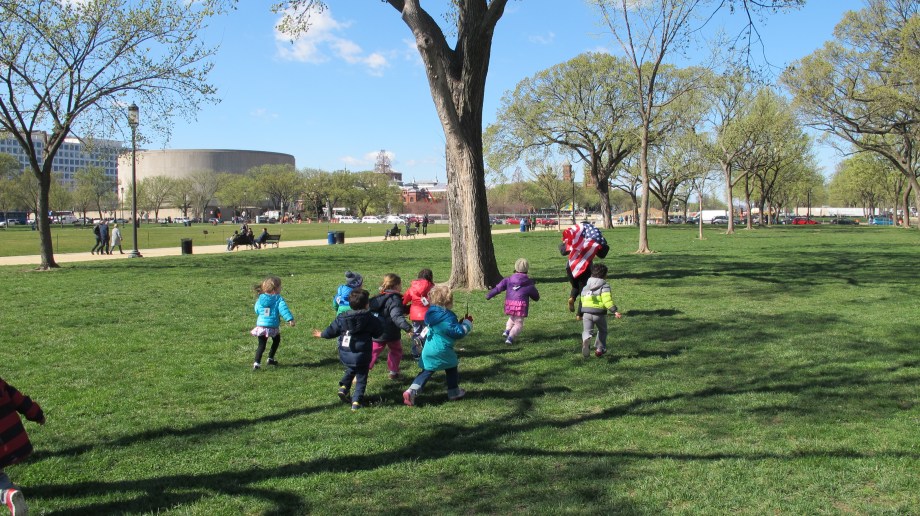 Then it was time to RUN! They chased Dana’s “ship” as she sailed with her flag.
  When they caught her they excitedly took down the flag and hoisted up their pirate flag!
 The Koalas visited the National Gallery of Art to begin their exploration of Earth, specifically what elements it is made of.
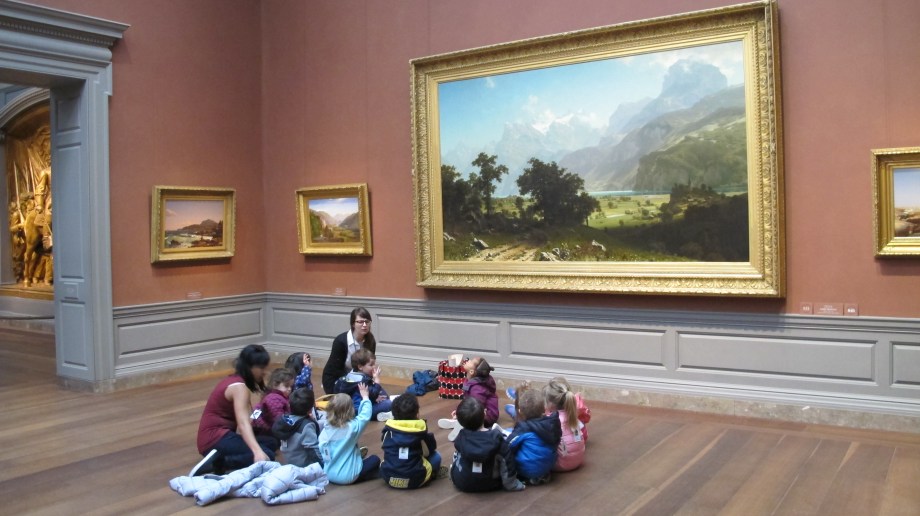 They found Lake Lucerne by Albert Bierstadt, and sat down for their museum circle. Katie began by explaining that the Earth is made up of land, water, and air, each of which is depicted in Lake Lucerne. She asked the class to observe the landscape and find something in the land, in the water, and in the air. The children noticed animals, trees, people, flowers and a castle on the land, boats in the water, and clouds in the air.
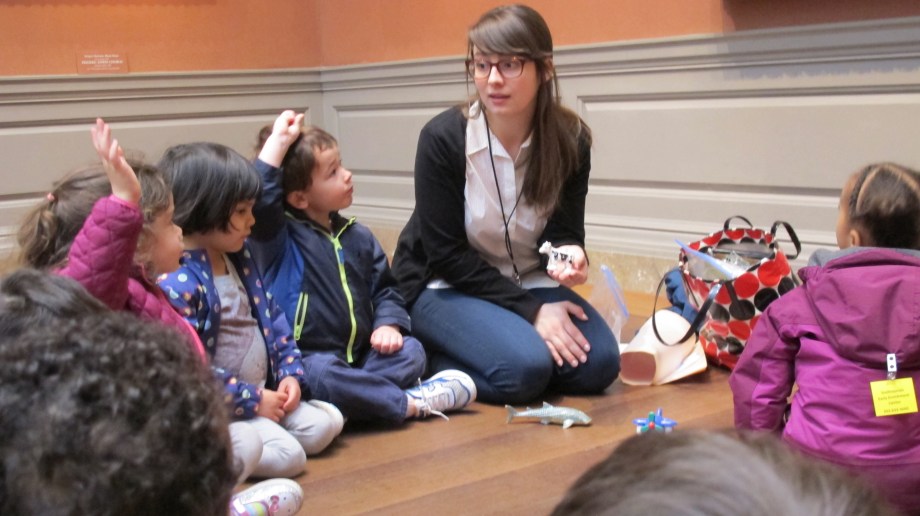 Next the class played a game to categorize items into where they are found: the land, water or air. As a group they identified that a shark goes in the water, a plane flies through the air, and a cow belongs on land.
 Then Katie gave each child a picture of something that belongs either on land, in water or in the air.
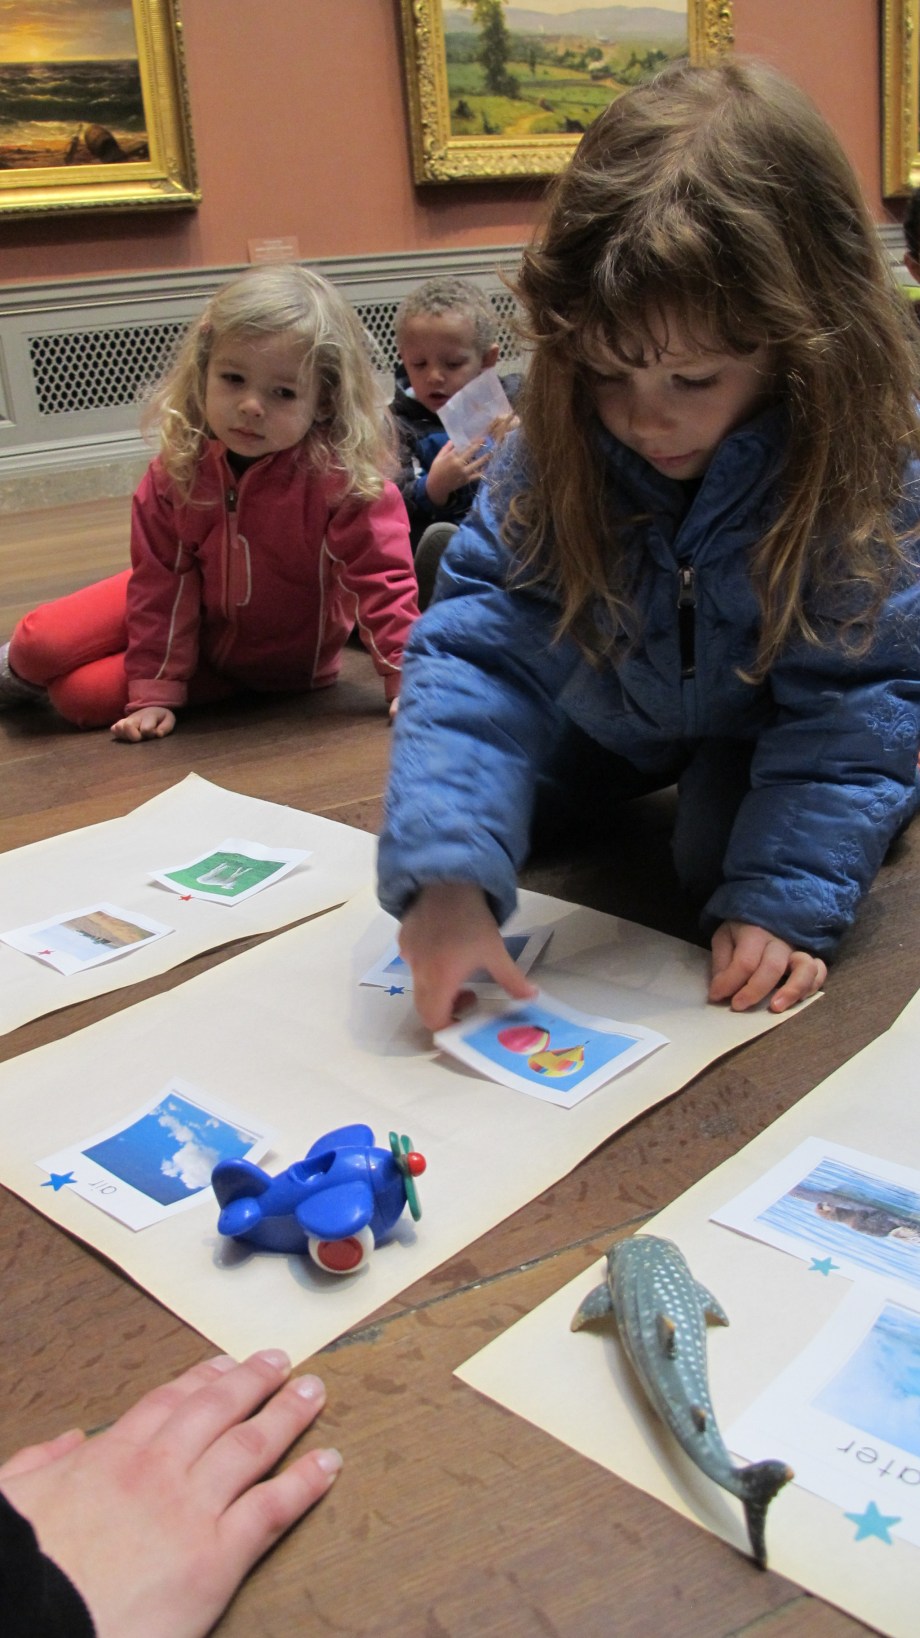 After carefully looking at the object or animal in their picture, Katie called each child up one by one to stick their picture on the environment where it belongs.
  Once everyone had had a turn the class had three pages full of objects and animals that are found in the water, air or on land.
 After completing their sorting game, the class began to head out of the gallery, however they stopped when they spotted more landscape paintings by Thomas Cole, and identified elements of the land, water and air.
 The children spread their hands out wide and spun around like Earth.


