This week’s teacher feature highlights one of our infant classes. The teachers in the class, Mallory Messersmith, Morgan Powell, and Rosalie Reyes, were inspired by National Farm to School Month to lead their class on a month-long exploration of food and community. For this outing, the class went to the United States Department of Agriculture Farmers Market to learn about locally sourced fruits and vegetables. Below you will find images from the lesson and reflections from Mallory, Morgan, and Rosalie.

Preparation:

Rosalie first learned of the National Farm to School Network while attending DC Teacher’s Night: Connecting Teachers with Environmental Education at the United States Botanic Garden. This nation-wide initiative is meant to promote connections between communities and fresh, healthy foods by focusing on educational activities related to agriculture, food, health, and nutrition. After attending the teacher’s night, Rosalie joined the National Farm to School Network and was excited to see resources for early childhood education.
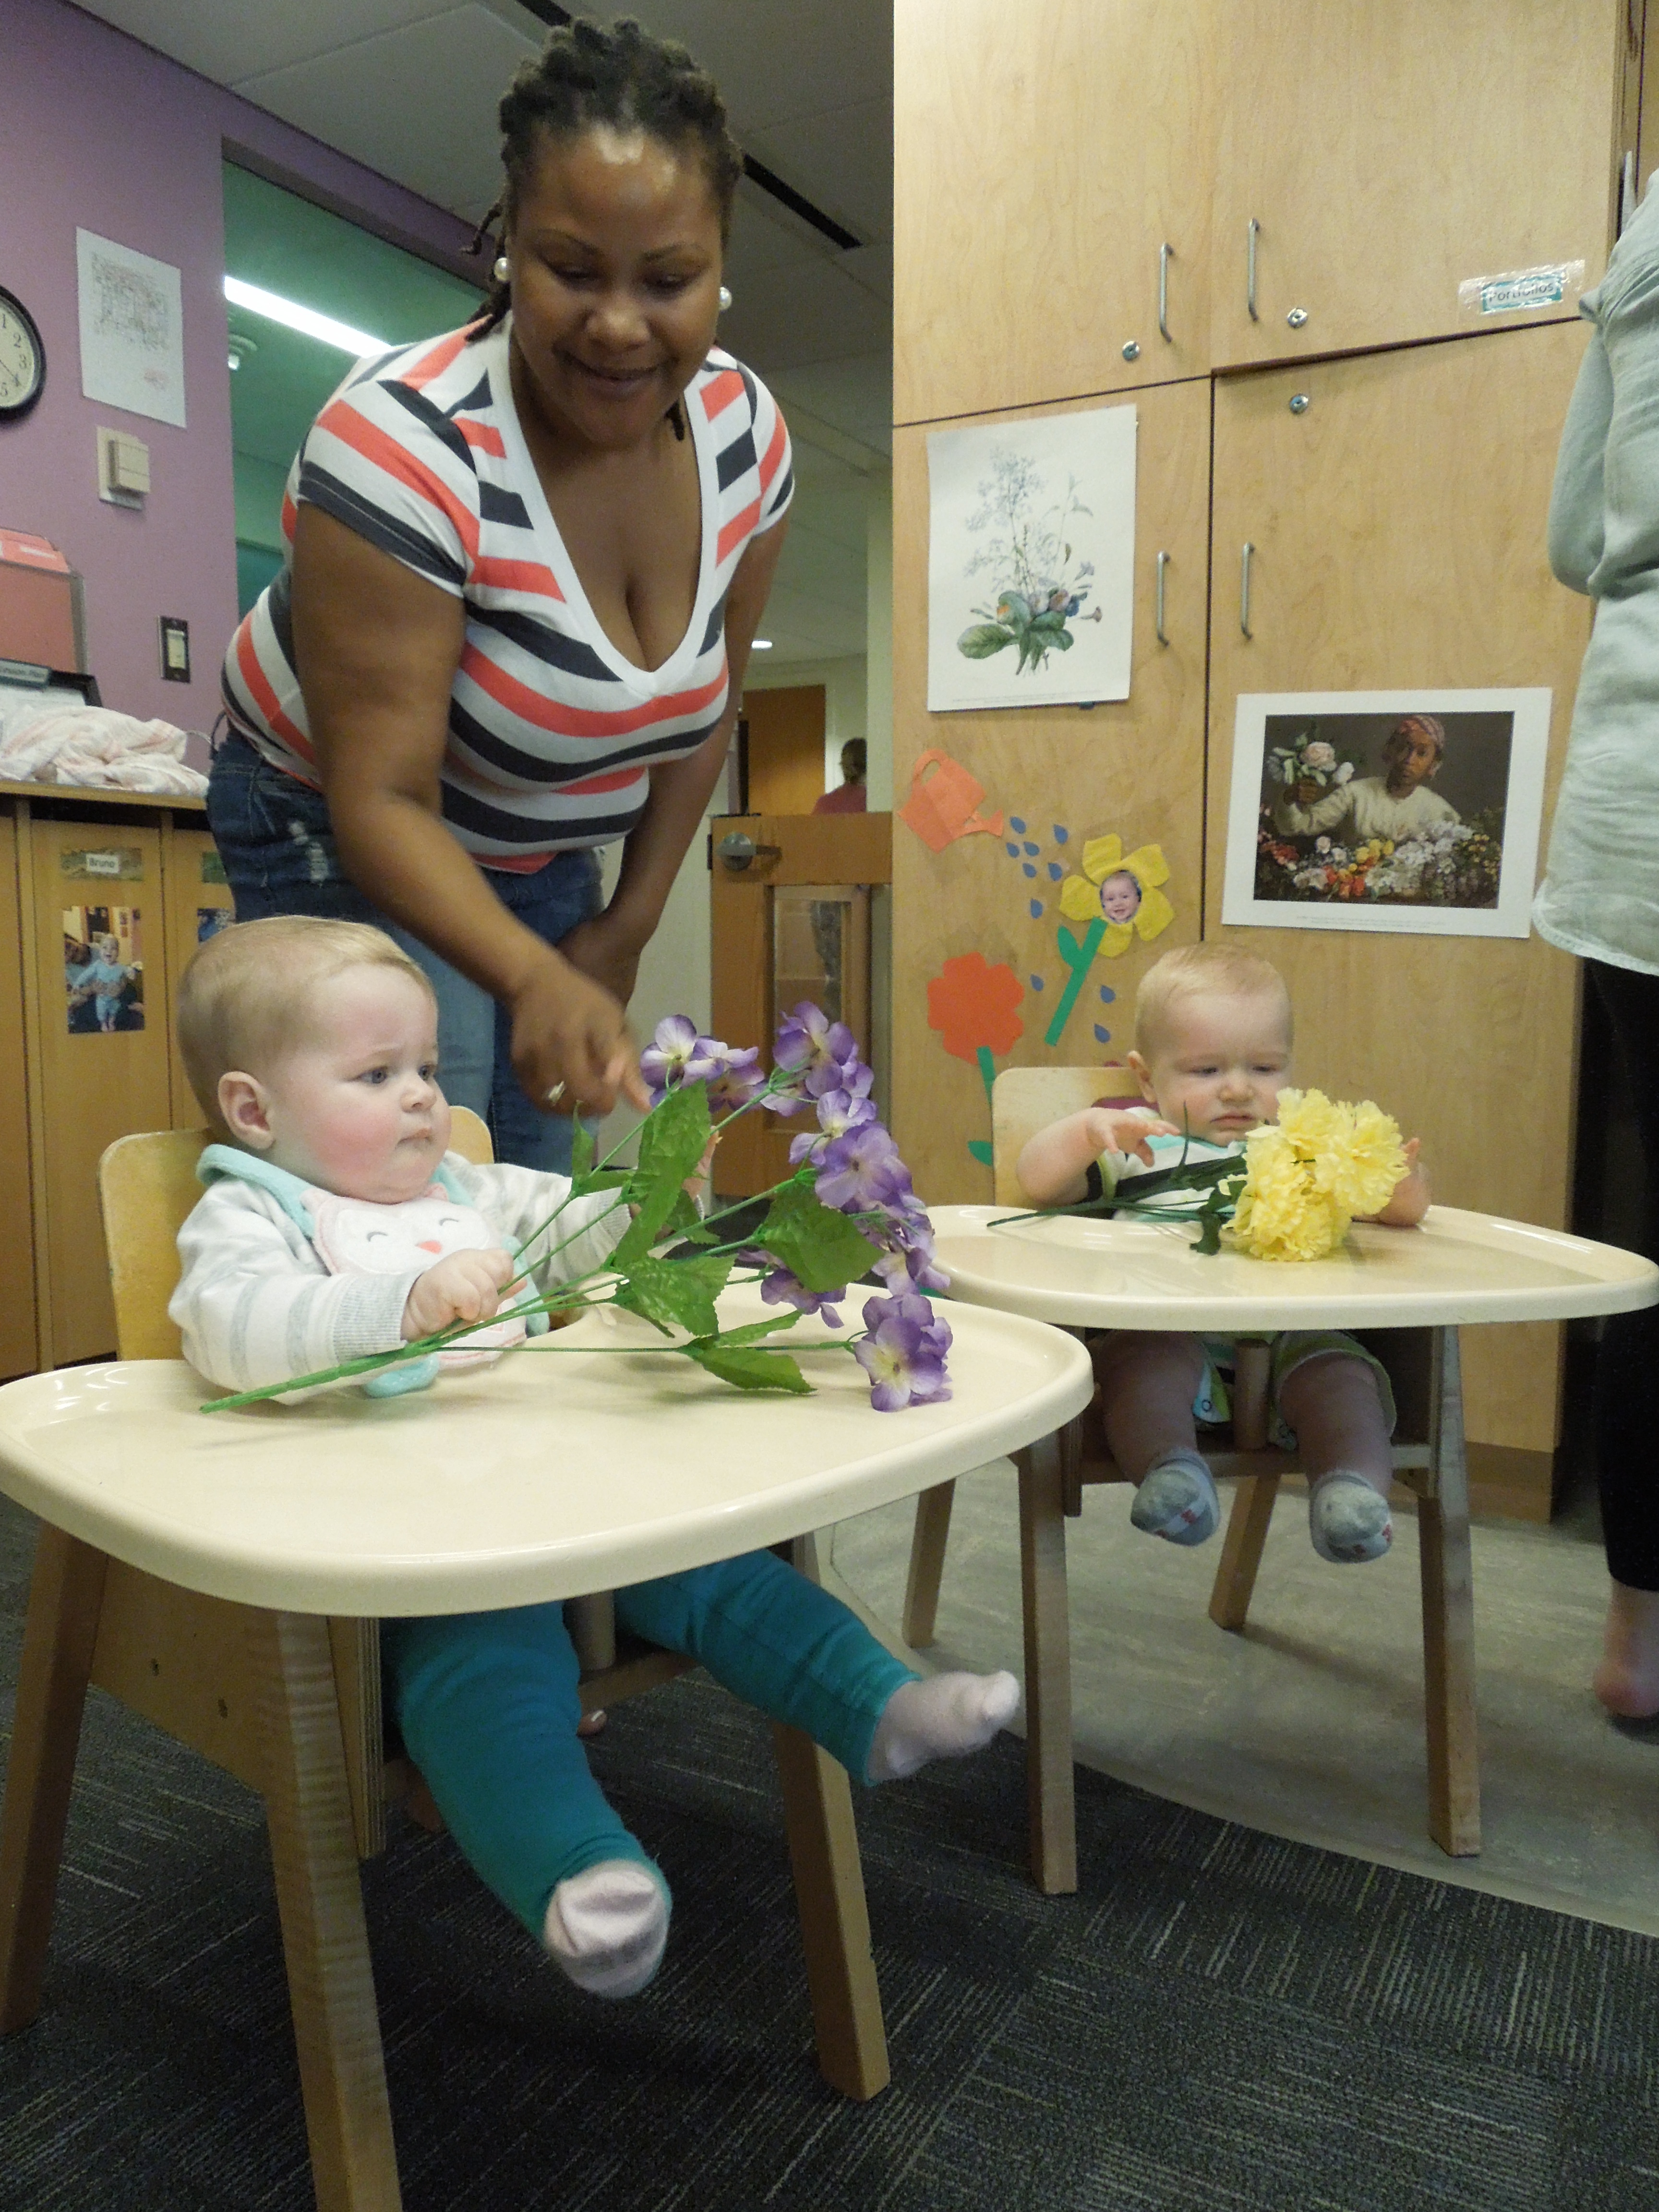
Mallory, Morgan, and Rosalie were then inspired to create a unit around the idea of farm to school because of the many diverse areas of exploration that the study of fruits and vegetables offered their class, including colors, shapes, and textures. Additionally, they noticed that many of their students were starting to eat new solid foods. They sought to align their lessons in the classroom with the developmental milestones the children were experiencing regarding eating new foods.

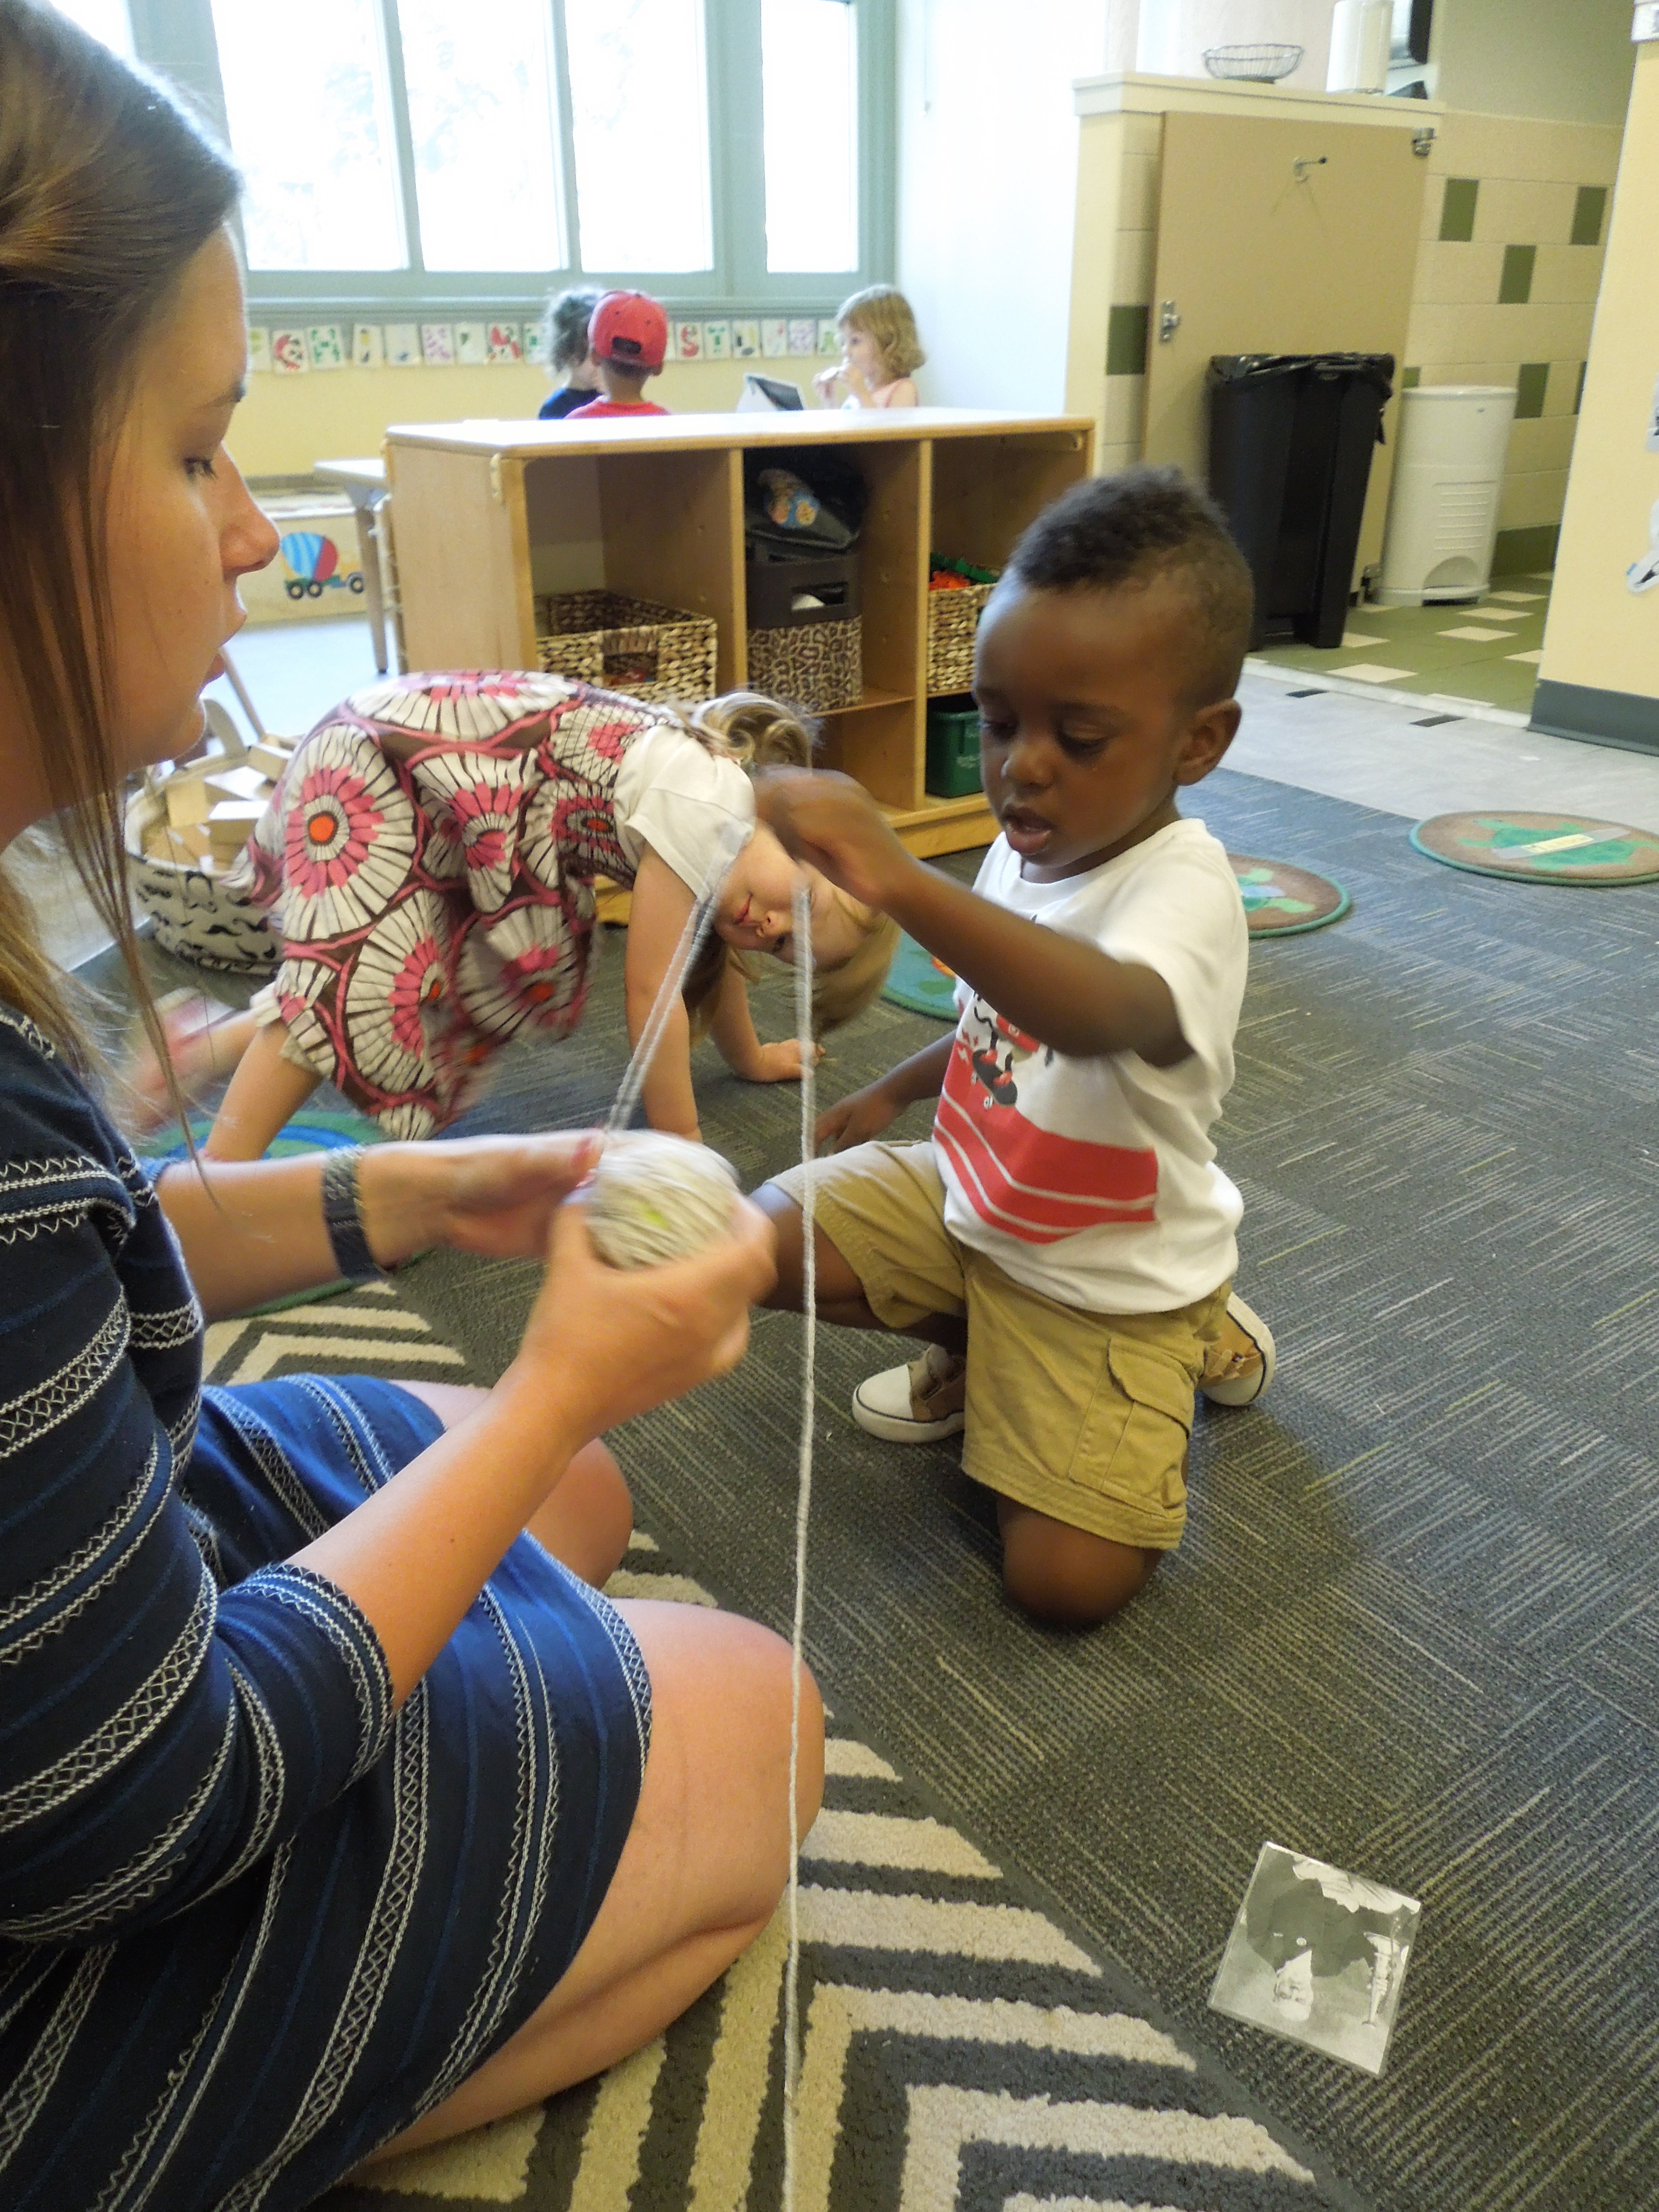
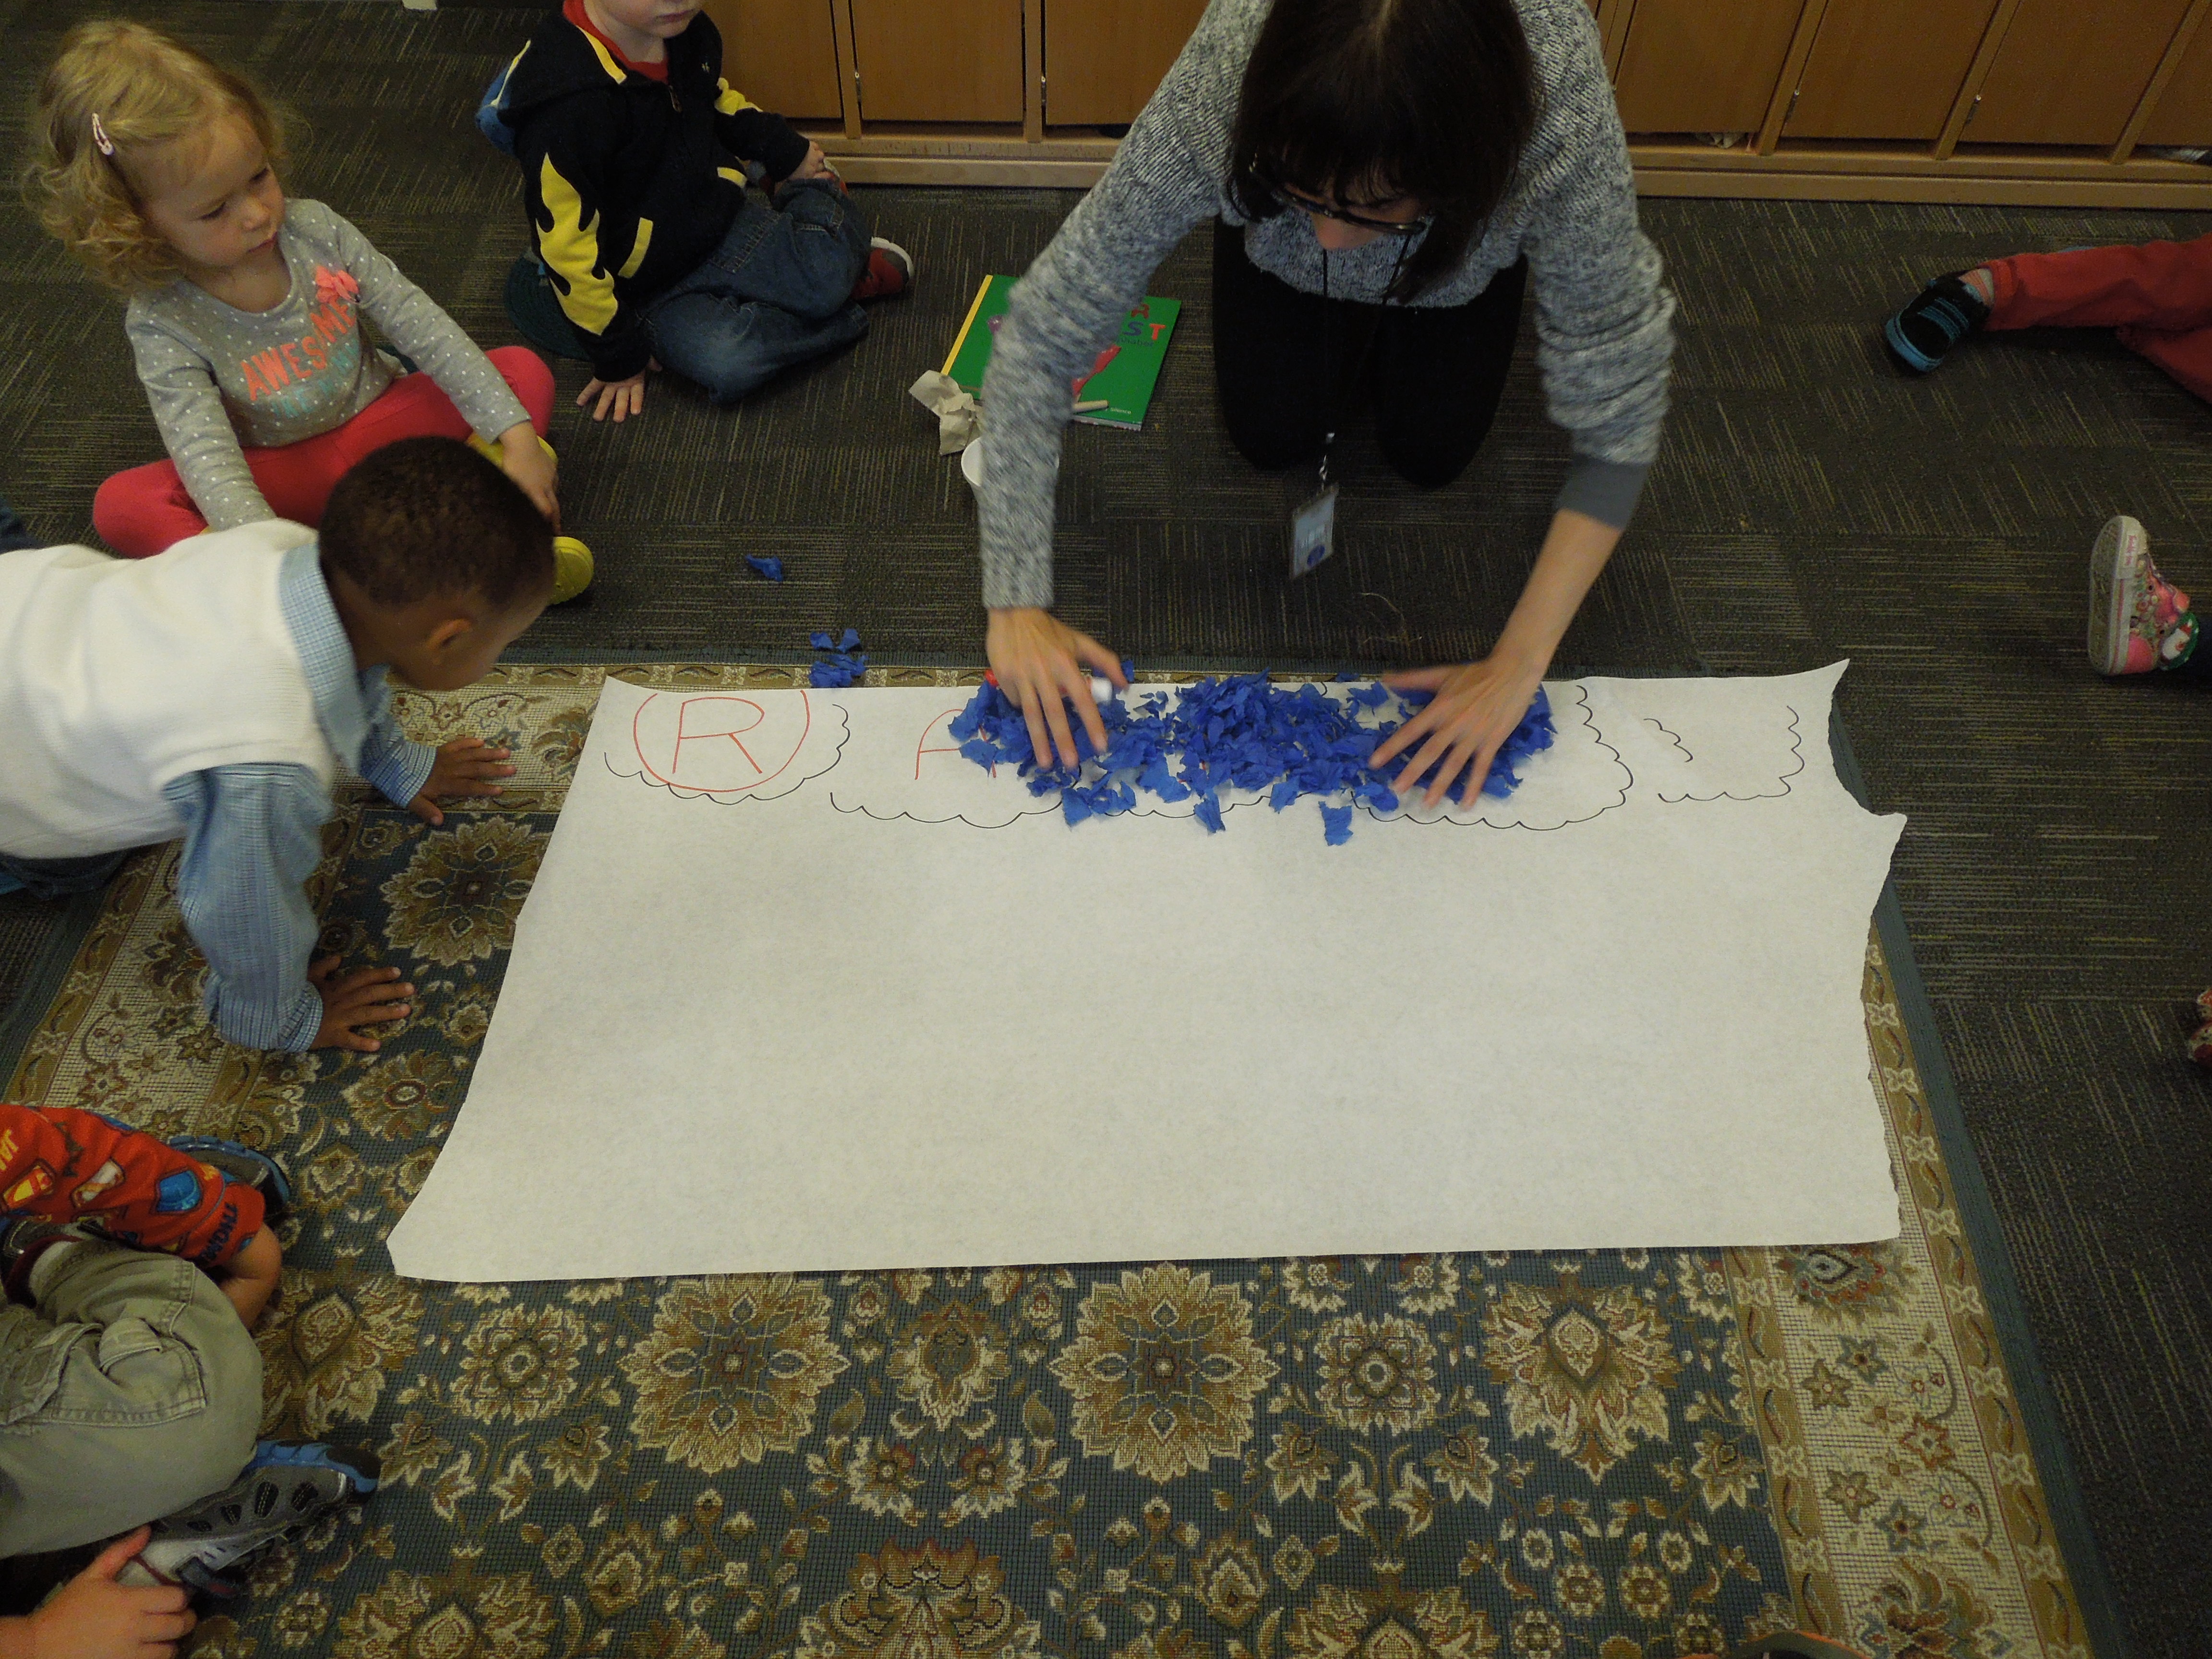
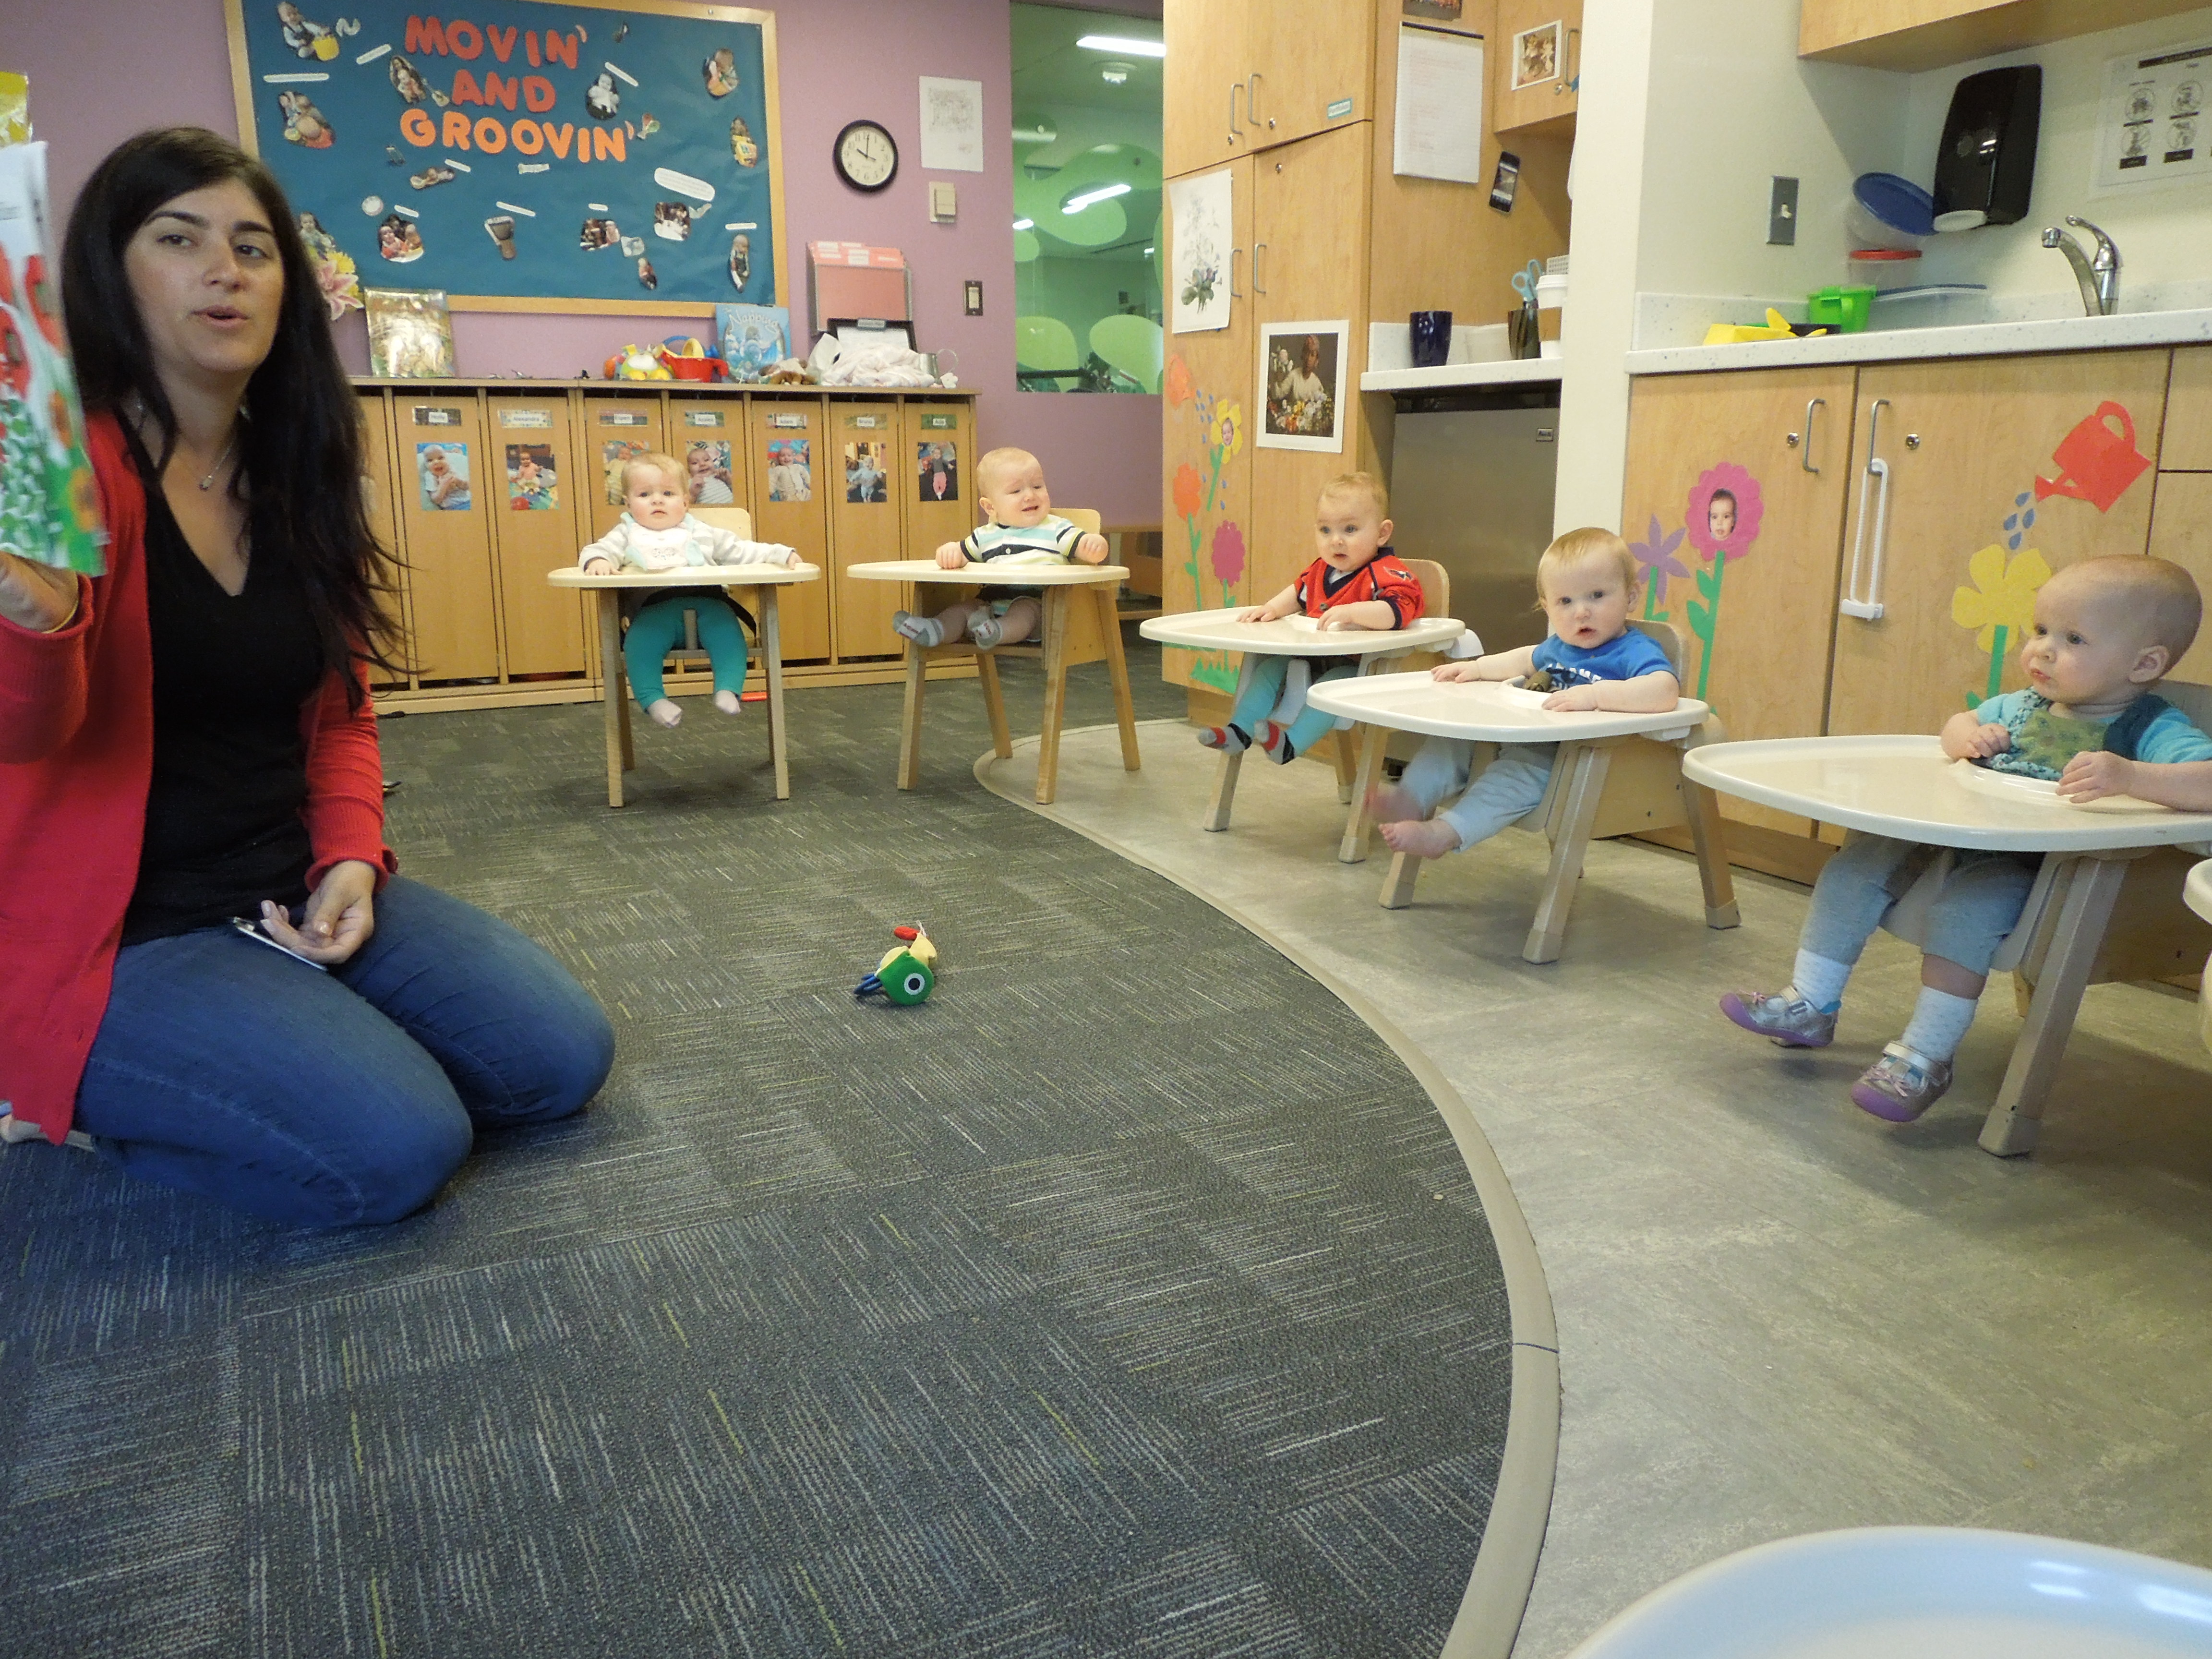
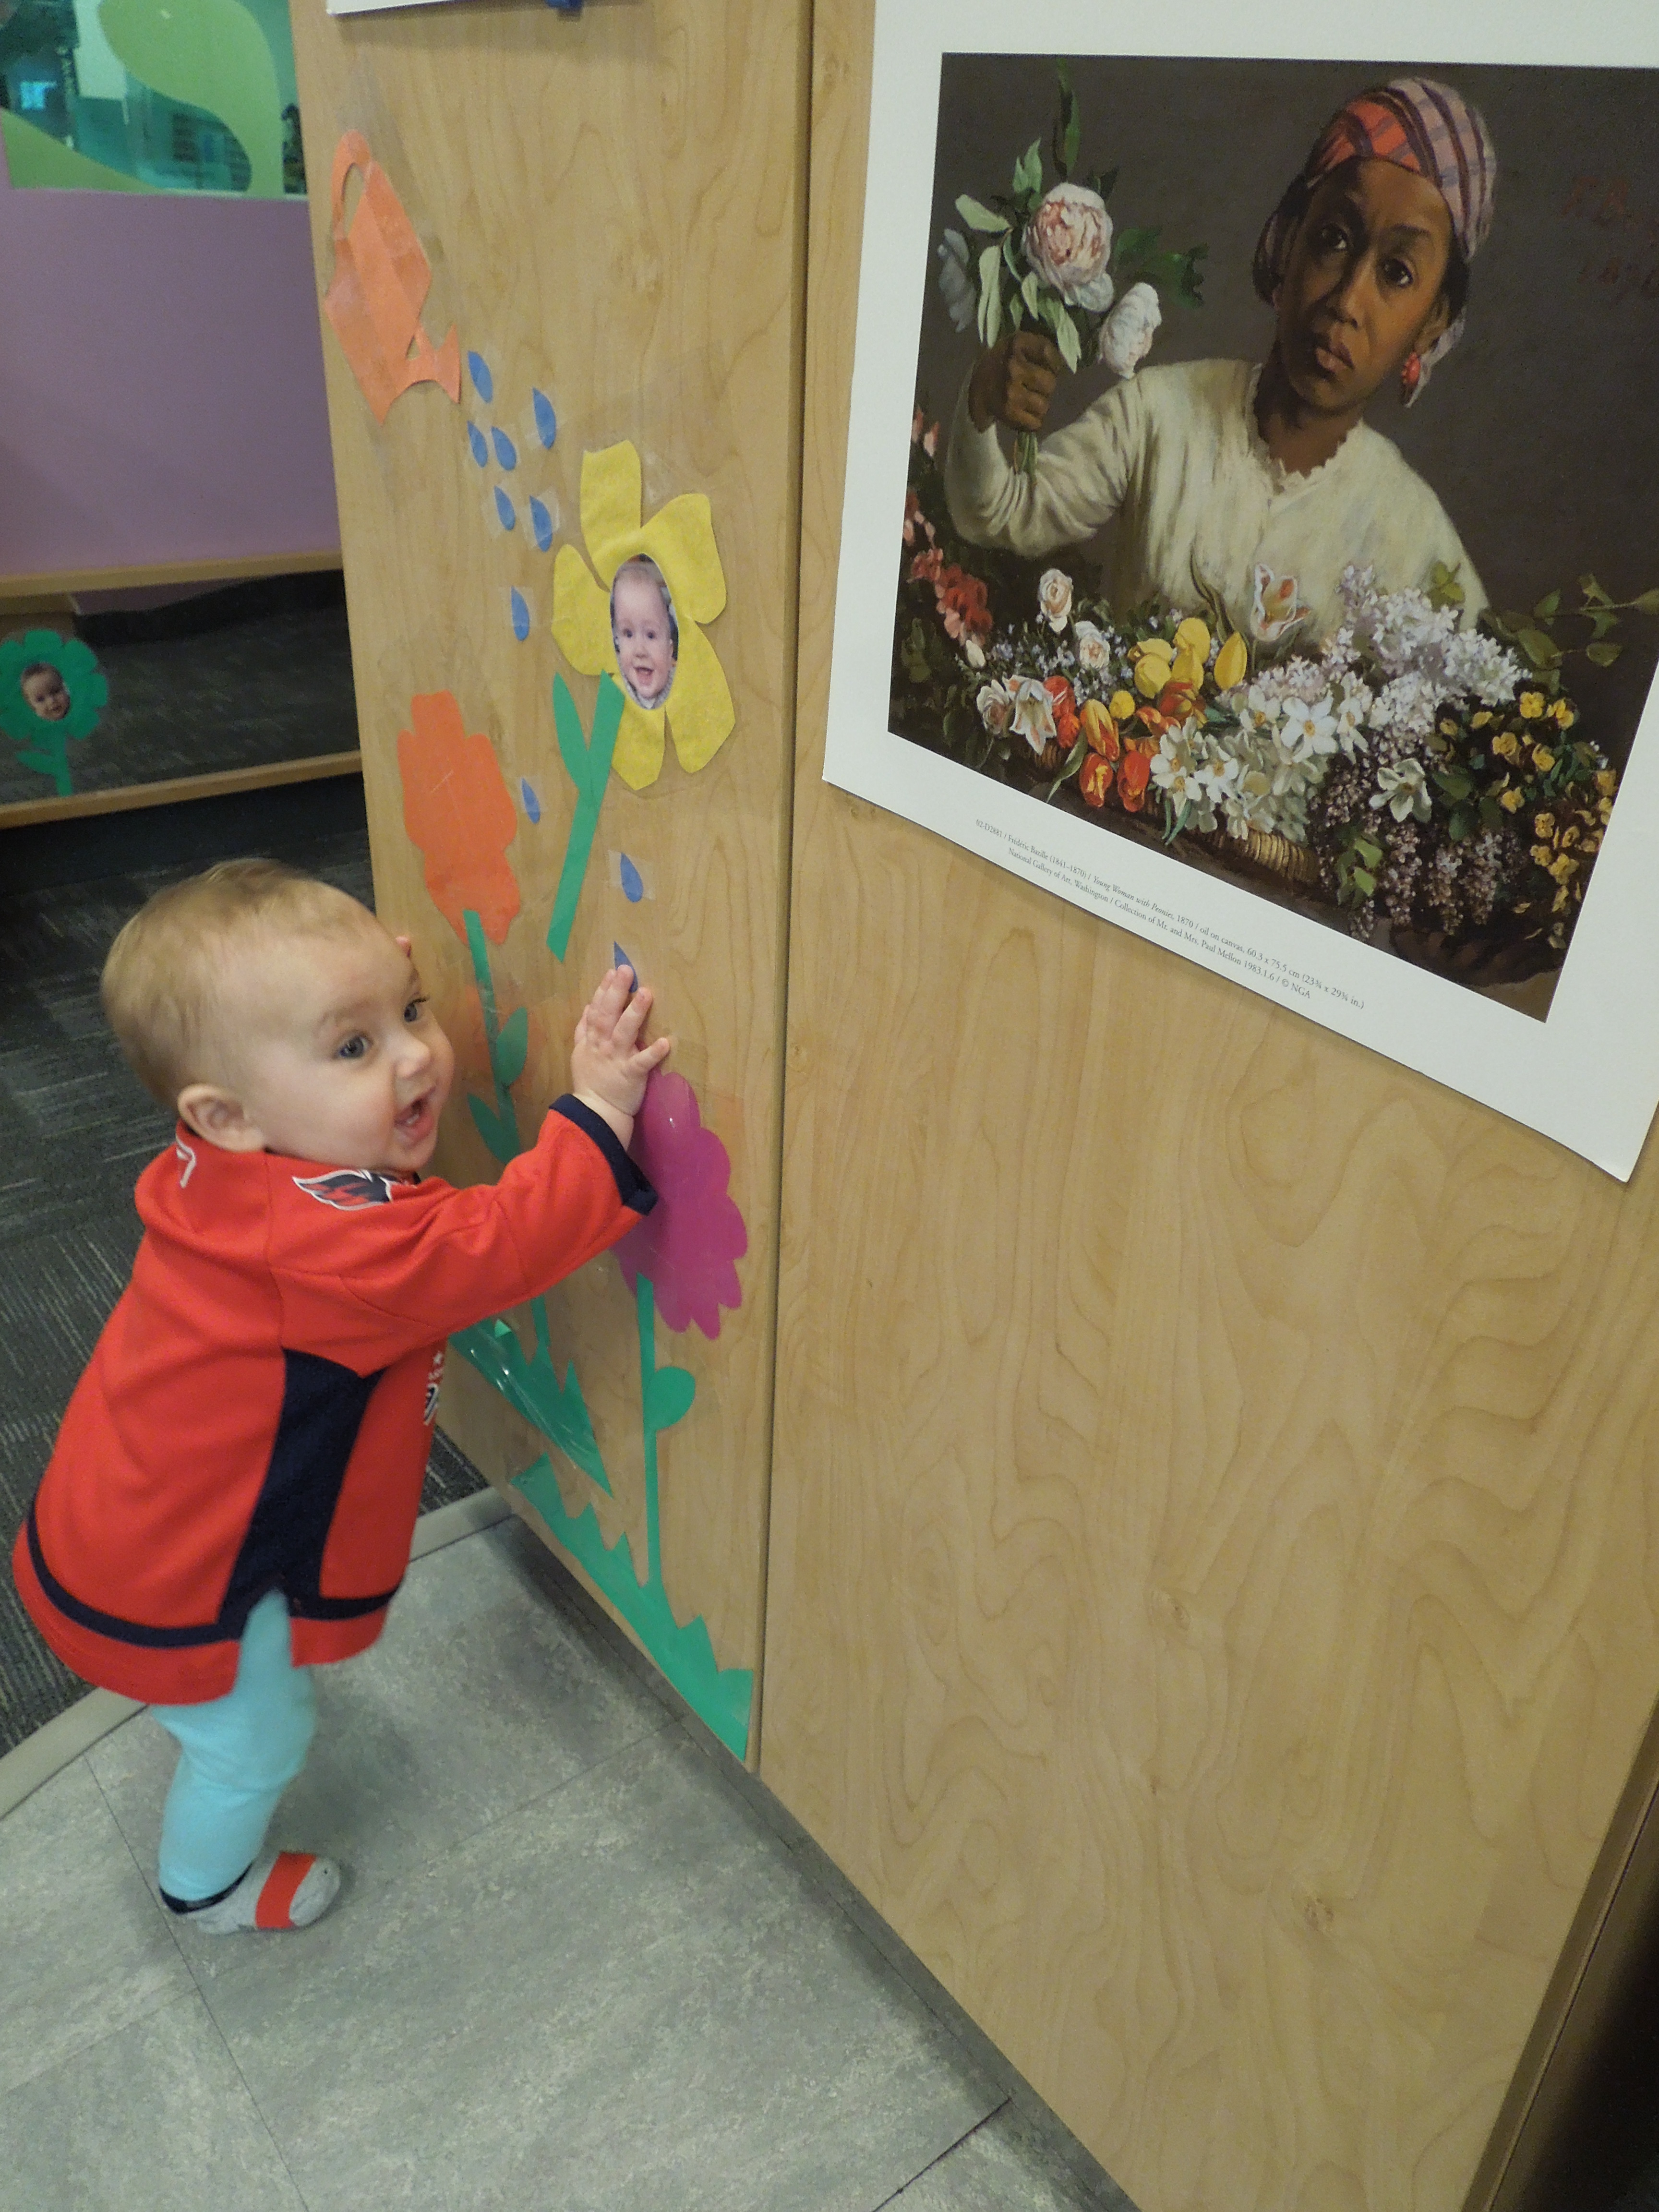
To begin preparing for their unit, Morgan, Mallory, and Rosalie chose a collection of art prints and created their own works of art to post throughout their classroom. They paid special consideration to their students’ cubbies where they posted images of fruits and vegetables. Mallory even crocheted fruits and vegetables to add to the classroom. Since many children in their class were actively learning to crawl, the teachers taped images to ground for their class to explore while on the move. They also researched and chose children’s books to add to their classroom collection and brainstormed which produce to highlight with the class.

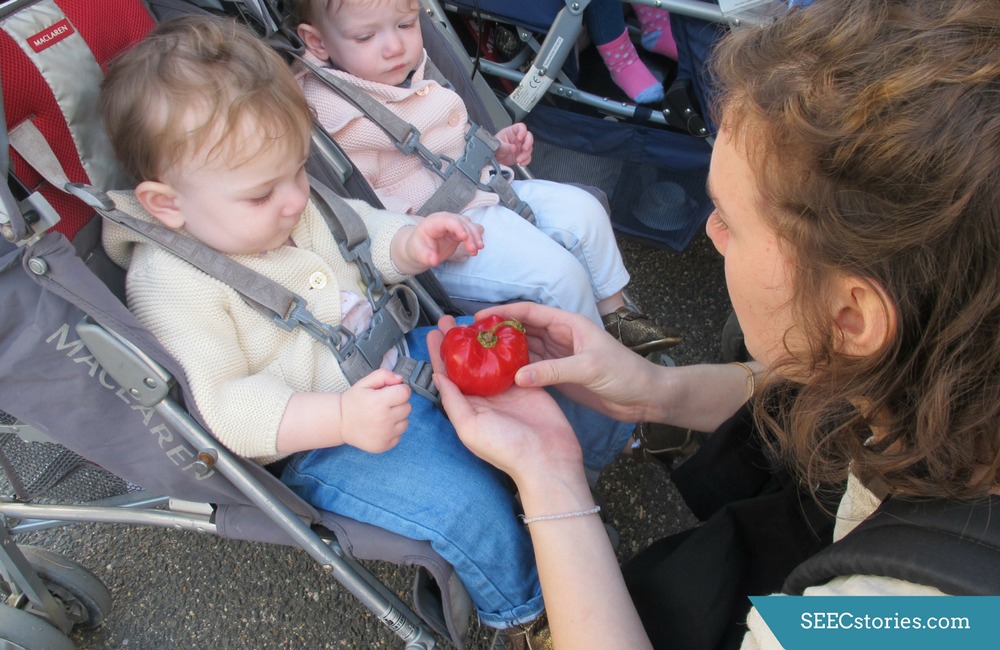
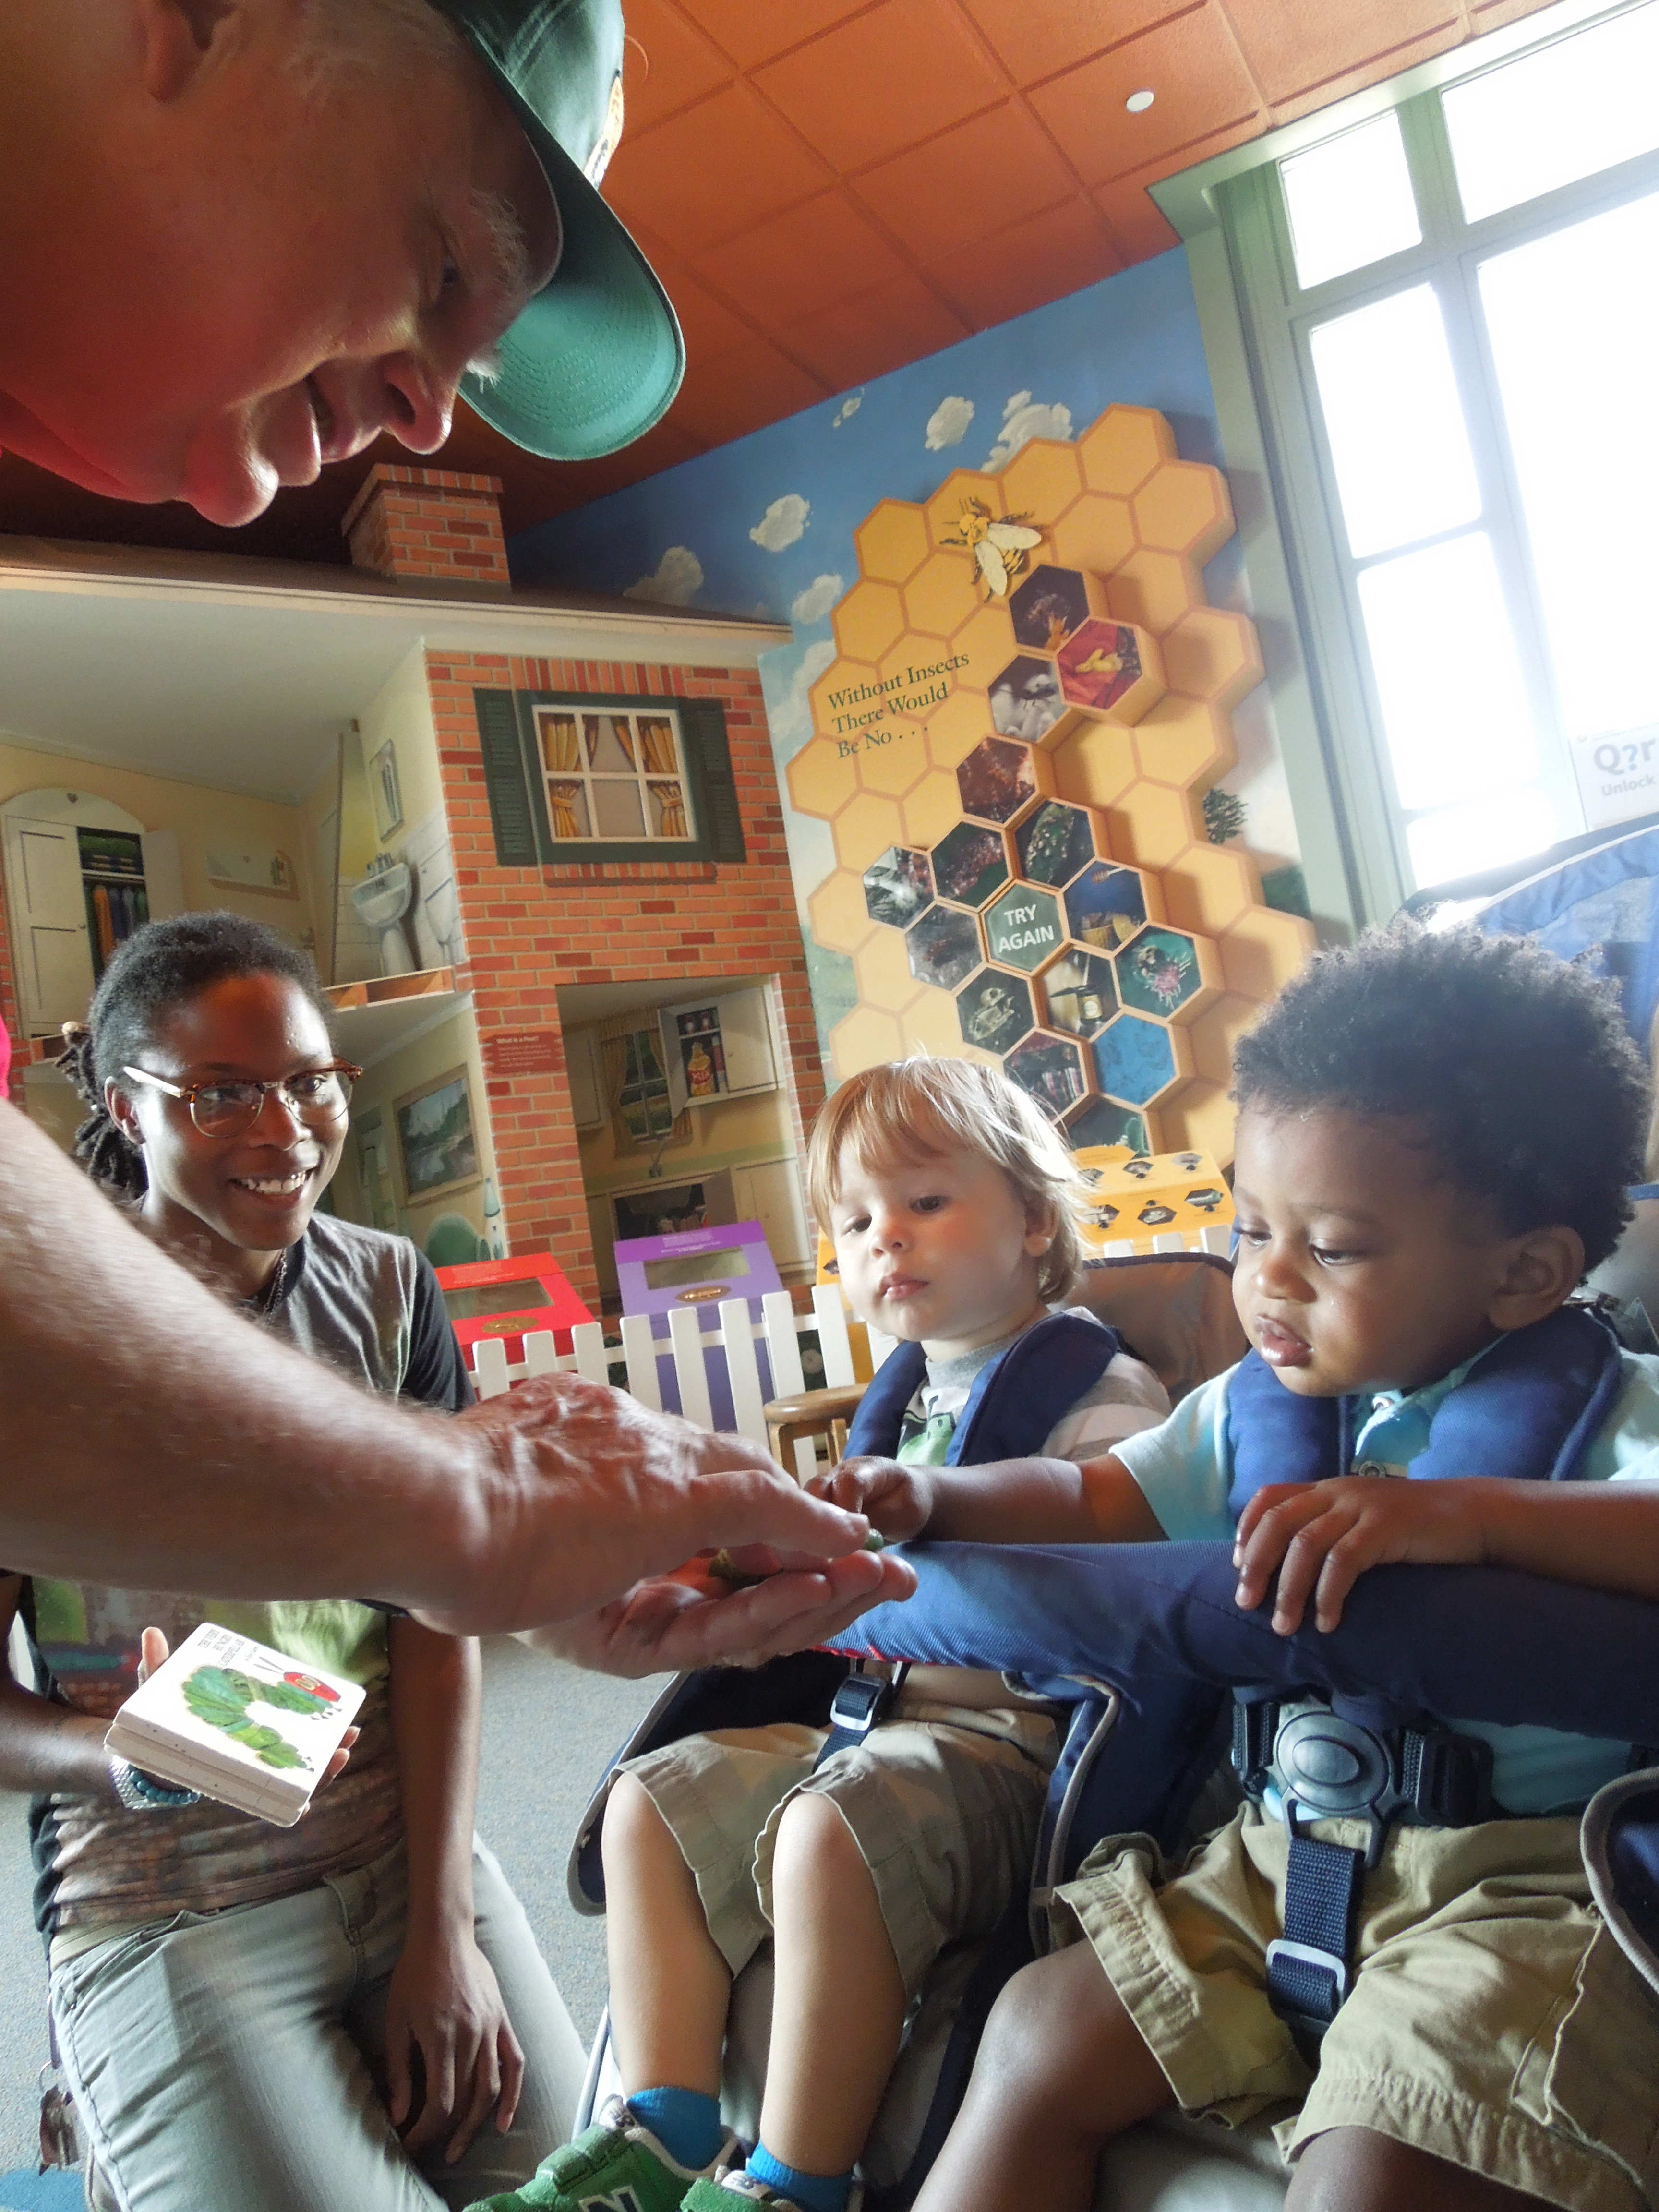
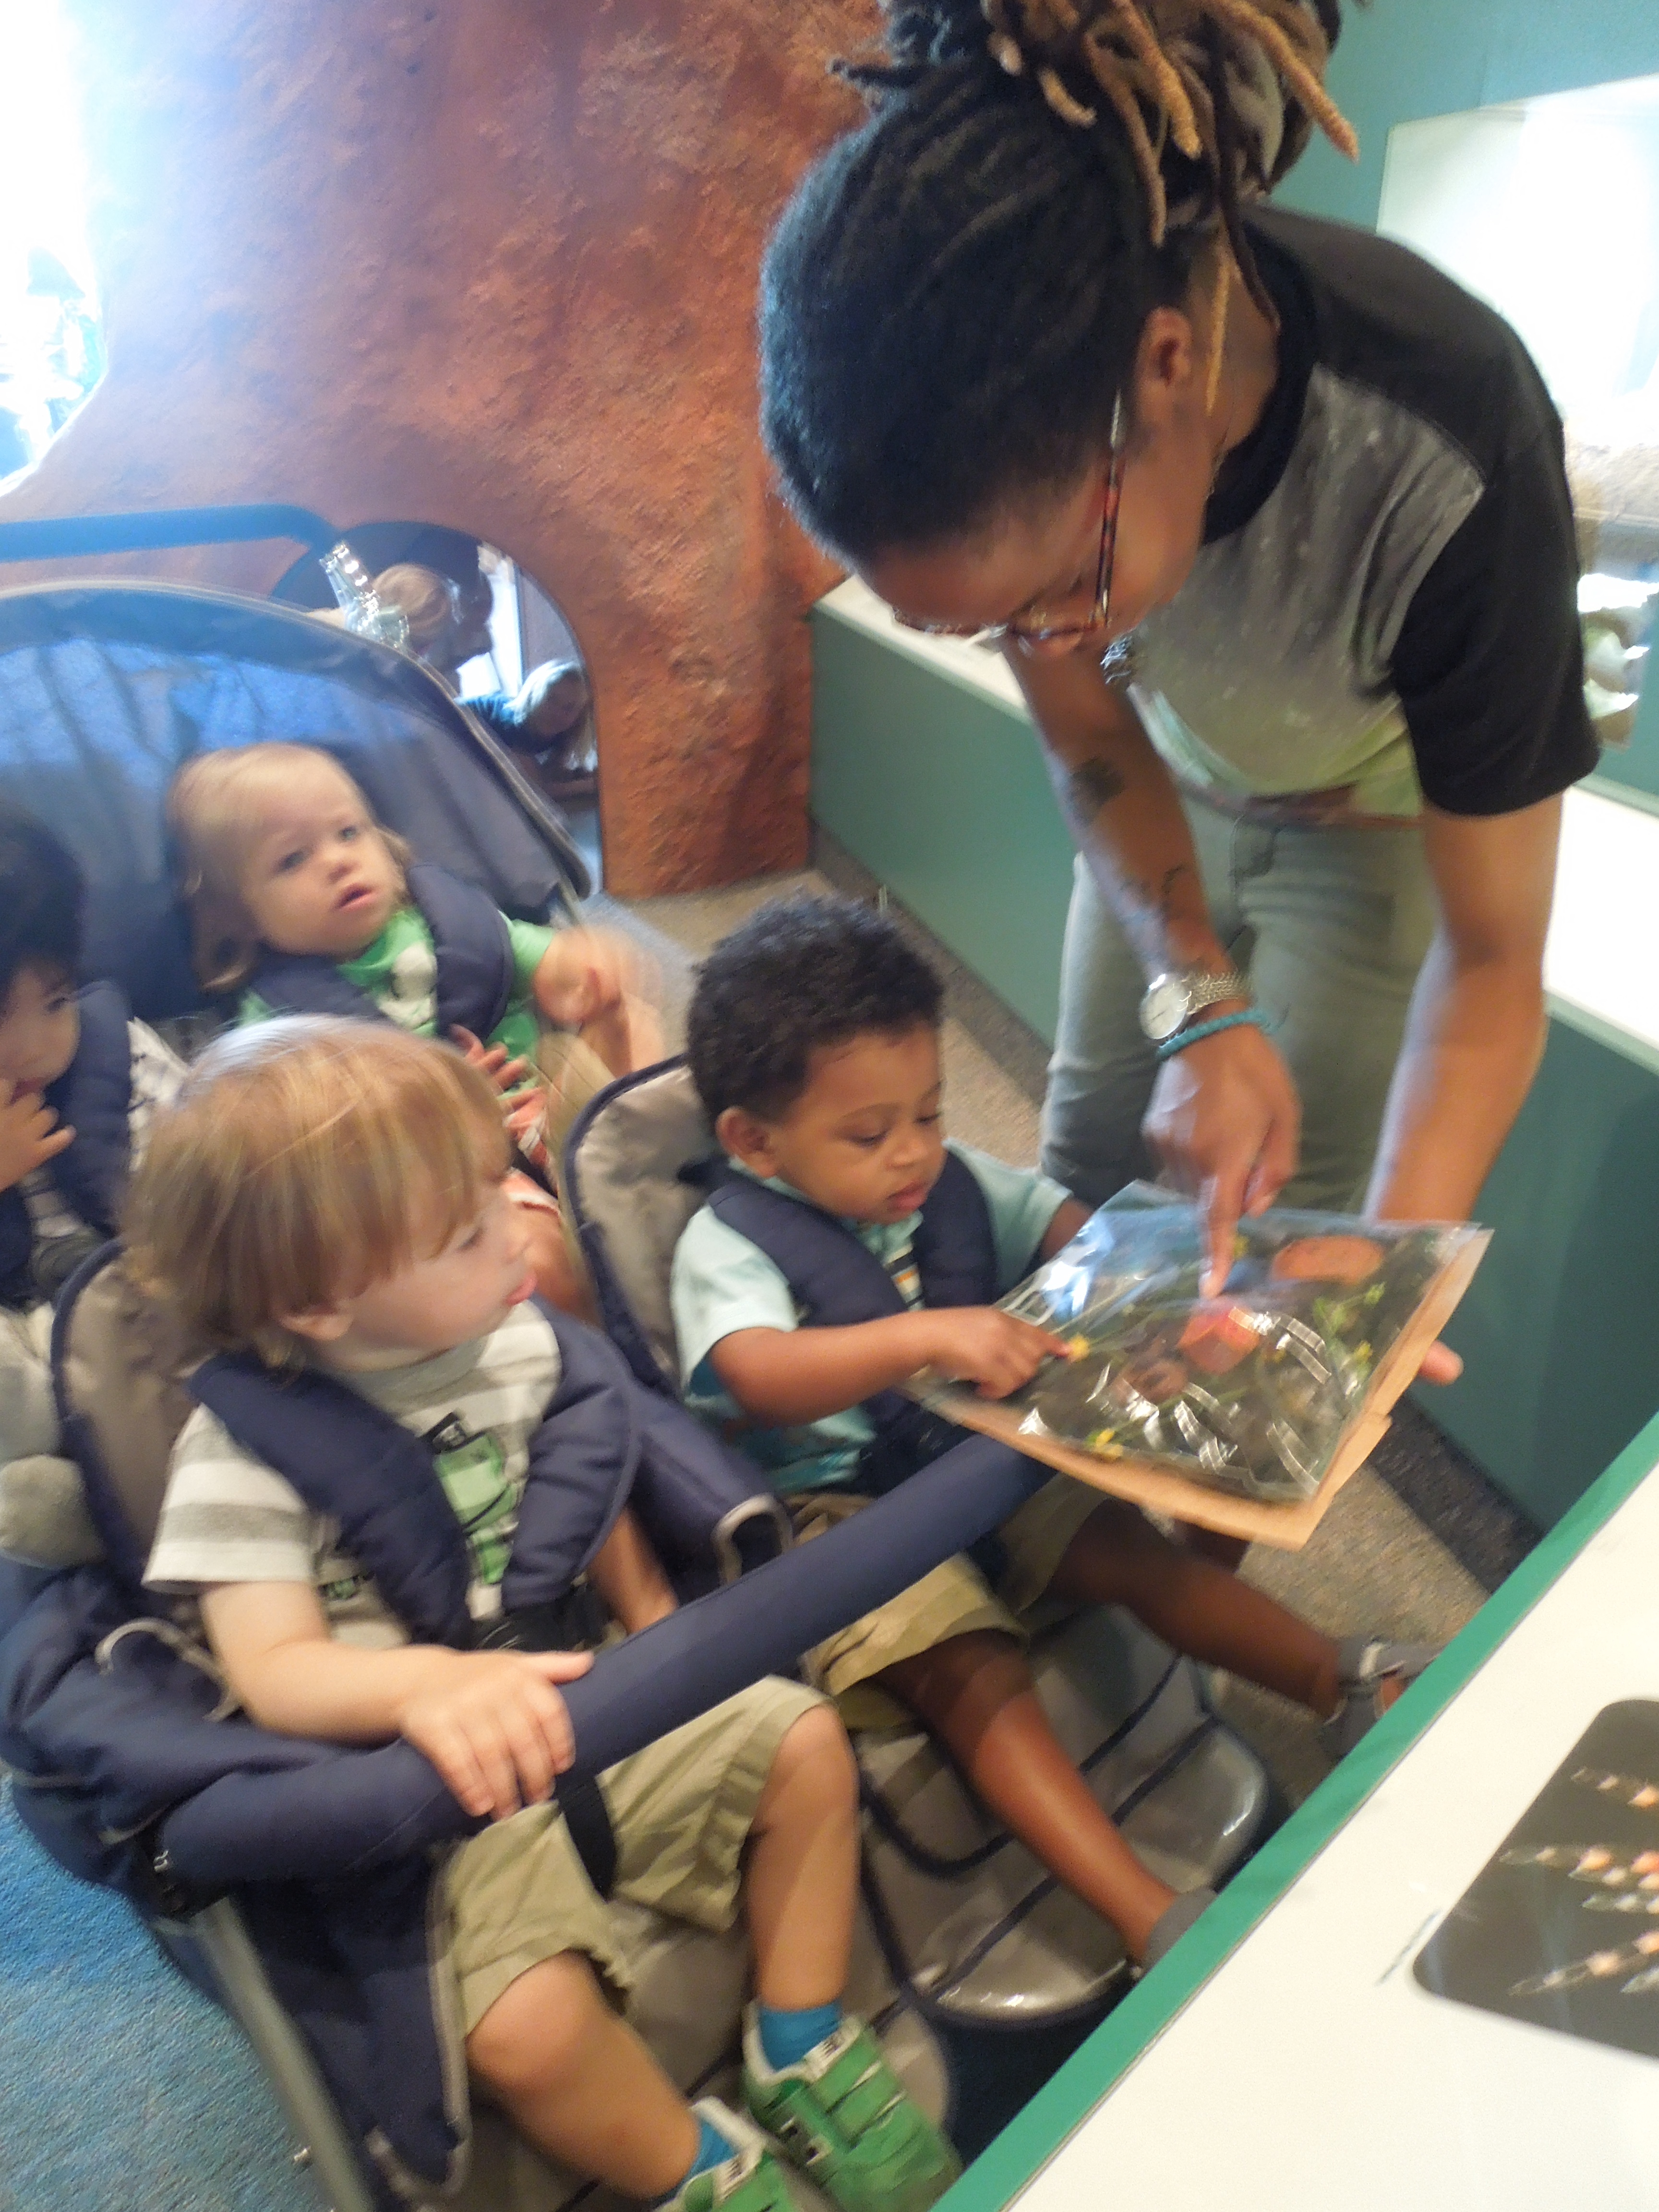
The class explored most of the produce using sight, touch, smell, and sound. The children were able to use their sense of taste when interacting with the avocados and strawberries for a more immersive experience. For both strawberries and avocados, the children looked at and touched images of the produce. They then compared the images to the real produce before and after it was cut up. Mallory, Morgan, and Rosalie believed that it was important for the children to be able to make connections between the whole product, which the children do not always see, and the cut up portions that the children regularly eat at snack time. To finish the experience, the class had the opportunity to sample! The strawberries were a big hit, but many students were a little more cautious about the avocado. This immersive, multisensory experience left the children with a greater understanding of the food that they eat.
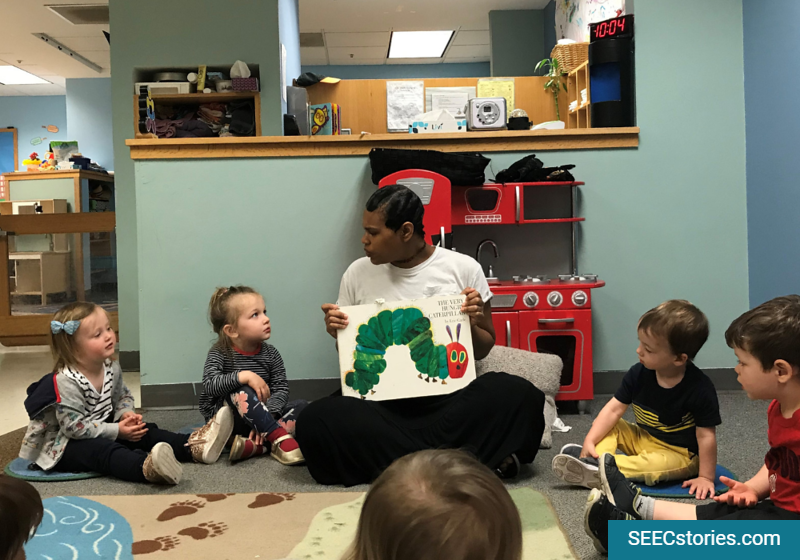
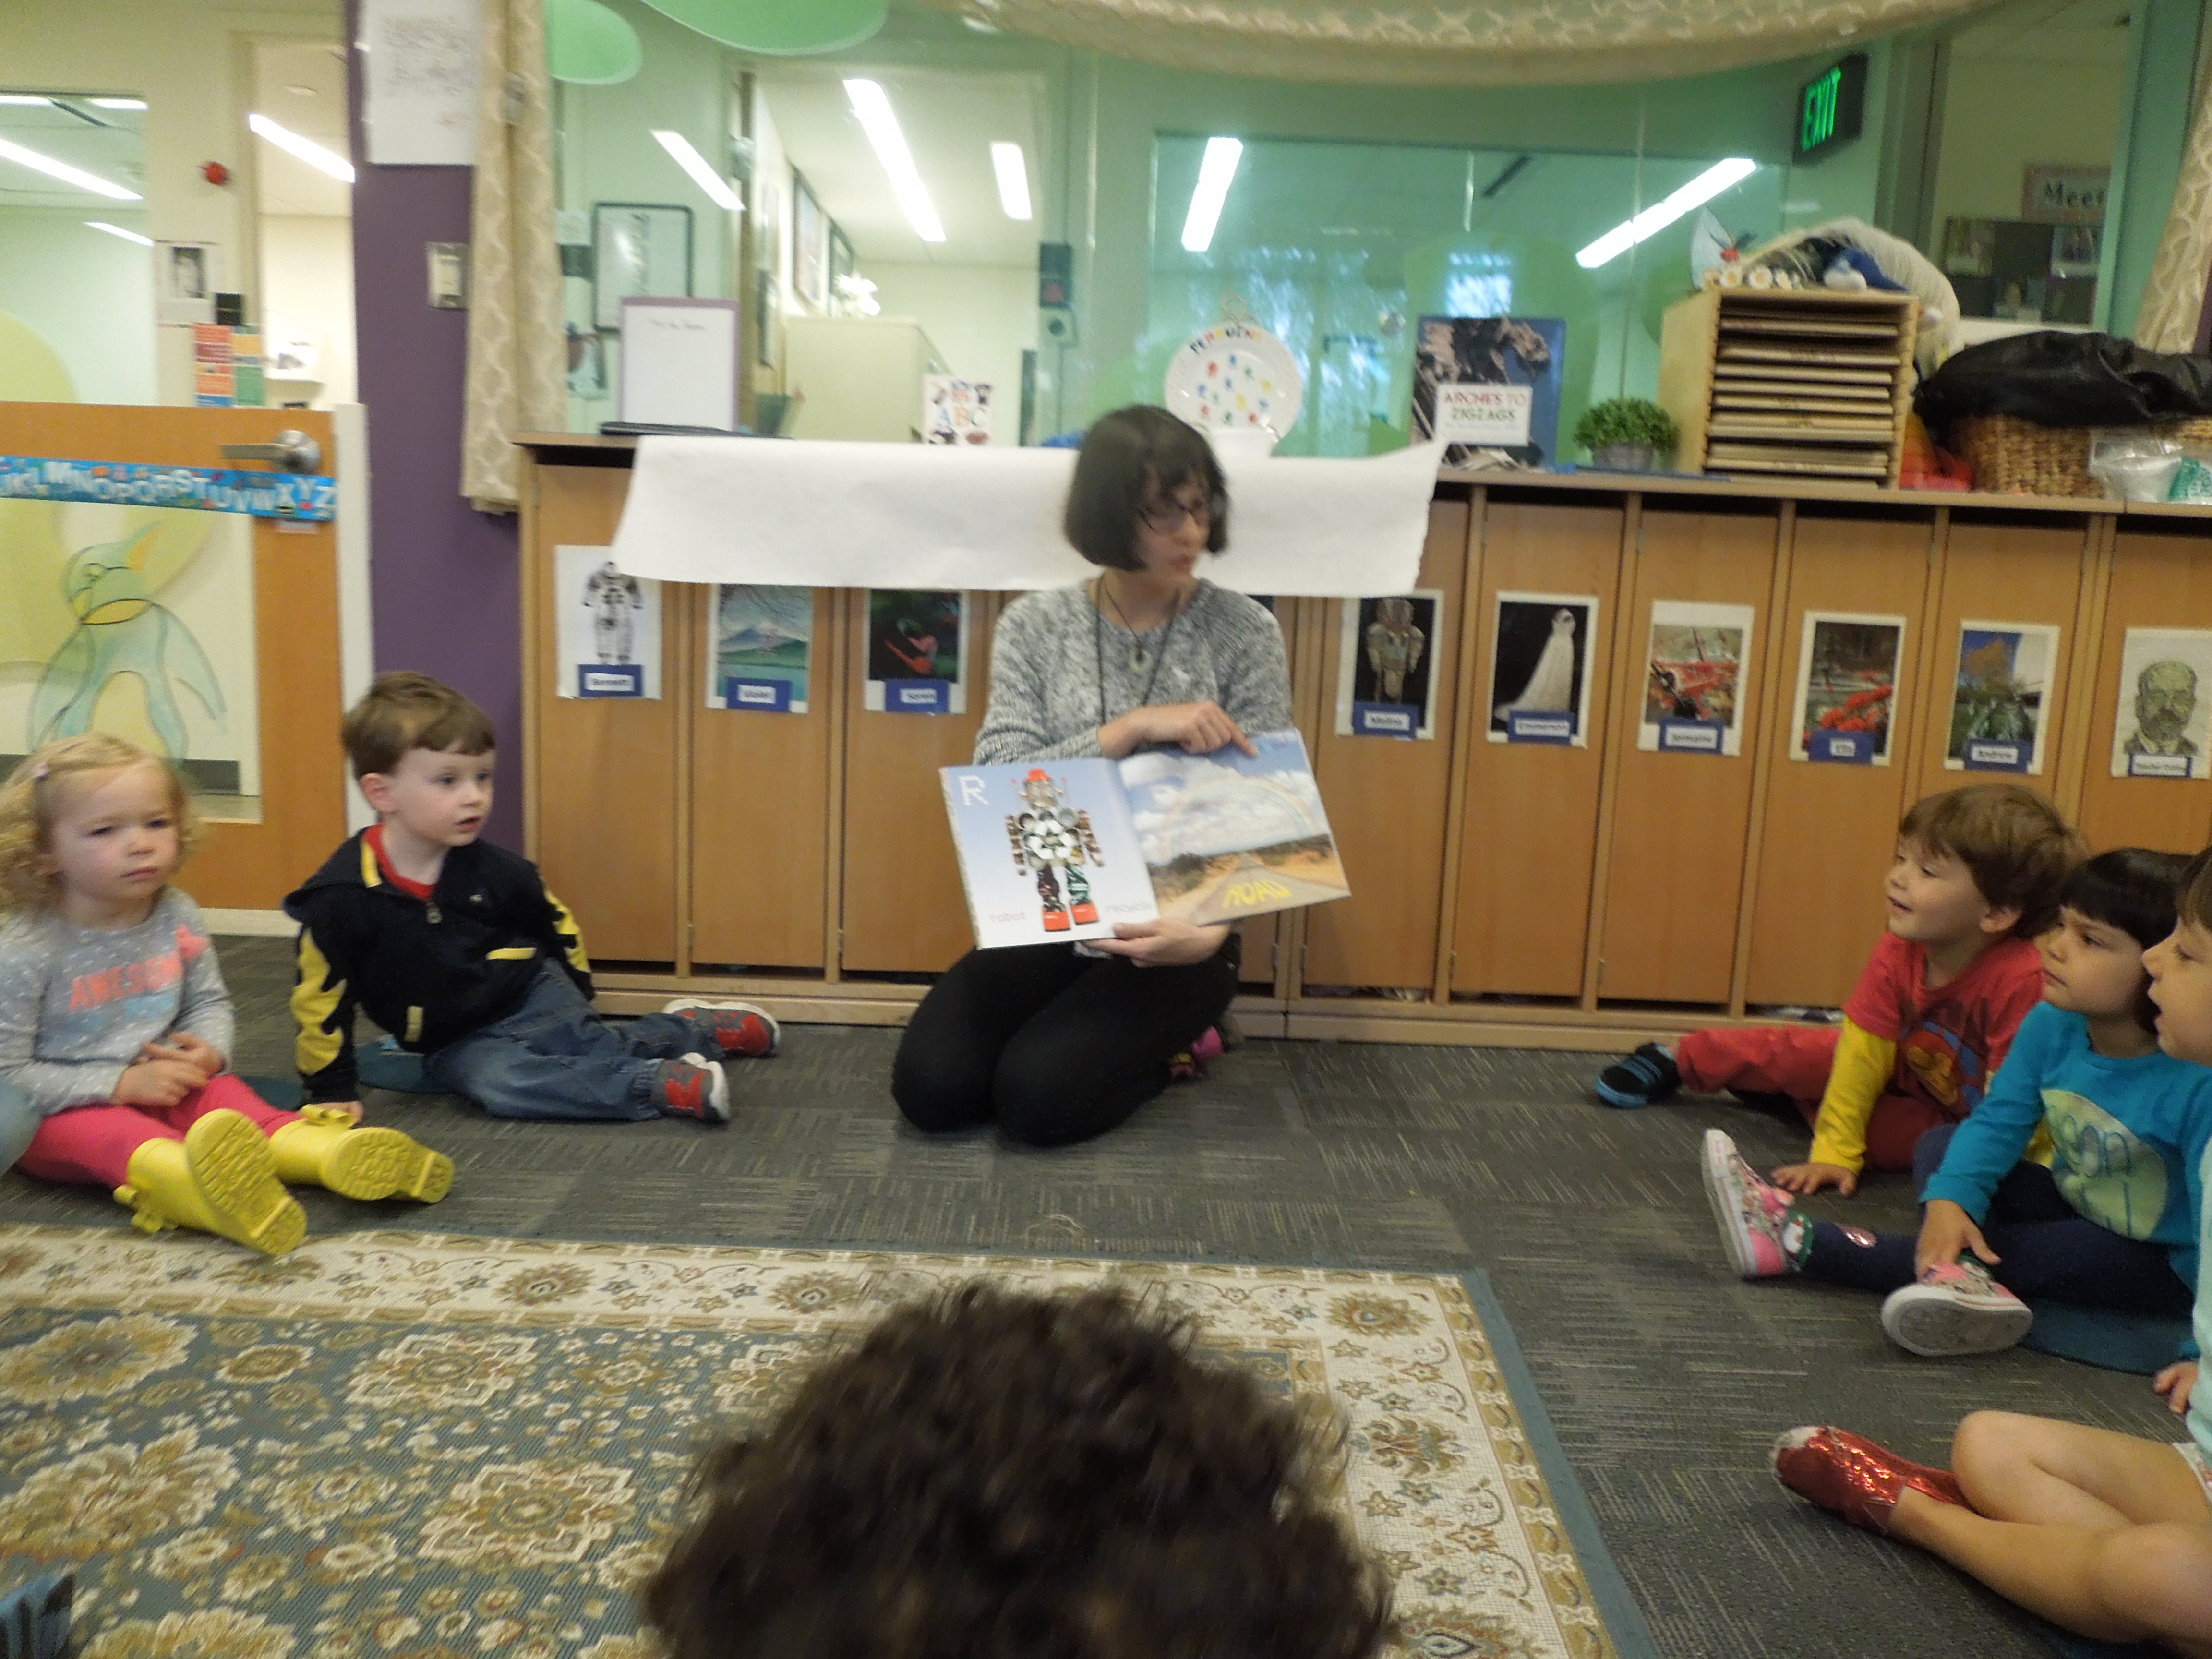
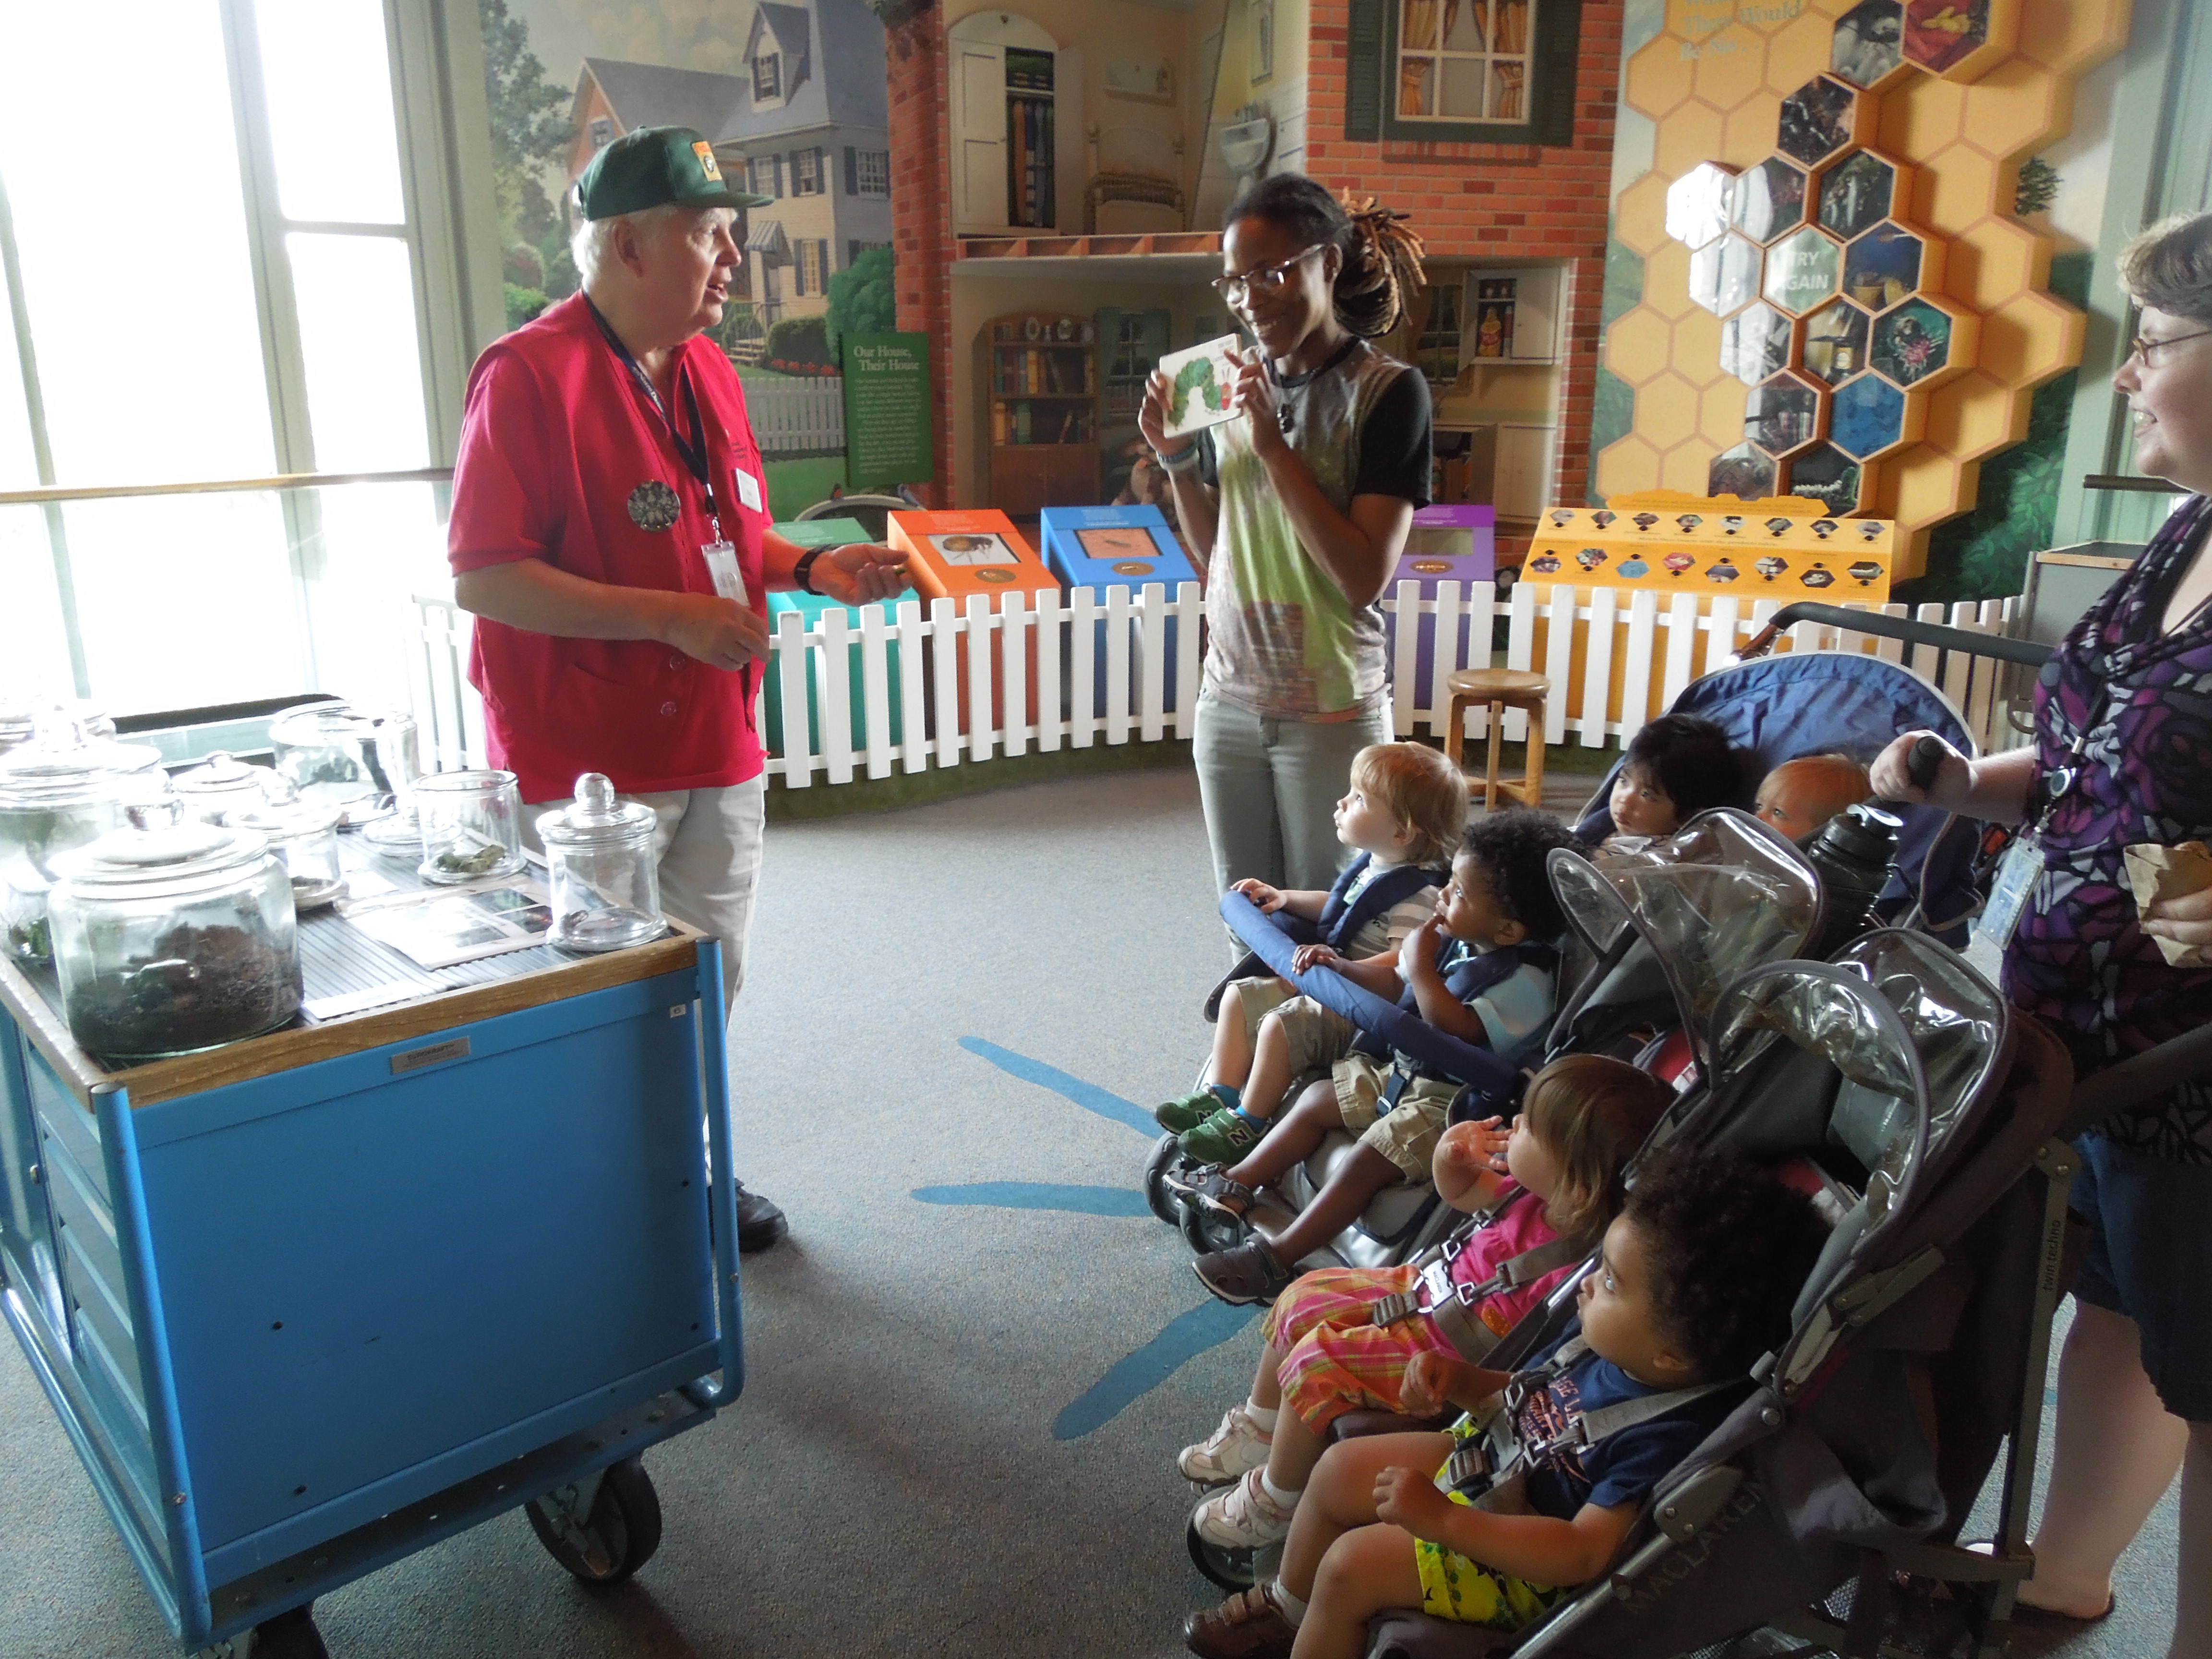
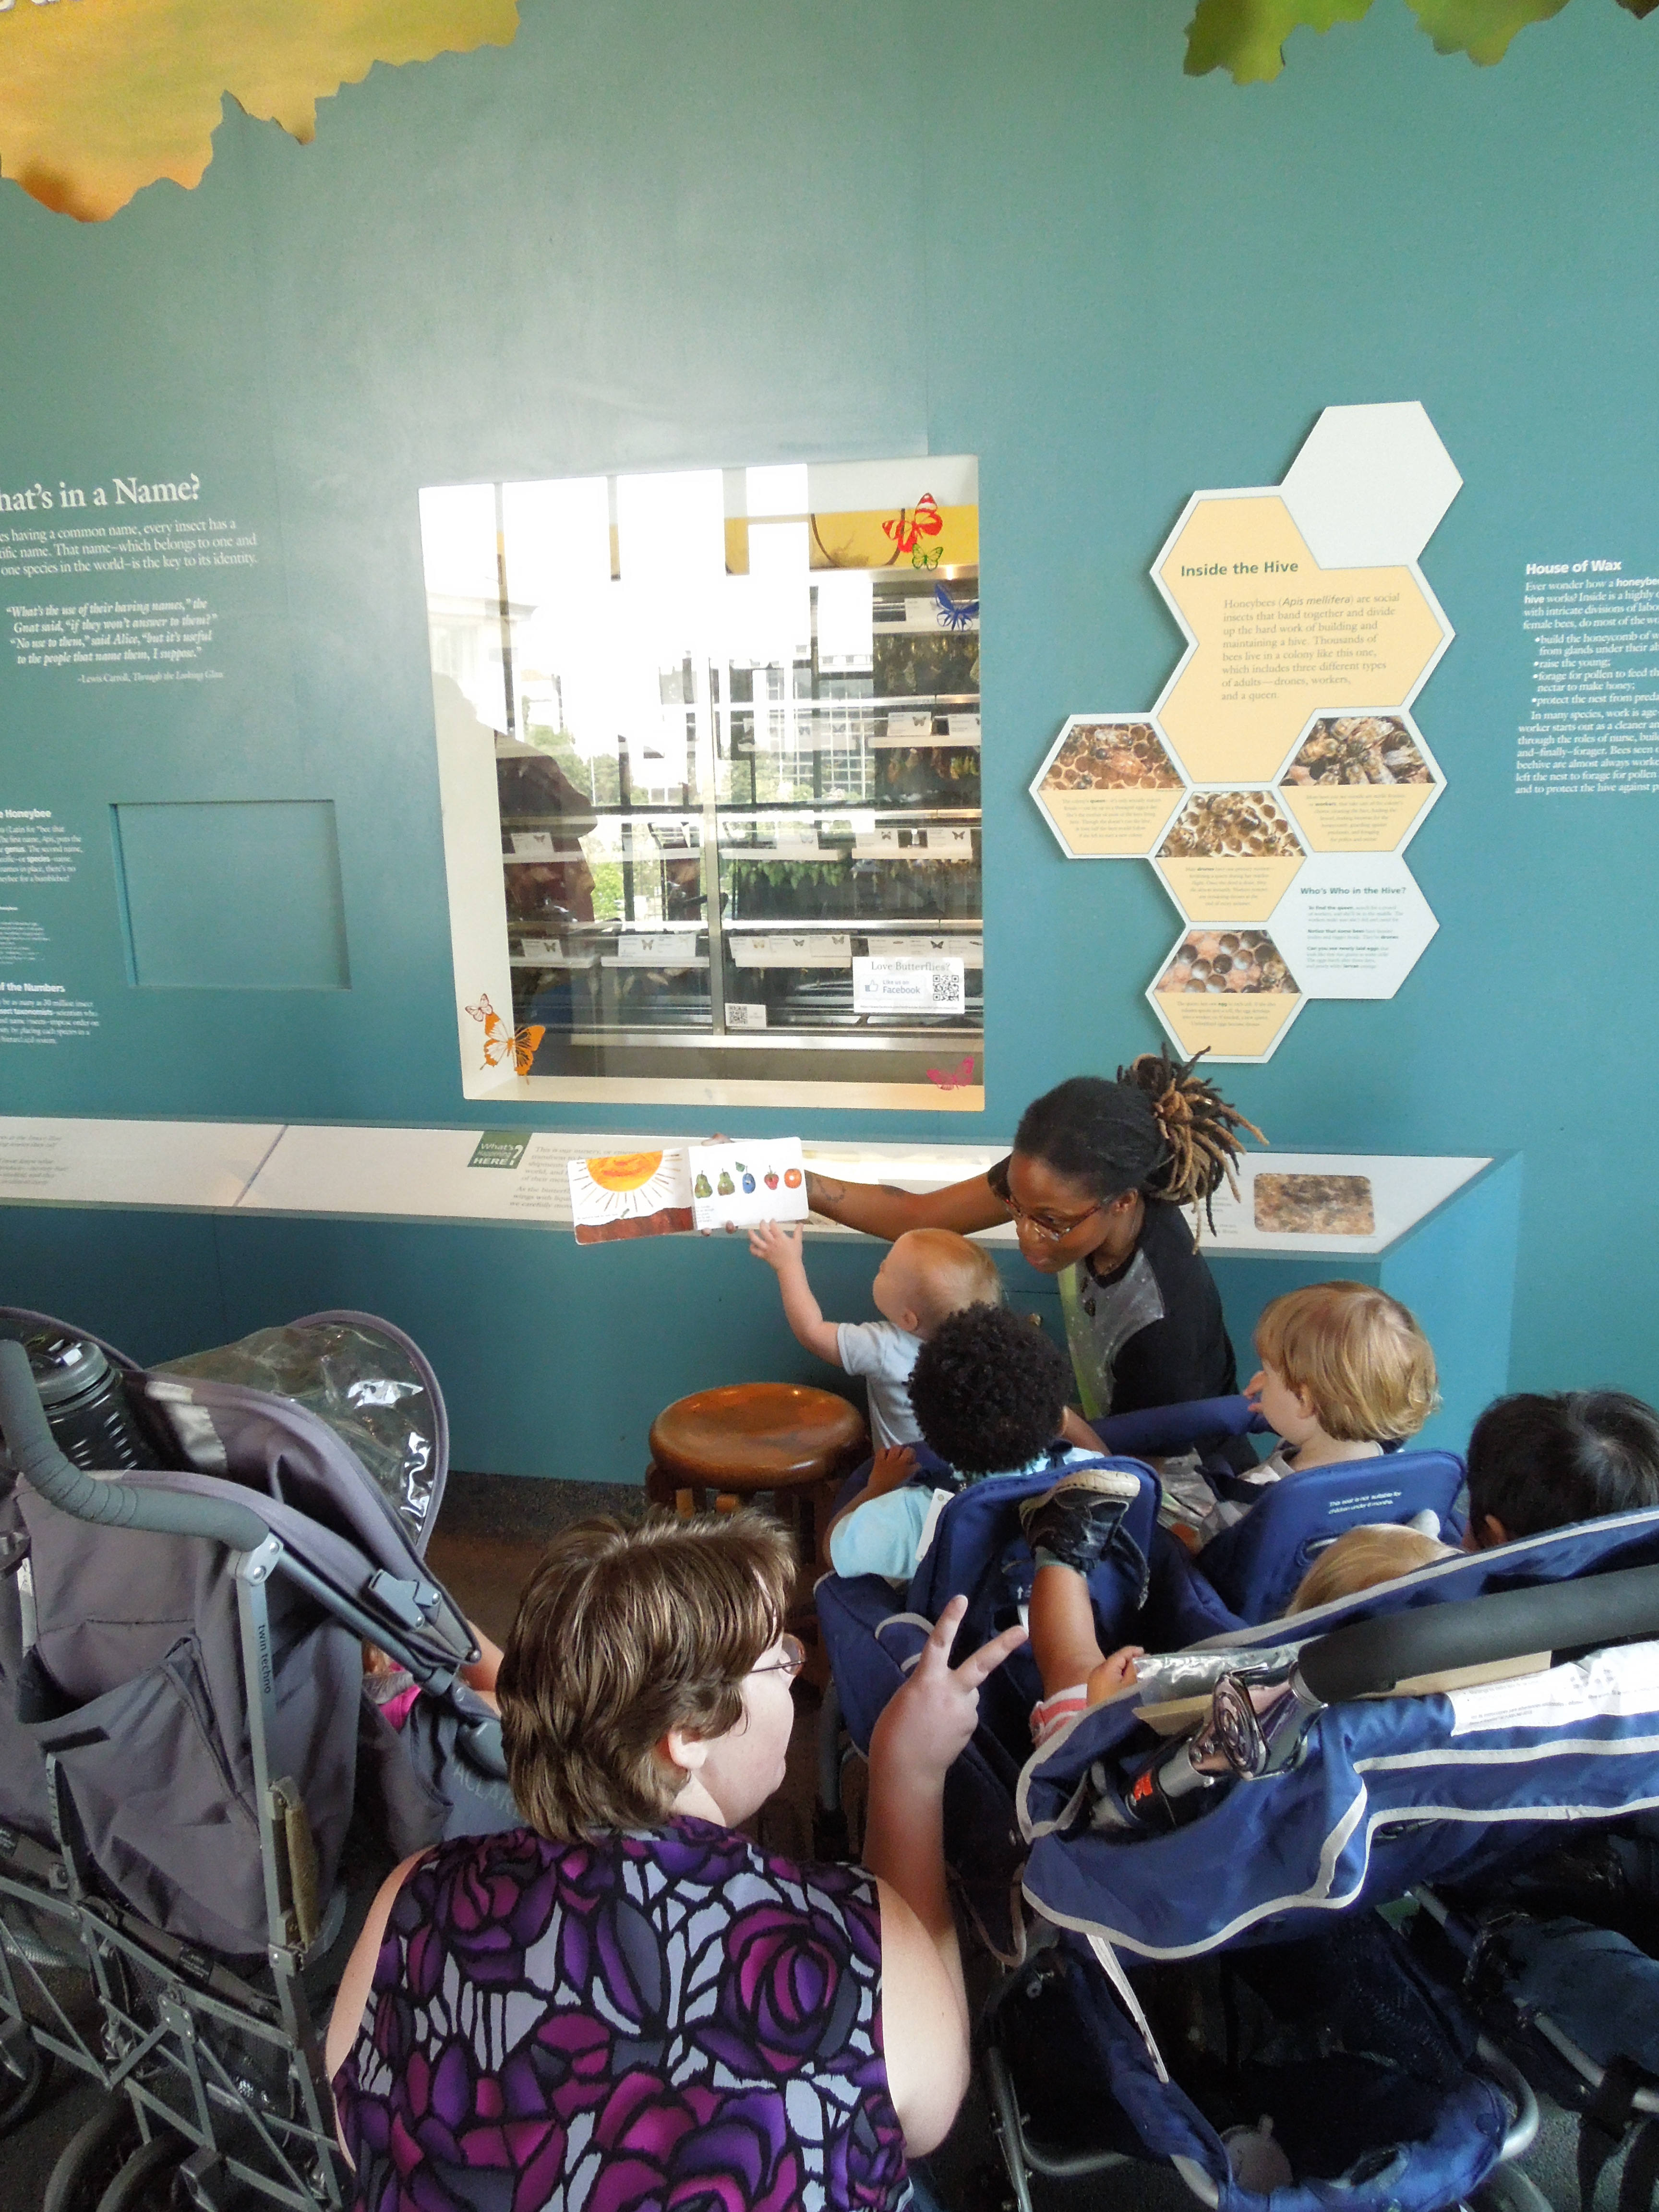
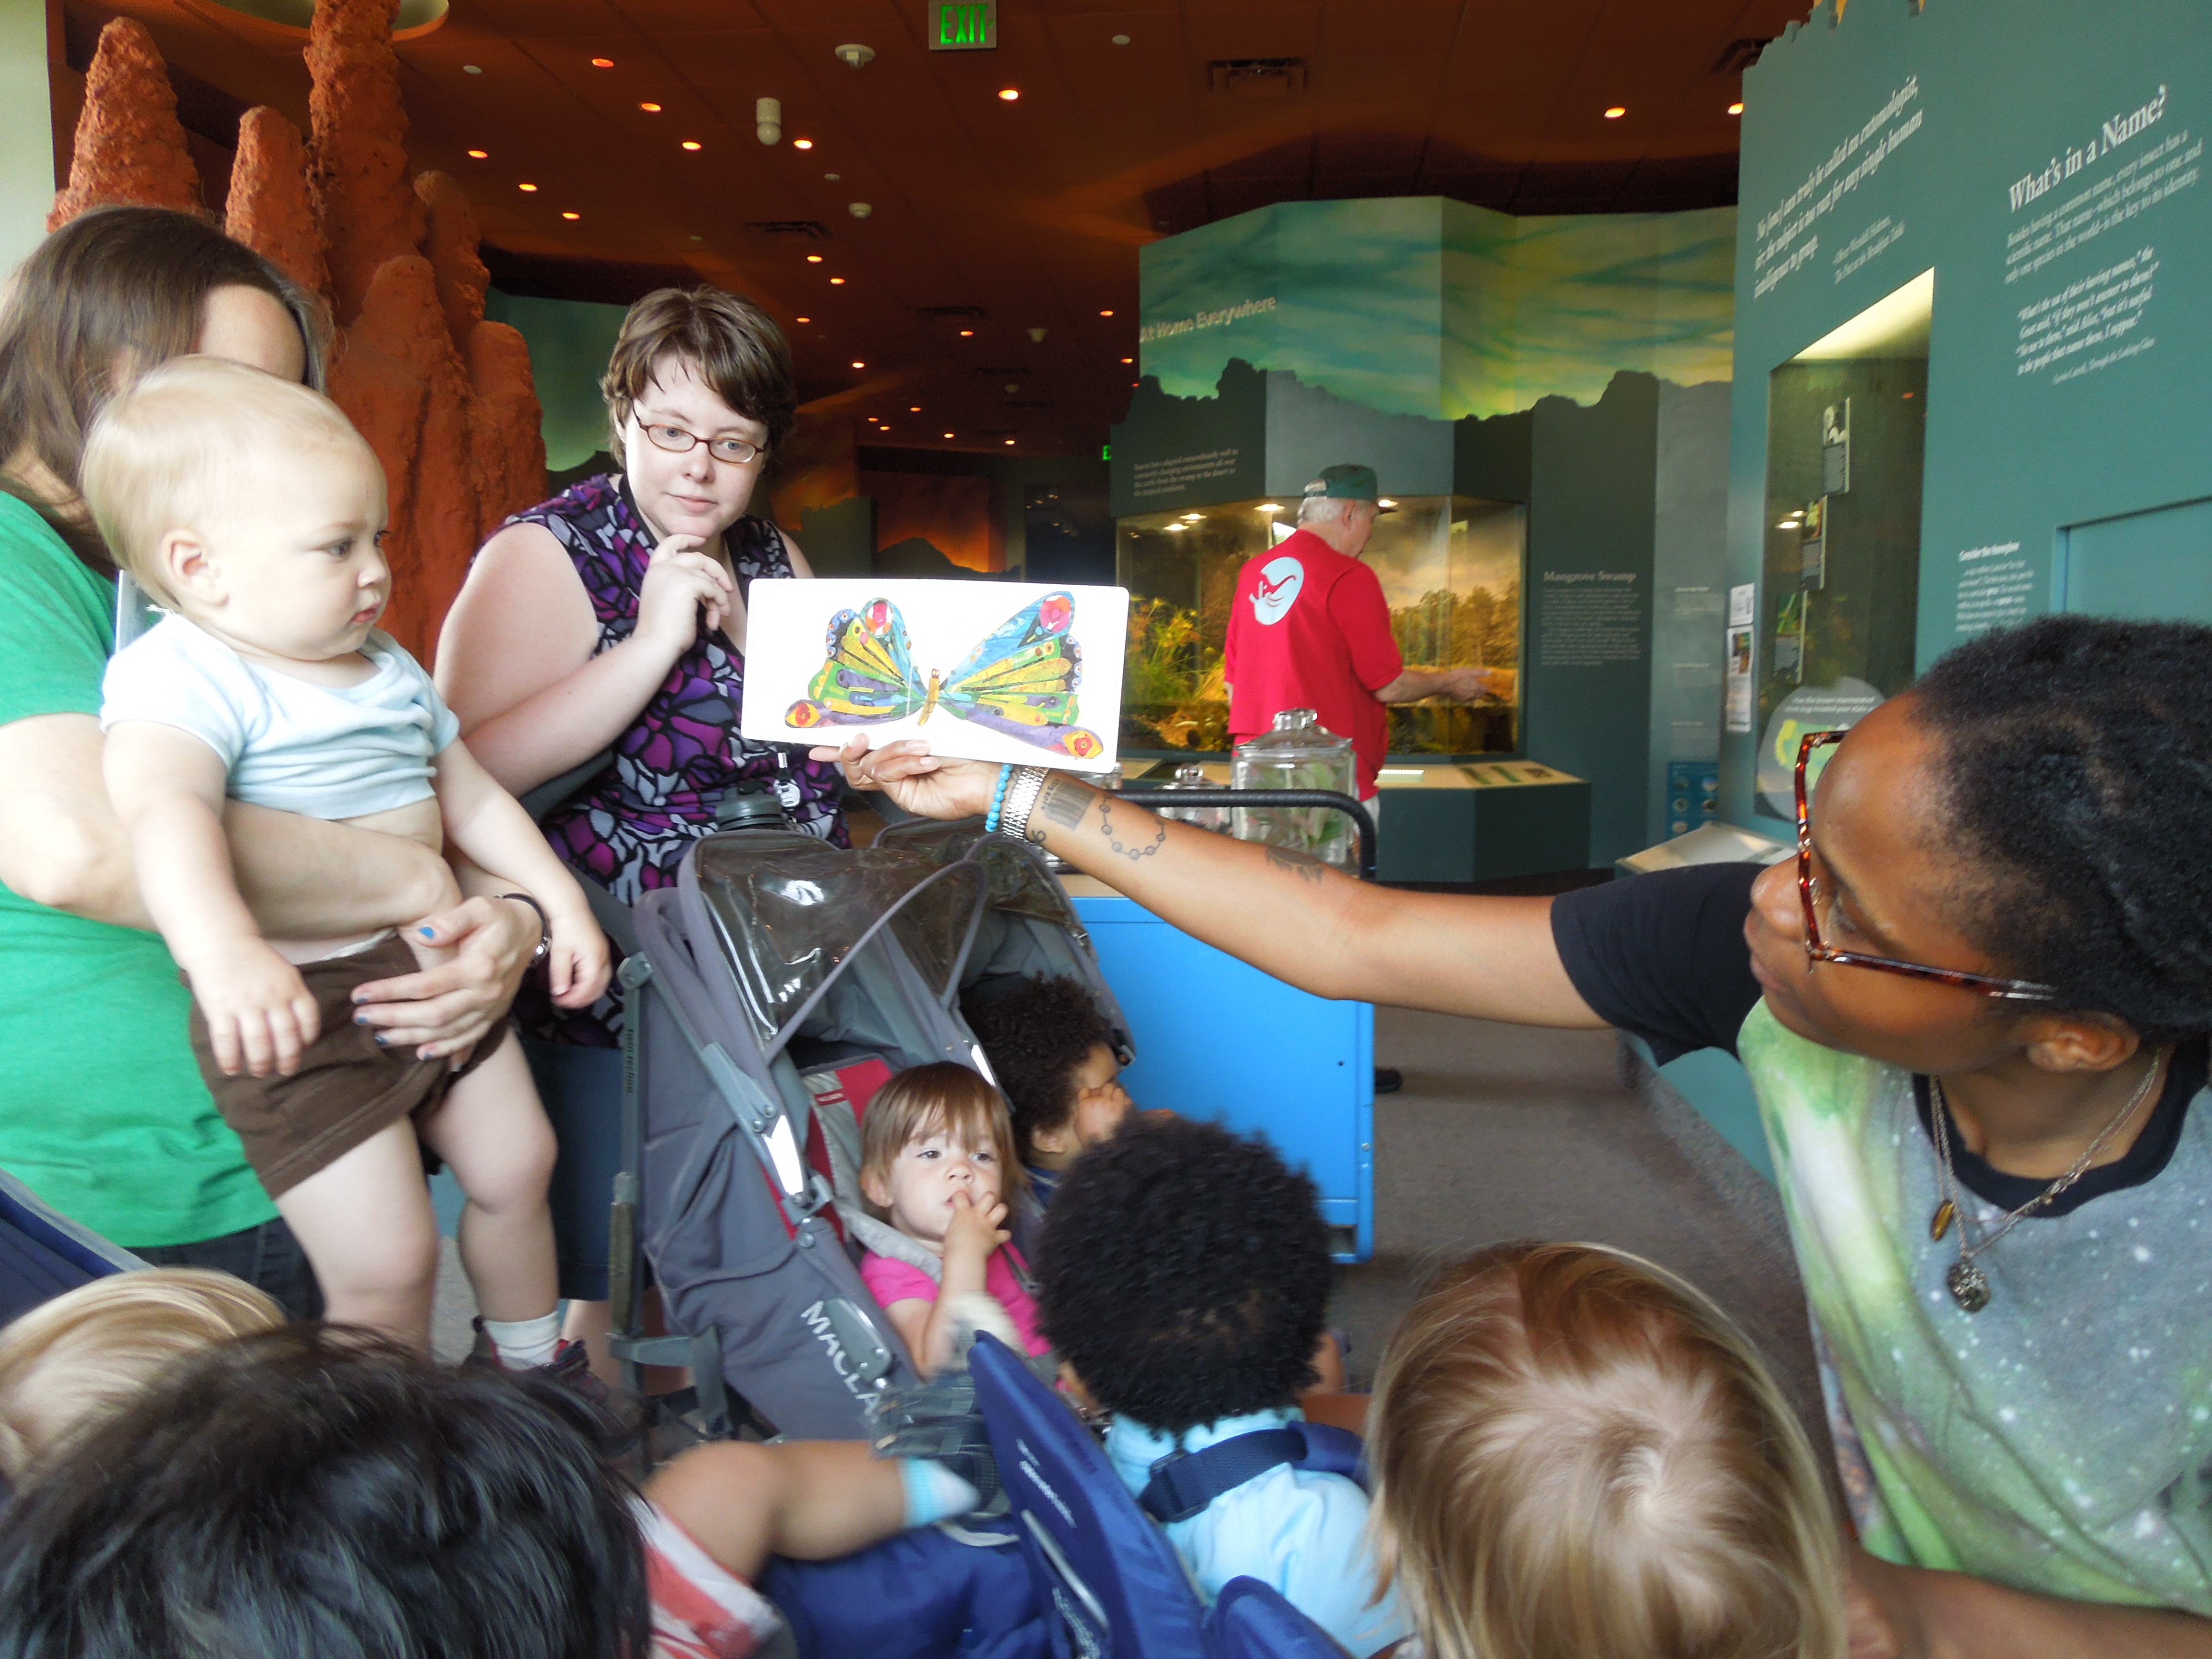
The teachers also combined this multisensory teaching approach with thinking routines including See, Think, Wonder to encourage curiosity and new understandings. Since many of their infants were preverbal, Mallory, Morgan, and Rosalie would verbalize out loud the different things that they saw, thought, and wondered while the children in their class were exploring the various fruits and vegetables. The teachers were careful to keep in mind that this might be the first time that their class had been exposed to many of the images and objects and allowed time for the infants to experience and make discoveries. One particularly fun lesson that built upon the multisensory and thinking routine approaches, was when the infants were exploring the red cabbage. As the children were bending, breaking, smelling, and feeling the texture of the cabbage, Morgan began to read Eating the Alphabet by Lois Ehlert. As she read, she asked questions about the colors, textures, and sounds that the class heard when they were peeling the leaves of the cabbage.
Lesson Implementation:

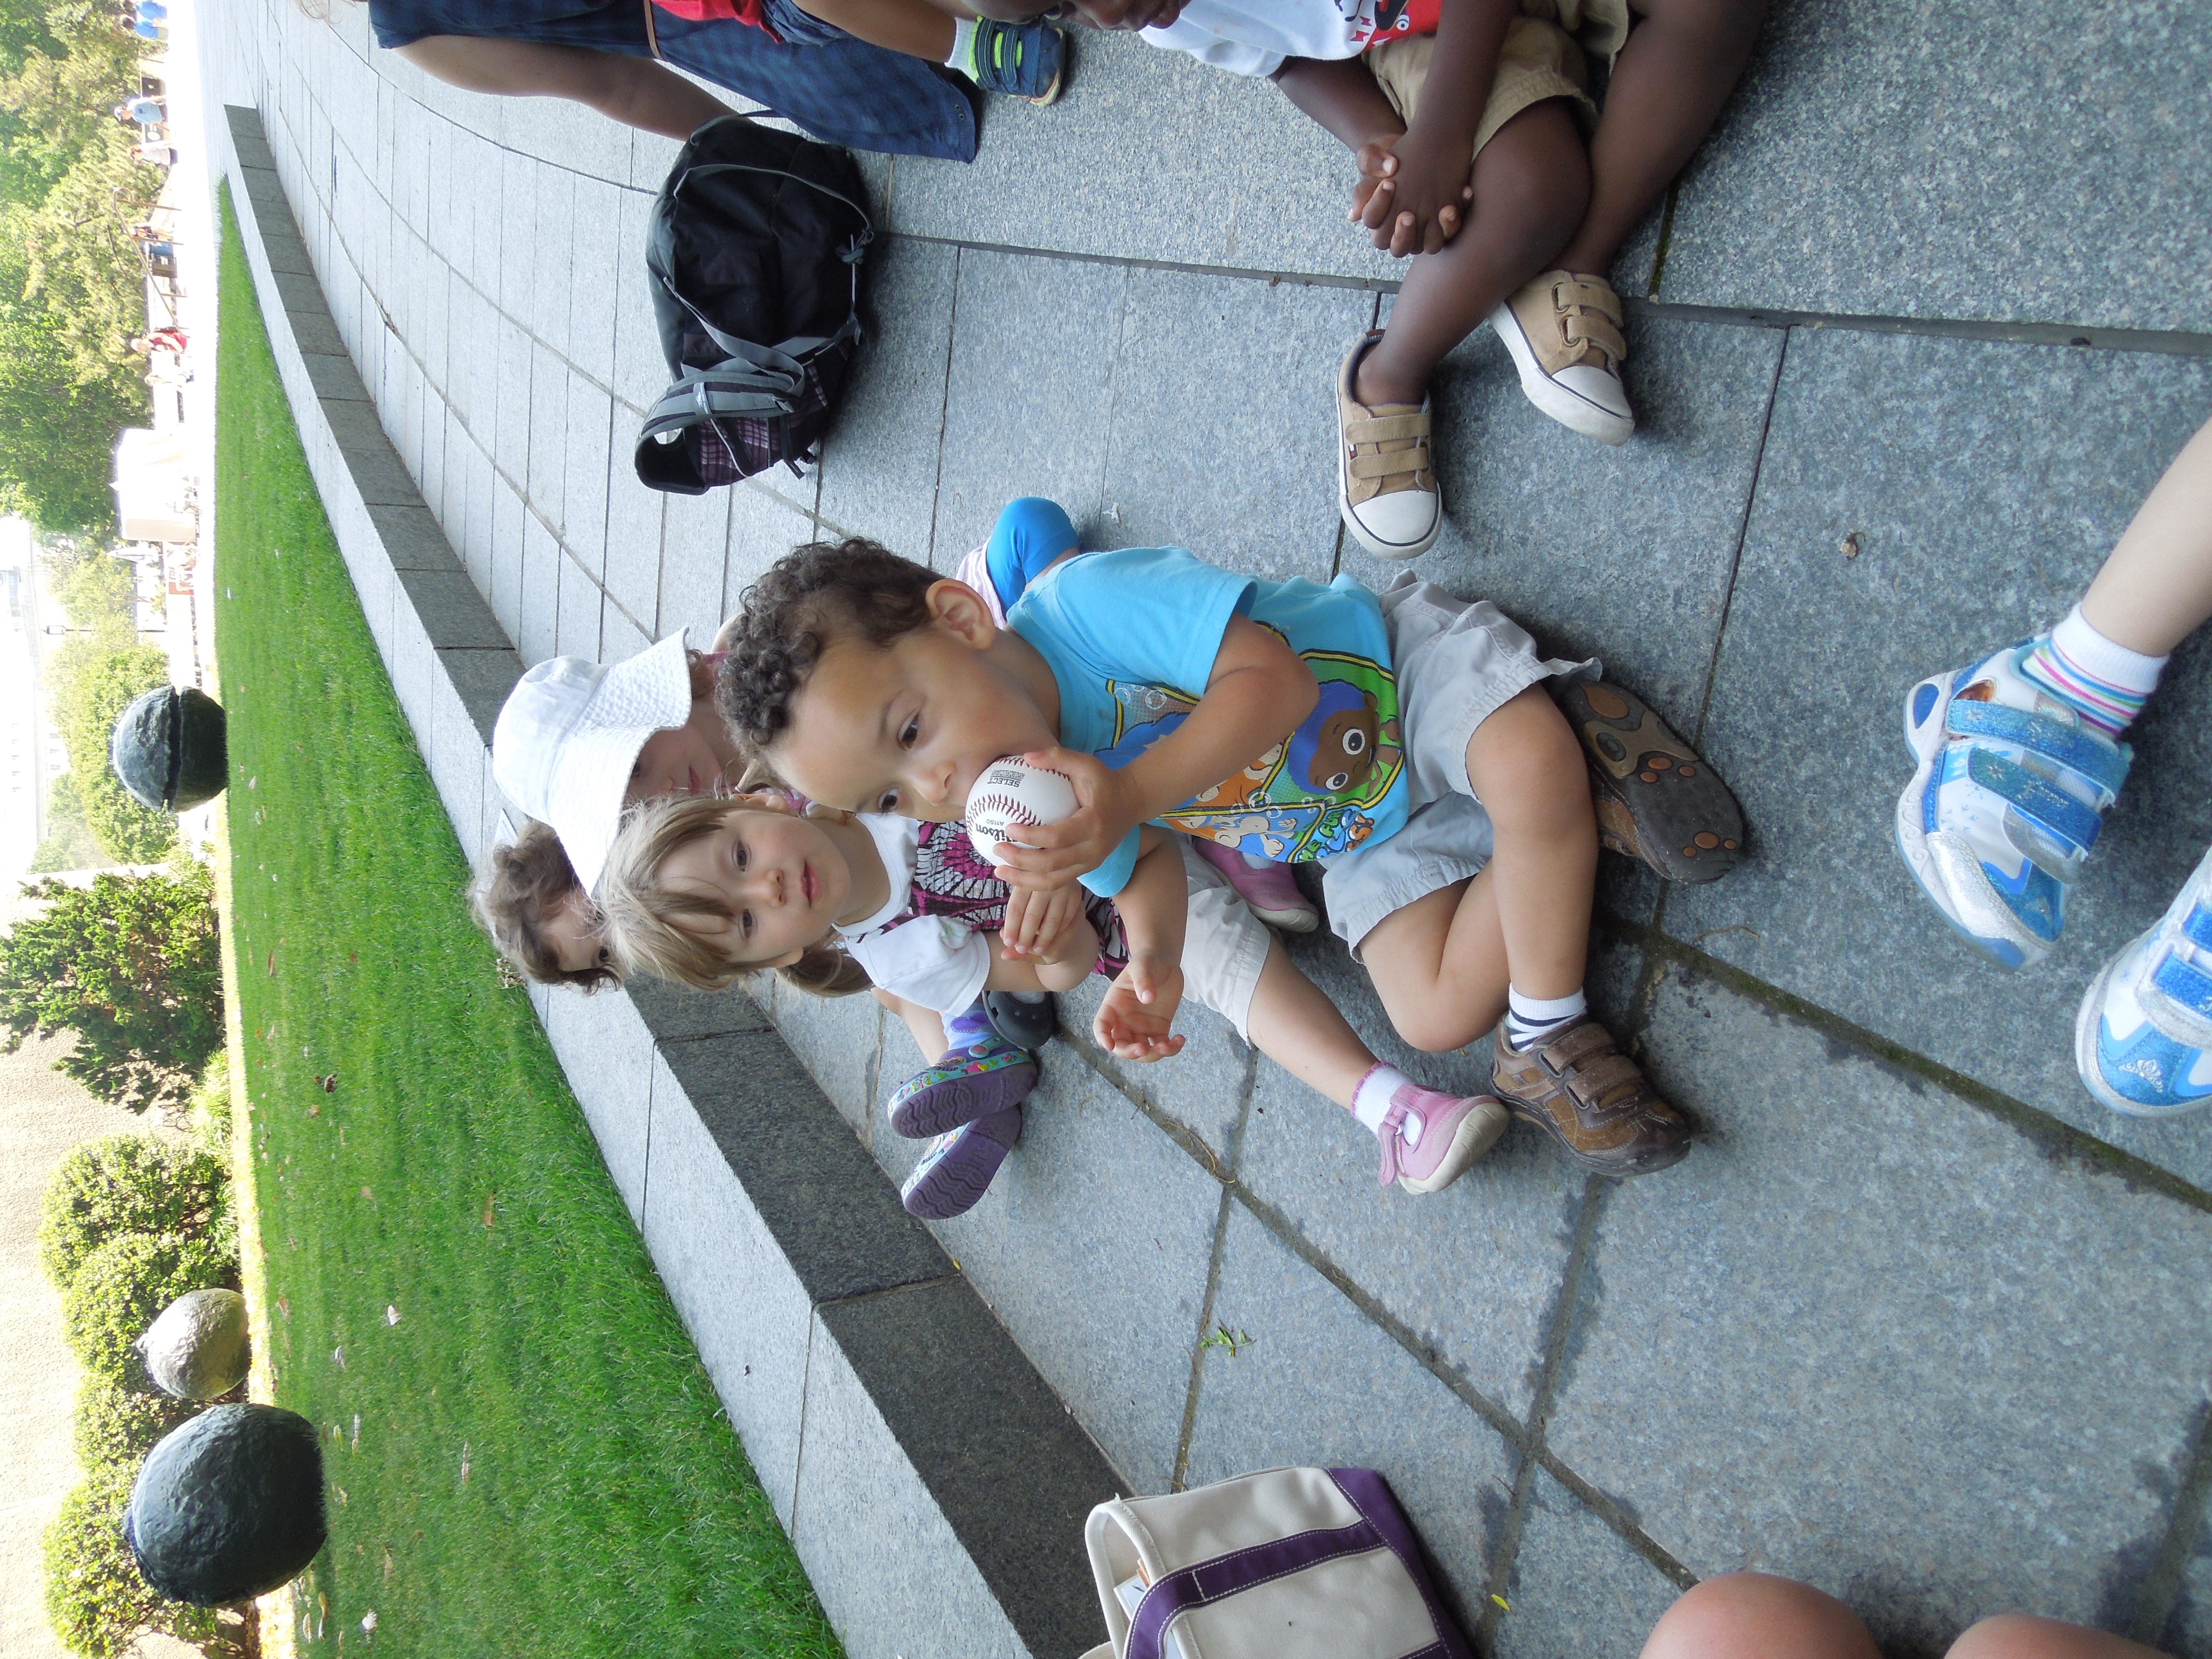
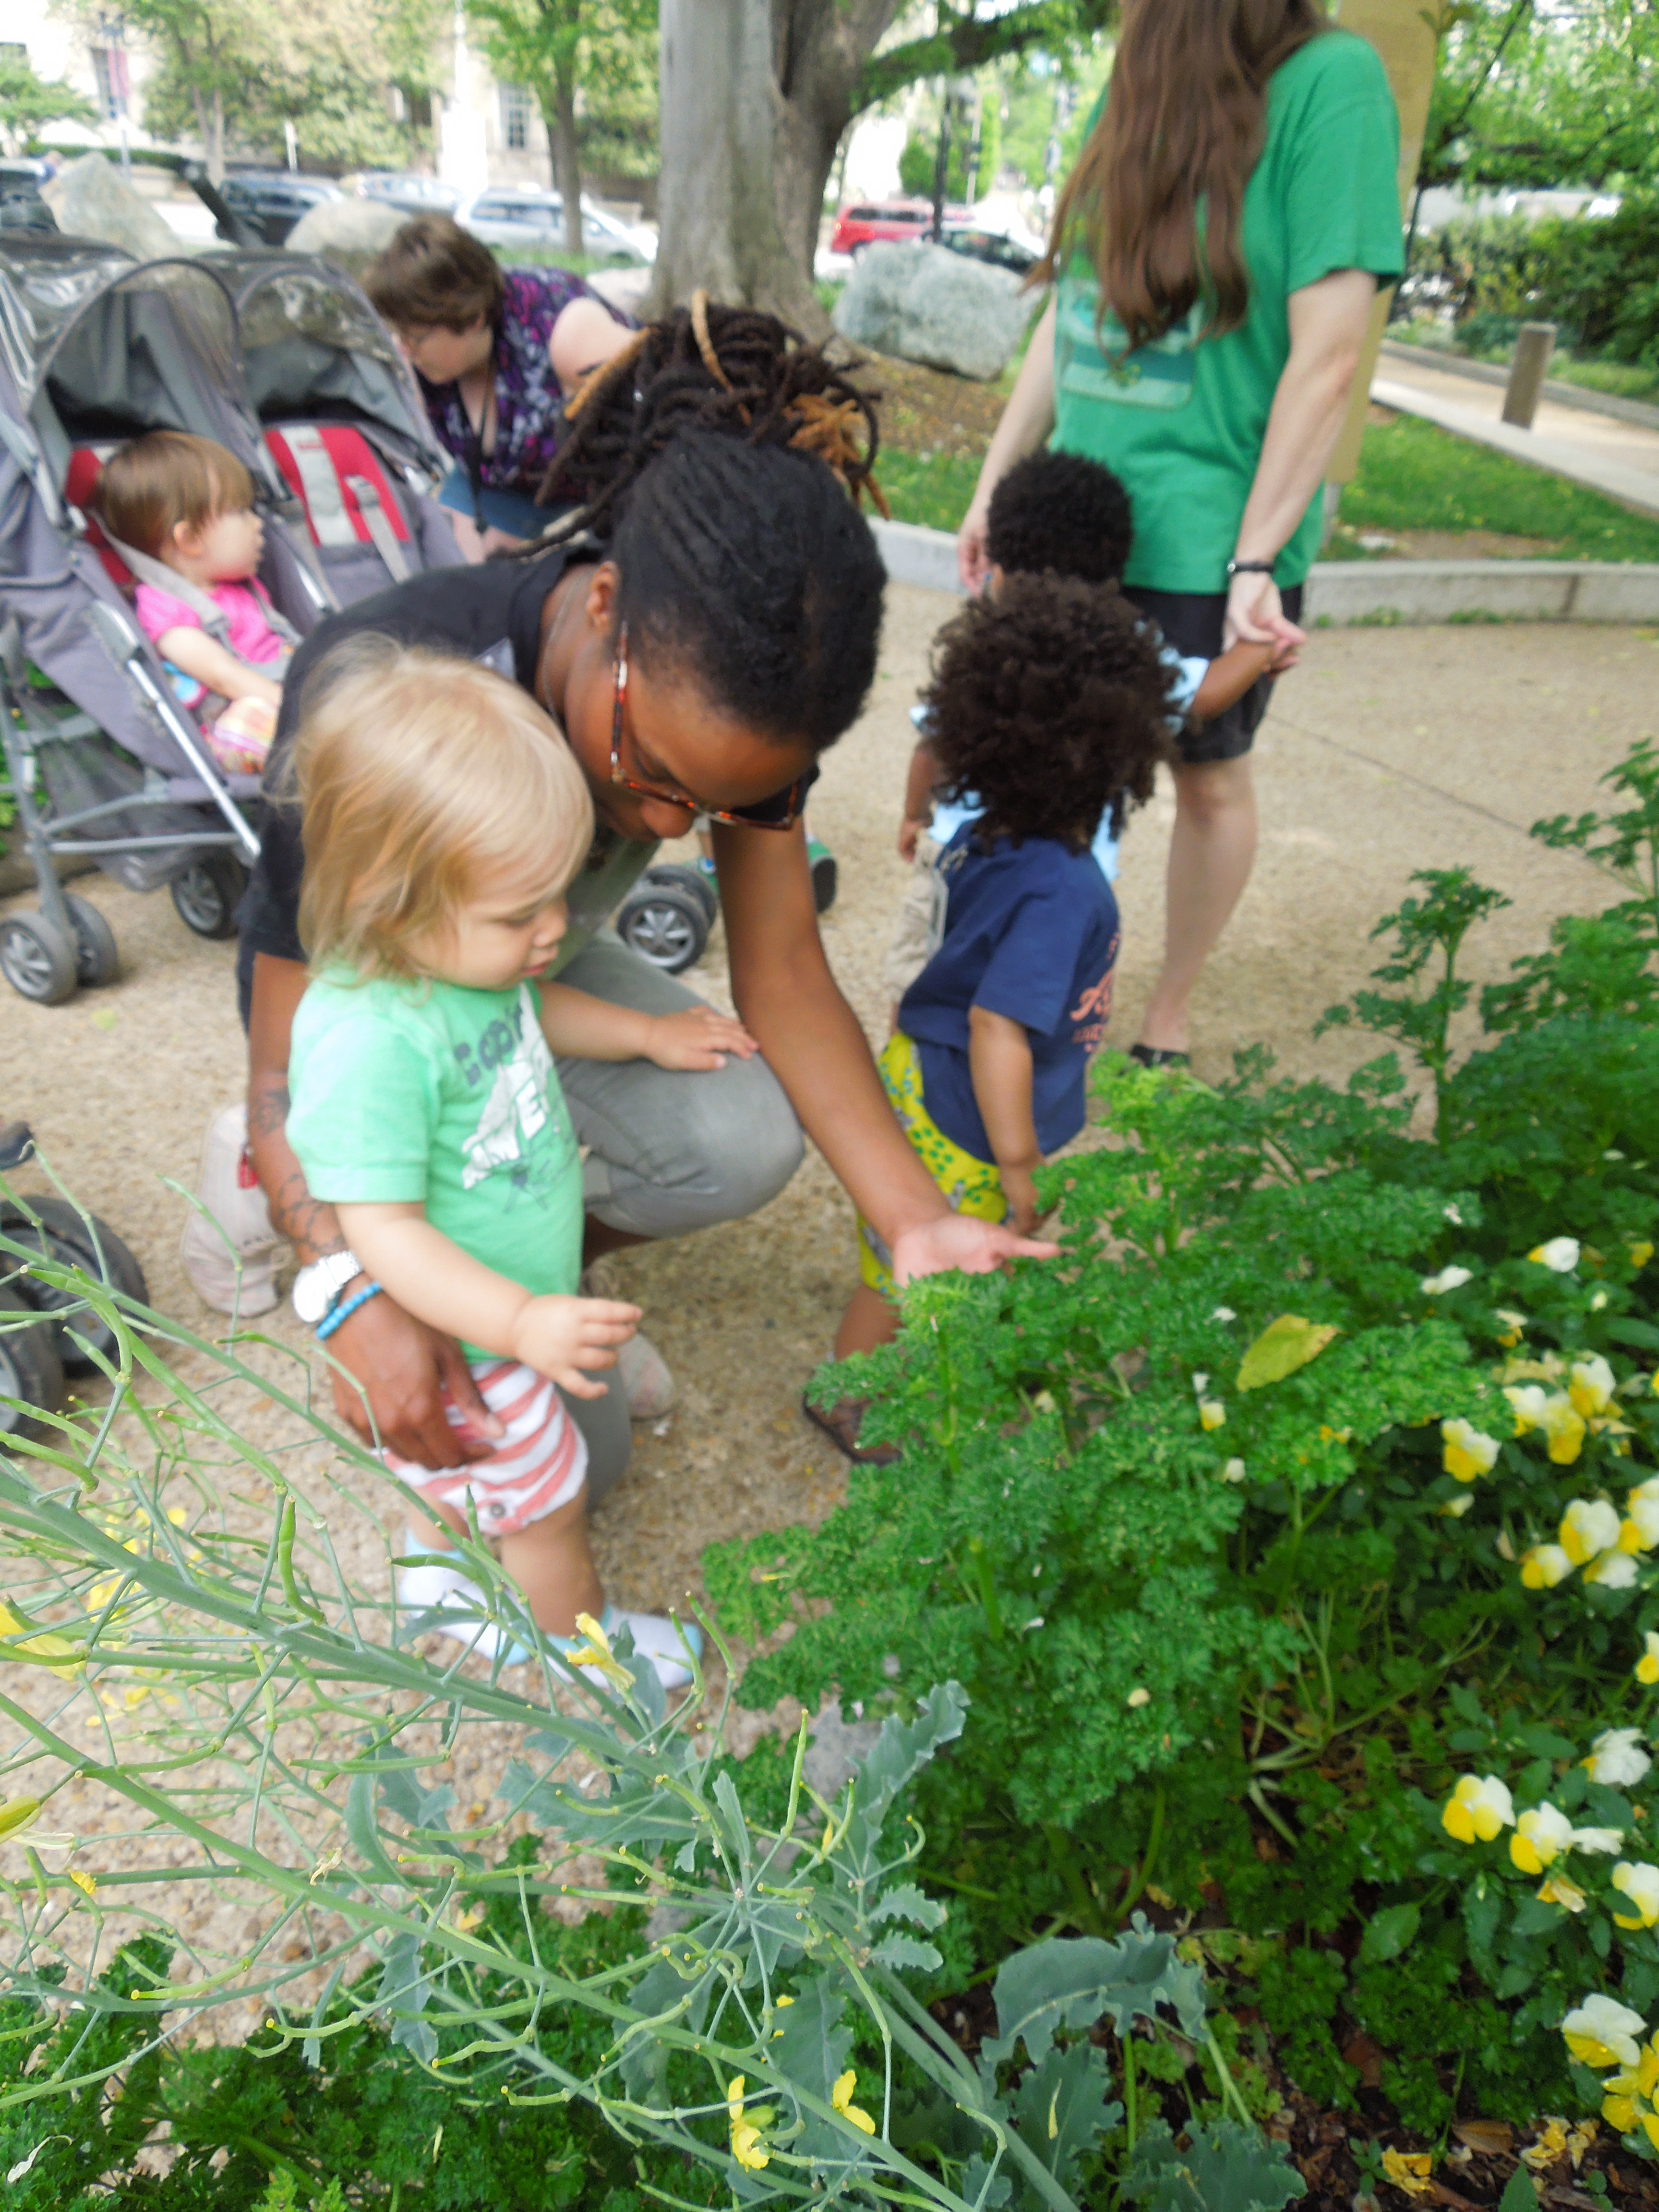
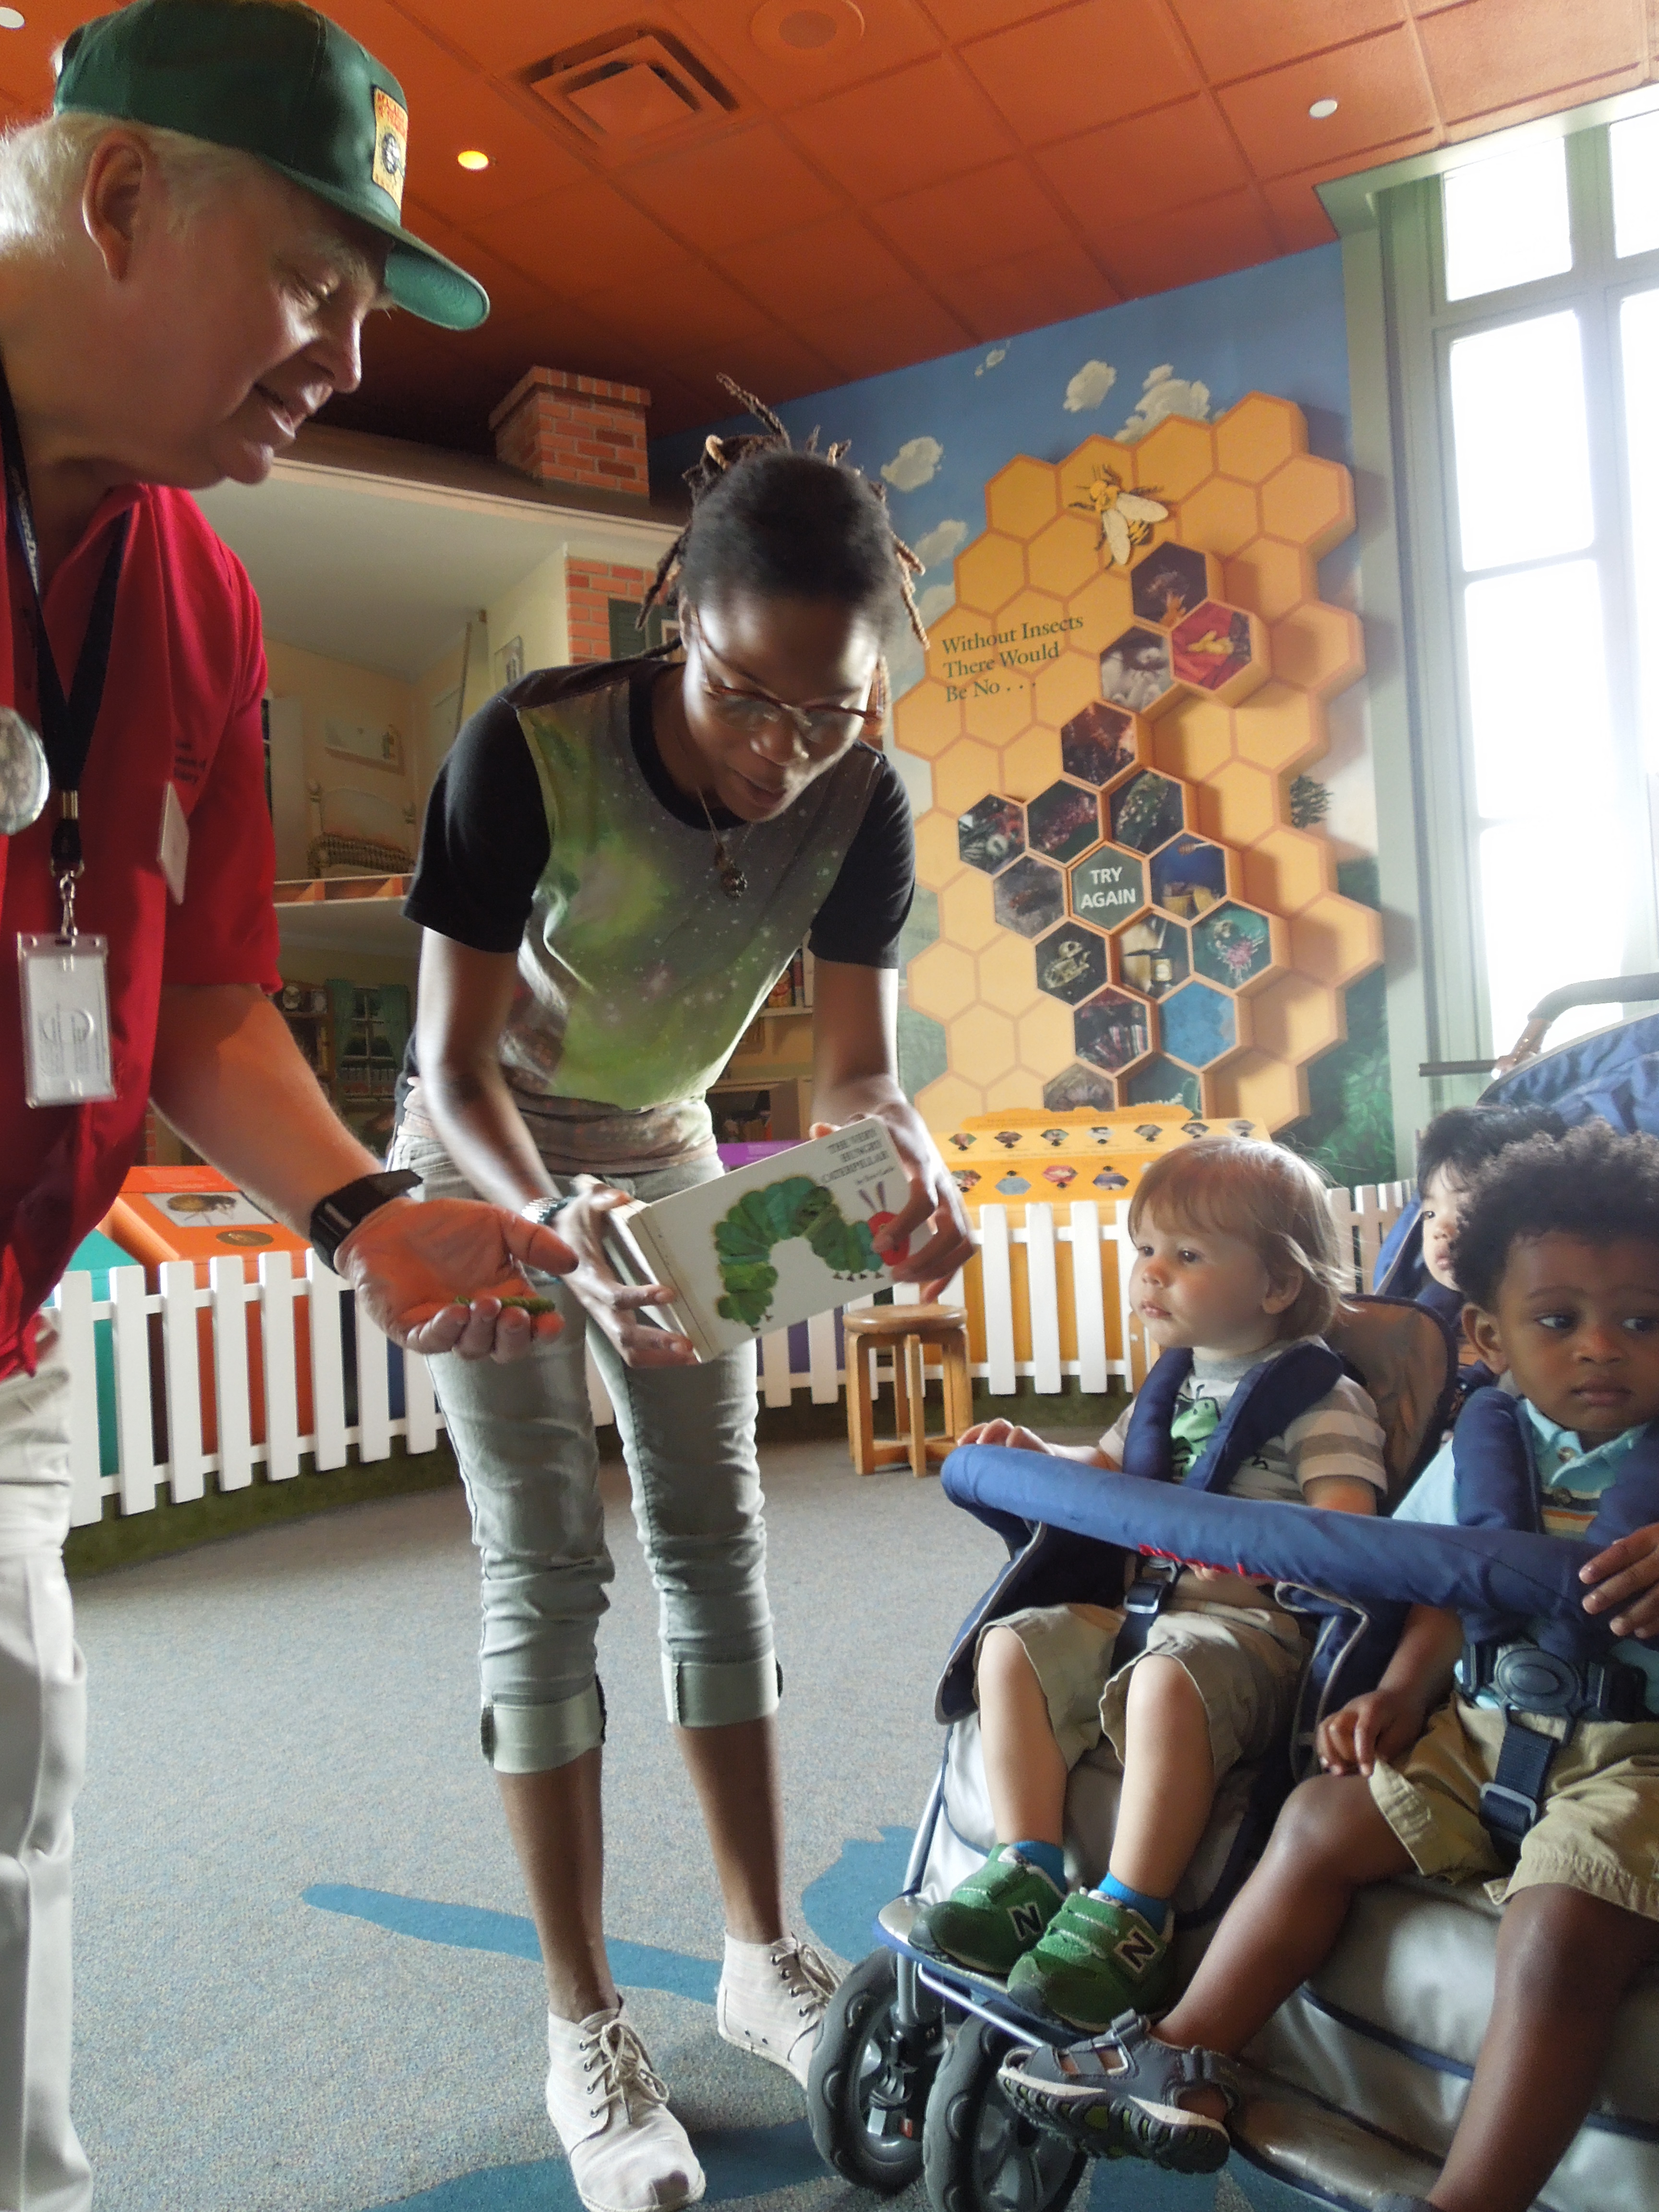
Mallory, Morgan and Rosalie chose to visit the USDA’s farmers market in part because of its accessibility, since it is just off the National Mall and not far from their classroom. They also wanted to embrace the community aspects of the visit, as the farmers market is a great place for people to gather. This community space has picnic blankets and open space for people (including this class) to sit, gather, and reflect on the experience of being at the farmers market. It was a perfect fit for this lesson because it encouraged the children to make connections between the familiar foods that the class eats every day and the less familiar, whole, unprocessed, muddy foods that they saw at the market. Mallory, Morgan, and Rosalie brought objects with them to enhance this community visit, including soft and hard toy fruits and vegetables and a board book to read to the group.

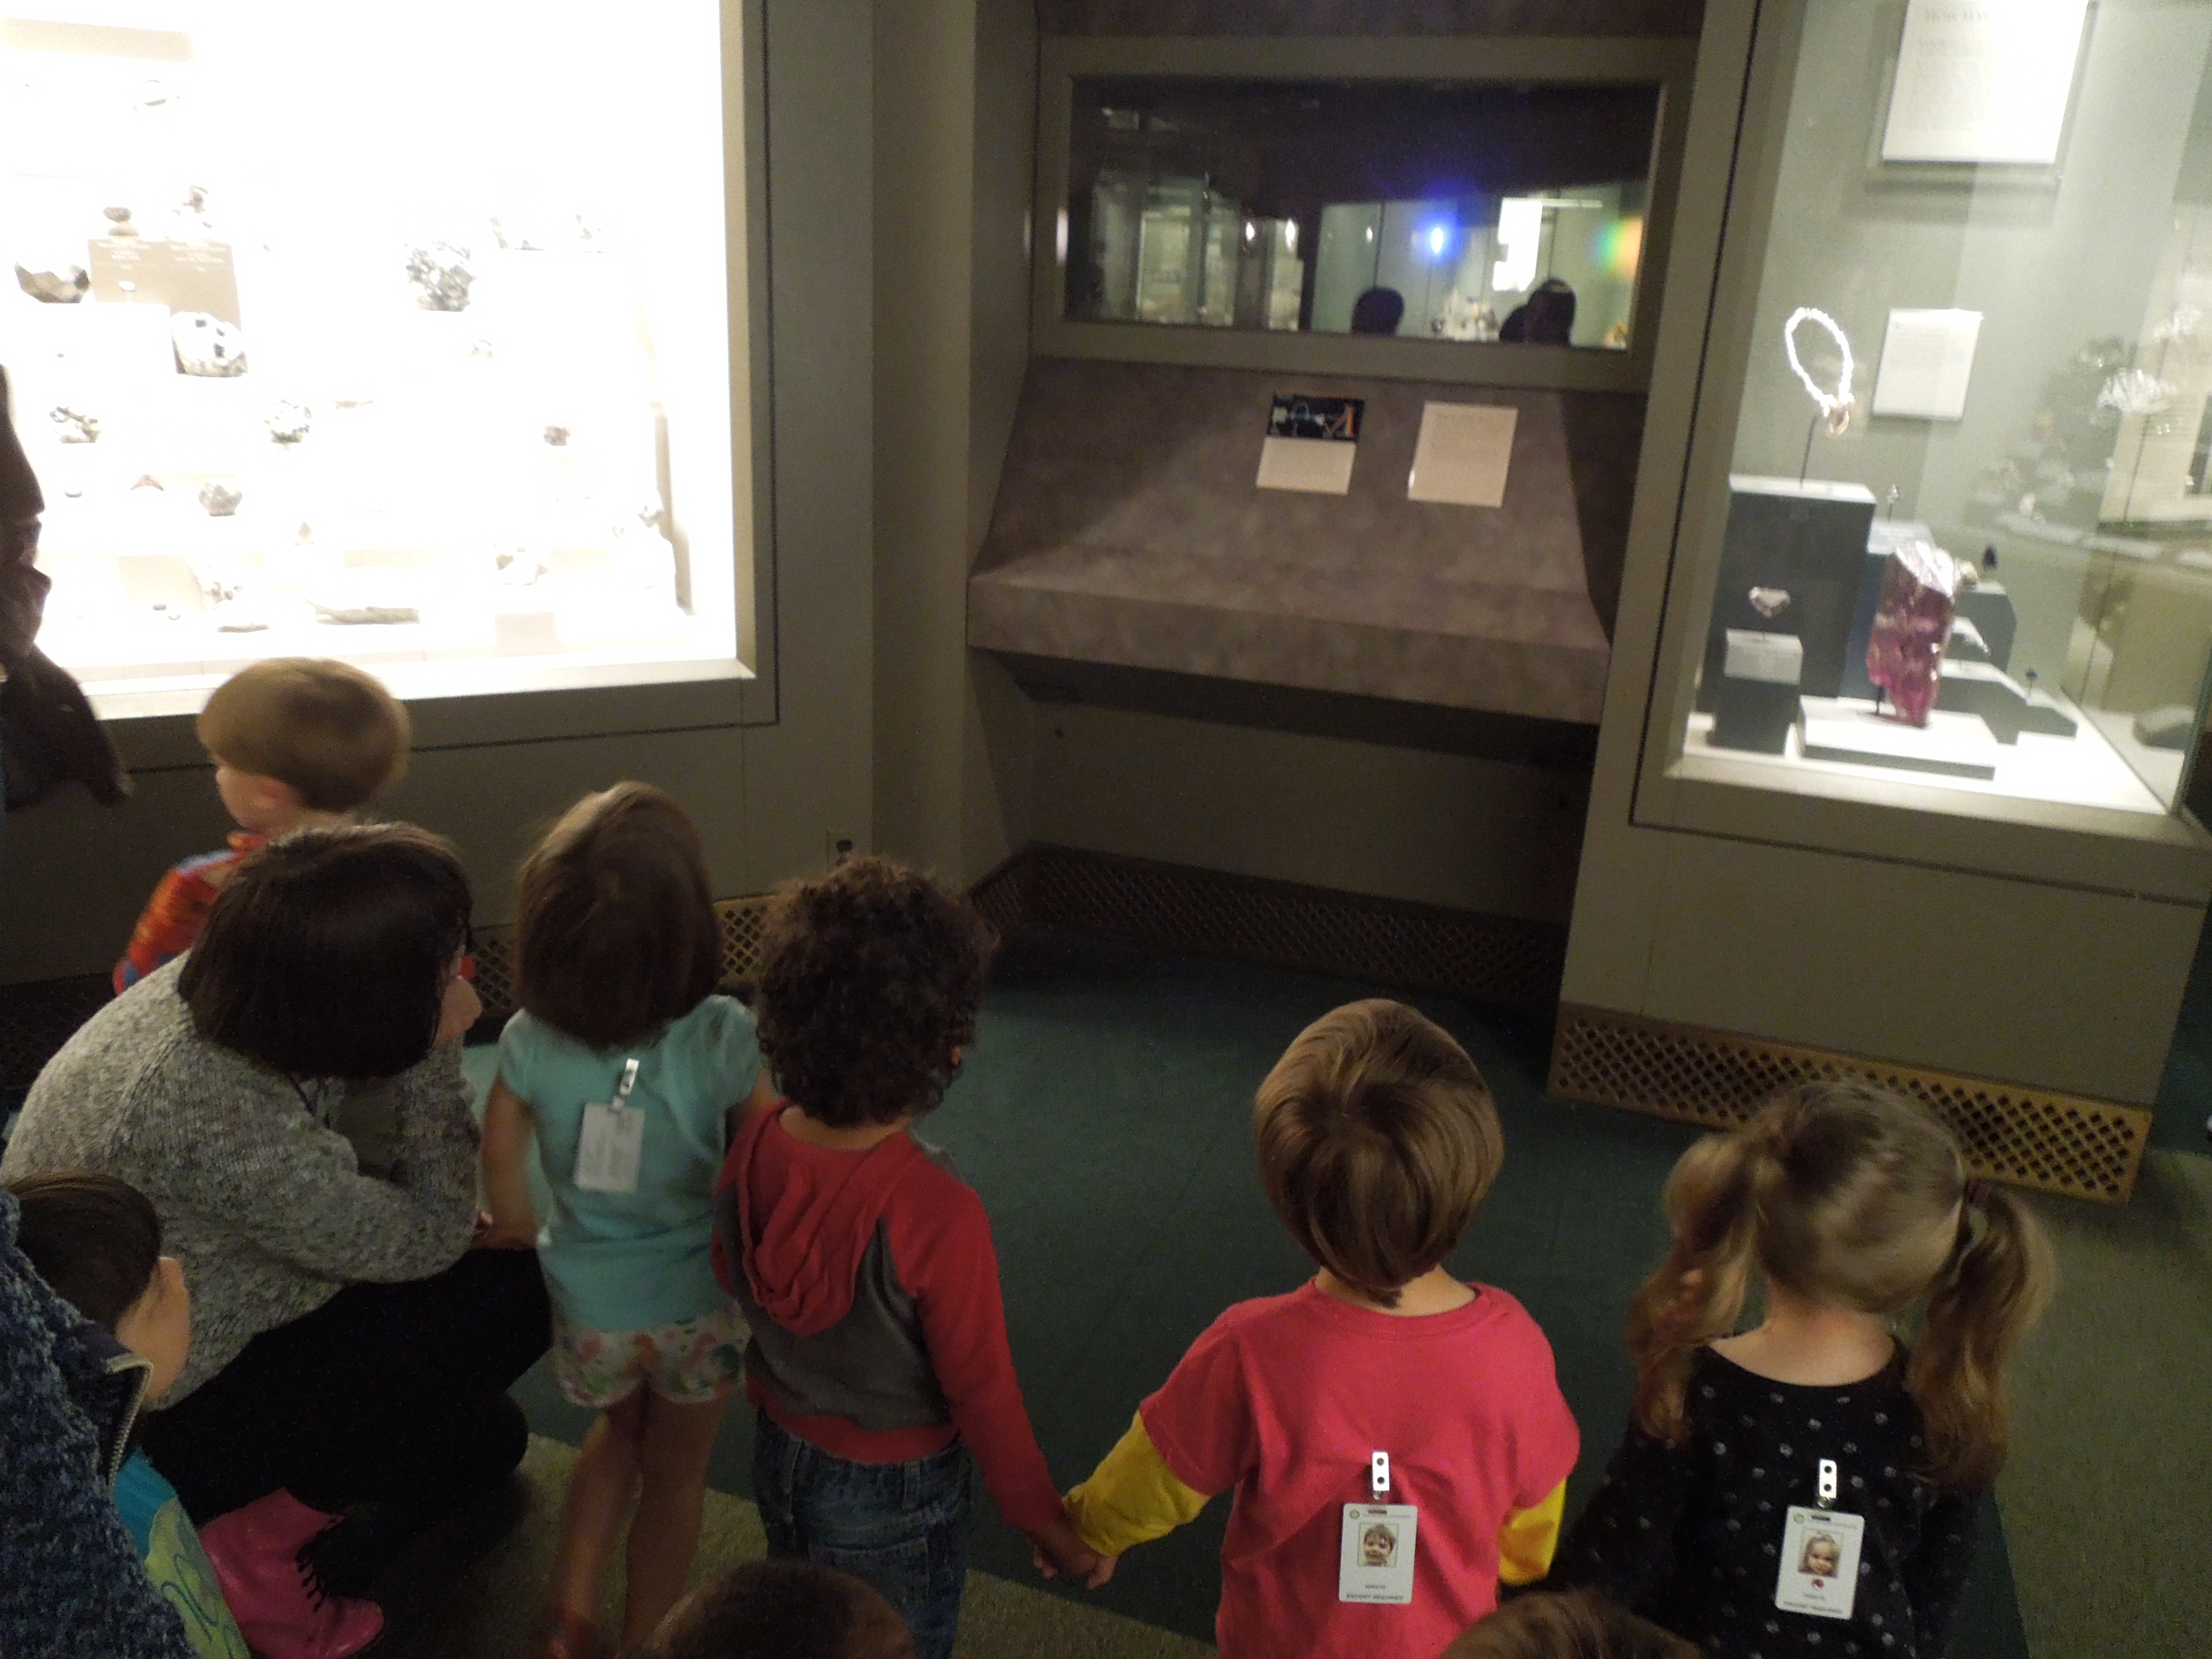
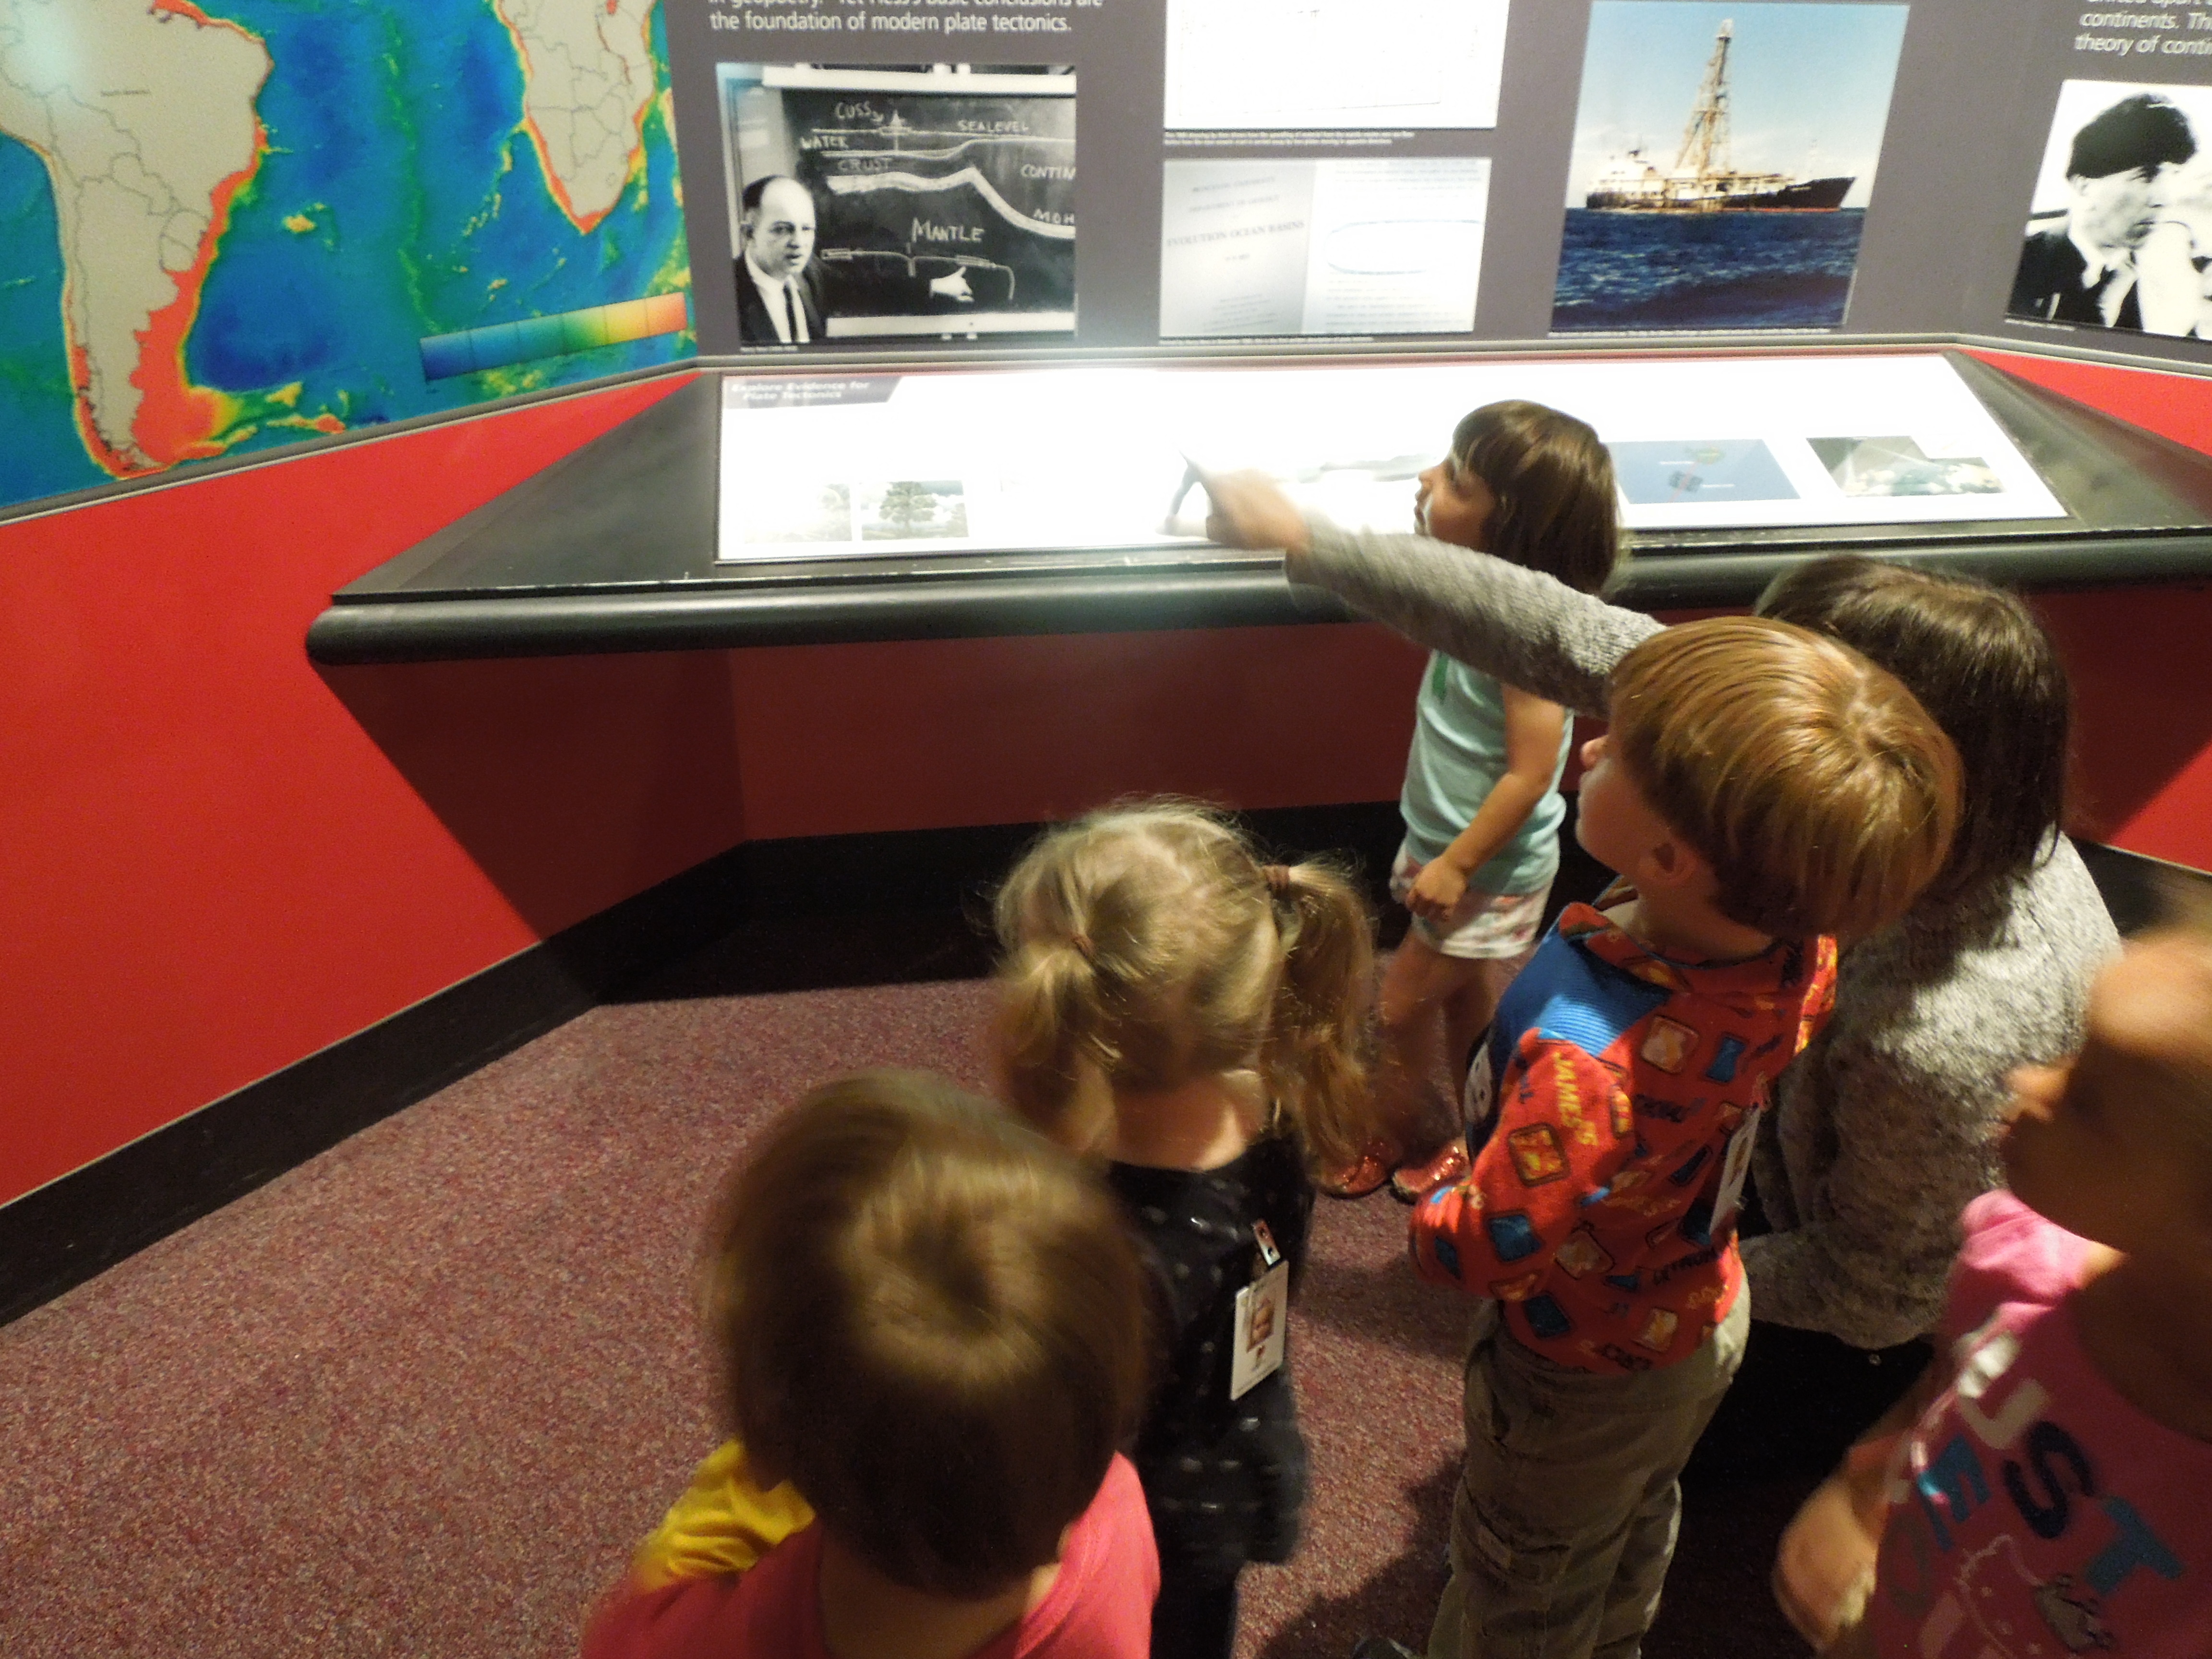
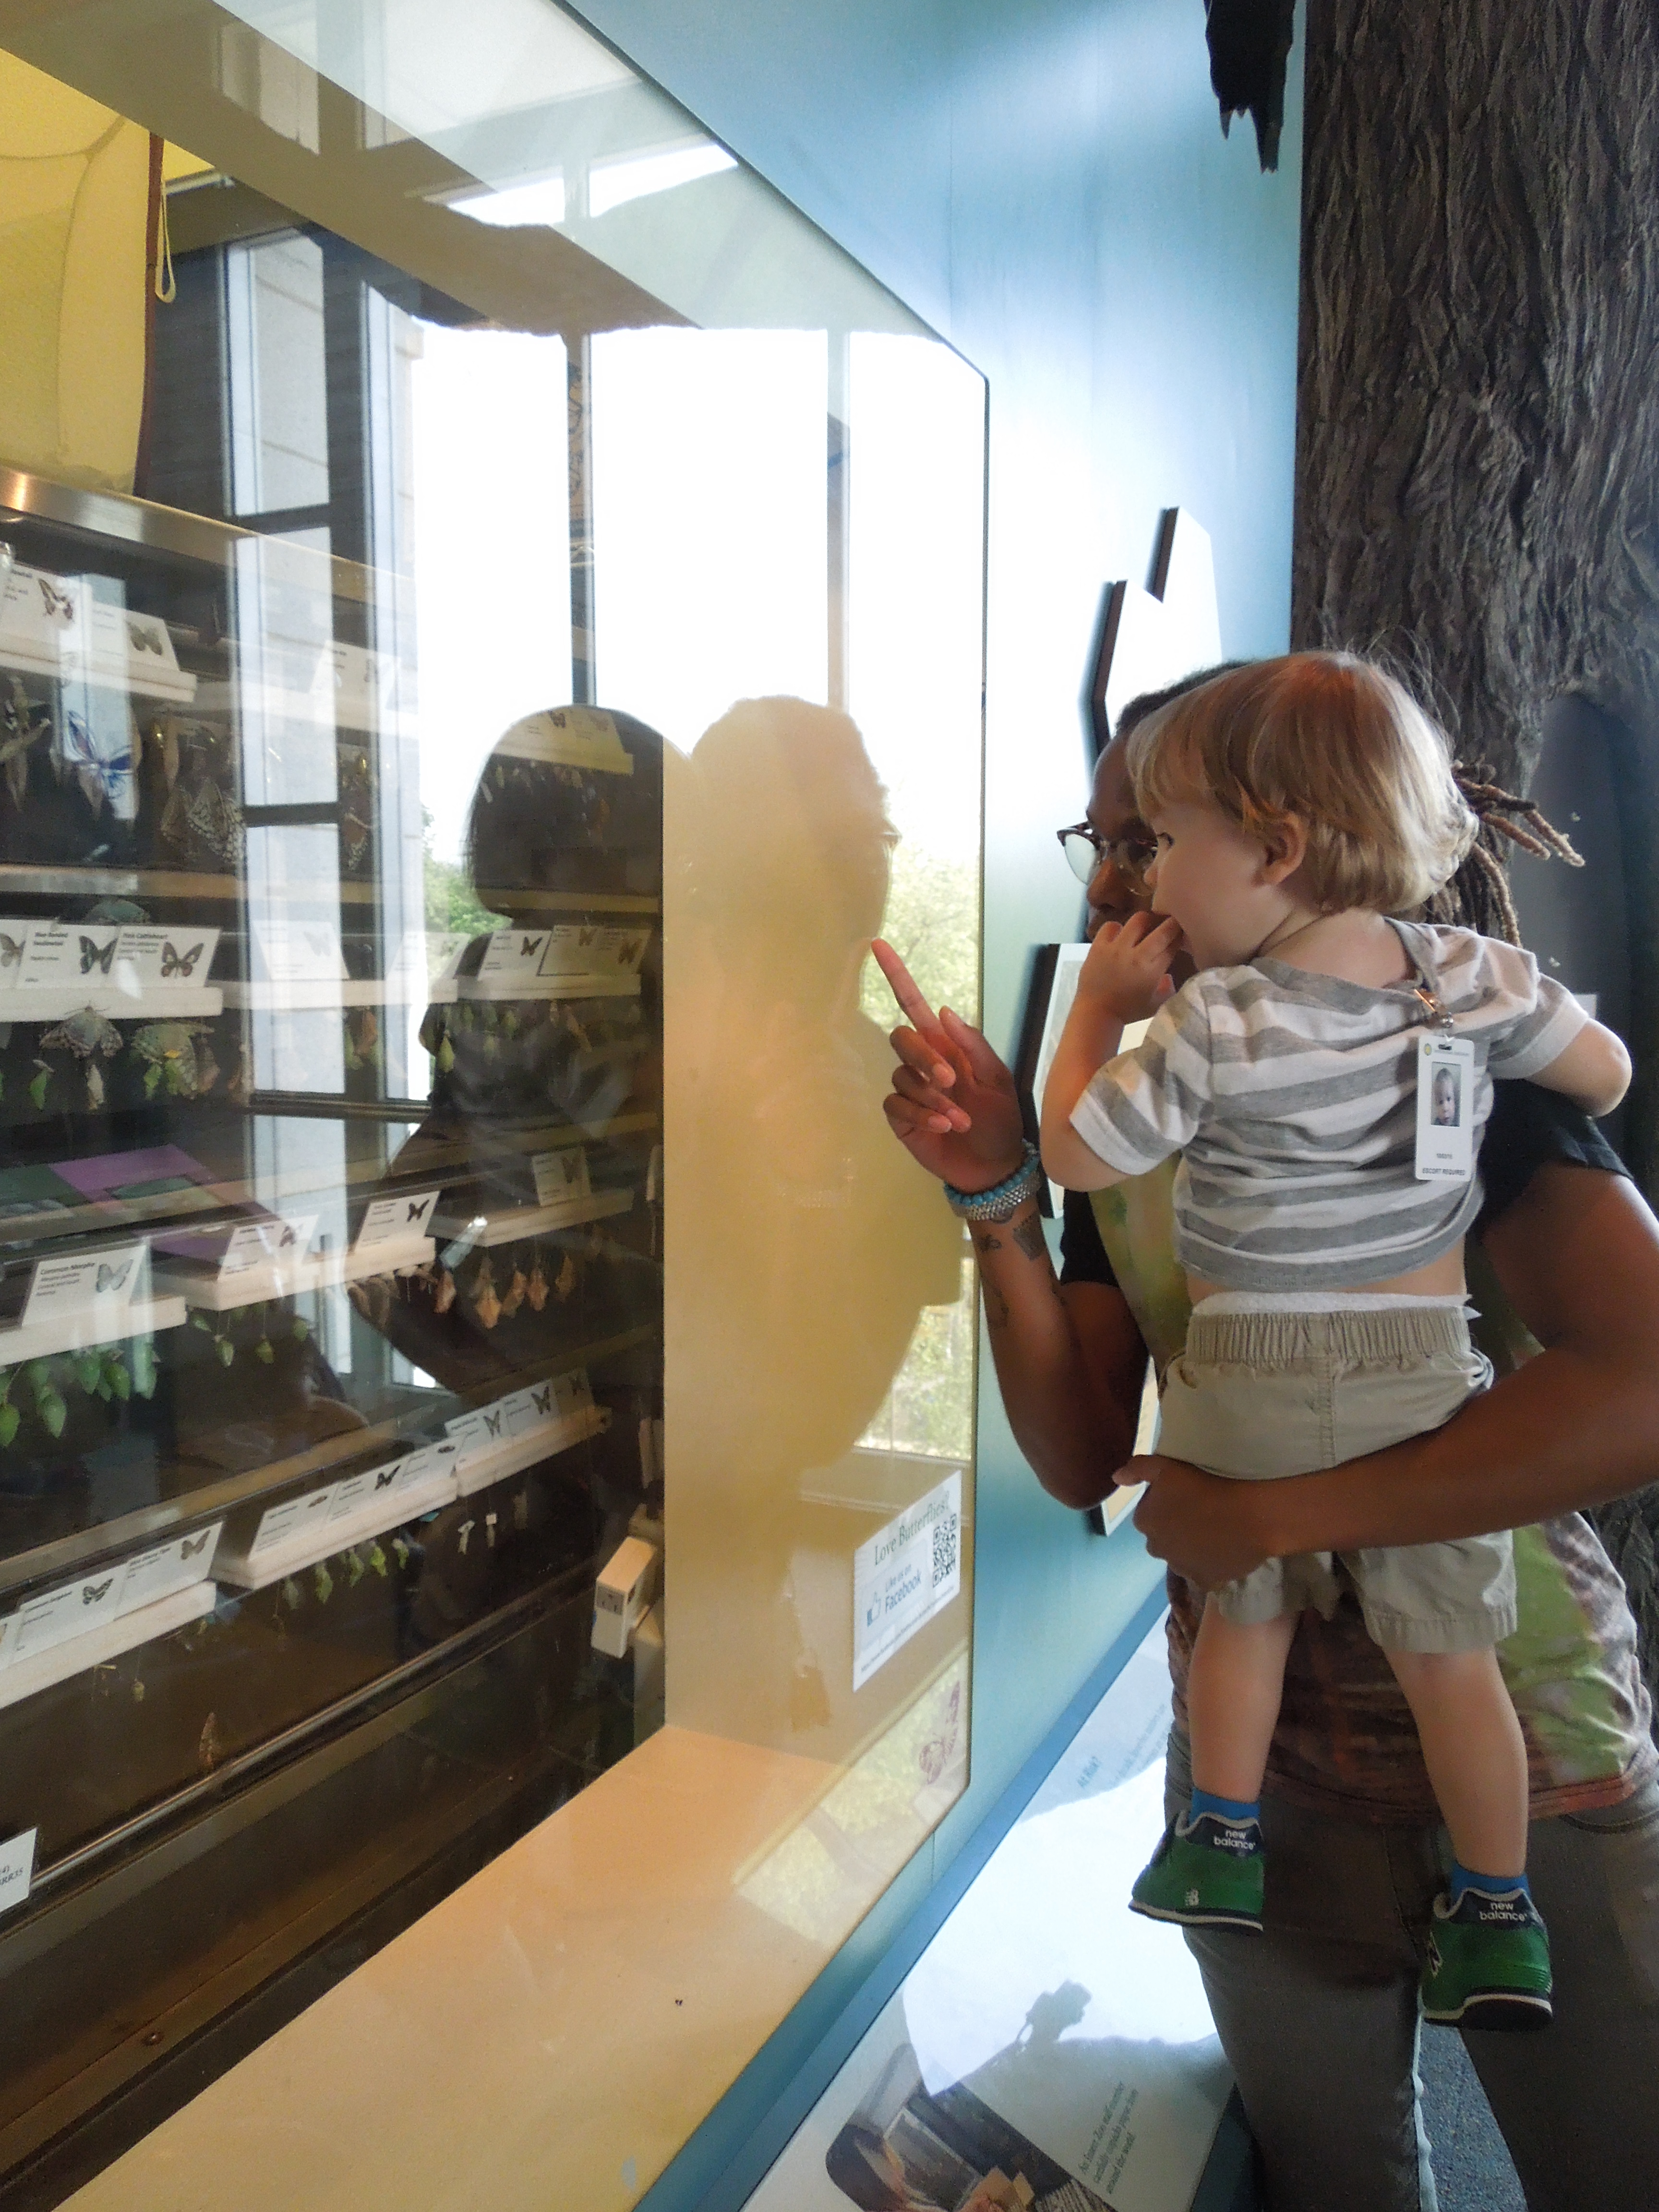
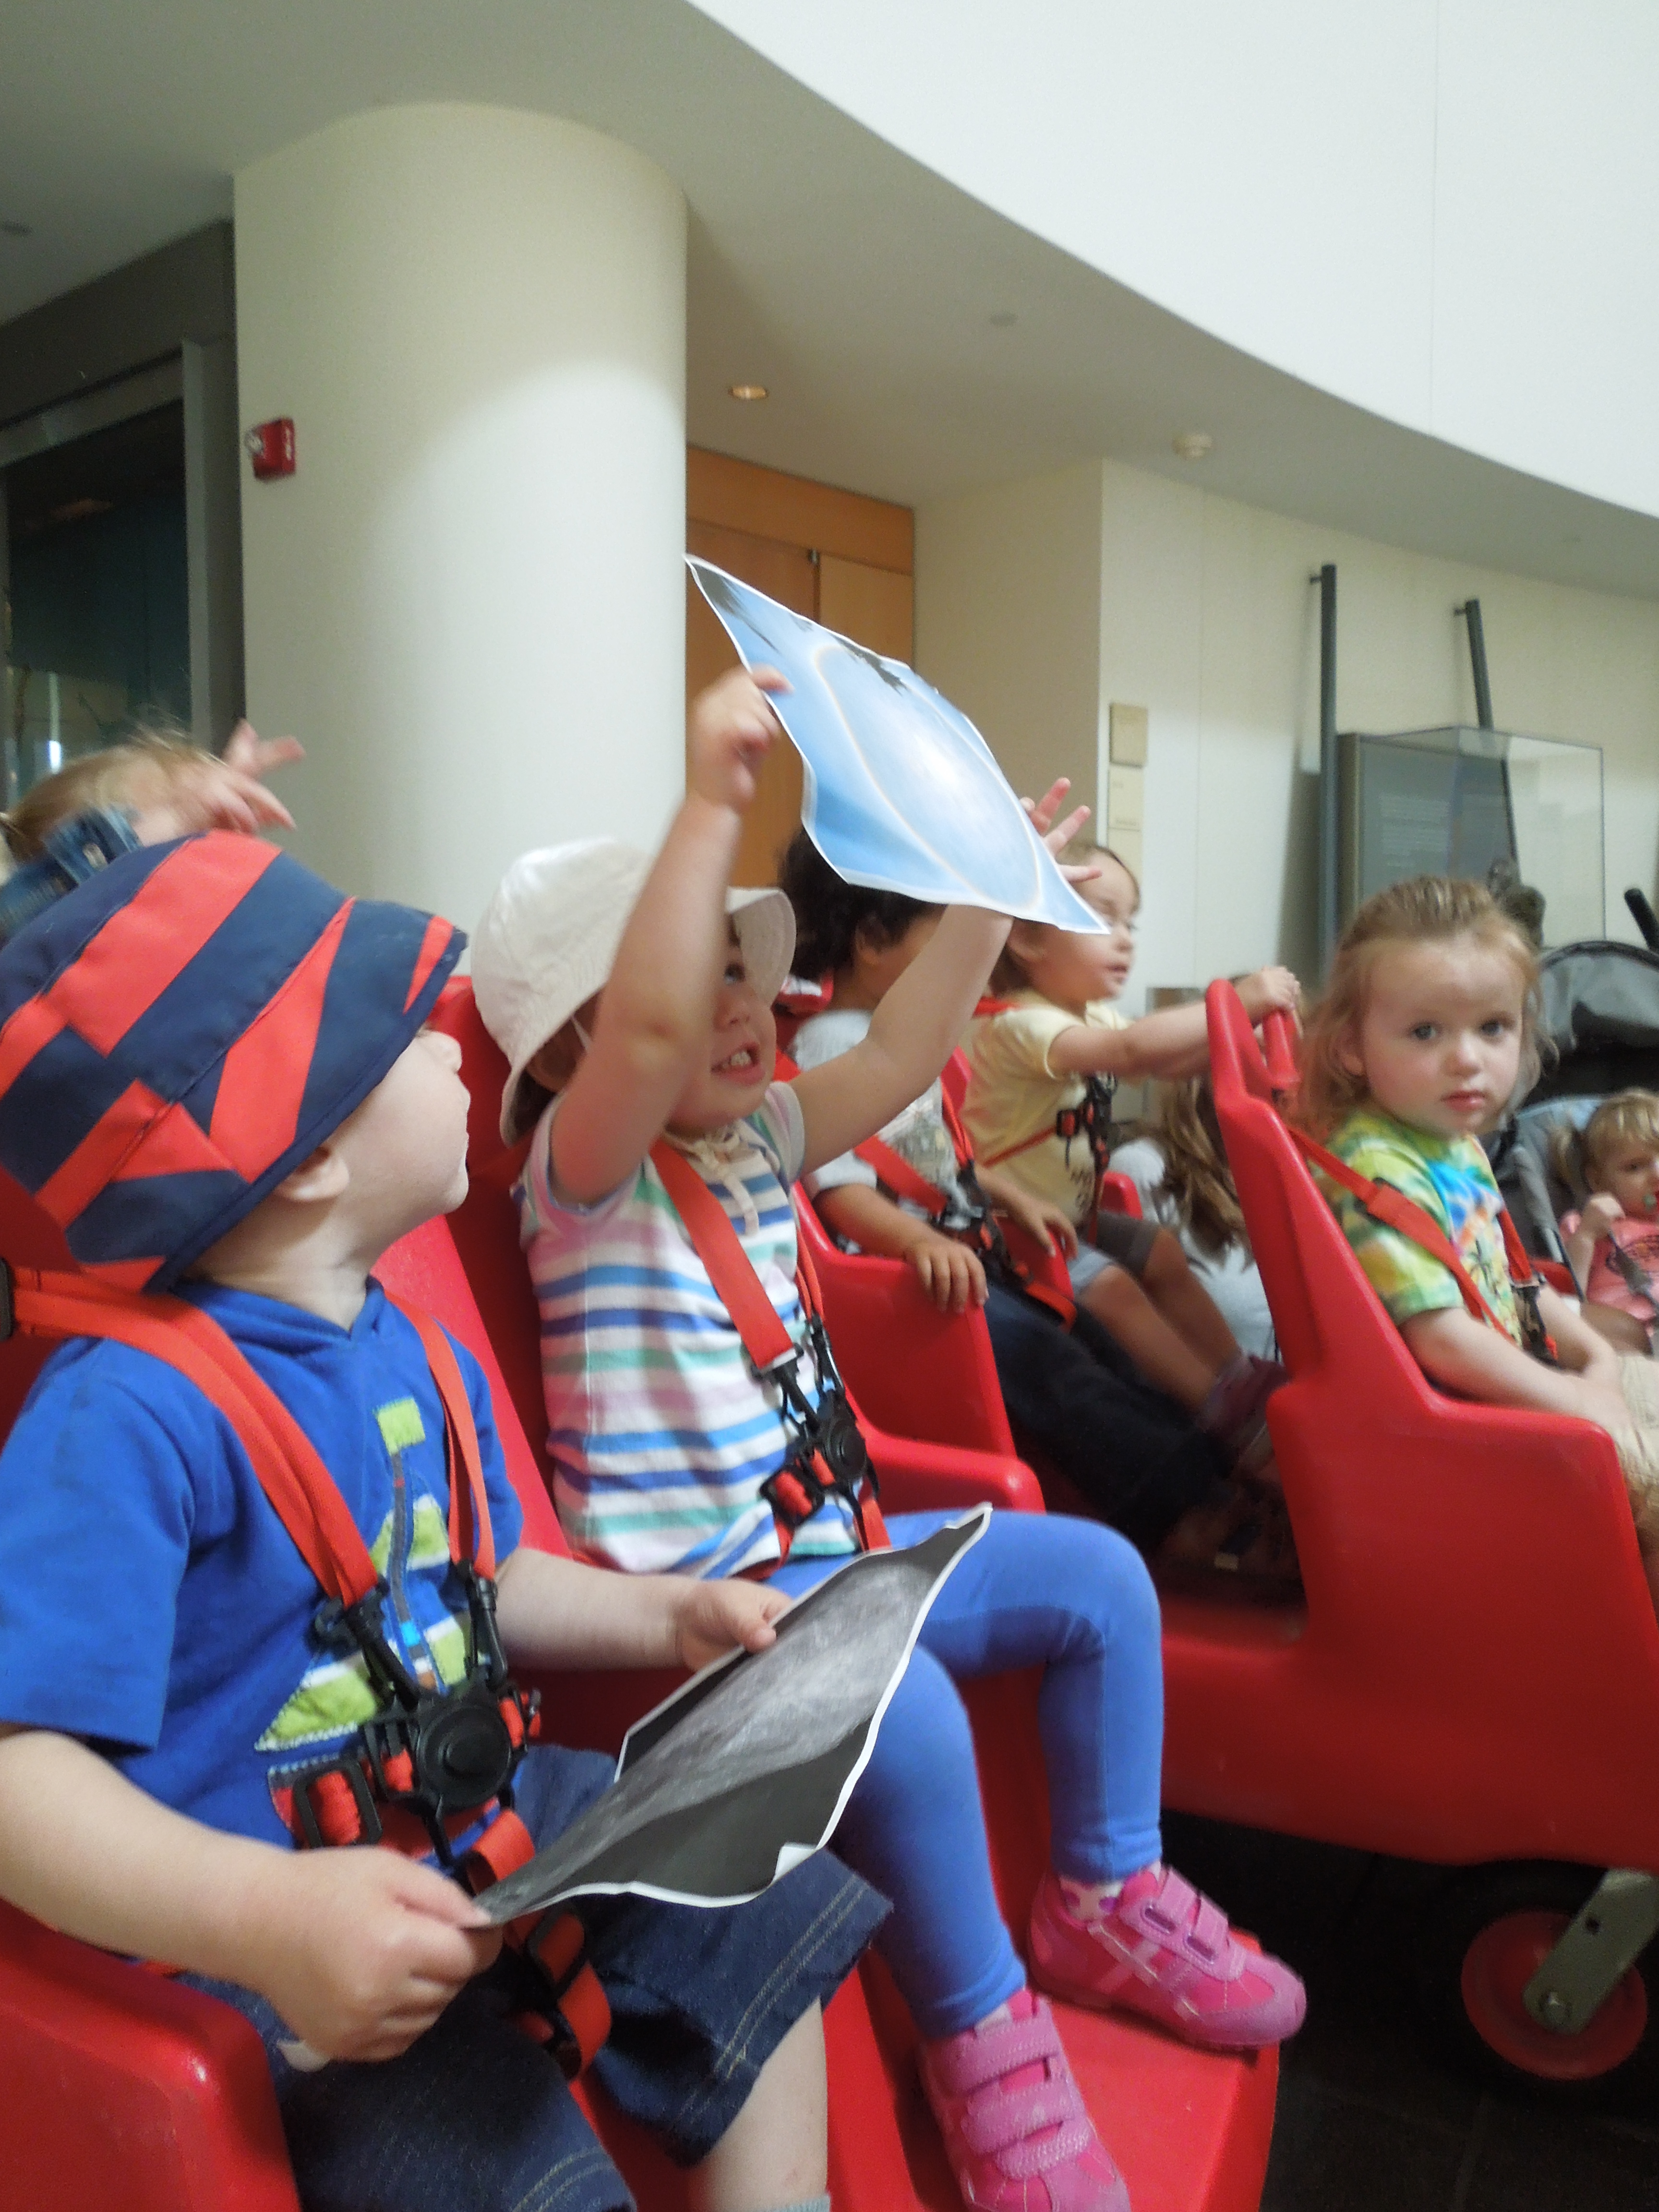
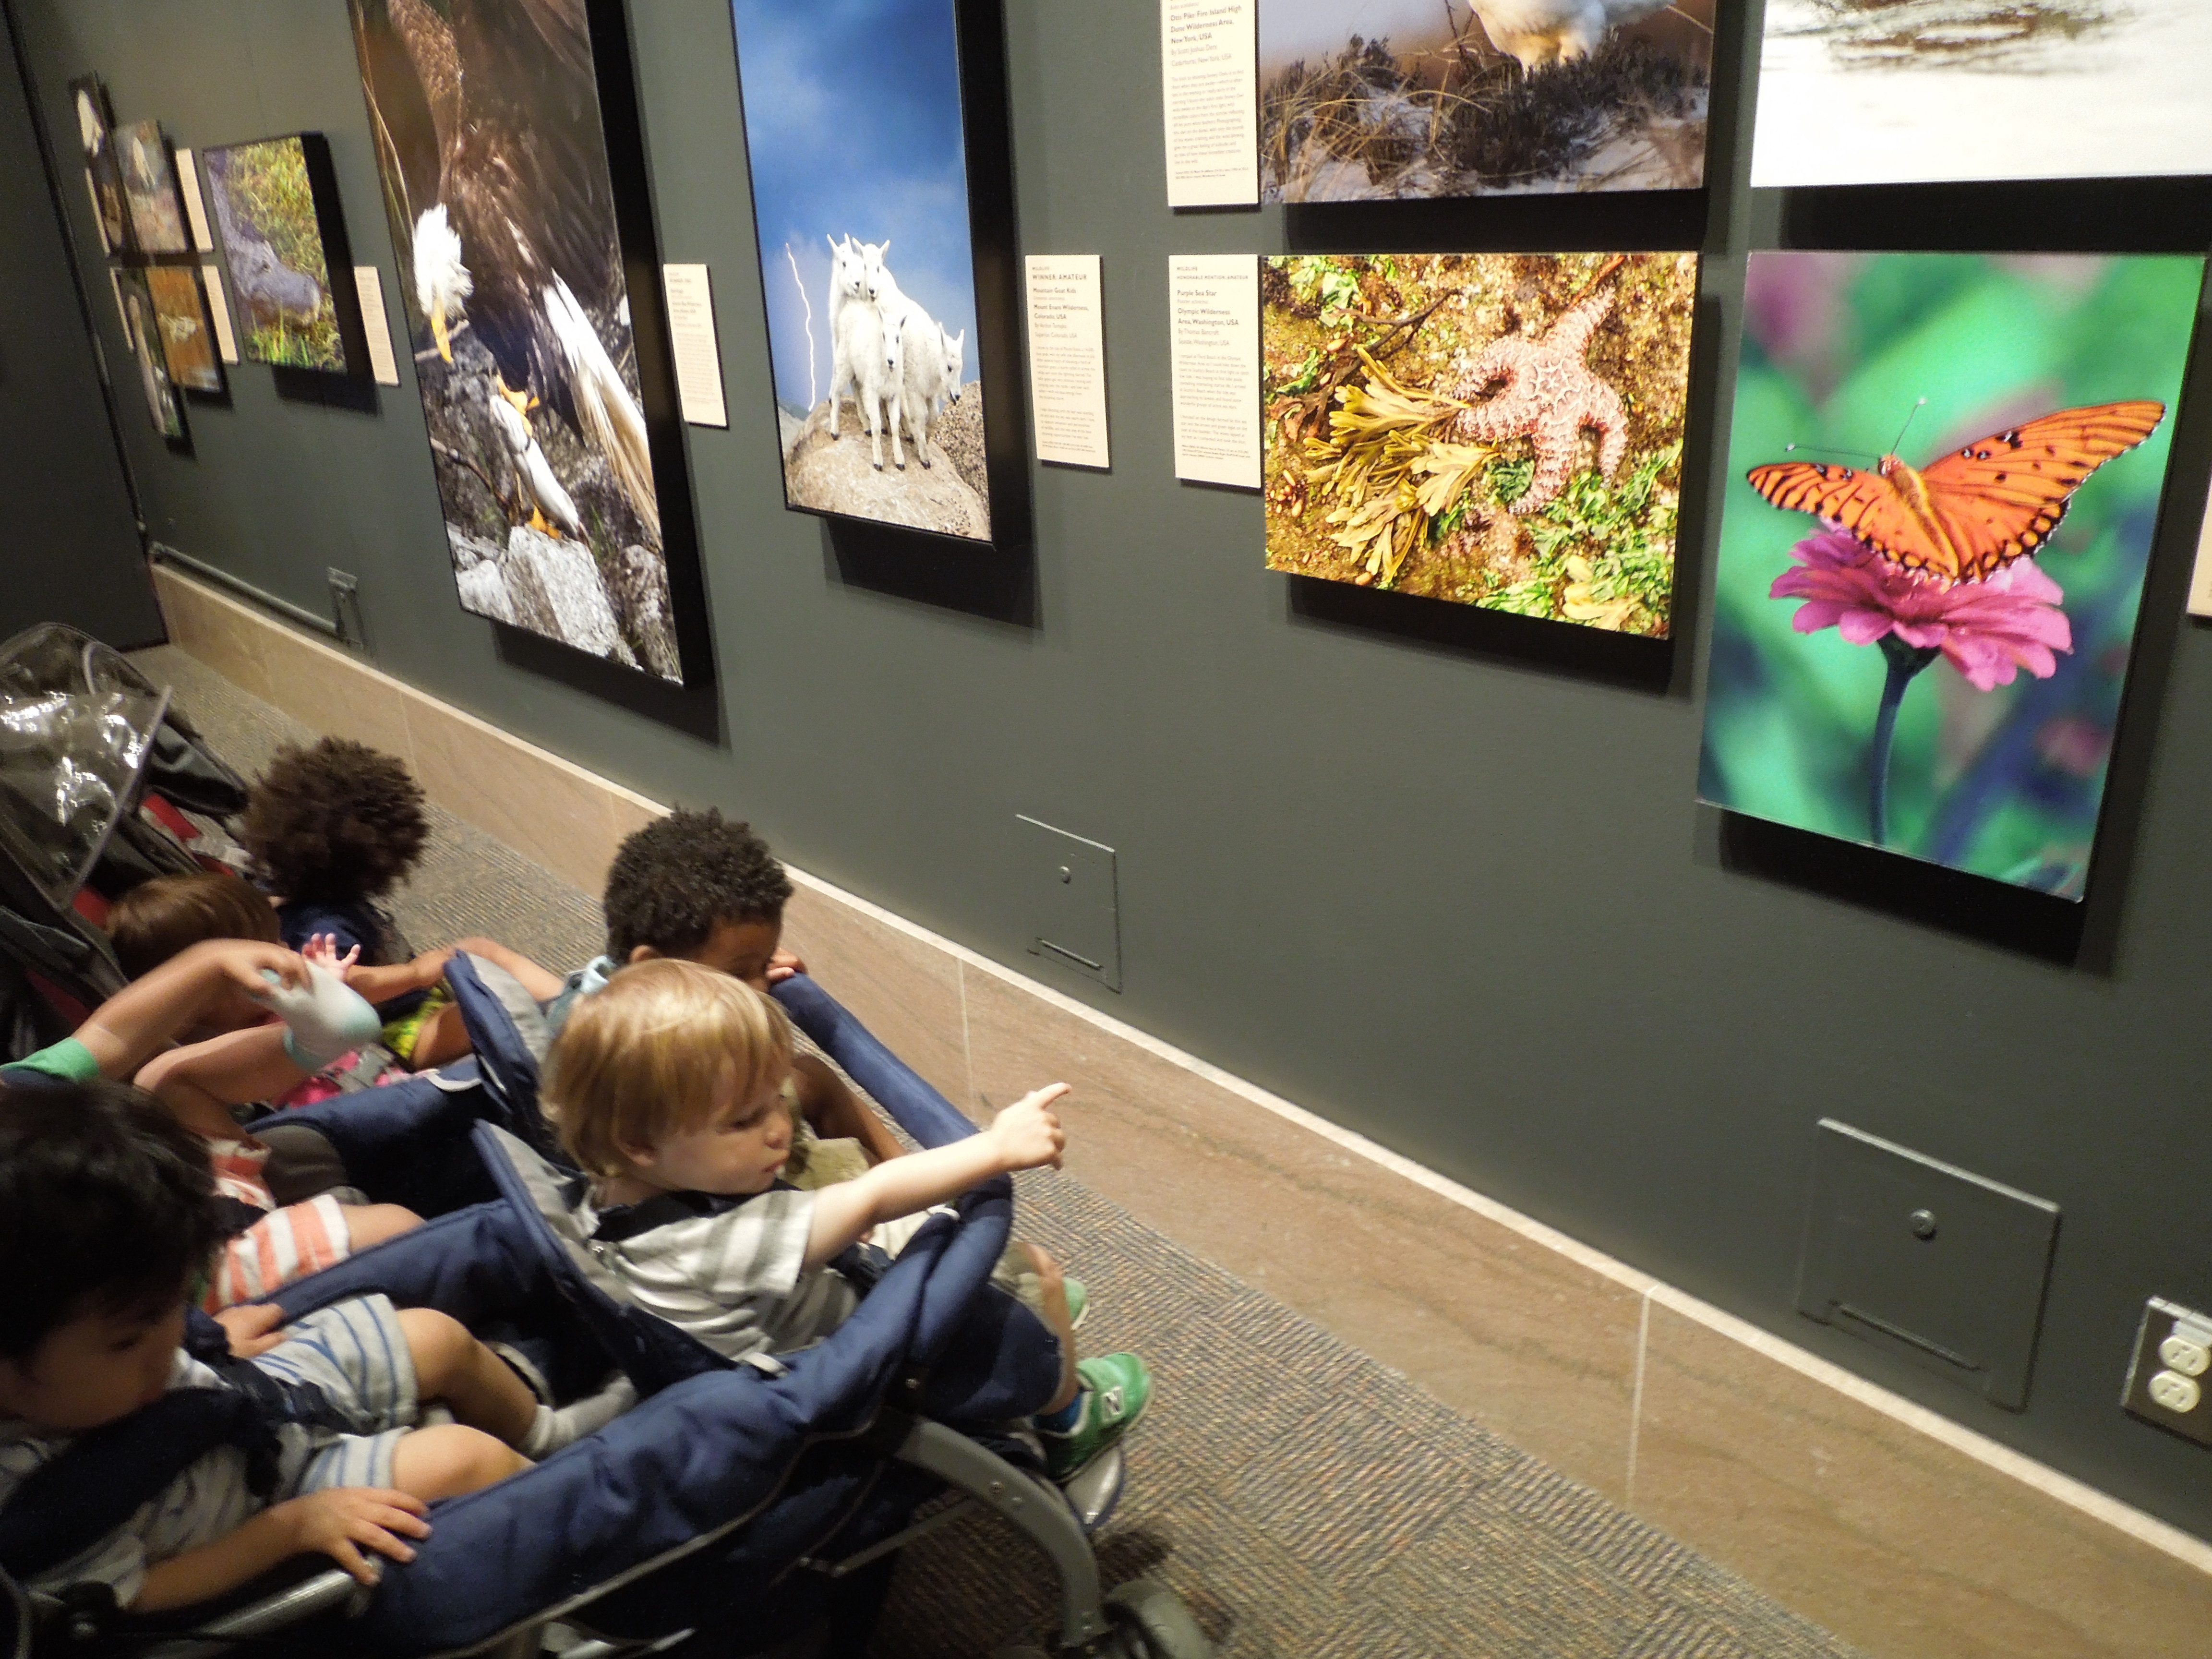
At SEEC, teachers regularly take their classes on museum visits where they connect ideas that they are learning about in the classroom with museum objects. They often extend their lessons beyond the museum doors while still using the same techniques that they used on the community visits.
When asked to explain why it is important to take infants on community and museum visits, Mallory, Morgan, and Rosalie cited this quotation:
“Our connections to the people, animals, and plants around us make us who we are. Humans are not a solitary species; we need one another to survive. In the same way that children need opportunities to get to know the natural world so that they can develop a strong relationship with it, they need that same opportunity to connect with the human and human-made community that they are a part of. When children develop a strong relationship with their community at an early age, they grow up knowing and feeling a strong sense of belonging.”
Source: https://shelburnefarms.org/sites/default/files/cultivatingjoywonder_all_smaller.pdf
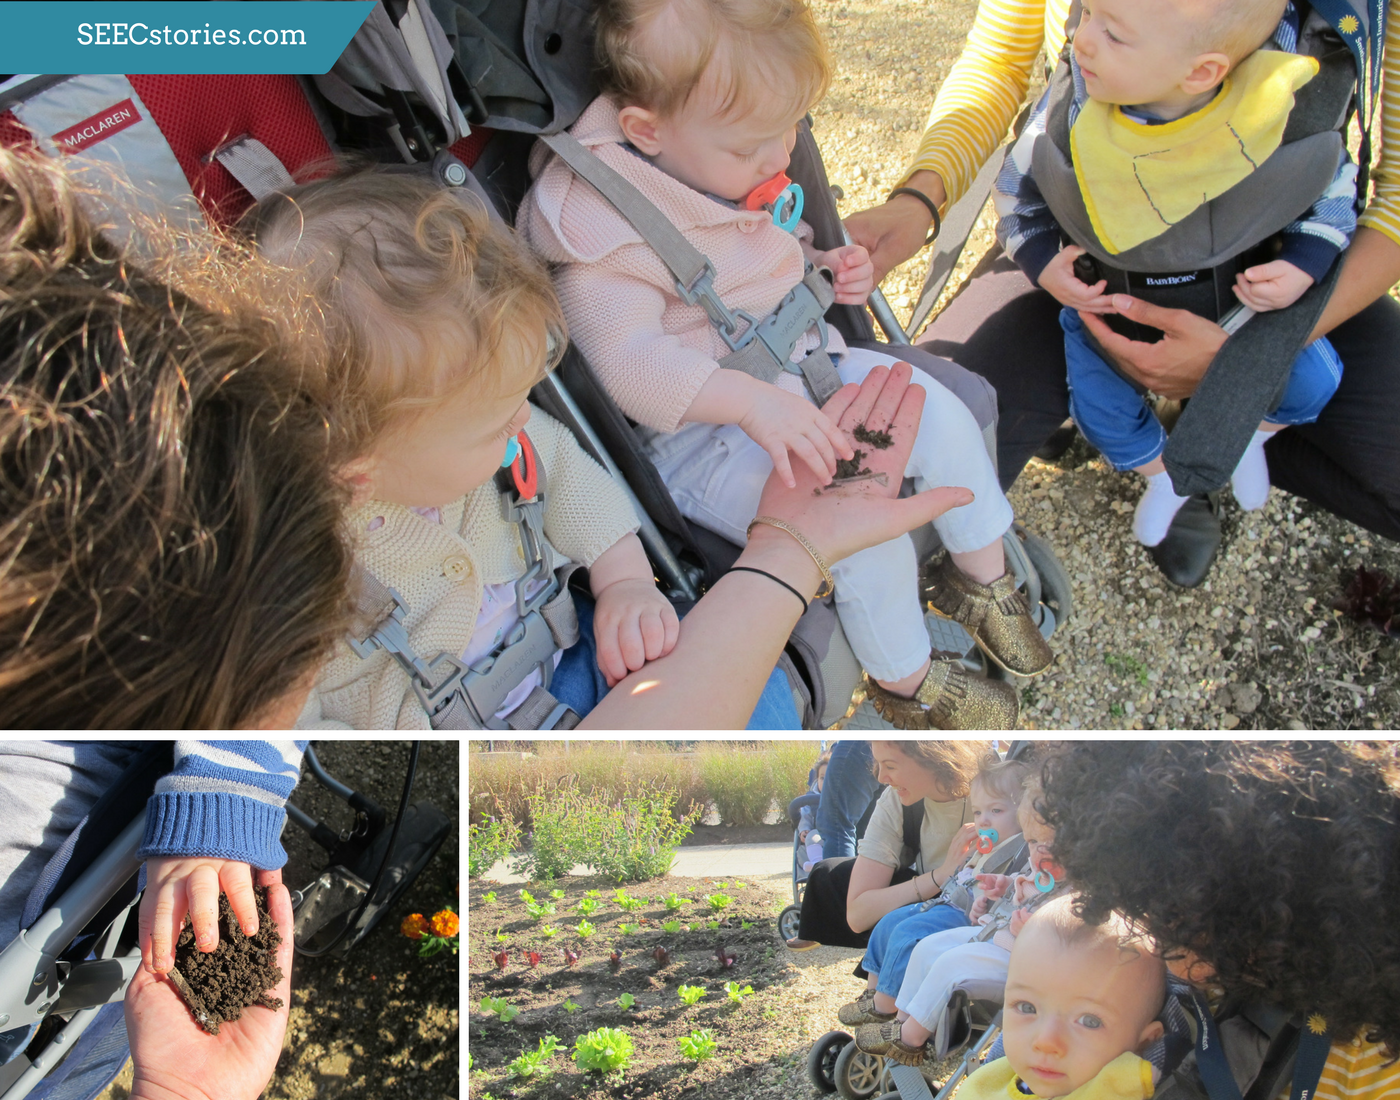
While strolling through the People’s Garden, the class paused for a moment and reached to grab handfuls of soil. This part of the lesson was actually completely spontaneous! The teachers noticed students pointing towards the ground and saw it as an opportunity to follow their curiosity and facilitate hands-on learning. Through these early experiences with soil, children learn that soil is a living system full of healthy and fascinating relationships. The educators were also able to connect back to soil later during the visit by pointing out dirt on some of the produce the children were examining at the Farmers Market.
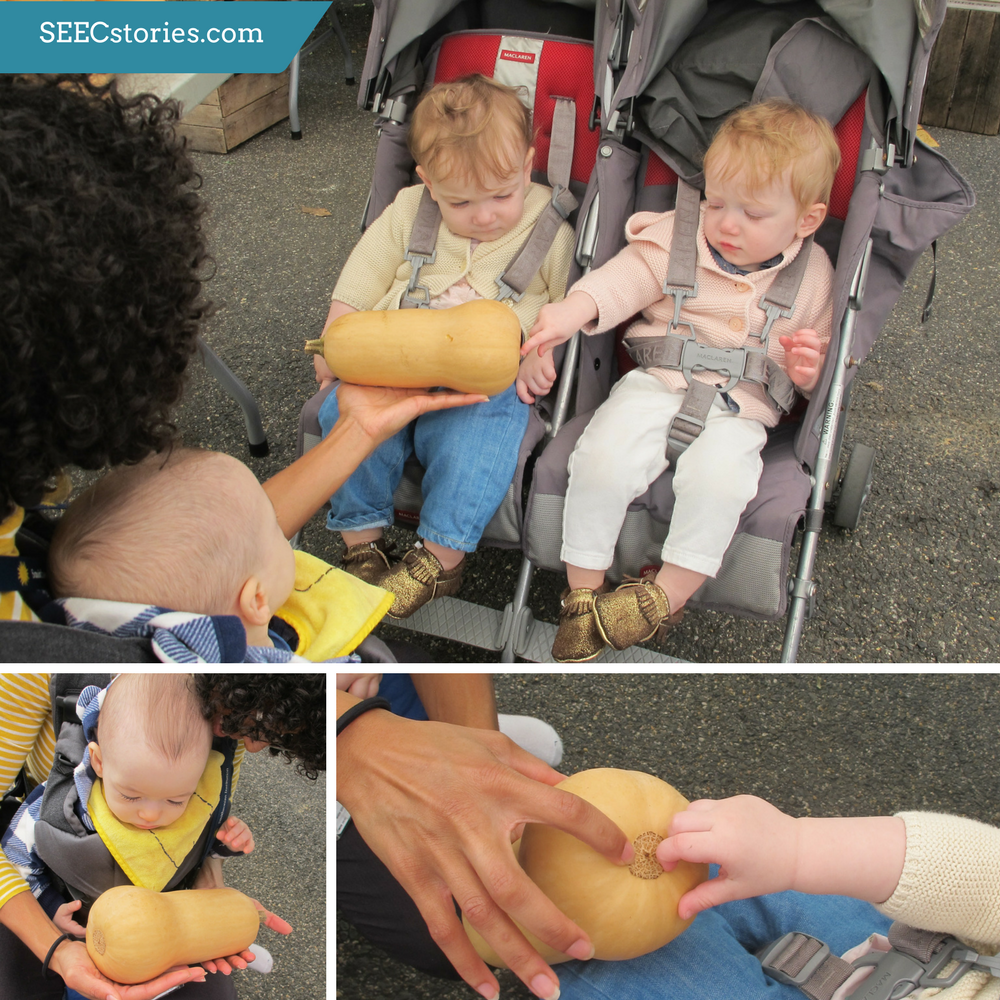
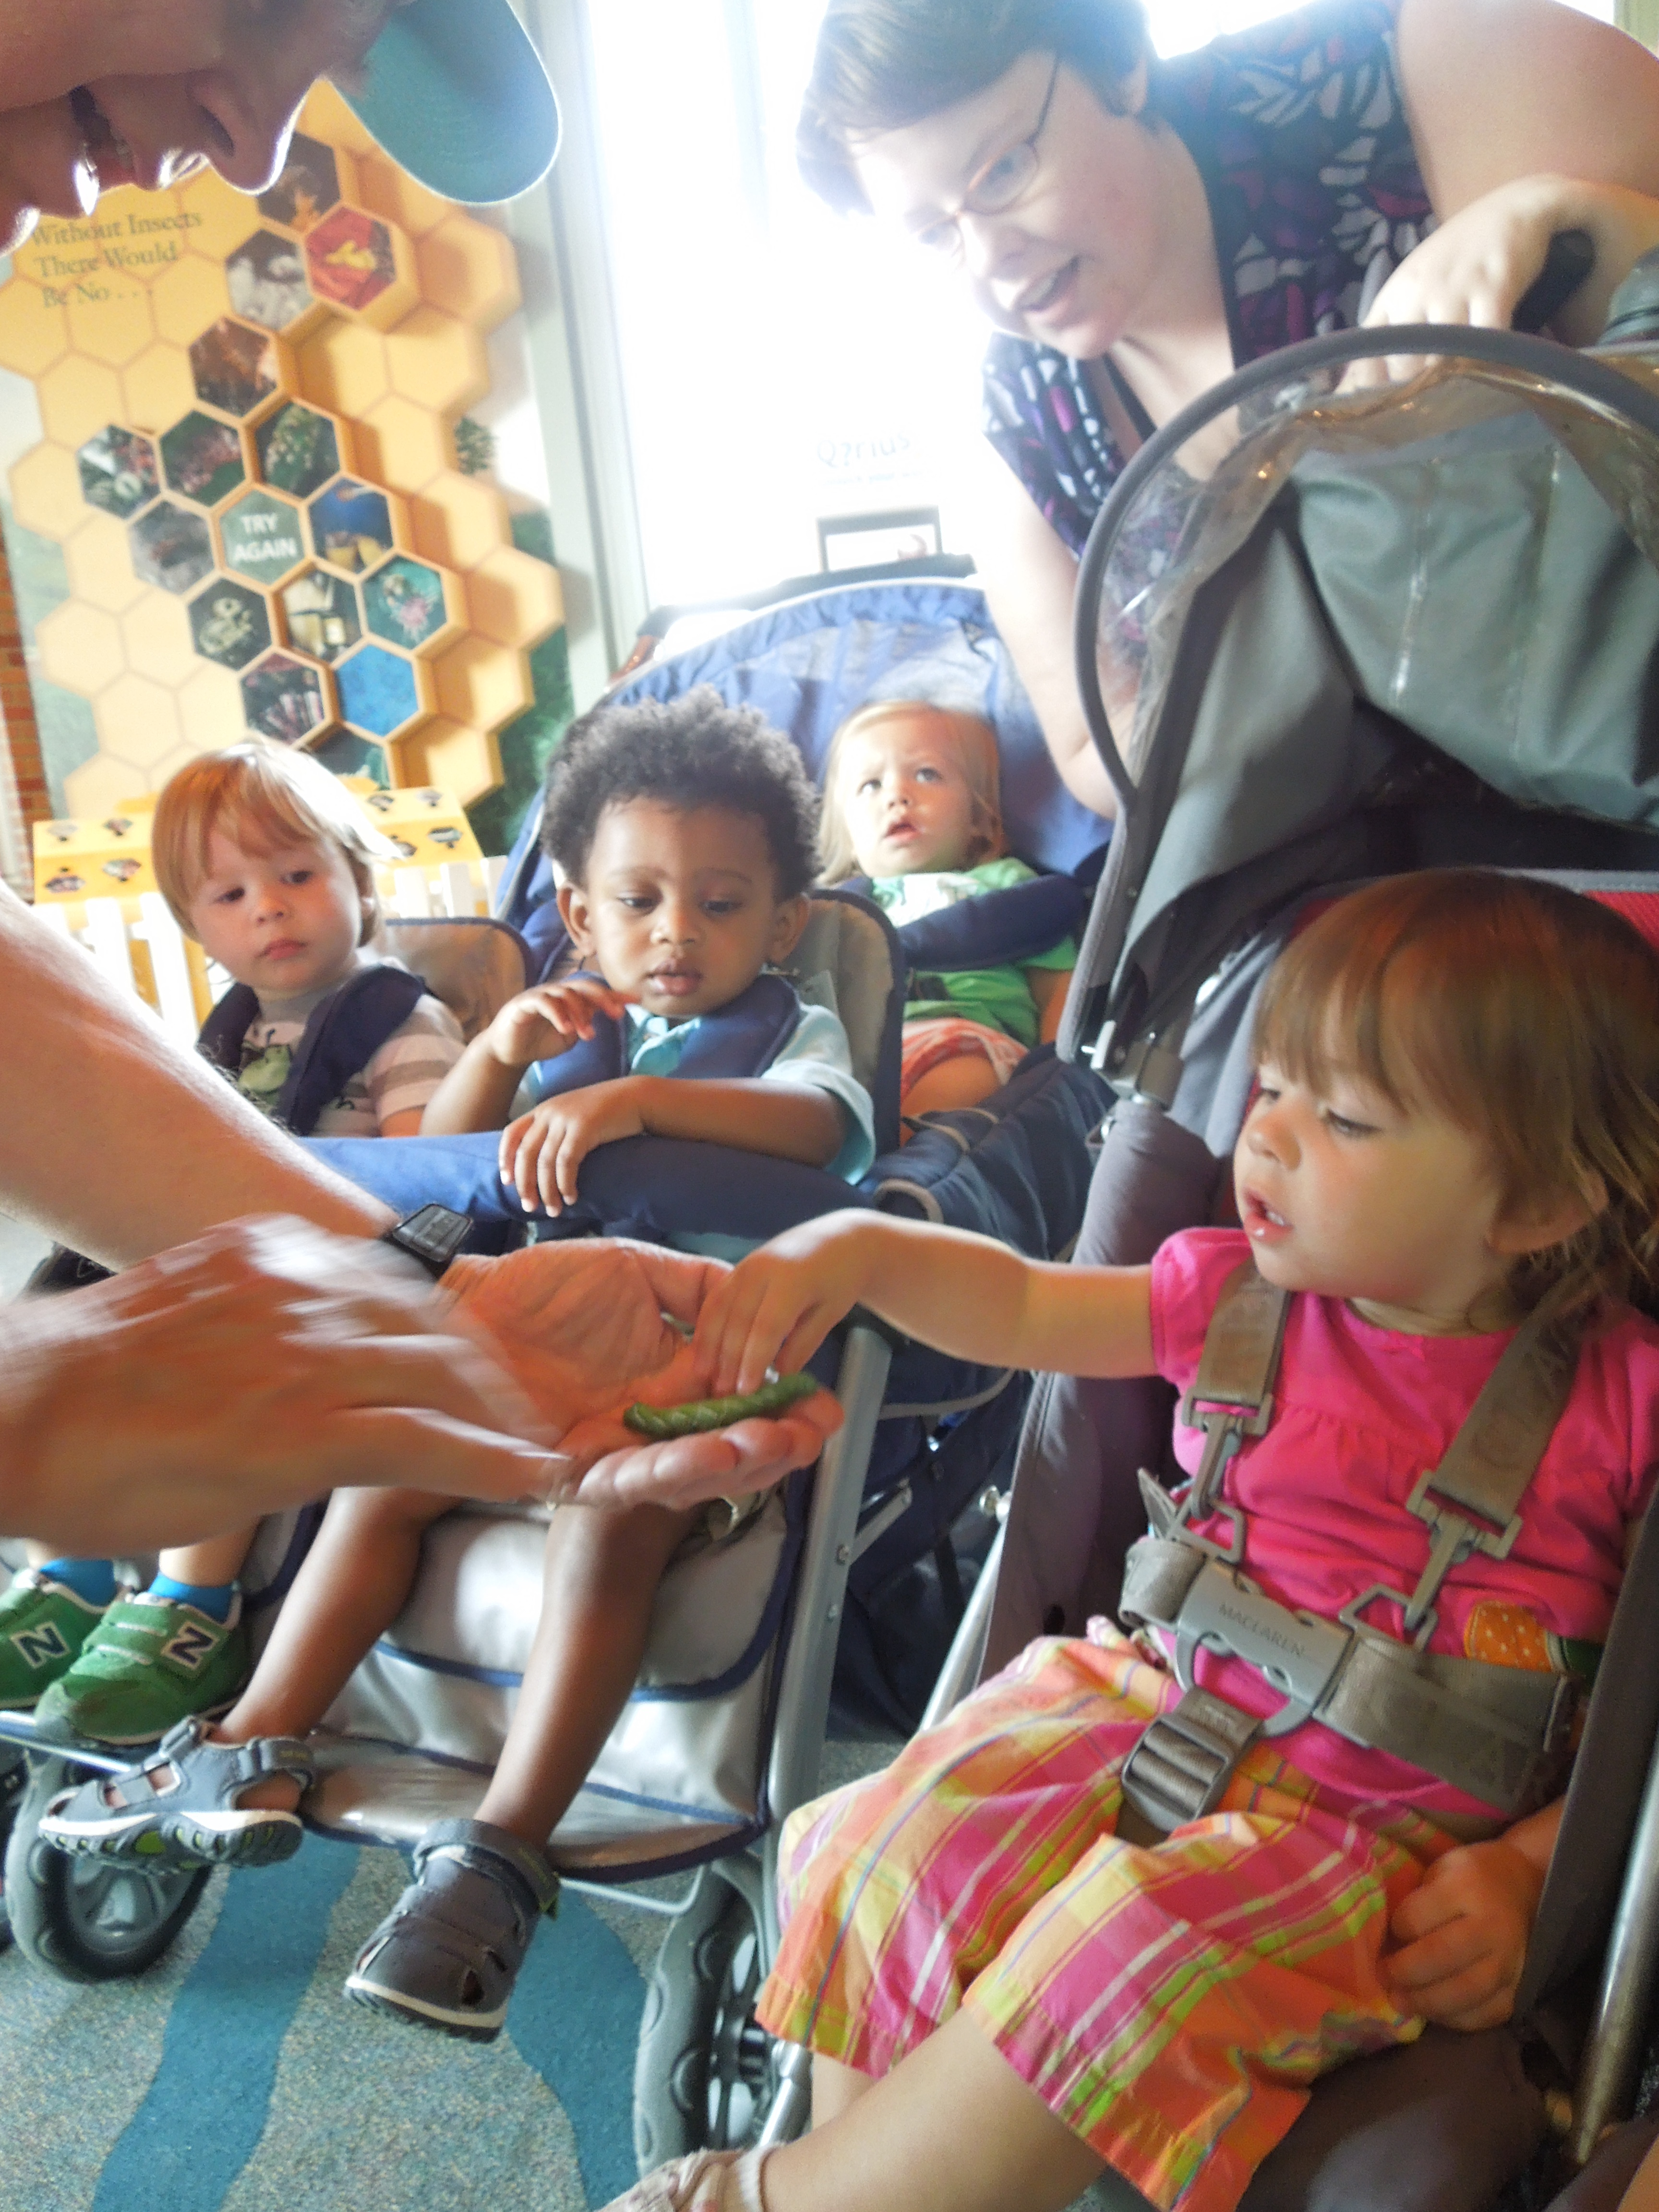
While exploring the butternut squash, the children not only touched the smooth sides, but also noticed how the textures of the squash changed as Rosalie rotated it. When she turned the squash on its side, the children immediately reached out to touch the small, dry area of the squash. Even though the children could not talk yet, the teachers, Mallory, Morgan, and Rosalie, were able to follow each child’s nonverbal cues. The teachers paid special attention to the things the children were pointing to, the changes in their facial expressions, and their use of sign language. In fact, throughout the lesson the children regularly signed “more” as they moved from one booth to another, signaling that they wanted to explore different types of produce. When the children signed “more”, it helped Mallory, Morgan, and Rosalie know that the children were enjoying their visit and wanted to continue.
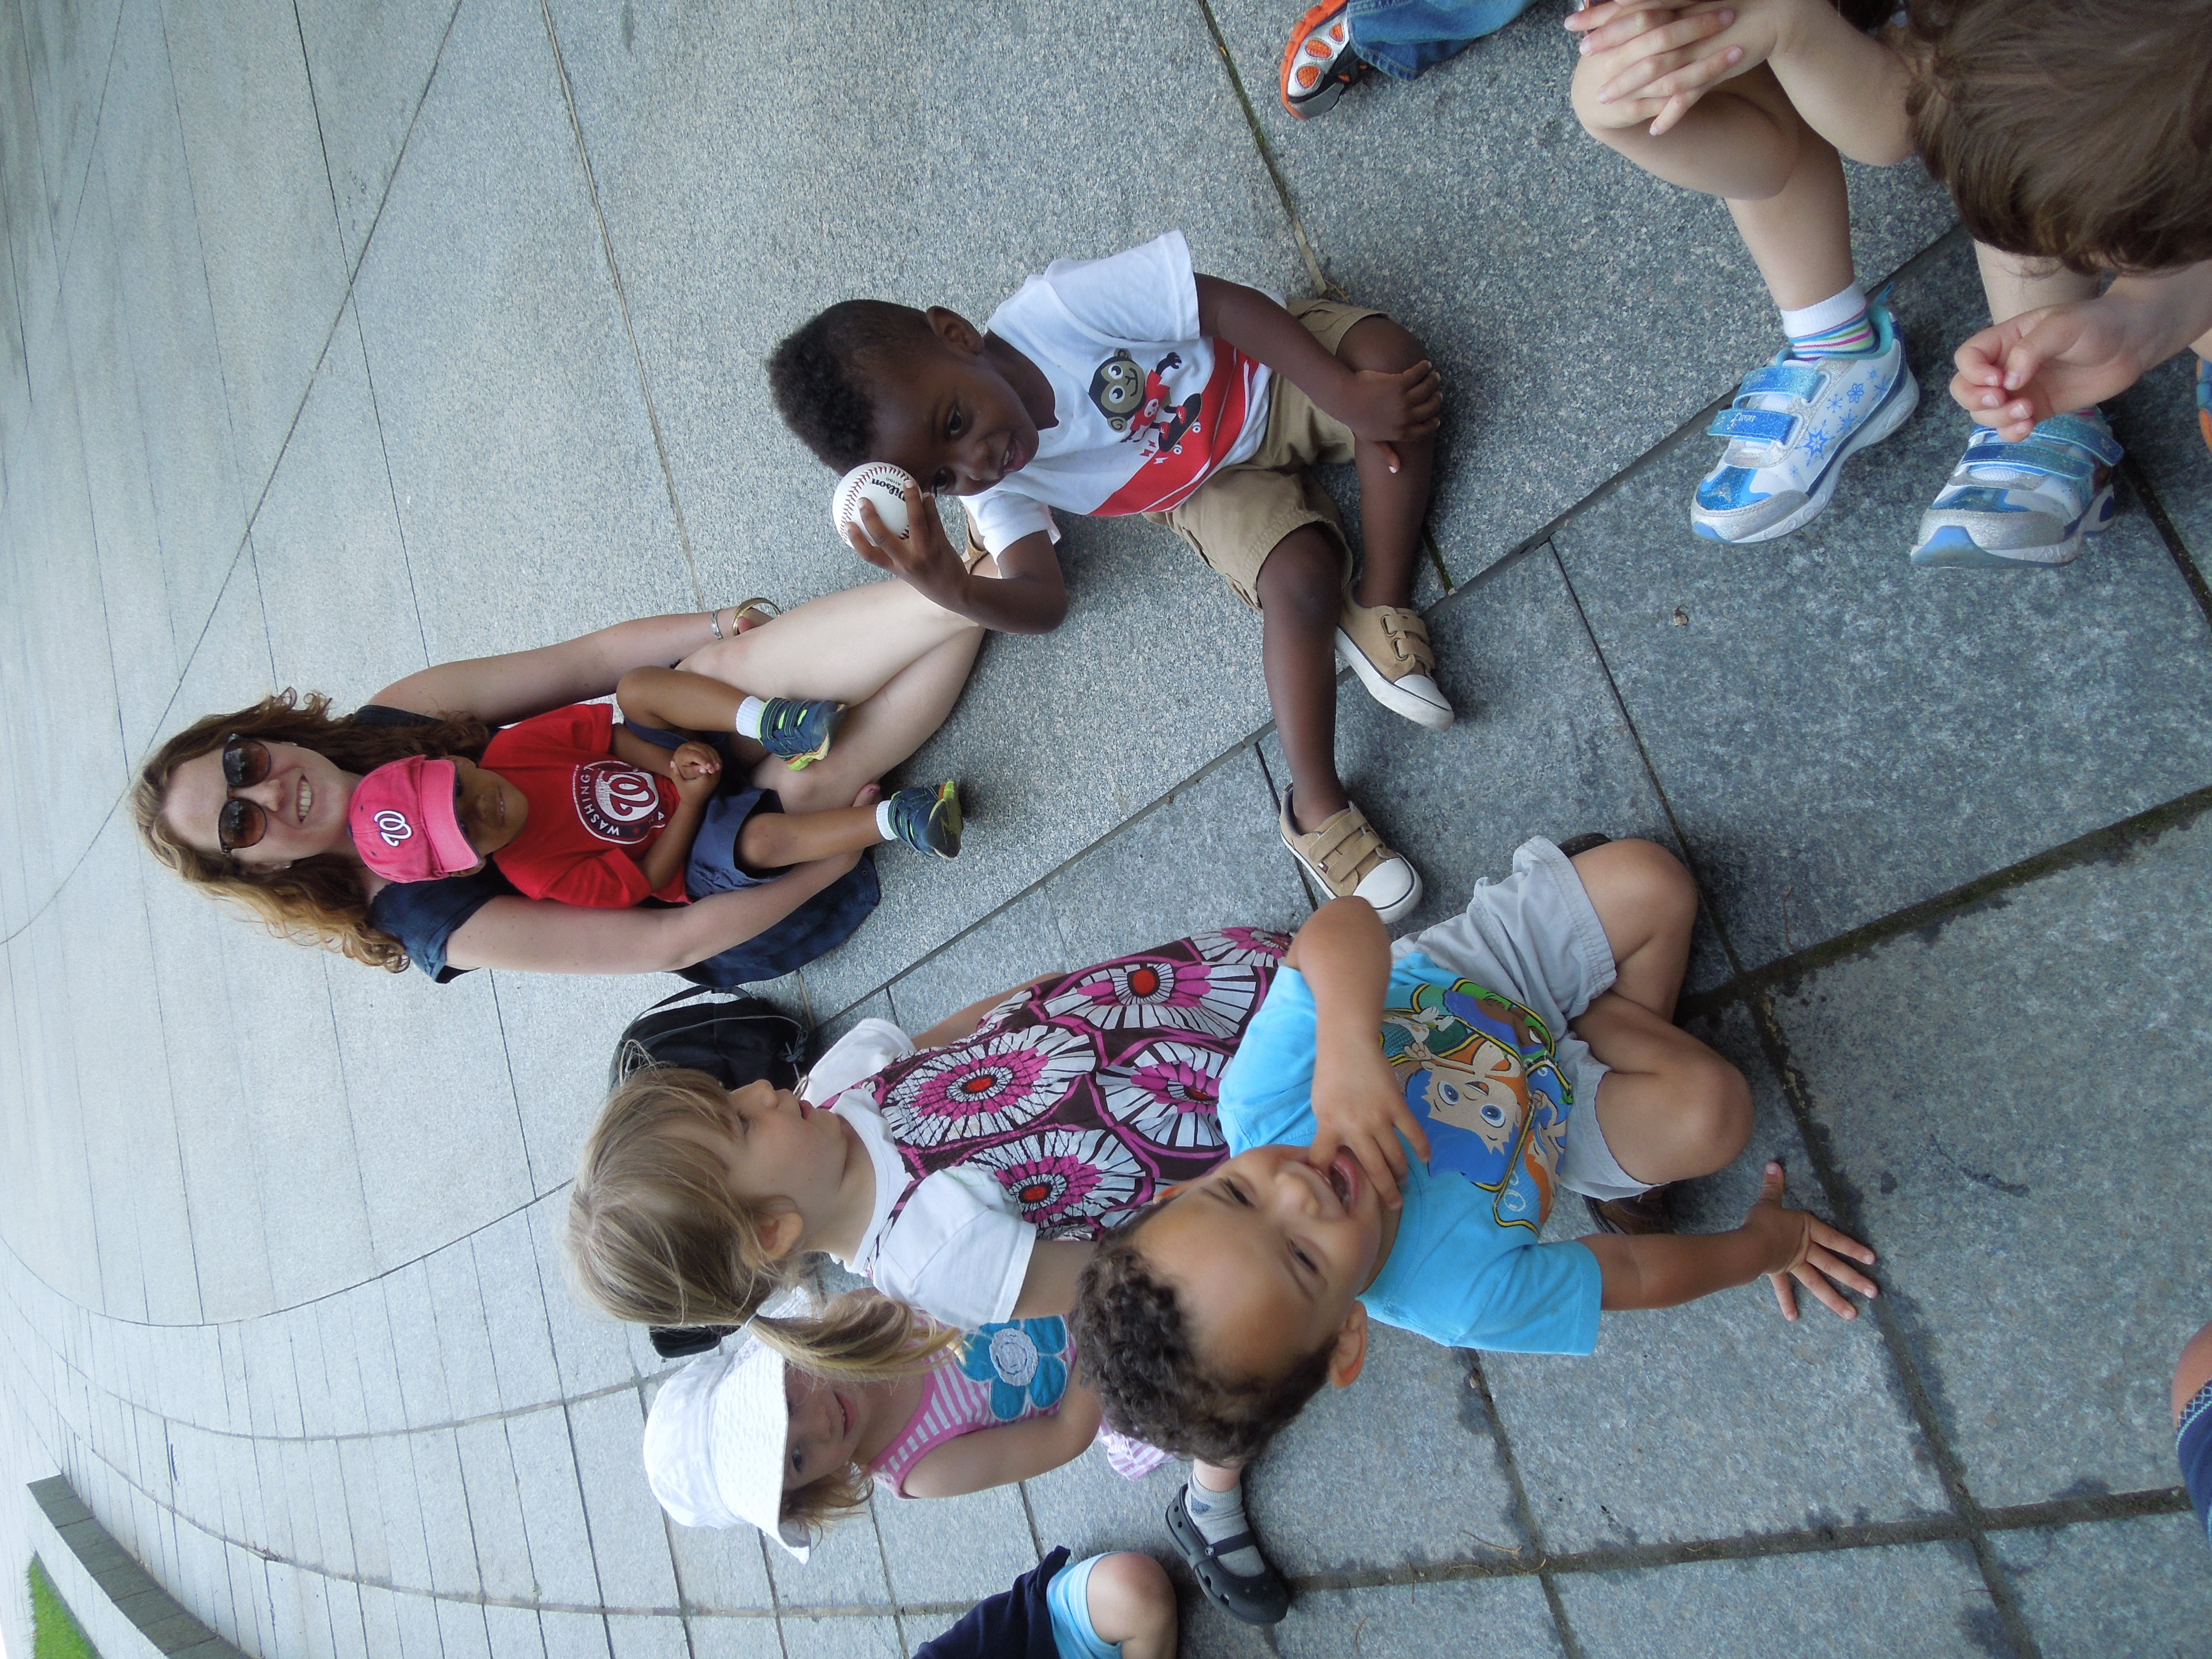
Mallory, Morgan, and Rosalie were so excited to take their class to the farmers market because this was their first trip outside as a group! The teachers had spent the month hoping that they could visit the farmers market for this unit and on the last Friday of the month they were able to make it work! Even the journey to the Market was exciting for the students; they experienced the sights and sounds of a beautiful autumn day outside in Washington, DC. The class noticed squirrels, fall foliage, and insects on the trip across the National Mall. Once the class arrived at the market, Mallory, Morgan, and Rosalie were happy to see their students so engaged with a variety of produce. They also embraced the unplanned moments, including feeling the dirt and meeting a big, fluffy dog which made their outing extra special.

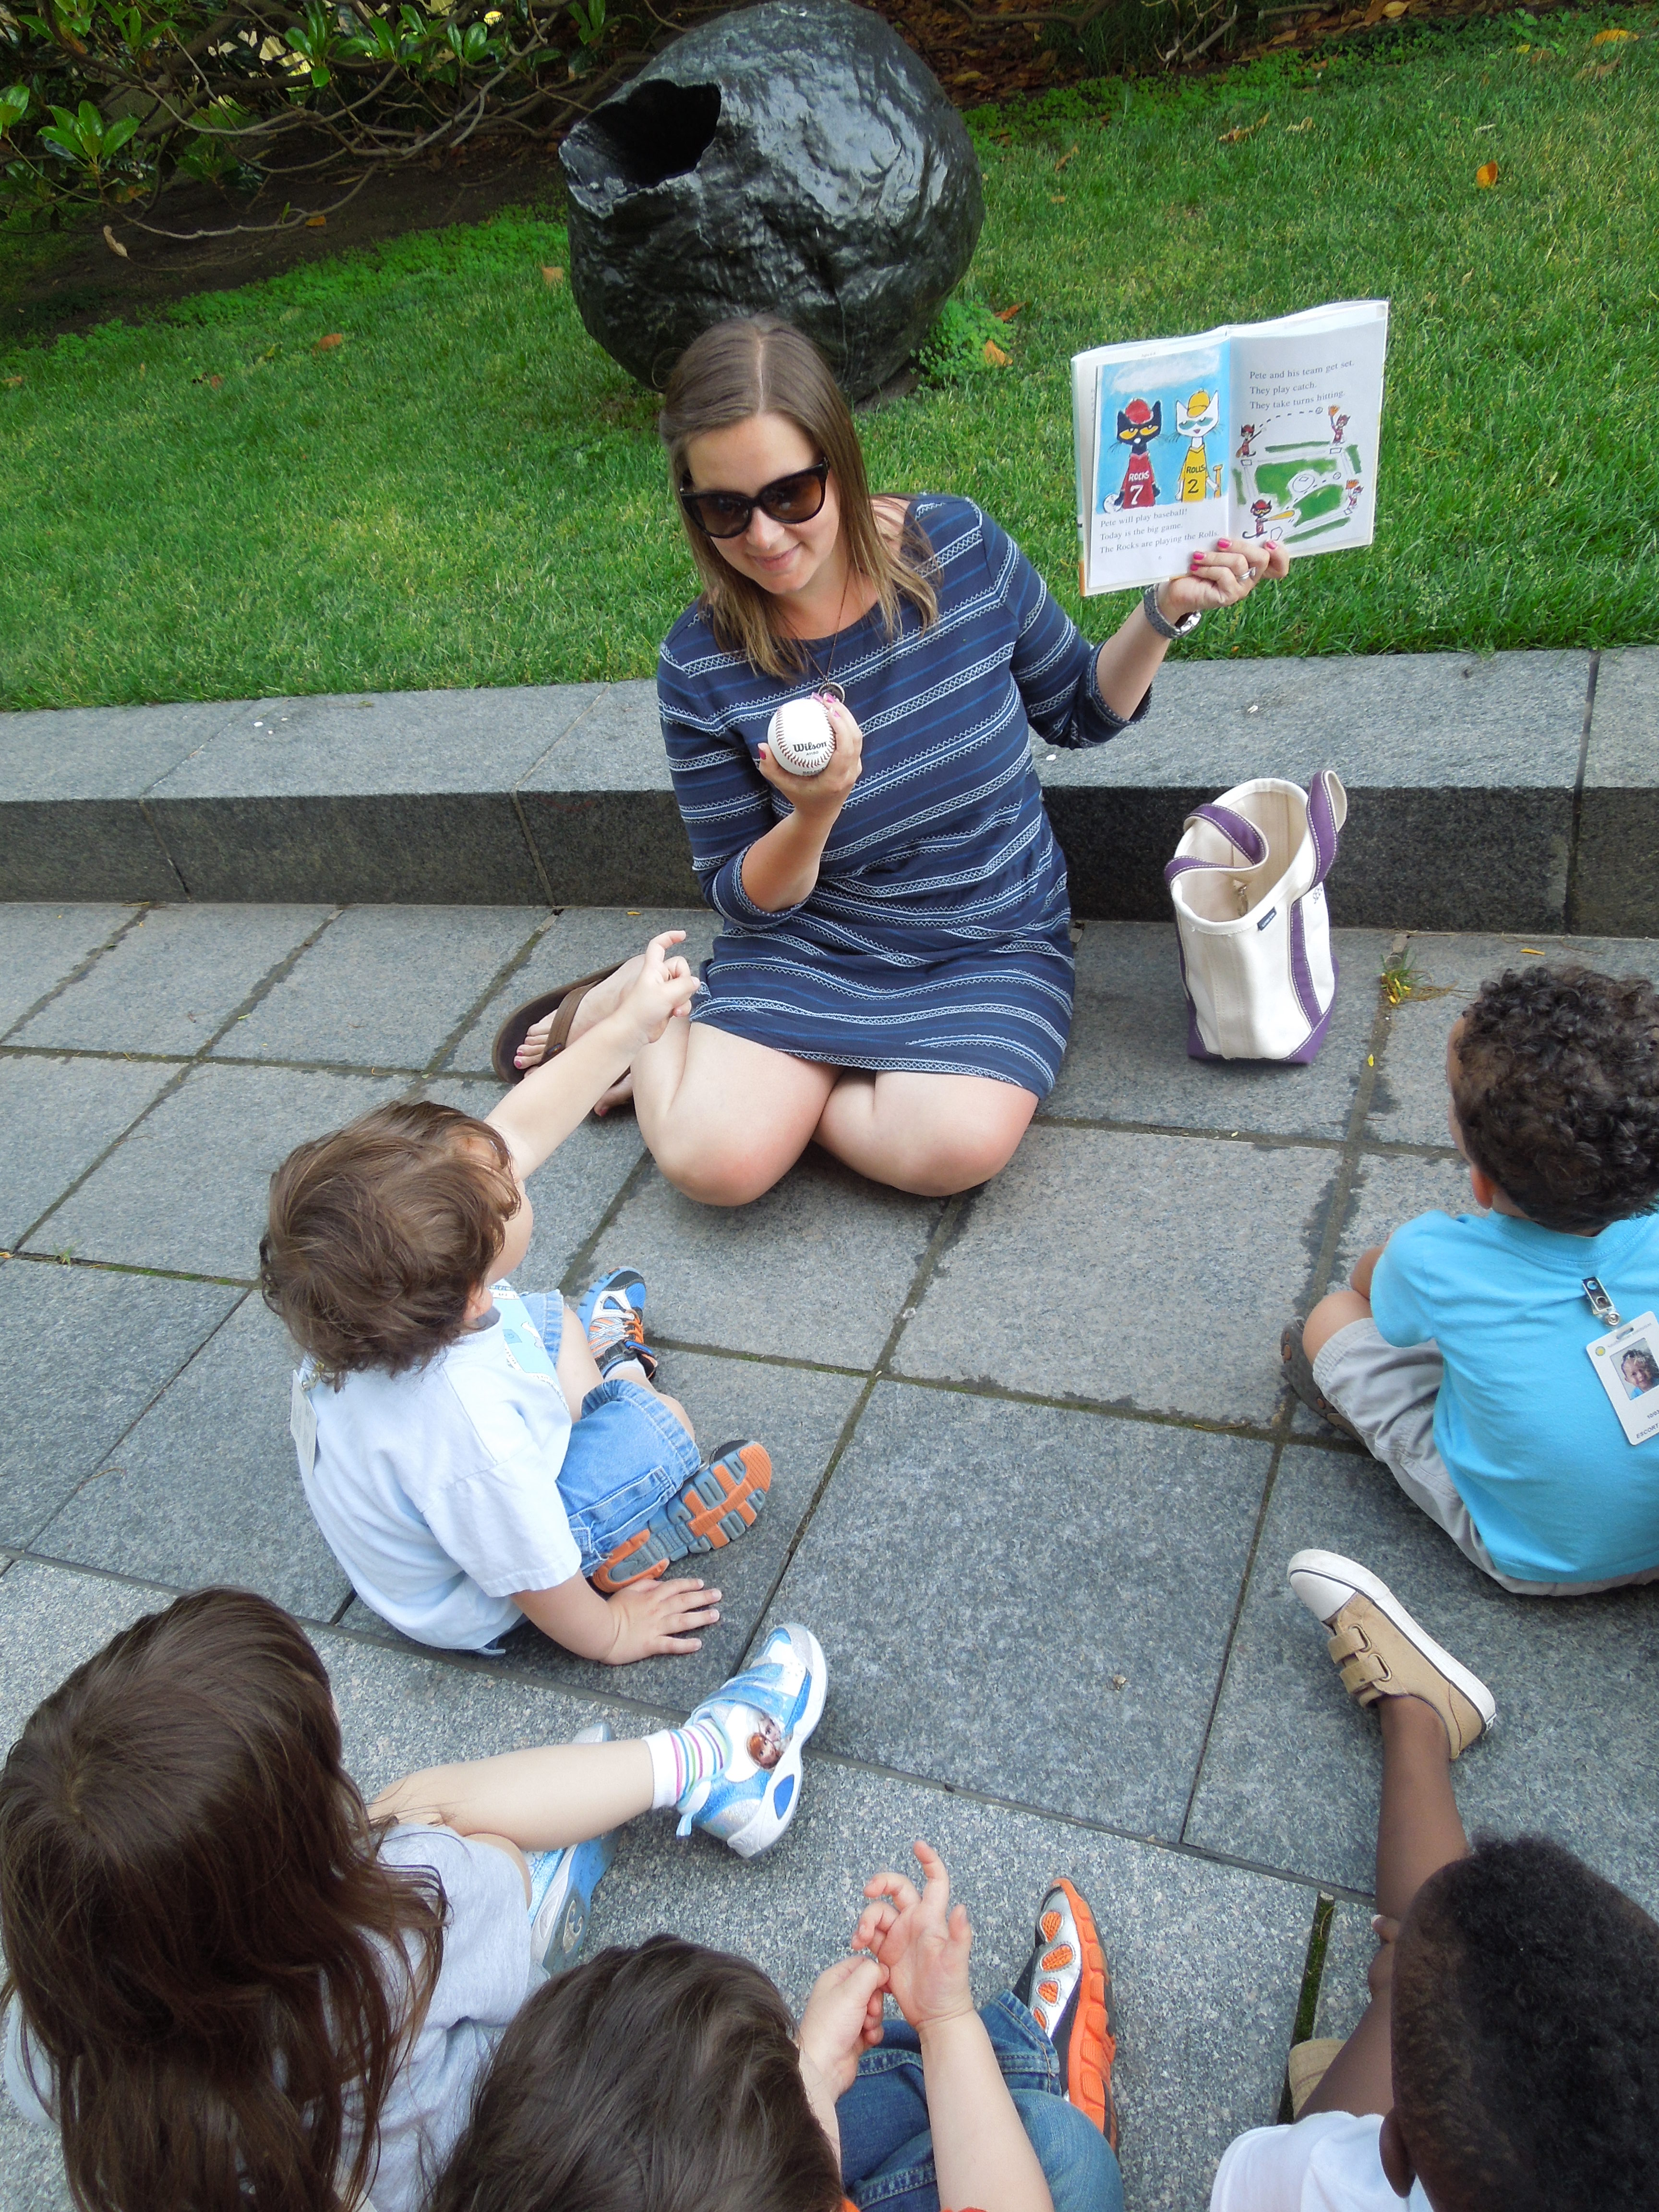
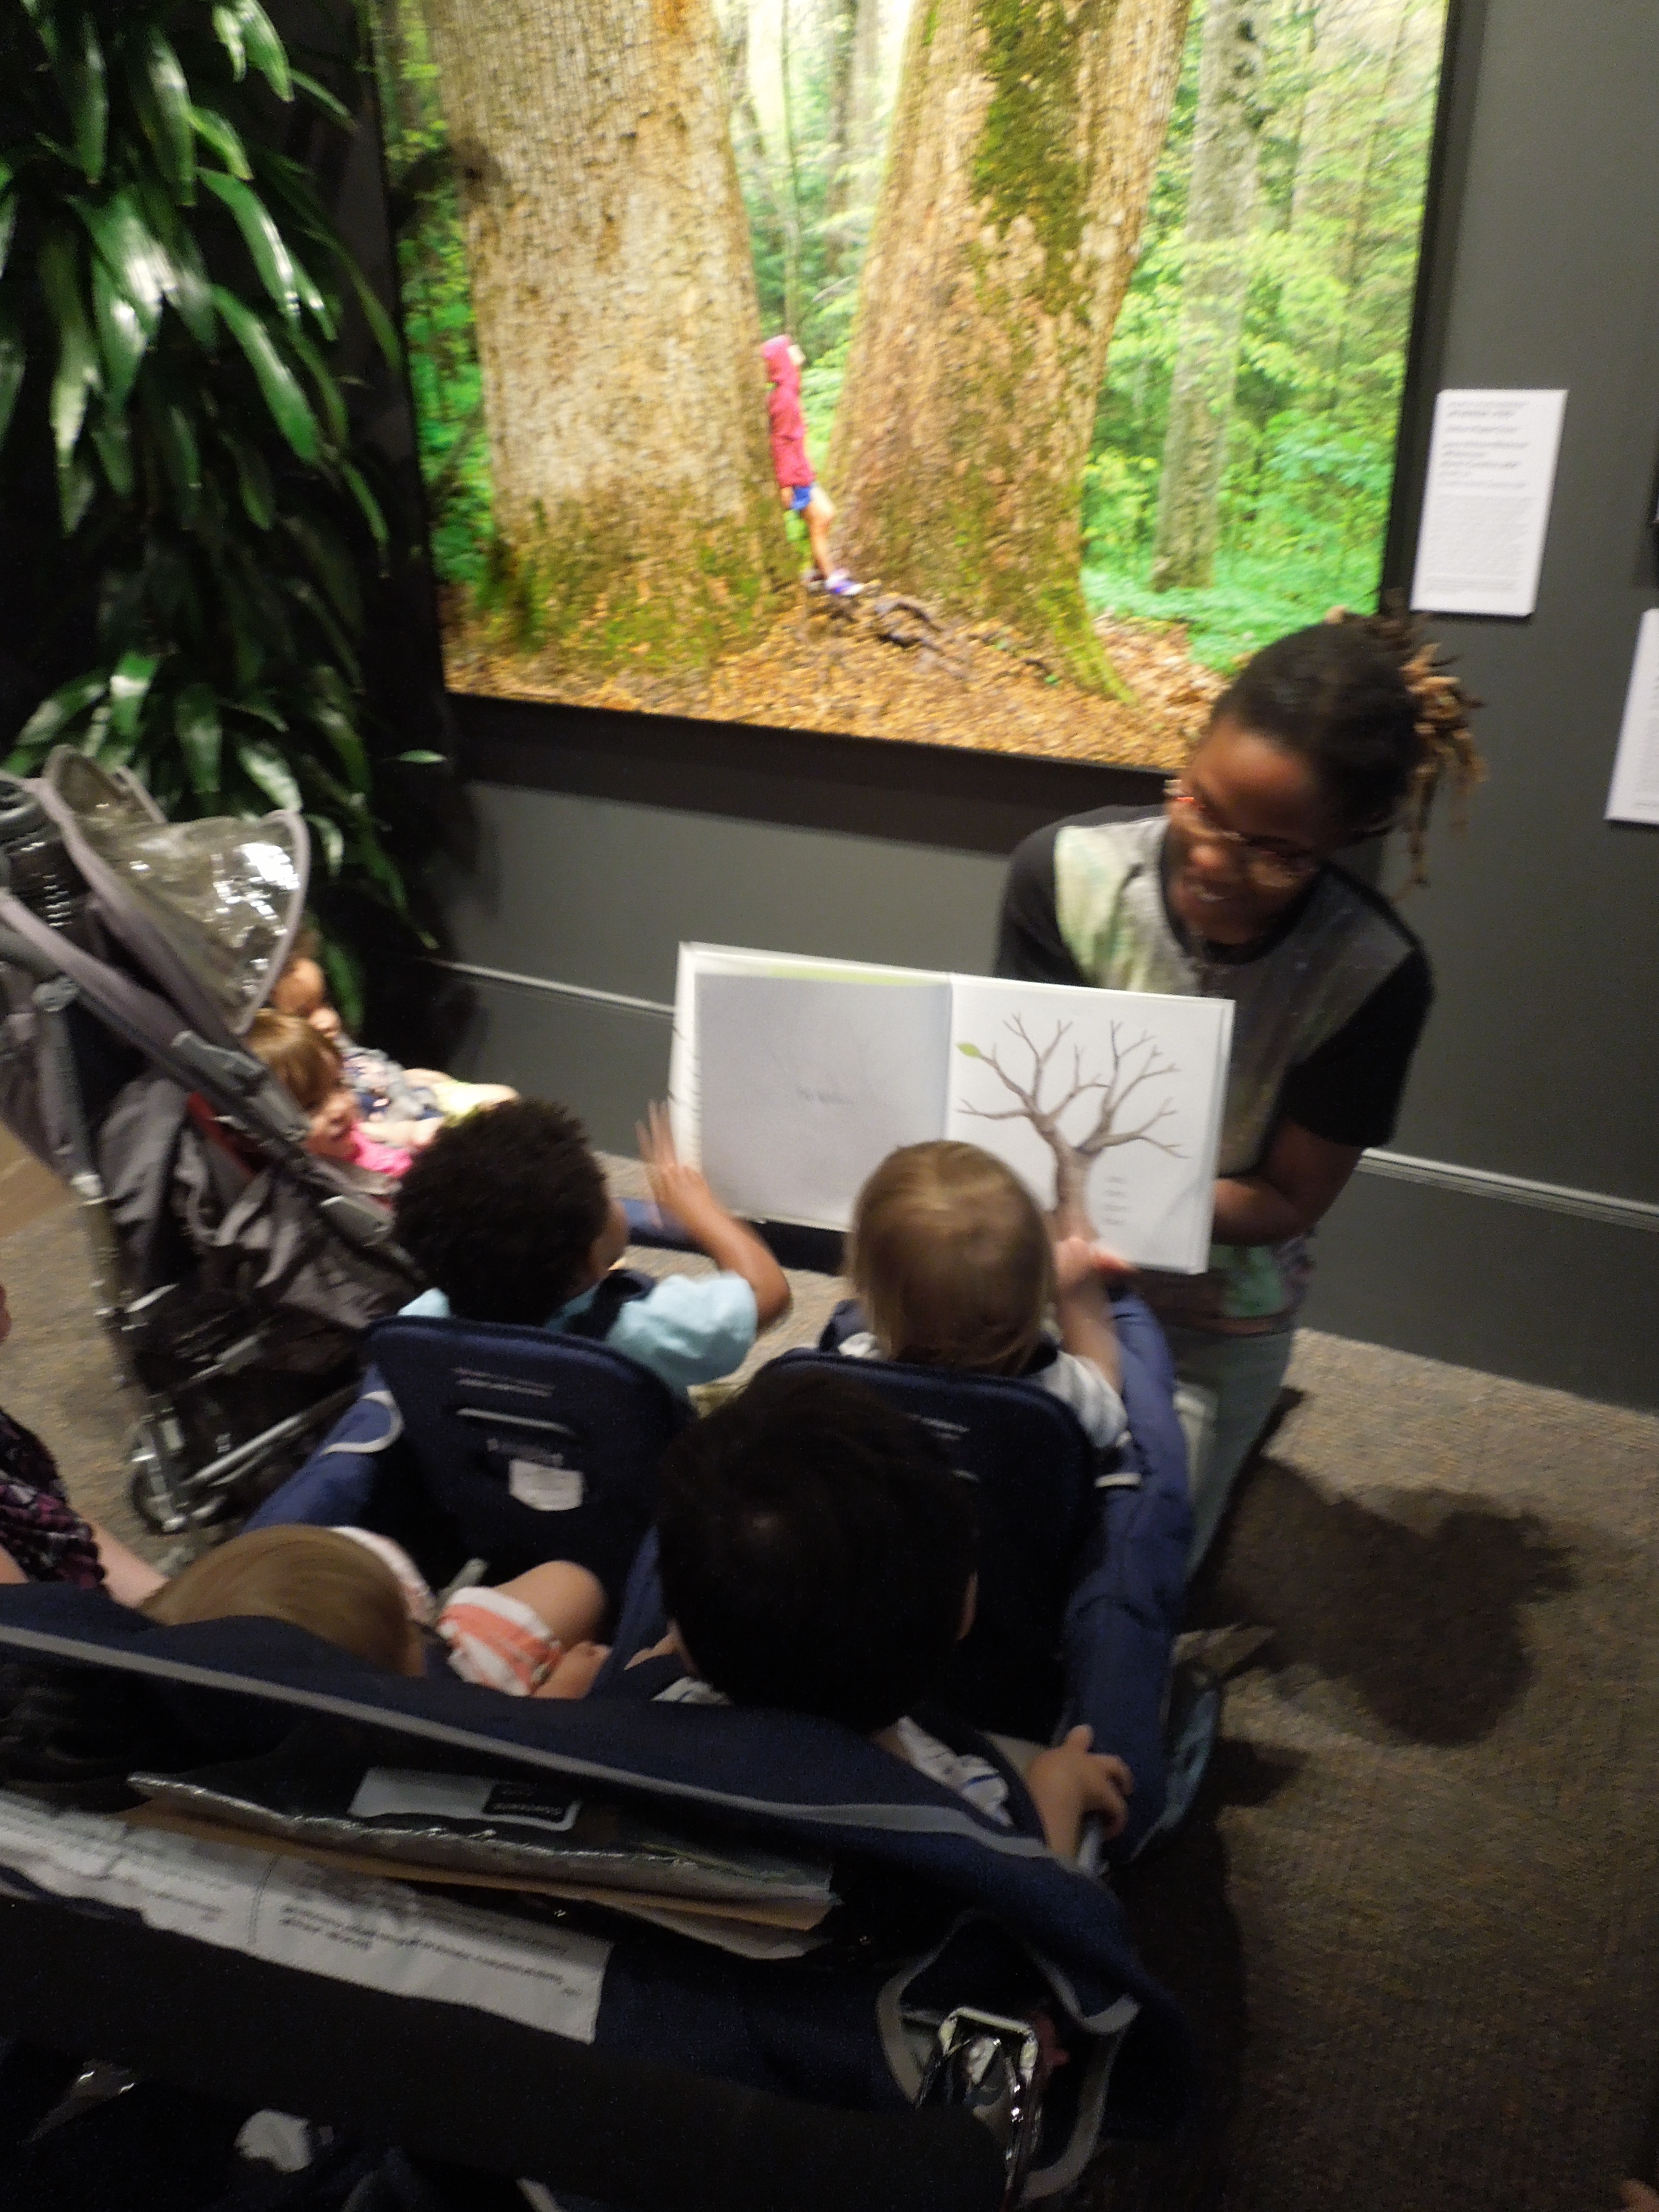
After the visit to the vendors at the market, the class gathered on the grass near the market. As part of the Friday Farmers market, the grassy area has lawn games set up as well as communal picnic blankets, which the class used for their outdoor story time. The teachers made sure that each child was engaged by offering them toys from the classroom and produce that they had recently purchased from the market.
Once everyone was settled in, the class looked at some pages in a book and sang a variety of songs. They sang a variety of autumnal songs that the music teacher, Ms. Allison, had introduced to the class during October. One song was about a pumpkin, big and round; another song was about autumn leaves falling down. They sang the pumpkin song as the children touched the pumpkin. As children began venturing off their blanket and started to explore the leaves they found on the ground, Mallory, Morgan, and Rosalie sang the autumn leaves song. It was clear that the children enjoyed the songs as they rocked their bodies to the beat and even clapped along.
Reflection:

Since their class is composed of young children, much of the beginning of the year is focused on learning and supporting each individual child’s feeding and resting schedule. This complicates finding time to go on outings. However, when the opportunity arises to go on a trip, Mallory, Morgan, and Rosalie, jump on it, as they know the benefits of getting their class out of the classroom for experiential learning.
When thinking about what the class could have done differently, Mallory, Morgan, and Rosalie thought it would have been nice to bring food for their class to eat while on the picnic blankets. They explained that bringing food to taste would have enhanced their class’ experience beyond seeing and feeling by adding the sense of taste.
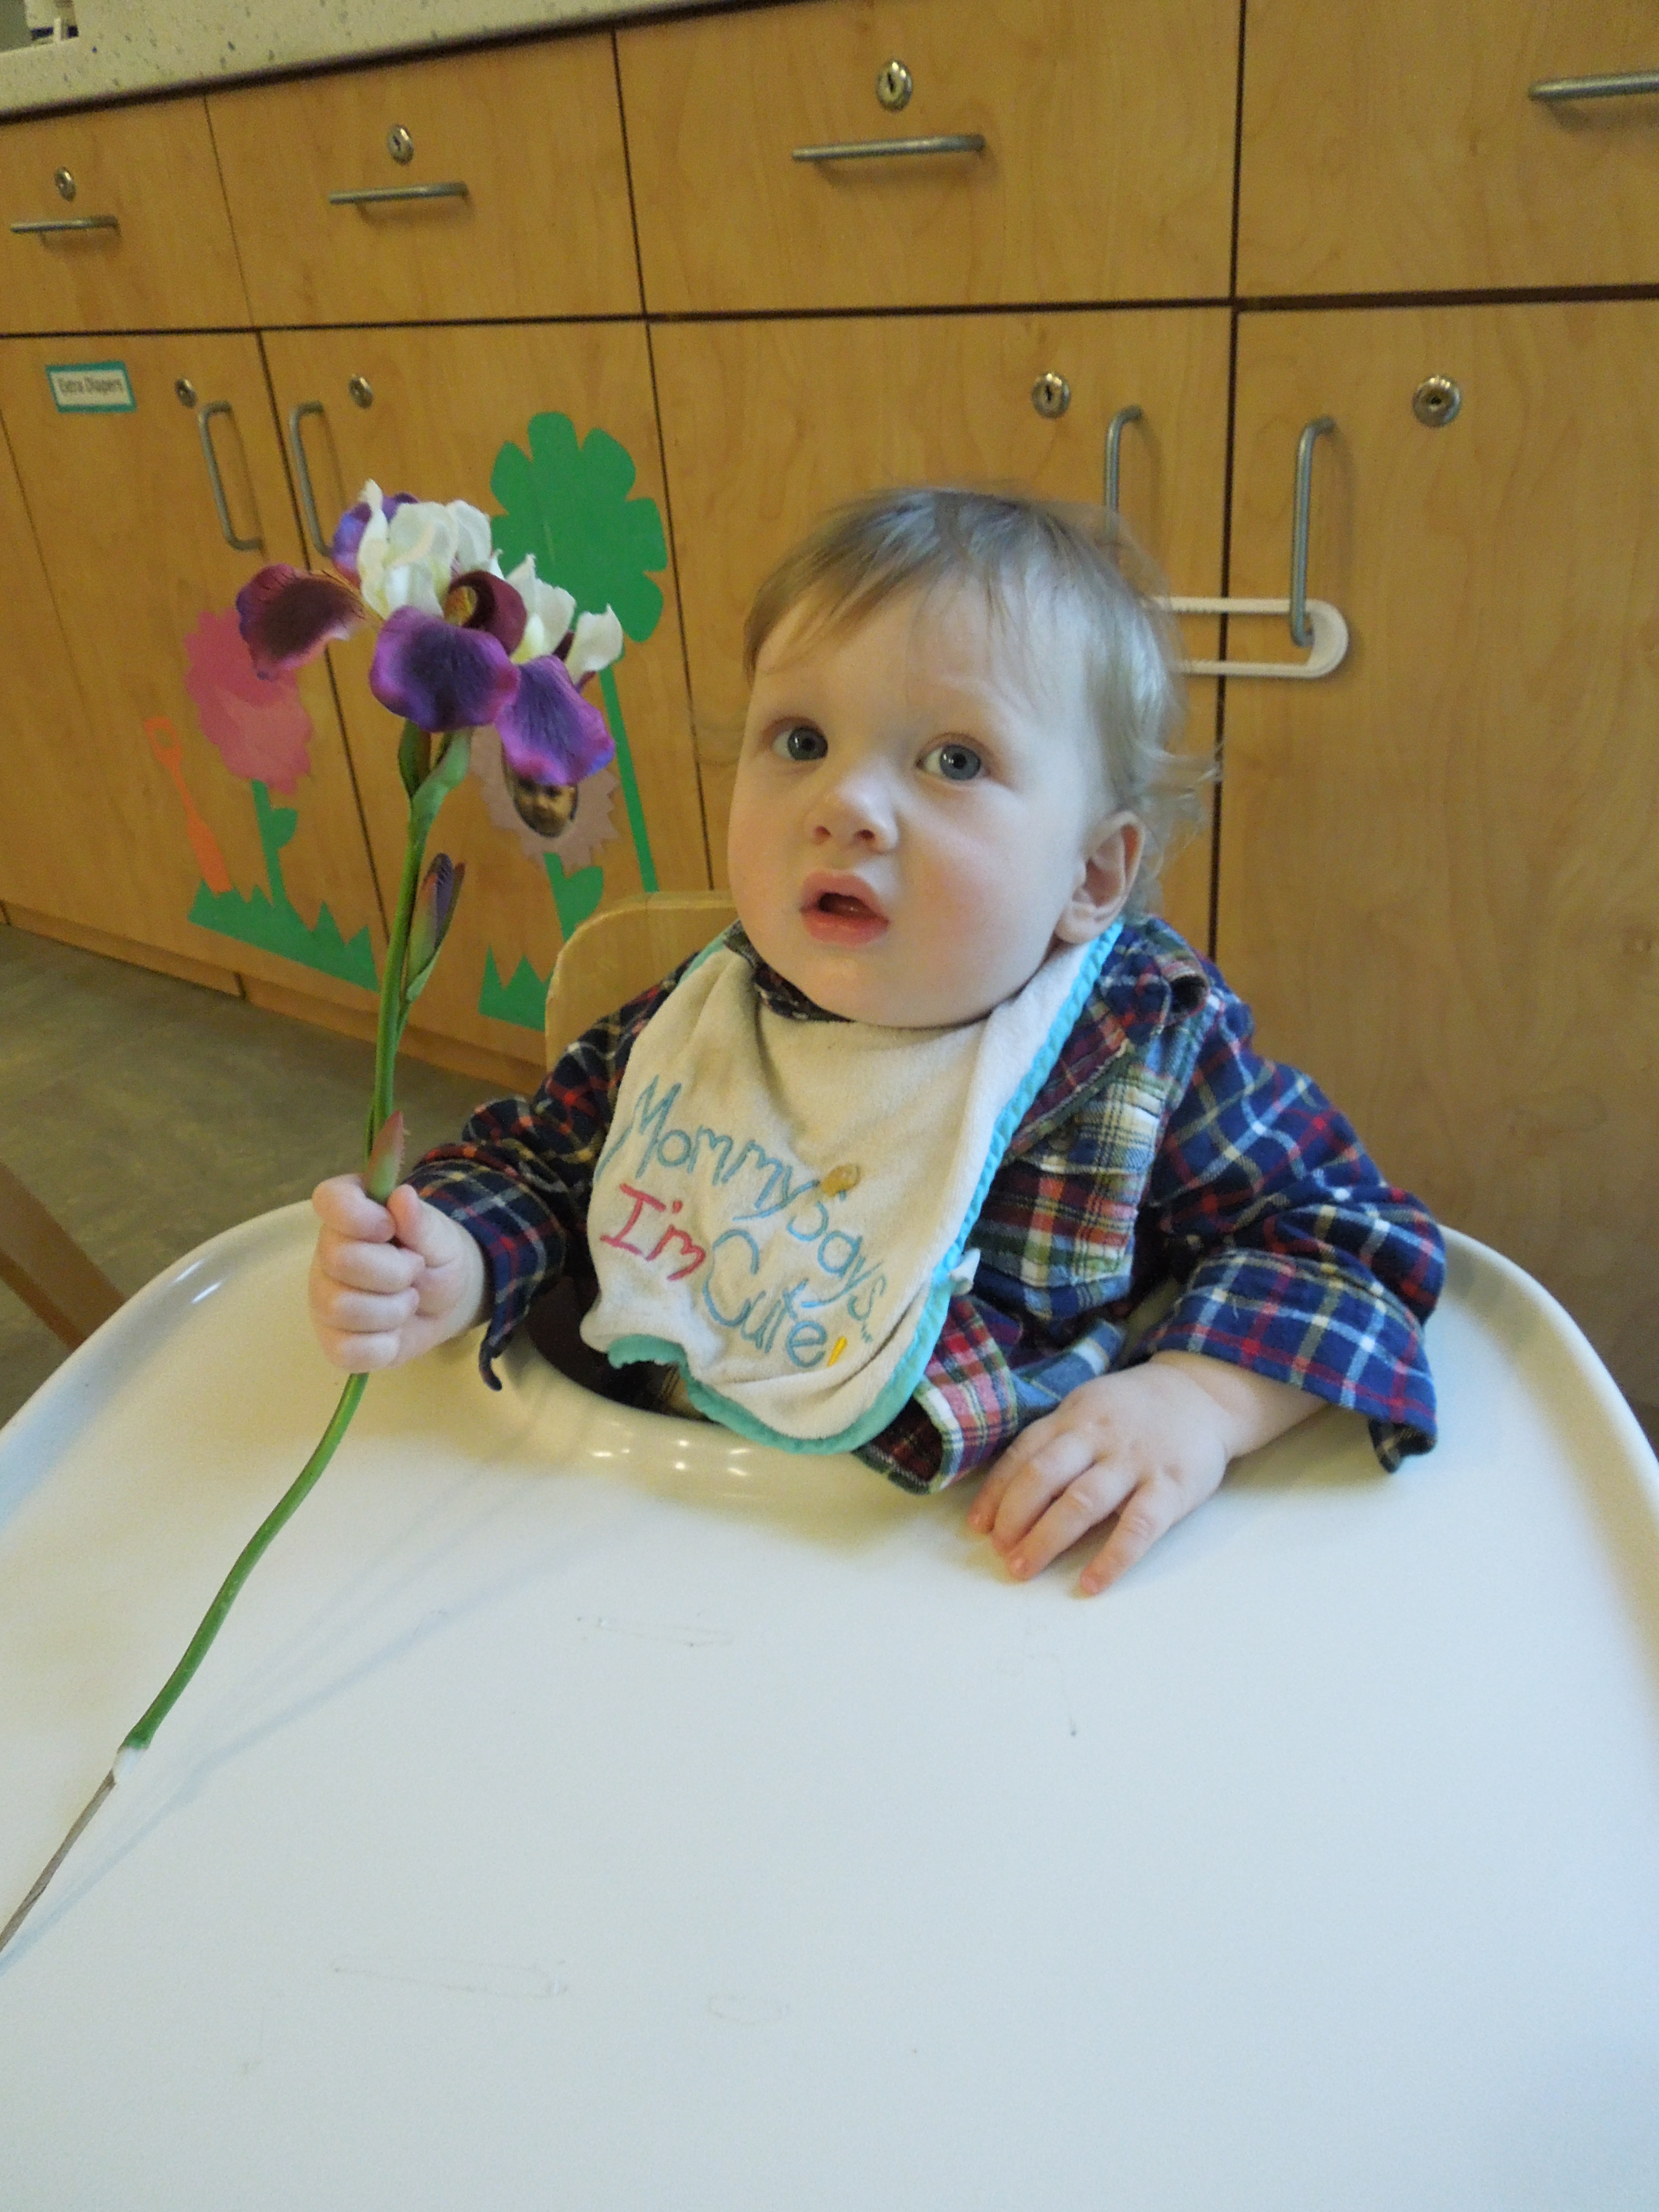
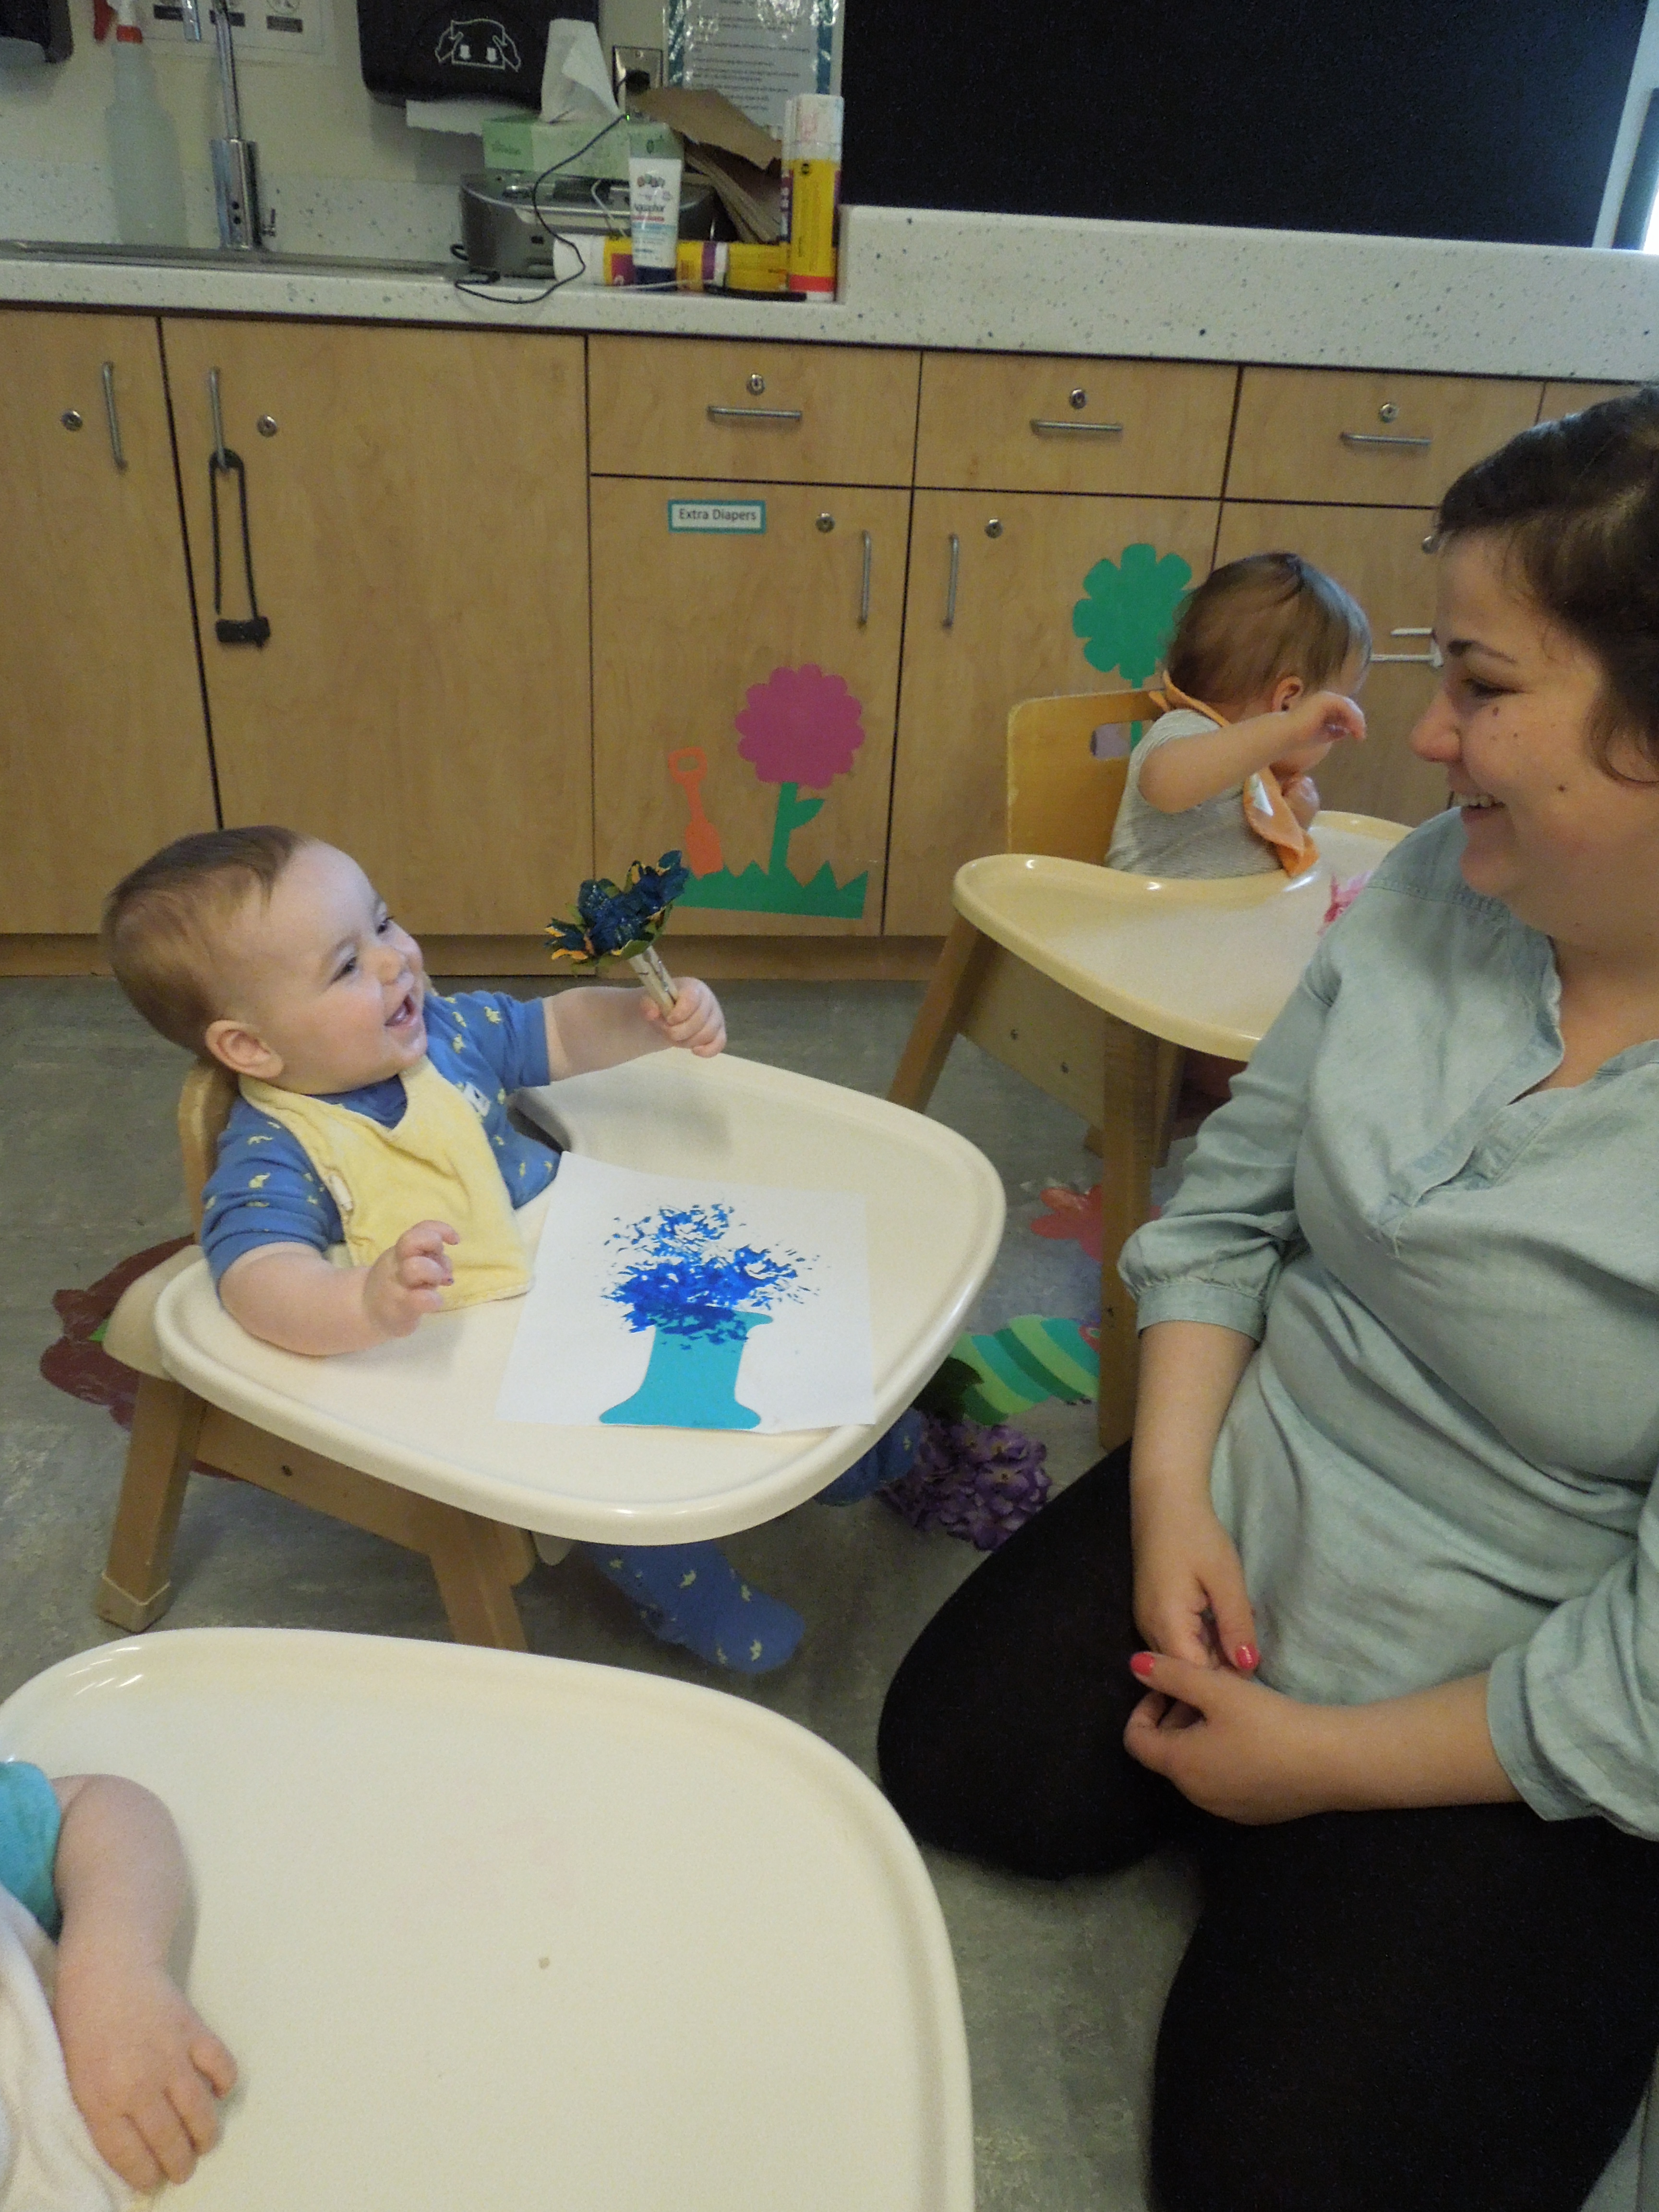
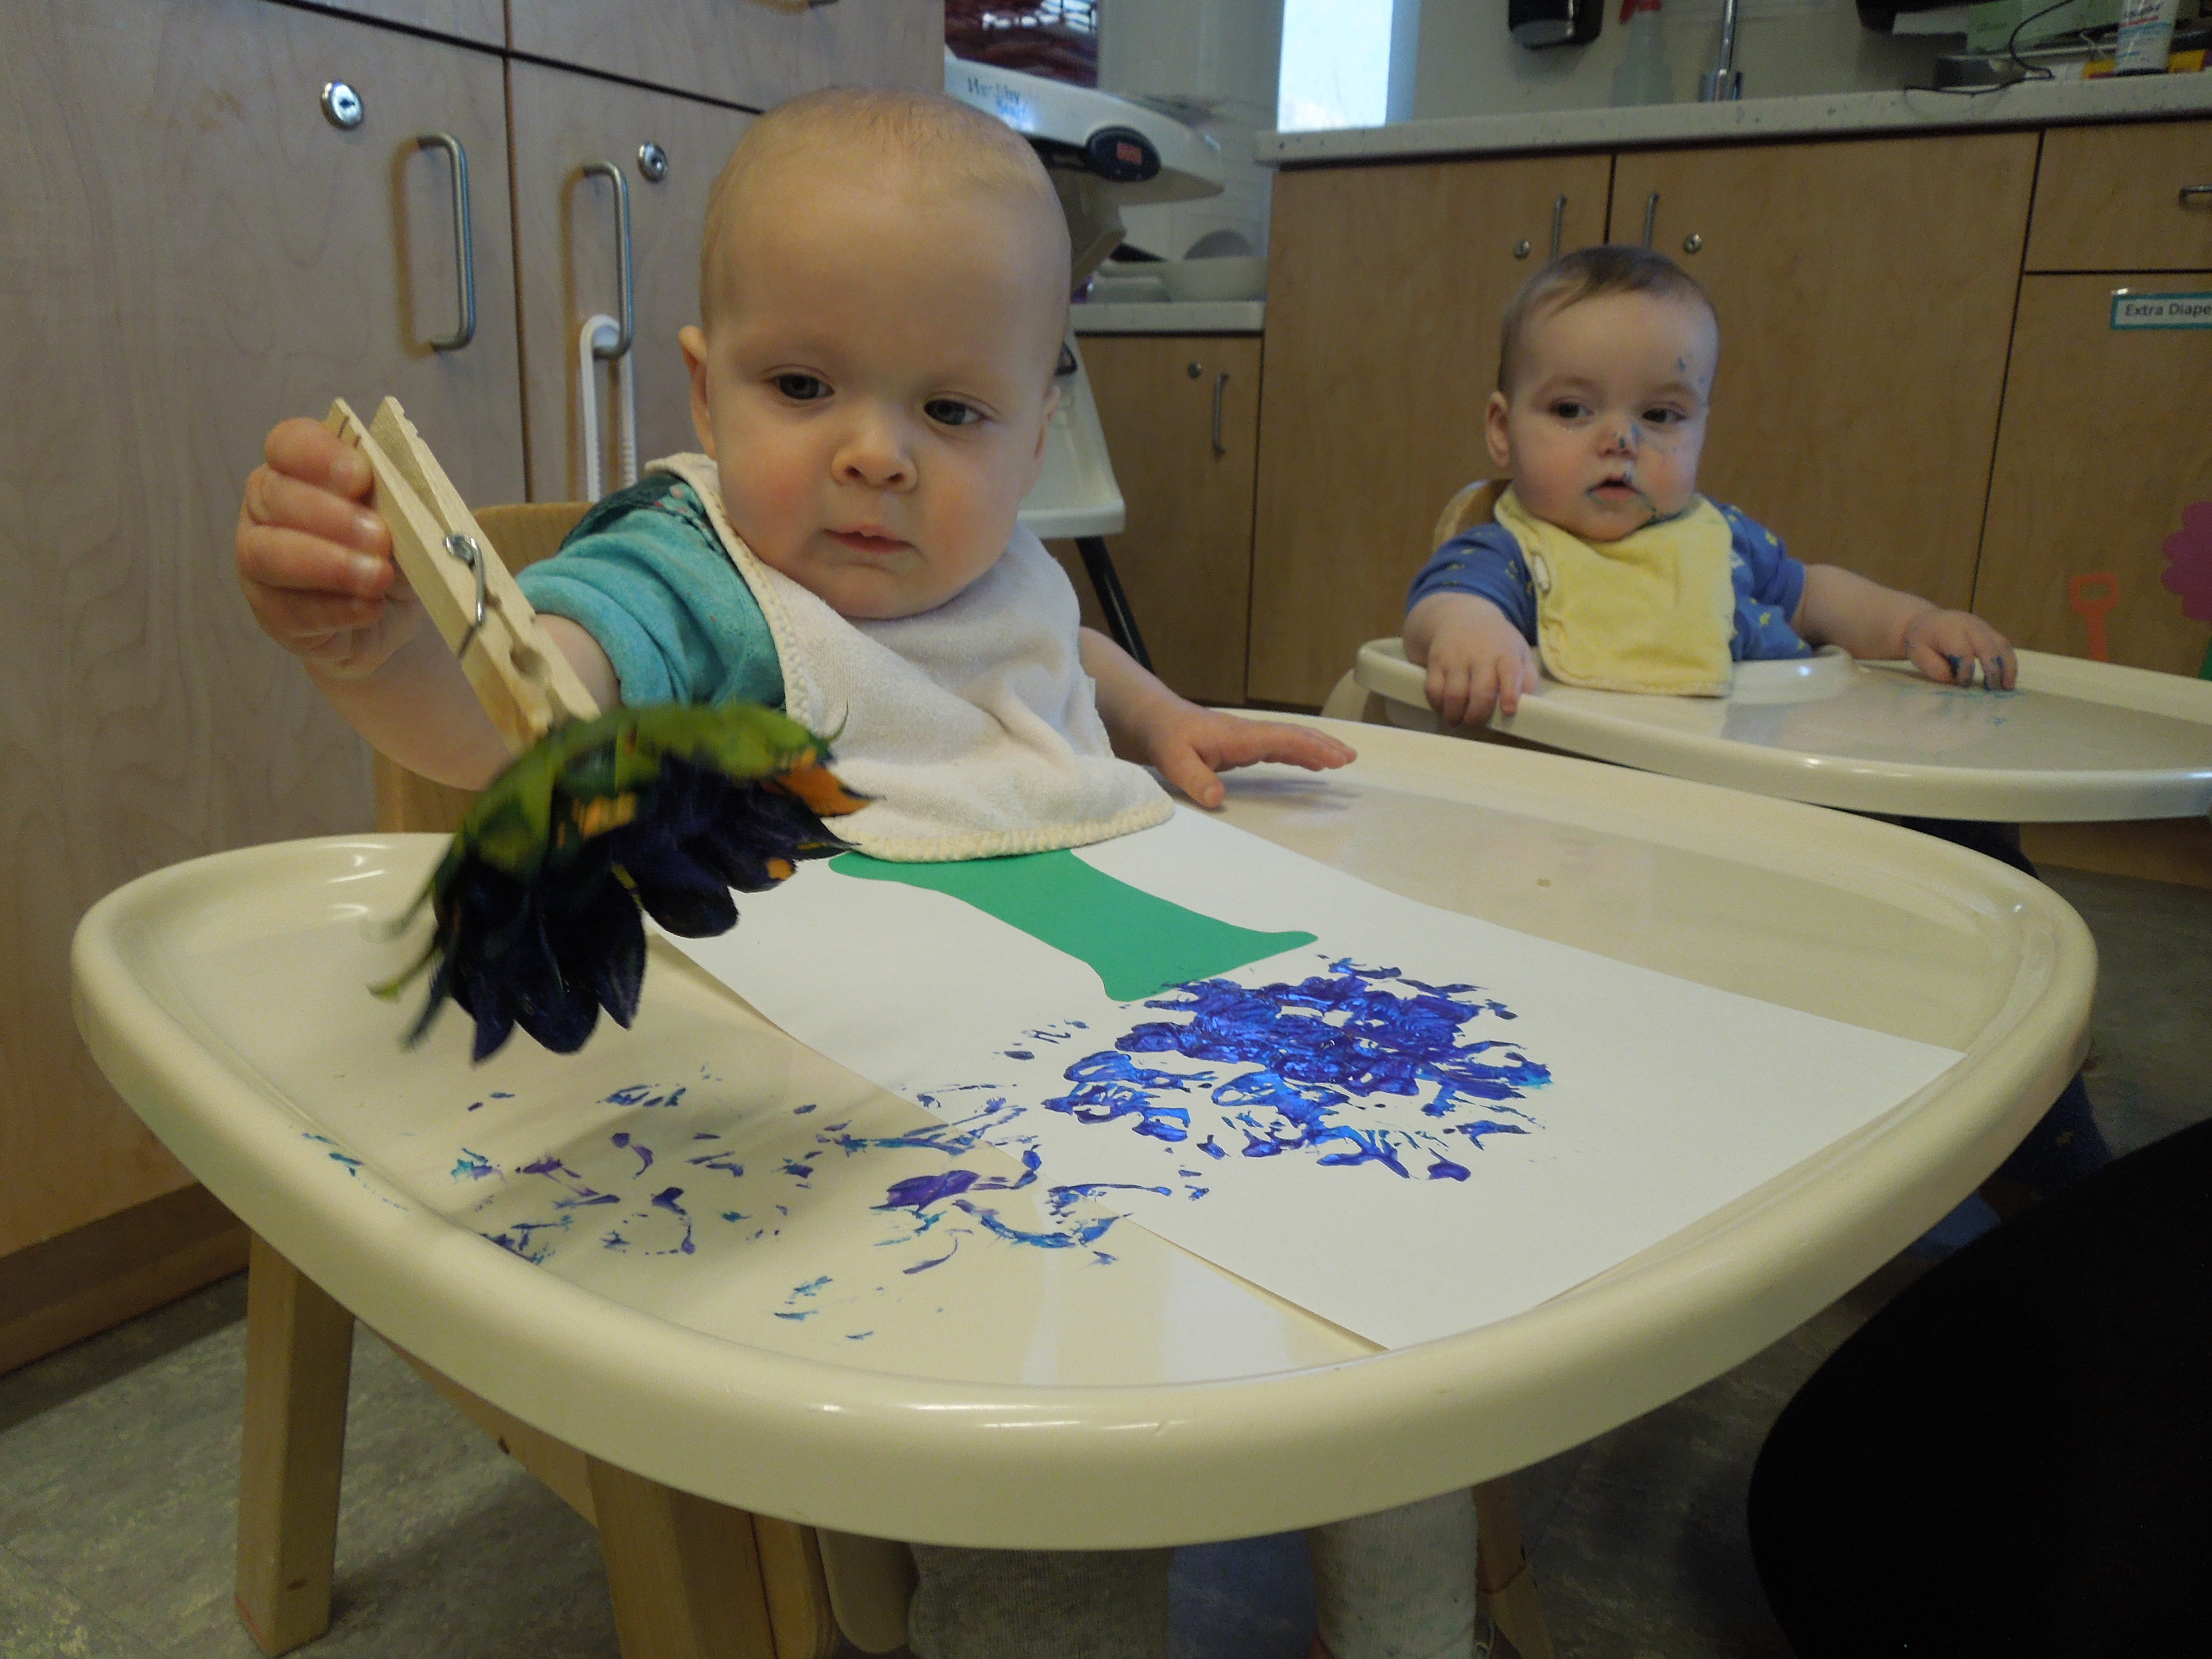
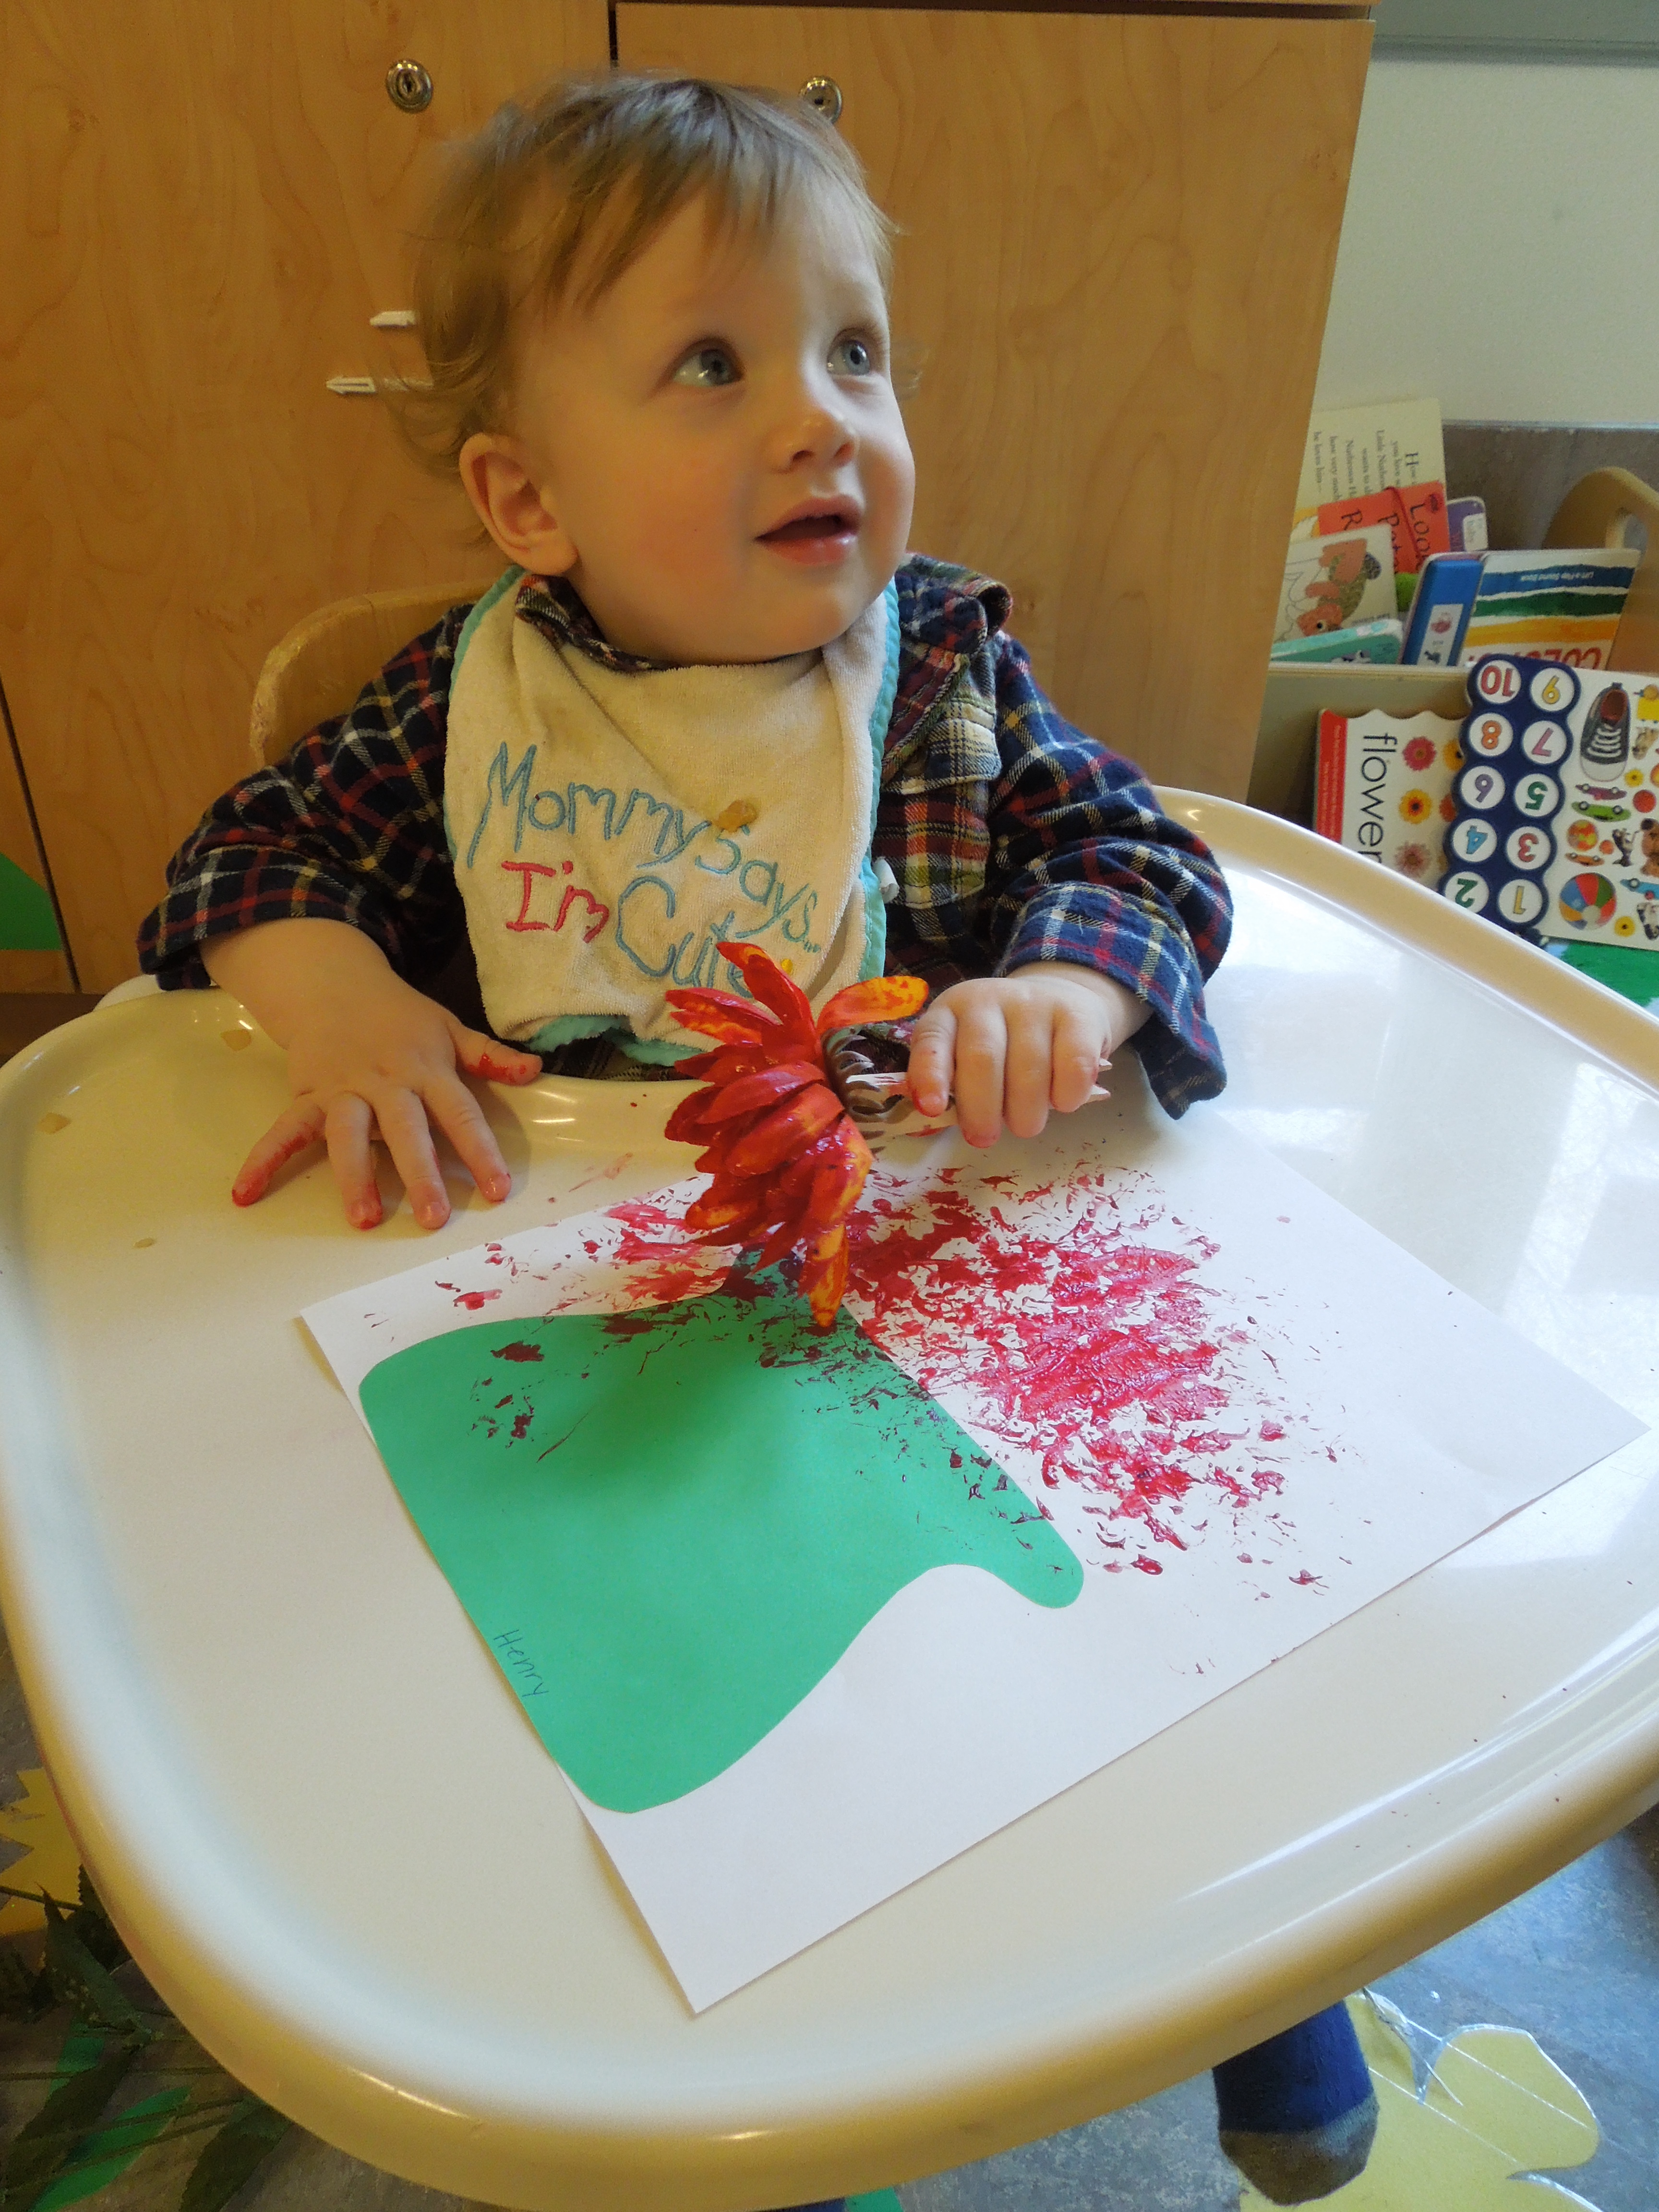
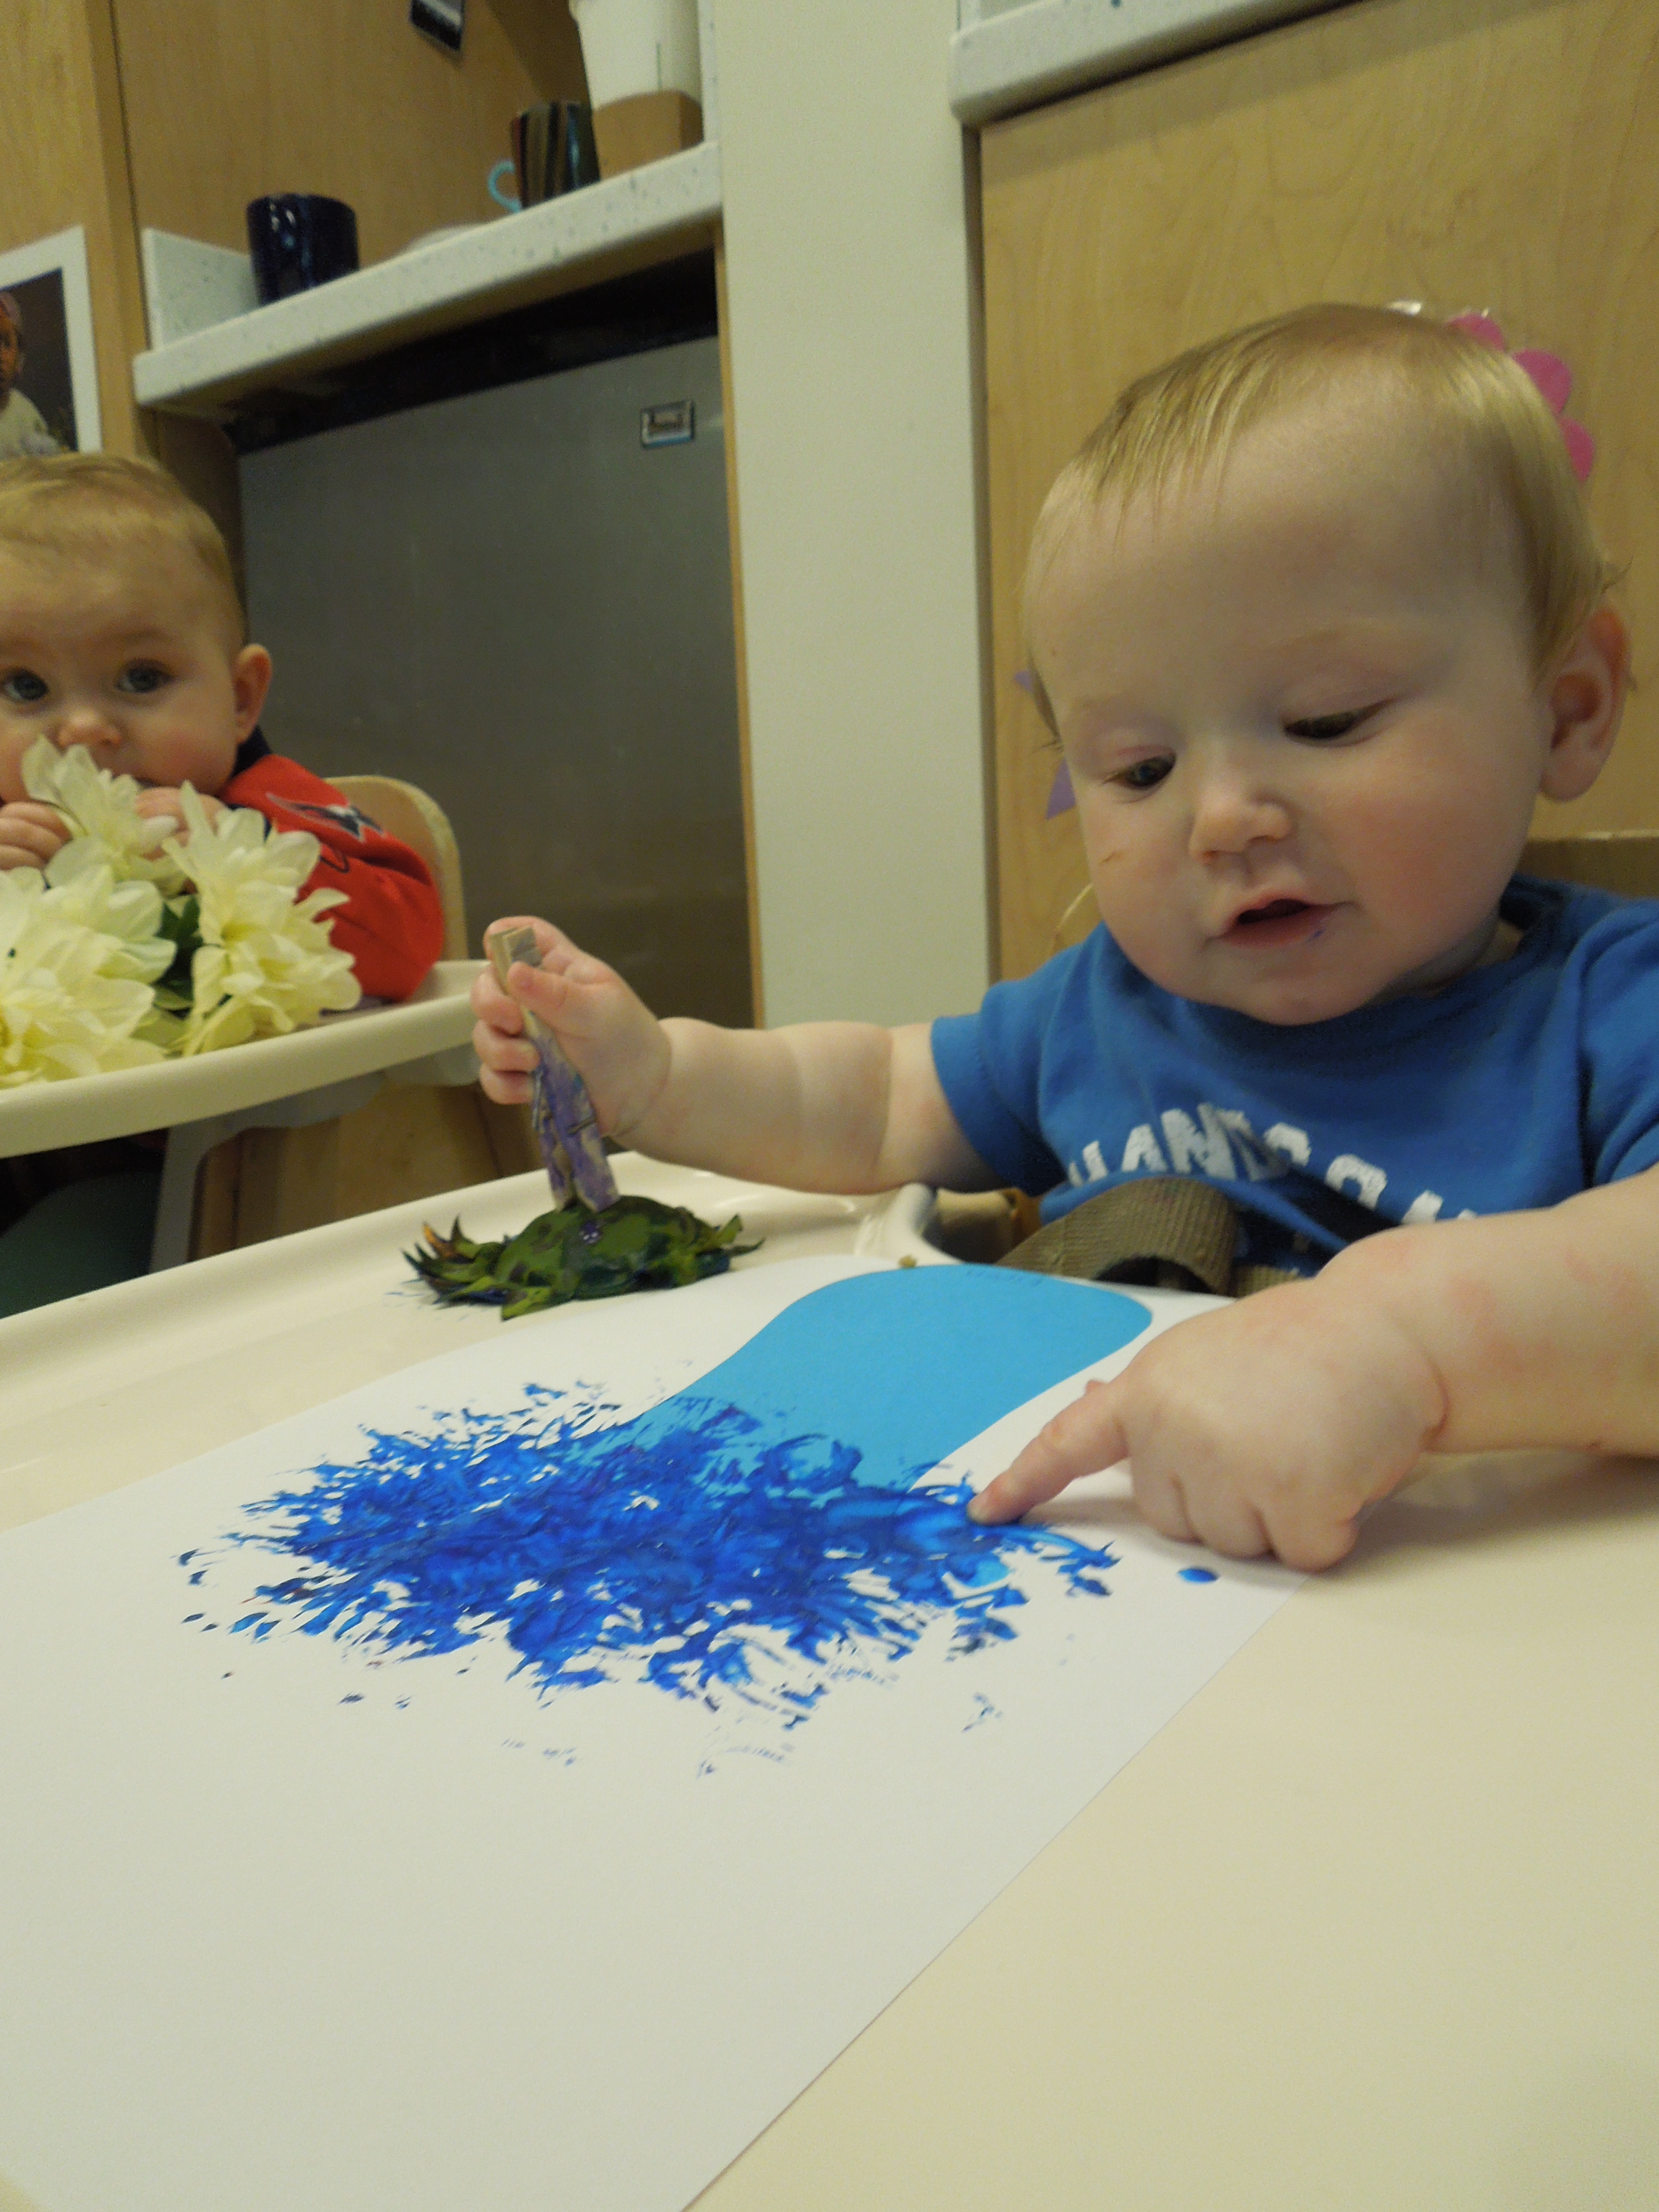
After the visit, the class continued to build upon what they had experienced that day. The children decorated canvas bags which would be perfect to take to the Farmers Market for shopping. To decorate, the children mixed and splattered paint with their hands, feet, and brushes. At the end of October, the bags were sent home with a small gourd inside. It was a great way to finish off the month!


 Meg had the group gather at the front of the exhibit. She passed out different animals found in Africa and invited the children to let her know when they saw the same animal in her book: Rumble in the Jungle by Giles Andeae.


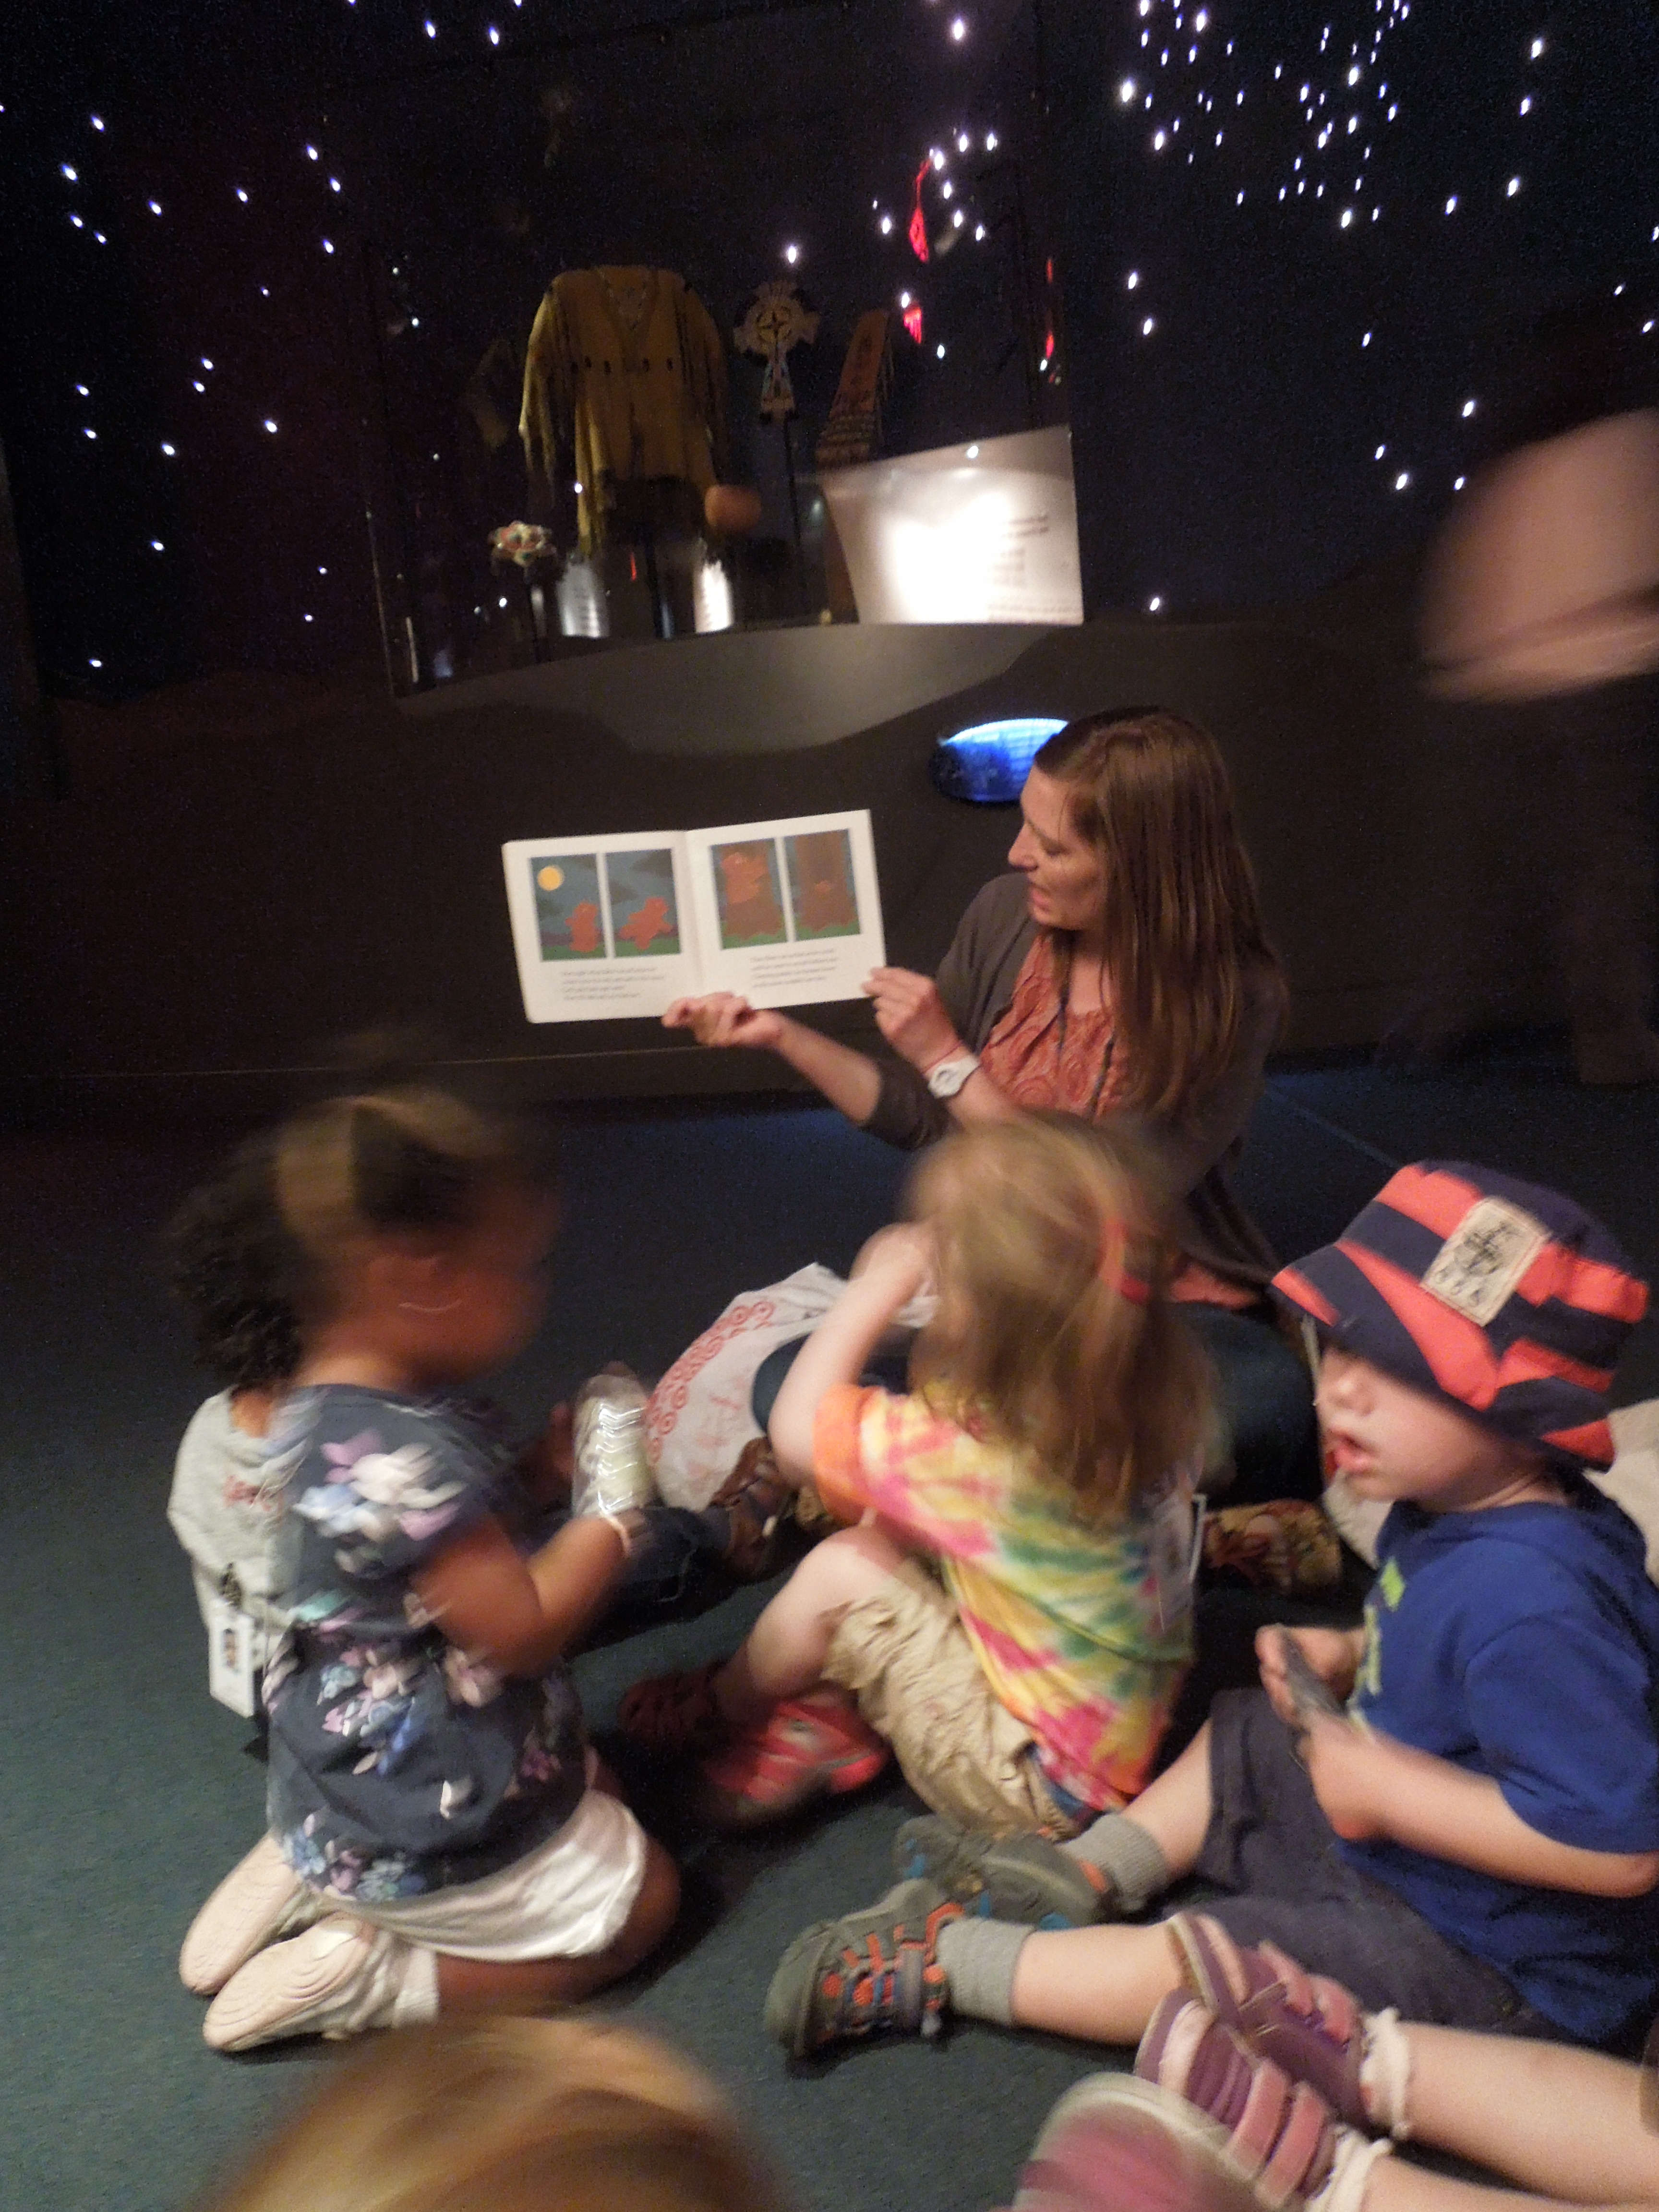
 They then headed up to the Our Universes exhibit. The ceiling of the exhibit has a moon and is covered in stars. Melinda passed out telescopes that the children had made to help them look closely at the night sky. While the children were looking, Melinda read them Moon Game by Frank Asch.


