Beyond Stereotypes: Teaching about Native Peoples in Practice

We take a look back at a blog that we published three years ago around Thanksgiving, hoping it will help educators think about ways they might consider talking about other cultures all year around.


As we discussed in our previous blog, the National Museum of the American Indian (NMAI) and the Smithsonian Early Enrichment Center have teamed up to provide teachers with a framework for exploring culturally diverse topics in their classrooms. We believe that early childhood educators are in a unique position to craft experiences for young children that will help them appreciate the diverse world around them. We also feel that it is important for children to see themselves reflected in their classroom in order to develop a positive sense of self.

Though we published the first blog just before the Thanksgiving holiday, we specifically wanted to post the follow-up afterwards as a reminder that teachers can explore American Indian culture throughout the school year.

Before we look at the lesson, it is important to note that I had only a week to implement it and I struggled with how to use the limited time frame best with the students. Ultimately, I decided that it was important to begin the lesson with what was familiar to the students and build on that.  Had I had the opportunity to continue the lesson, I would have most certainly spent more time exploring Wampanoag culture and ensuring that the children were introduced to the Wampanoags in a contemporary context.

Lesson Objectives

  • observe natural materials and weather in our own environment and how these elements vary in other environments
  • demonstrate that not all homes look the same, but all homes do have the job of protecting us.
  • introducing three different types of American Indian homes and explore the natural materials out of which they are made.
  • investigate the materials used to construct wetus and how those materials serve as protection against their environment

Day 1

We began our morning with a visit to the National Mall where we used our senses to explore what was part of our environment. I wrote down the children’s responses and then we headed to the National Gallery of Art where we sat in front of Albert Bierstadt’s Mount Corcoran. Together, we recreated the landscape with representative objects and worked as a group to create a “soundscape.” To create the soundscape, we identified a sound for each element of the landscape. Once complete, we assigned a sound to small groups and then produced our soundscape all-together.

Day 2

When we were on the Mall, I observed the children were noticing elements of their environment that were man-made, so I thought it was important to use day two’s lesson to distinguish between the natural environment and human-made environment. This discussion transitioned nicely into a conversation about weather, which was another natural component of our environment. We identified different types of weather by making a list and then creating our own weather movements. We watched a weather report and read Sky Tree by Thomas Locker. While we read the book, we paused to use our weather movements when they were mentioned.

Day 3

Before heading out for the morning, we reviewed the different types of weather and discussed the weather that day. We walked to the National Gallery of Art’s Sculpture Garden to visit Roy Lichtenstein’s House I. We spent a few minutes walking around the house and then I asked the students to share what they noticed. Following their observations, I asked them if they thought that the house was a good one. There was a consensus that it would not be a good house to live in because it wasn’t real – it was open on the backside. I agreed that I didn’t think the house was doing what a house or home needed to do. I asked them what homes were for, to which I heard responses like: “to play in, eat in, sleep in.” I agreed and pulled out a blanket – I said the blanket was a lot like a home – it could keep me warm when it was cold, it would keep me dry if it rained. I concluded that both the blanket and the home could protect me from things in my environment.

I asked the group whether they thought that everyone lived in the same type of home. We had a short discussion about what our homes were like, the other educators with us shared that they lived in an apartment. We then began to make a home collage. Students shared photos of their homes and we placed them on large sized paper. I also brought photos of homes from around the world and as we placed them on our collage. When we finished, we discussed the similarities and differences.

Day 4

I began this class by asking the students about the Thanksgiving holiday that was coming up. Each child excitedly shared what they were planning to do for the holiday. I shared was formed around the idea that two groups of people came together to have a meal.   One group had come to America from a place called Europe and another had lived on the land we call America for a very long time. I explained that these people who had been living here for a long time were often referred to as American Indians and that in fact, there are many groups of American Indians. I shared a map and said that each group has their own language, clothing, traditions, and of, course, homes. I also pulled out our sensory bins that were representative of a Eastern coastal environment, a desert environment, and an Arctic environment.  We looked at the bins and discussed their physical features and imagined what the weather would feel like.  We wondered together whether the homes in these environments would be the same or different.

We then walked to the ImagiNATIONS Activity Center at NMAI and invited them to play in the Native homes area.  When we sat down, I asked them what they noticed about the different homes. After sharing their own observations, we talked about how each of these homes came from a different type of environment – a lot like our sensory bins. I brought objects that demonstrated the connection between these homes and their environment. For the iglu, I had a simple bottle of water; for the tipi, I had a photo of a buffalo, and for the adobe house, I had some mud and straw. I shared my objects with each student in the circle and left them with the reminder that Native peoples live in many places throughout the country and their homes tell us a lot about their environment.

Day 5

On our last day together,  I reminded them about that Thanksgiving meal. I said that many people assume that the American Indians who ate with the Europeans during that meal lived in tipis. We paused to recall the tipi we had seen the day before and then I shared with them that the Native peoples who were at the meal so long ago actually lived in wetus and they are called Wampanoags.  Using 1621: A New Look at Thanksgiving by Catherine O’Neill Grace, we explored some of the photos of what life for the Wampanoags looked a long time ago. I was careful to note that the photographs were of people pretending to be from a long time. They were helping teach people today about what life was like in the past.

We proceeded to watch parts of this video. We looked at the materials of the winter and summer wetu. We decided that all of the materials were from nature and we took a closer look at cattail reed mat provided by NMAI that would have covered the roof of the summer wetu. We talked about how the rain water would slide off the reeds and keep the house dry. We also blew through the mat so we could feel the way the breeze could come through and help keep the space cool.

We ended our morning by taking a nature walk and collecting materials. We broke out into smaller groups and built houses out of our materials.

In addition to the lessons, the teachers planned the following learning centers for the children to interact with during free-time.

  • Dramatic Play – Kitchen, office, or playing house
  • Fine motor – blocks or other loose parts for building (include photos of different types of houses from all over the world)
  • Environment – This sensory station recreates three different types of environment
    • North Eastern – Wampanoag – inland/coastal environment with forest, ponds, grass, sand, and water
    • Choose two others.
  • Dramatic Play – weatherman
  • Puzzles and Maps – United States

By no means is the lesson an all-encompassing study of Native Peoples or the Wampanoags, but it is a realistic snapshot of how with a little planning we, as educators, can begin to develop lessons that share more accurate information that help our students see that the world from multiple perspectives. Let us know what you are doing in your classroom to help combat stereotypes and create an inclusive environment.

The Summer Blues: How Museums and Libraries Support Summer Learning

Summer Camp 2013Summer conjures up images of running around barefoot, catching fireflies, and endless hours at the pool. In reality though, it can be an insanely stressful time for families. Sometime in February (at least in the DC metro area), parents start enrolling their children in summer camp. In the nation’s capital there is no shortage of camps, but that is assuming you can pay between $300-600/week tuition. It doesn’t end there either. Many camps charge extra for before and after care, tacking on an extra $50-100. Now, multiply that times the number of children you have and you wind up with a pretty hefty price tag.

Many parents turn to alternative options: in-home daycare, families, neighbors or child-homeworkthey adjust their own work schedule. Your checkbook is likely to appreciate the break, but parents and educators worry about their children forgetting what they learned during the school year. While your child might have brought home a packet of worksheets or a mandatory reading list, neither are particularly engaging. The dilemma remains: How can we support children to learn in fun ways that support and maintain school year gains and not break the bank?

The Institute of Museum and Library Services recently published a paper entitled Growing Young Minds: How Museums and Libraries Create Lifelong Learners. With the national discussion on early childhood education at the fore, this paper examines the important role that museums and libraries play in supporting learning within the community. It makes particular mention of how museums and libraries can serve to lesson what many refer to as the “summer slide.” Utilizing libraries and museums makes a lot of sense for budget-minded families who are looking for ways to engage their children. Firstly, many of these institutions often offer free/reduced admission and programming for families. Secondly, their offerings are diverse in subject and increasingly, hands-on in nature. These institutions are more often taking into account what and how your children are learning in school and are offering programs that extend current studies or prepare them to be successful learners. Moreover, the museum and library environment lends itself to a family experience. Generally, child and caretaker can go together where they both can observe, experience, and discuss an exhibit or program together. Having a shared experience brings families together for one-on-one time and can inspire more learning at home or in the community.

What if you can’t make it to the museum, you ask? Go on-line! Museum and library resources are becoming increasingly child-friendly and parents can be assured that their children are having a safe and educational experience. Take a look at some of the tips below and get rid of those summer blues!

Parent Tips:

Spend time looking at what your local museums offer and have your child choose a few exhibits that interest them. Choice is the key word here – the more interested a child is in something, the more likely they are to want to learn.

Don’t forget about Smithsonian Story Times and Play Spaces:

Check out the Smithsonian Science Education Center’s new engineering game, Tami’s Tower 

Link the library and museum visit by checking out books pertaining to an exhibit or object of interest.

Find a good parent blogger (We love KidFriendlyDC and Beltway Bambinos) and follow them for ideas of what to do and special deals!

Visit the National Gallery of Art’s website for interactive on-line games.


Museum Visits: Autumn Edition

Congratulations parents, you made it through the summer and the first month of school! By now, I hope you are settling into a routine and finding that you have a few free afternoons to enjoy this glorious time of year. While many of you are out apple-picking or in the pumpkin patch, the National Mall is another viable option. It can offer a cost-friendly opportunity where you can divide your time between the museums and taking in the beauty of the Nation’s Capital.

For this year’s fall picks, we have two categories: autumn-inspired exhibits and newly-opened features.

Autumn

PreK class making their own Arcimboldo portraits.

PreK class making their own Arcimboldo portraits.

Four Seasons in One Head is tucked deep inside the National Gallery’s main level in a room that is often forgotten but should never be ignored. Arcimboldo, known for his distinctive portraits in which faces are formed from natural materials, depicts the four seasons in this image. This portrait has an element of mystery that will pique a child’s curiosity and it offers a strong connection to what your child is observing everyday outside. To make deeper connections bring along straw and autumnal fruits for the child to touch and interact with during your visit (note: keep all materials in a sealed plastic bags).

Artifact Walls- You Must Remember This at the National Museum of American History is a no-brainer when it comes to fall-themed visits. Situated adjacent to the Warner Brothers Theater in the Constitution lobby of the National Museum of American History Museum, the cases showcase a selection of Hollywood costumes. In the past, it has featured such classics as robes from the Harry Potter films and Super Man’s cape. With Halloween fast approaching, this is a great stop for the family who wants to brainstorm costume ideas. It is also a learning opportunity for children to think about the process of costume making. PreK children might enjoy sketching their Halloween costume or working with an adult to make a list of materials you will need for the costume.   These simple activities will encourage fine motor development and planning skills. Younger children might enjoy reading a book where one of the costumes are featured or simply bringing a favorite book in which a character wears a costume.

image (7)Food: Transforming the American Table 1950–2000 also at the National Museum of American History is the perfect stop as we begin to approach Thanksgiving.   This exhibition demonstrates the inclusive nature of American culture as seen through food. Young children can see examples of our multicultural food identity in their everyday lives as they accompany you to the grocery store or eat at a local restaurant. Before your museum visit, identify foods in your kitchen that originate from countries other than America and then see if you can find them in the exhibition. Infants and toddlers, on the other hand, might enjoy taking a stroll through the space and matching cooking implements from home with ones on display. End your visit by sitting at the large table planning your Thanksgiving meal or reading a book about family meals.

What’s New

Don’t forget that the Smithsonian is also home to the Discovery Theater. On November 23 and 24, the theater will host Mother Earth and Me: Sister Rain and Brother Earth. This interactive musical uses life-size puppets to tell the story of Mother Nature and her determination to save the Earth from drought – with the help of the audience. Recommended for ages 4-8, this story conveys the importance of working together to protect the Earth.

The Great Inka RoadThe National Museum of the American Indian has it all! It is brand new and showcases the museum’s cutting edge collaboration with the company ideum to capture 3D imaging of the ancient Incan capital of Cusco. The images can be viewed on an interactive touch table and are completely spherical. This technological innovation allows visitors to move through the images in all four directions and transports viewers into the space of the pictures. But that is far from the only interactive element. The exhibit also features several video and audio elements which include bilingual storytelling and two “flythrough” stations where you can take a virtual tour of Cusco.

IMG_3588

Family workshop participants heading into the Sackler Gallery.

Sōtatsu: Making Waves opens October 24th at the Arthur M. Sackler Gallery and based on prior experience, this will be a great stop for the family. The spacious galleries in the Sackler are often quiet and work well for families who might need a little space. If the two screens highlighted on the Sackler’s website: Waves at Matsushima and Dragons and Clouds  are any indication, the exhibition will be full of lively, dramatic imagery that will capture a young child’s imagination.  In addition to featuring large-scale Japanese screens (perfect for young viewers) hanging scrolls and fans will also be included. It is a great opportunity to introduce young children to these mediums and experiment with making your own versions. Don’t forget to check out the ImaginAsia classroom schedule on the Sackler’s website for the all-ages offering tied to this exhibition!

Teacher Feature: Toddler Class Explores The Moon

It’s Teacher Feature Thursday!

This week we are featuring Melinda Bernsdorf. Her toddler classroom was learning about opposites and decided to spend a week learning about the sun and the moon. Below you will find a reflection from Melinda and images from her lesson on the moon.

TeacherFeatureTemplate

What were your topics of exploration?

In our classroom, we have been talking about opposites. This week, we looked at day and night, something very familiar to the kids, and discussed the differences between these two concepts. We talked about the noticeable differences in the level of light, and the different objects we see in the sky during day and night. We started in the atrium of the National Museum of the American Indian. There is a large skylight that has metal work resembling a sun which lets sunlight shine into the space. There is also a set of prisms, and as the outside light shines through, rainbows move across the walls. We then looked at the amazing star scape on the ceiling of Our Universes in the National Museum of the American Indian. To focus our attention, we brought “telescopes” we made earlier in the week, and found shapes in the stars. To deepen our discussion on the moon, we talked about the texture of the surface, and each child was able to imprint their own Styrofoam moon with finger shaped craters. We also talked about how our actions are different in the day and night. There was lots of discussion about sleep and play.

What were your learning objectives? (What did you want your children to take away from the lesson?)

Exploring opposites is always a great way to involve our kids in scientific discovery and early math skills. I want the kids to become more familiar with the vocabulary on these subjects. We compare and contrast, and talk about observation and investigation. In this lesson, I wanted to bring the attention of the children to a more complex conversation about an everyday experience. I also wanted them to have a great immersive experience, reading about the sun and brightness in the atrium where they could see it shining through the prisms, casting rainbows on the walls, as well as talking about the moon and stars while sitting with “telescopes” under a night sky.

What was most successful about your lesson?

The kids really enjoyed the telescopes. They recognized their work from earlier in the week and felt a sense of ownership and pride as their art project became a tool. They focused on the stars and moon longer when using the telescopes, and having a tactile object that related to the lesson helped lengthen their attention span.

What could you have done differently? What recommendations would you have for another teacher trying out this lesson?

Trying to extend our lesson with the Styrofoam moon would have worked better in the classroom. I was hoping for an art activity that would lend itself well to the museum environment, however I ended up asking toddlers to sit for too long. Between the time in the atrium and then the time under the stars, we became a bit antsy. When I attempt this lesson again, I think we might talk a little more about the moon and its surface on a different day. I would also like to expand this project by having the kids paint the newly-cratered surfaces of their Styrofoam moons with a mud or clay based liquid, and decorate the other side of the Styrofoam with orange and yellow tissue paper. This will give them a tactile object that represents both the moon and the sun. Like the telescopes, these could be made ahead, and brought with us to the museum to bring both aspects of the lesson together.

Here are a few images from their unit on opposites:

DSCN3274Melinda took the group straight to the National Museum of the American Indian for their lesson. When they first pulled into the museum she had the group stop and observe the light coming from the ceiling portal.
DSCN3277Melinda then showed the group an image of the sun and asked them to compare it to the light that was coming out of the portal. They talked about the shape and the amount of light they could see.
DSCN3282Melinda gave each child the chance to look closely at the image.
DSCN3284She also referenced a book they had read earlier in the week about the sun.

DSCN3300
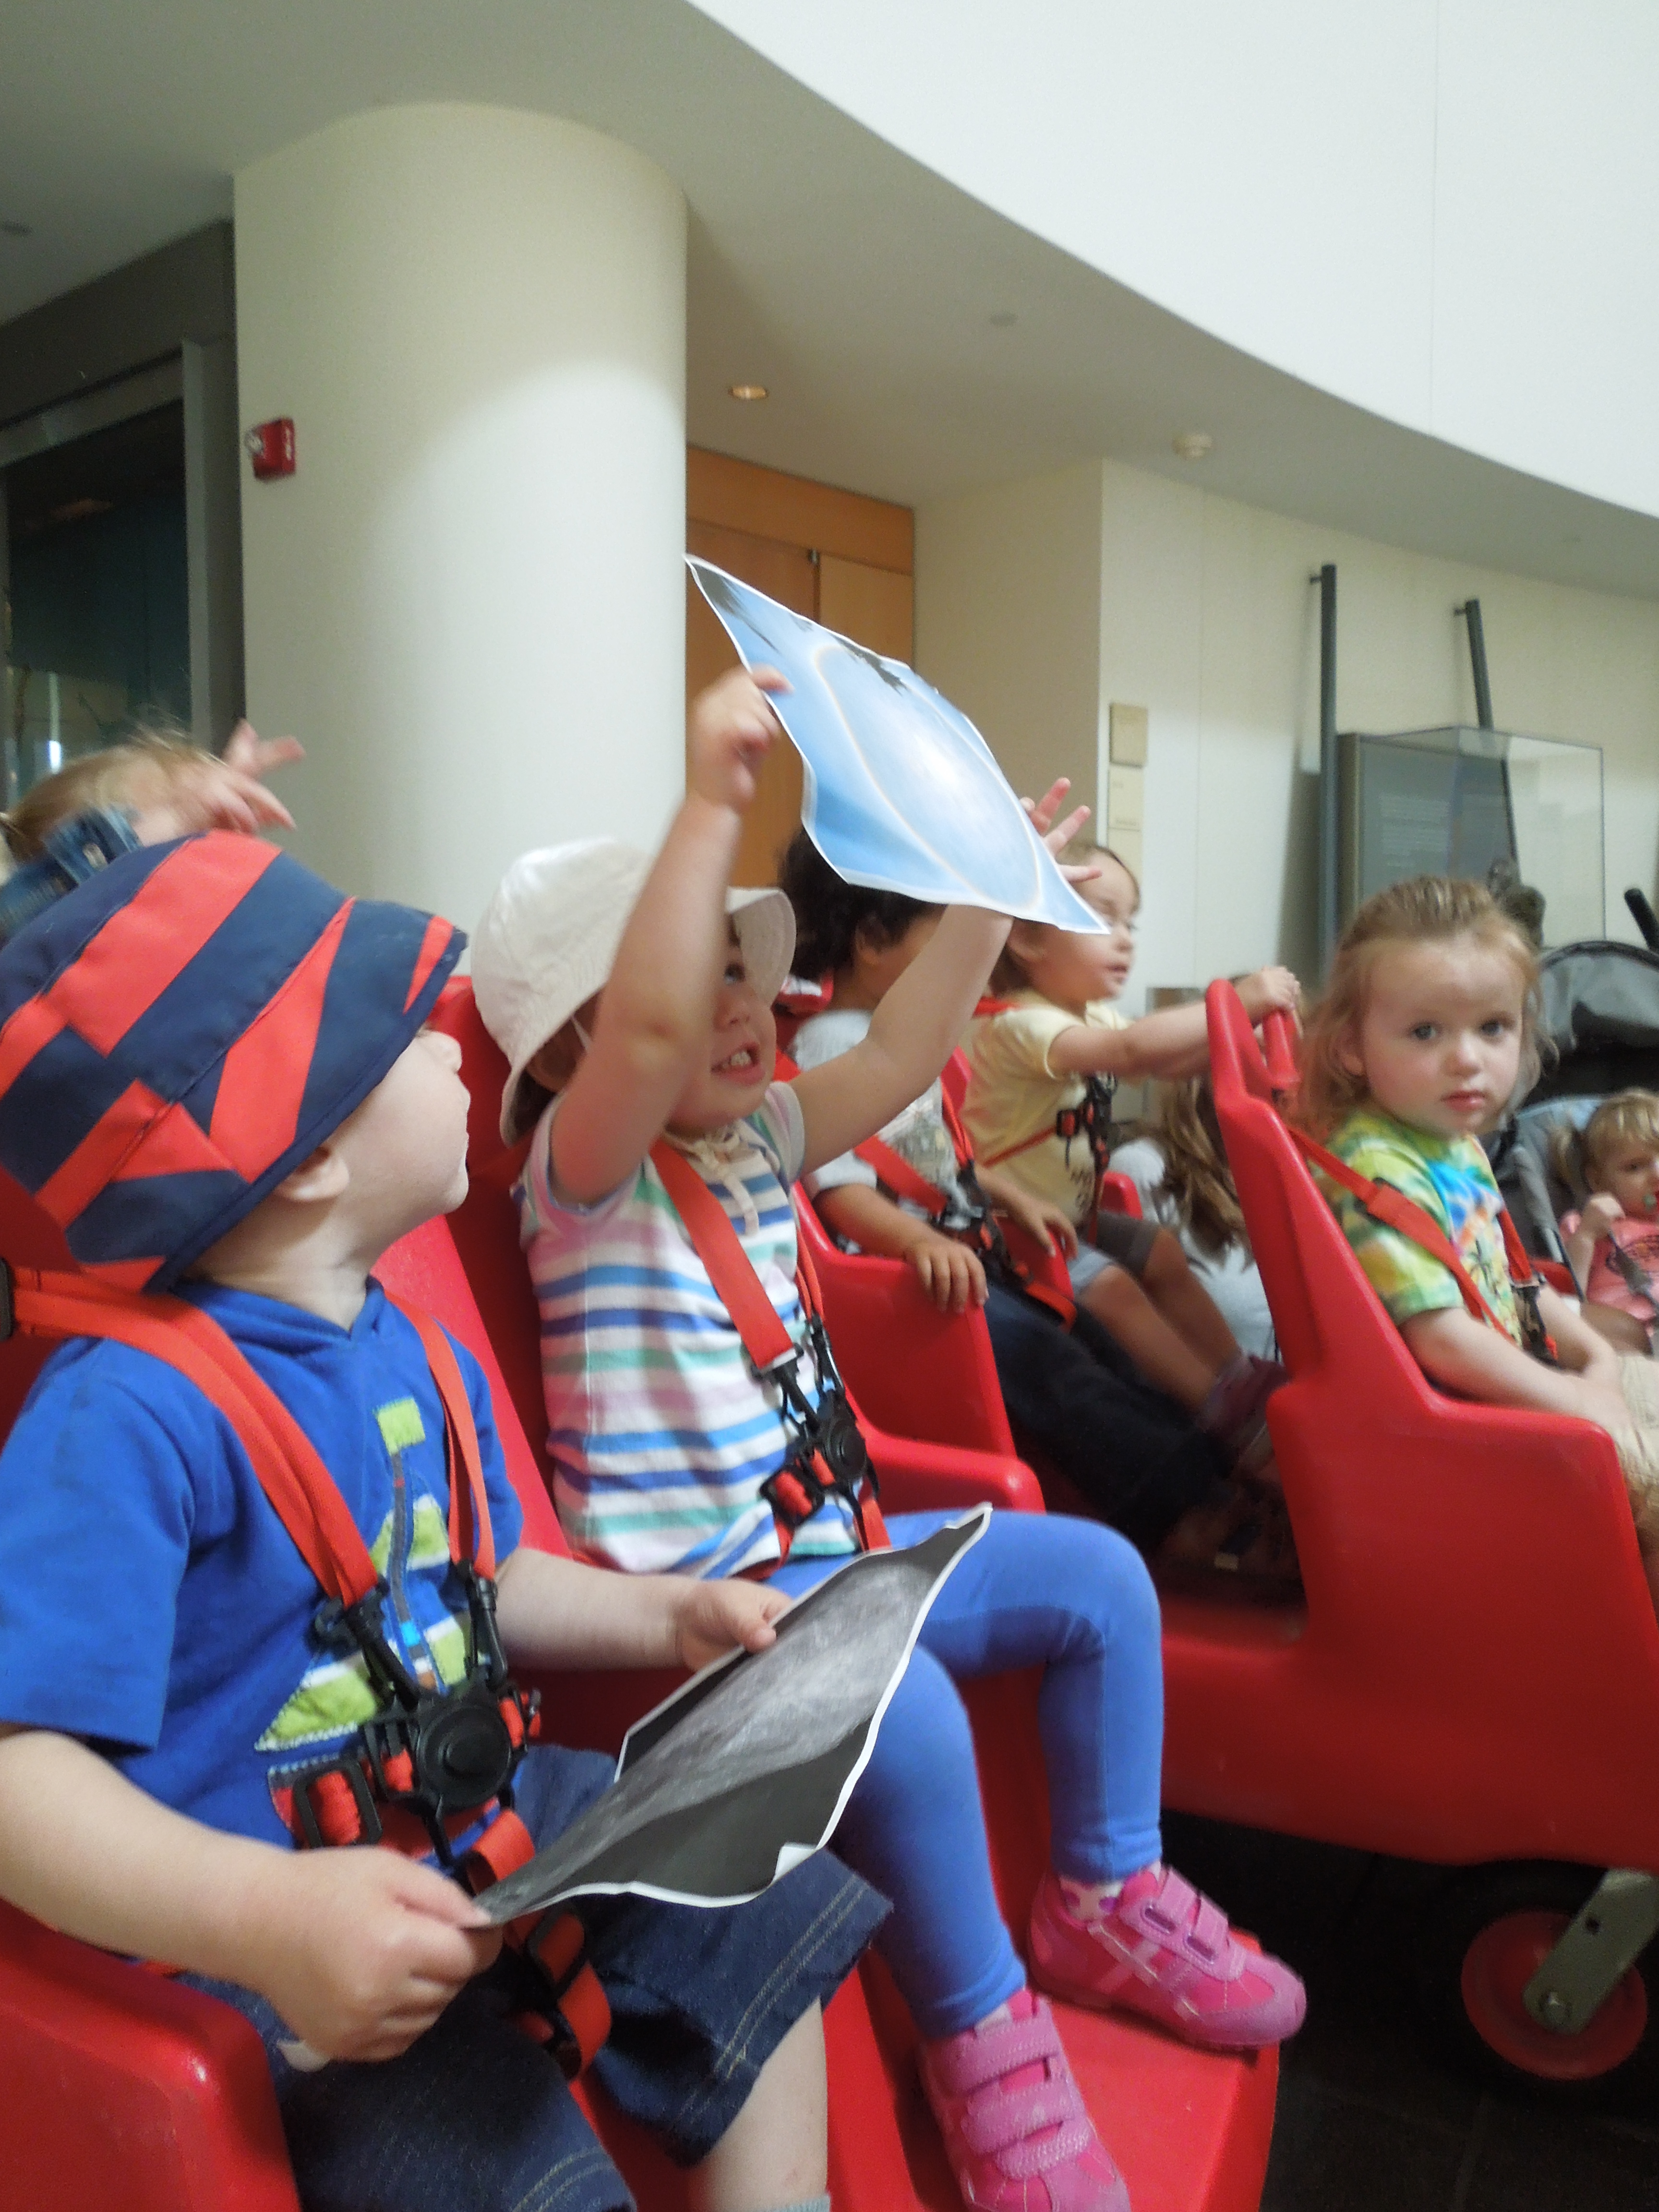
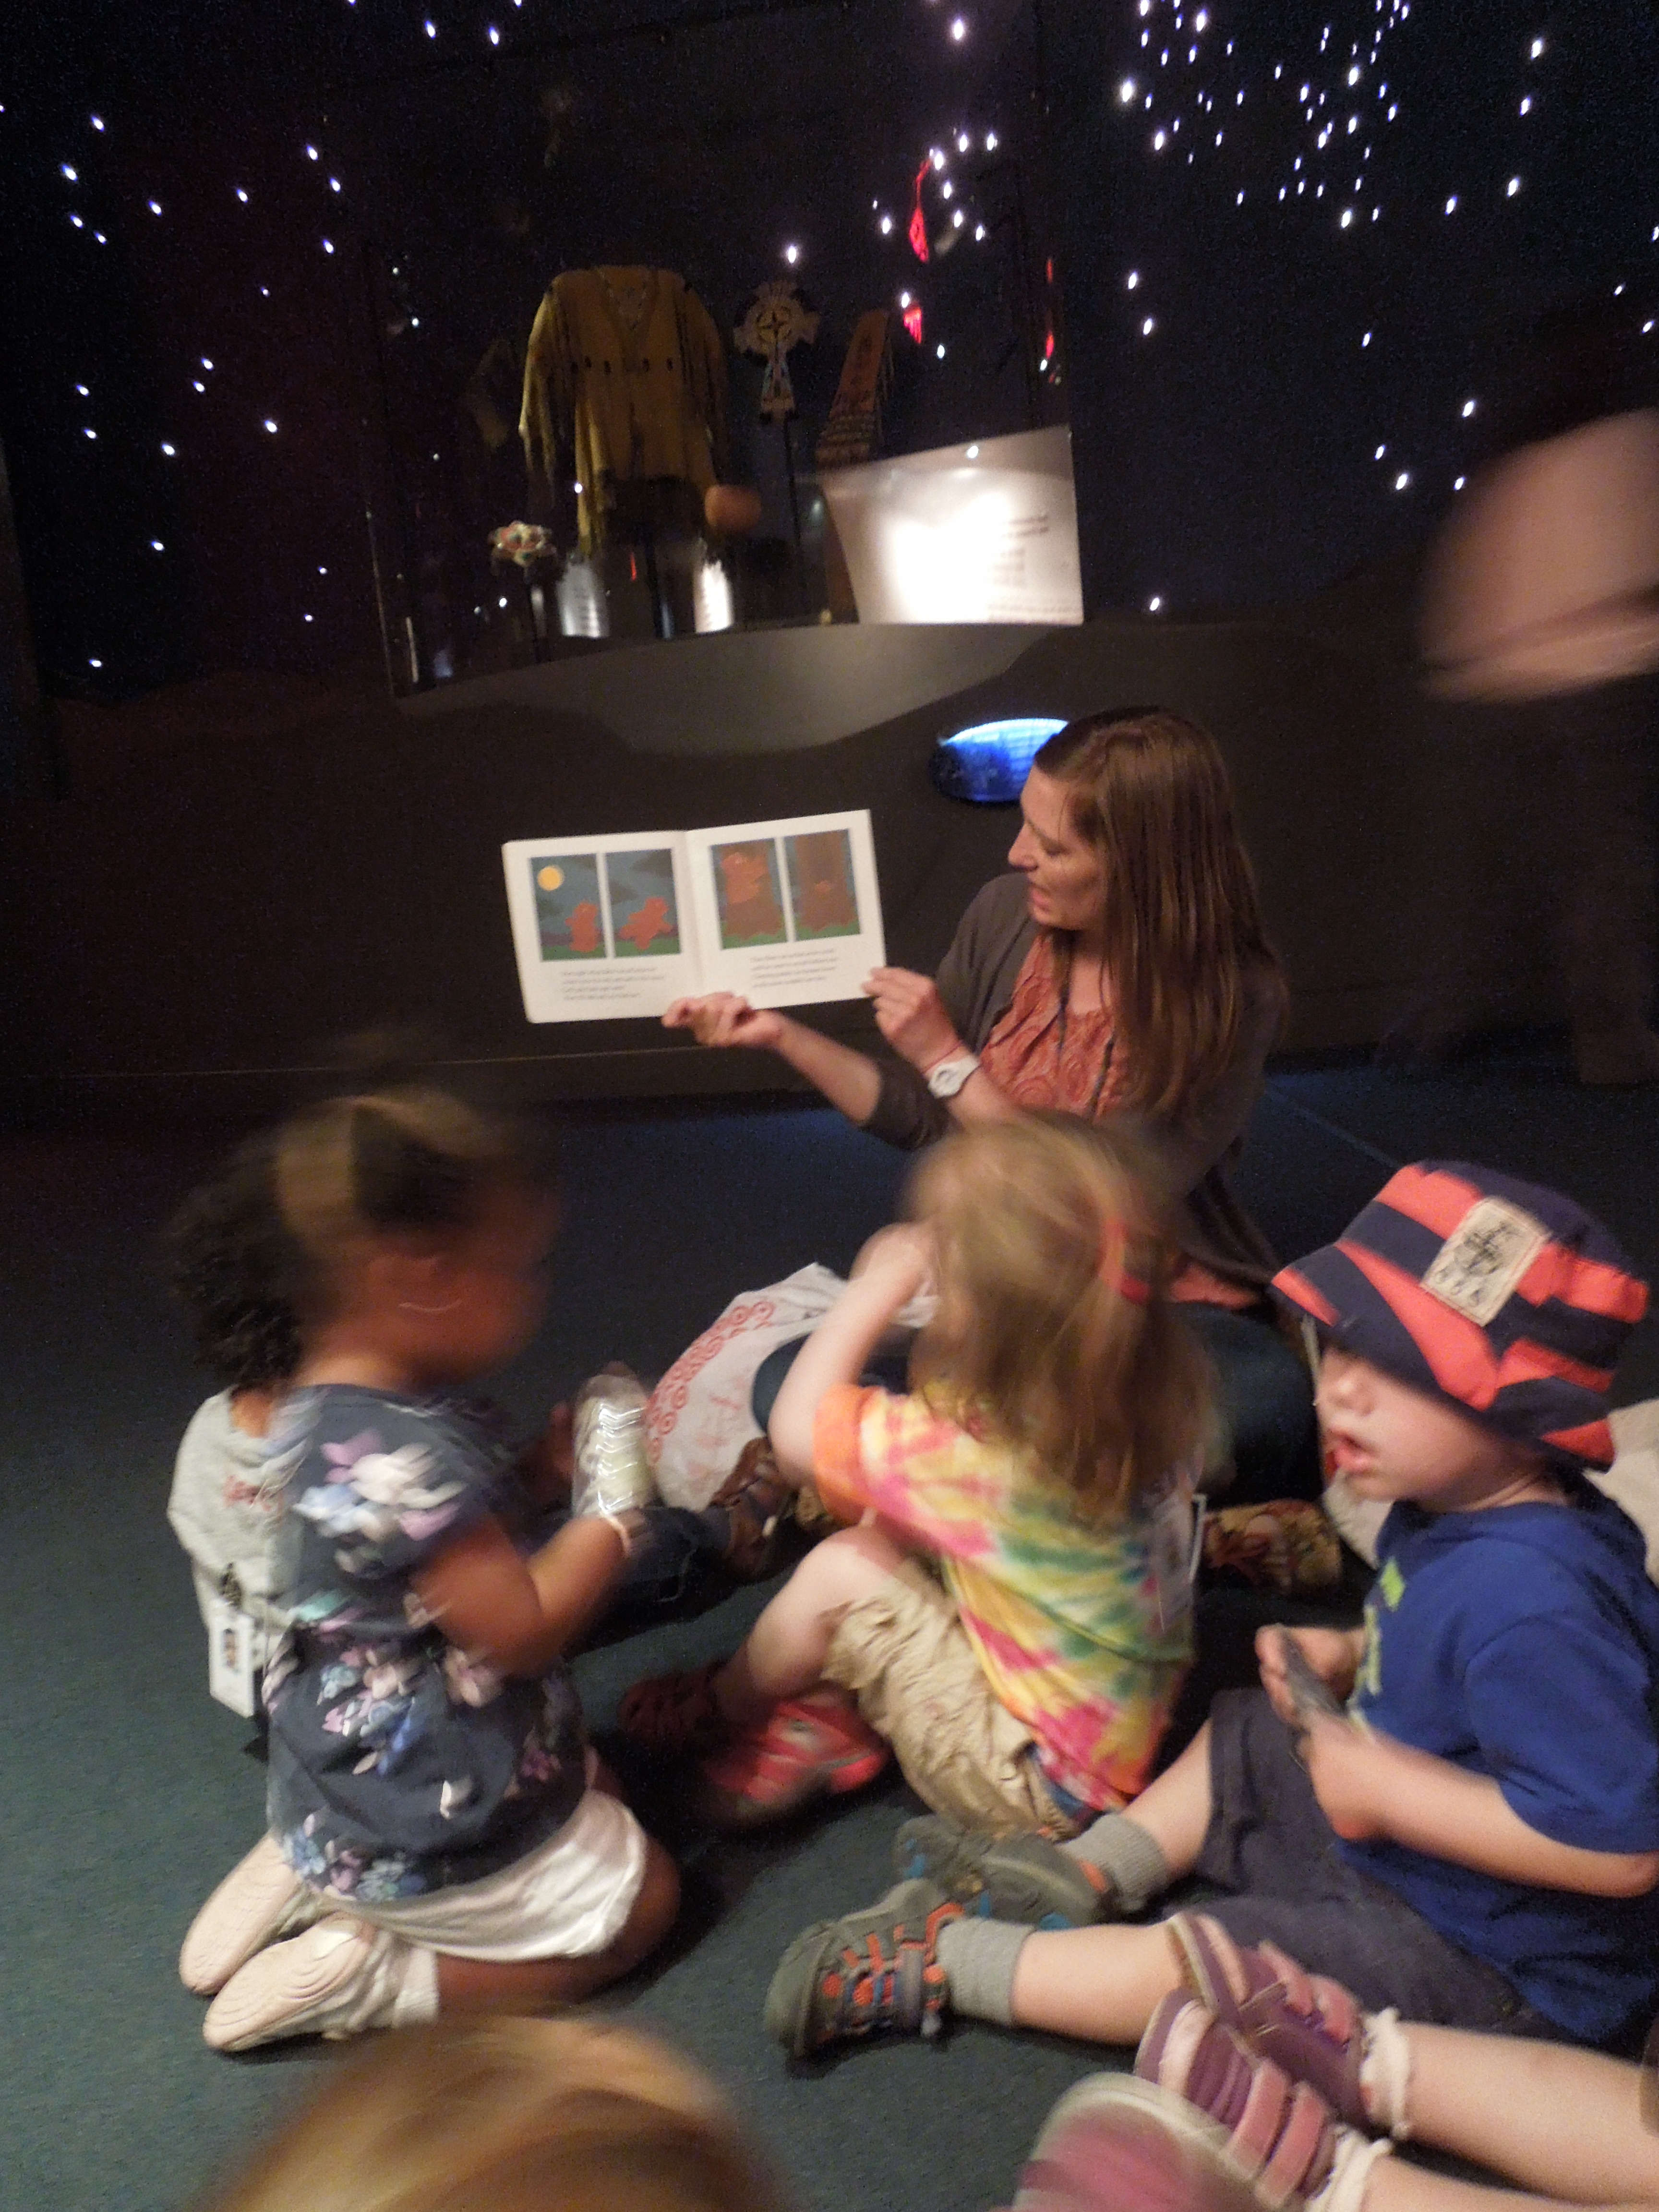
They then headed up to the Our Universes exhibit. The ceiling of the exhibit has a moon and is covered in stars. Melinda passed out telescopes that the children had made to help them look closely at the night sky. While the children were looking, Melinda read them Moon Game by Frank Asch.
DSCN3298The group loved looking closely at the book through their telescopes. 

DSCN3317Melinda then shared with the group an image of the moon and styrafoam circle. She talked about how the moon is covered in craters and that they were going to use their fingers to squish the foam and make their own craters.
DSCN3313They enjoyed the sensation of the foam squish beneath their fingers.
DSCN3324One little girl especially liked comparing her circle to the moon.
DSCN3329Melinda also had the group look at the House Post from the Dís hít (Moonhouse) of the Kwac’kwan Clan. She pointed out the circle shape and how the carved image on each post could reflect the different phases of the moon.

DSCN3335 DSCN3337They took one final look at the sun coming through the portal and compared the two images of the sun and moon before heading back to the classroom.

This class had a wonderful time learning about opposites! Be sure to check back for our Teacher Feature next week!