A Intern’s Reflection: Hayon Park

This summer we had a wonderful team of interns who were involved in a variety of projects around SEEC. Hayon Park, our Art Enrichment Intern, had the pleasure of spending time with a number of our children doing art inspired activities. She assisted with the Smithsonian Early Explorer Program (our two day a week toddler class for child and caregiver), developed in-class experiences for infant, toddler, and twos classes upon request, and led afternoon art studio experiences for the pre-K classes. Below you will find Hayon’s reflection and favorite projects from her time at SEEC.

Internship Reflection 1: SEE Program

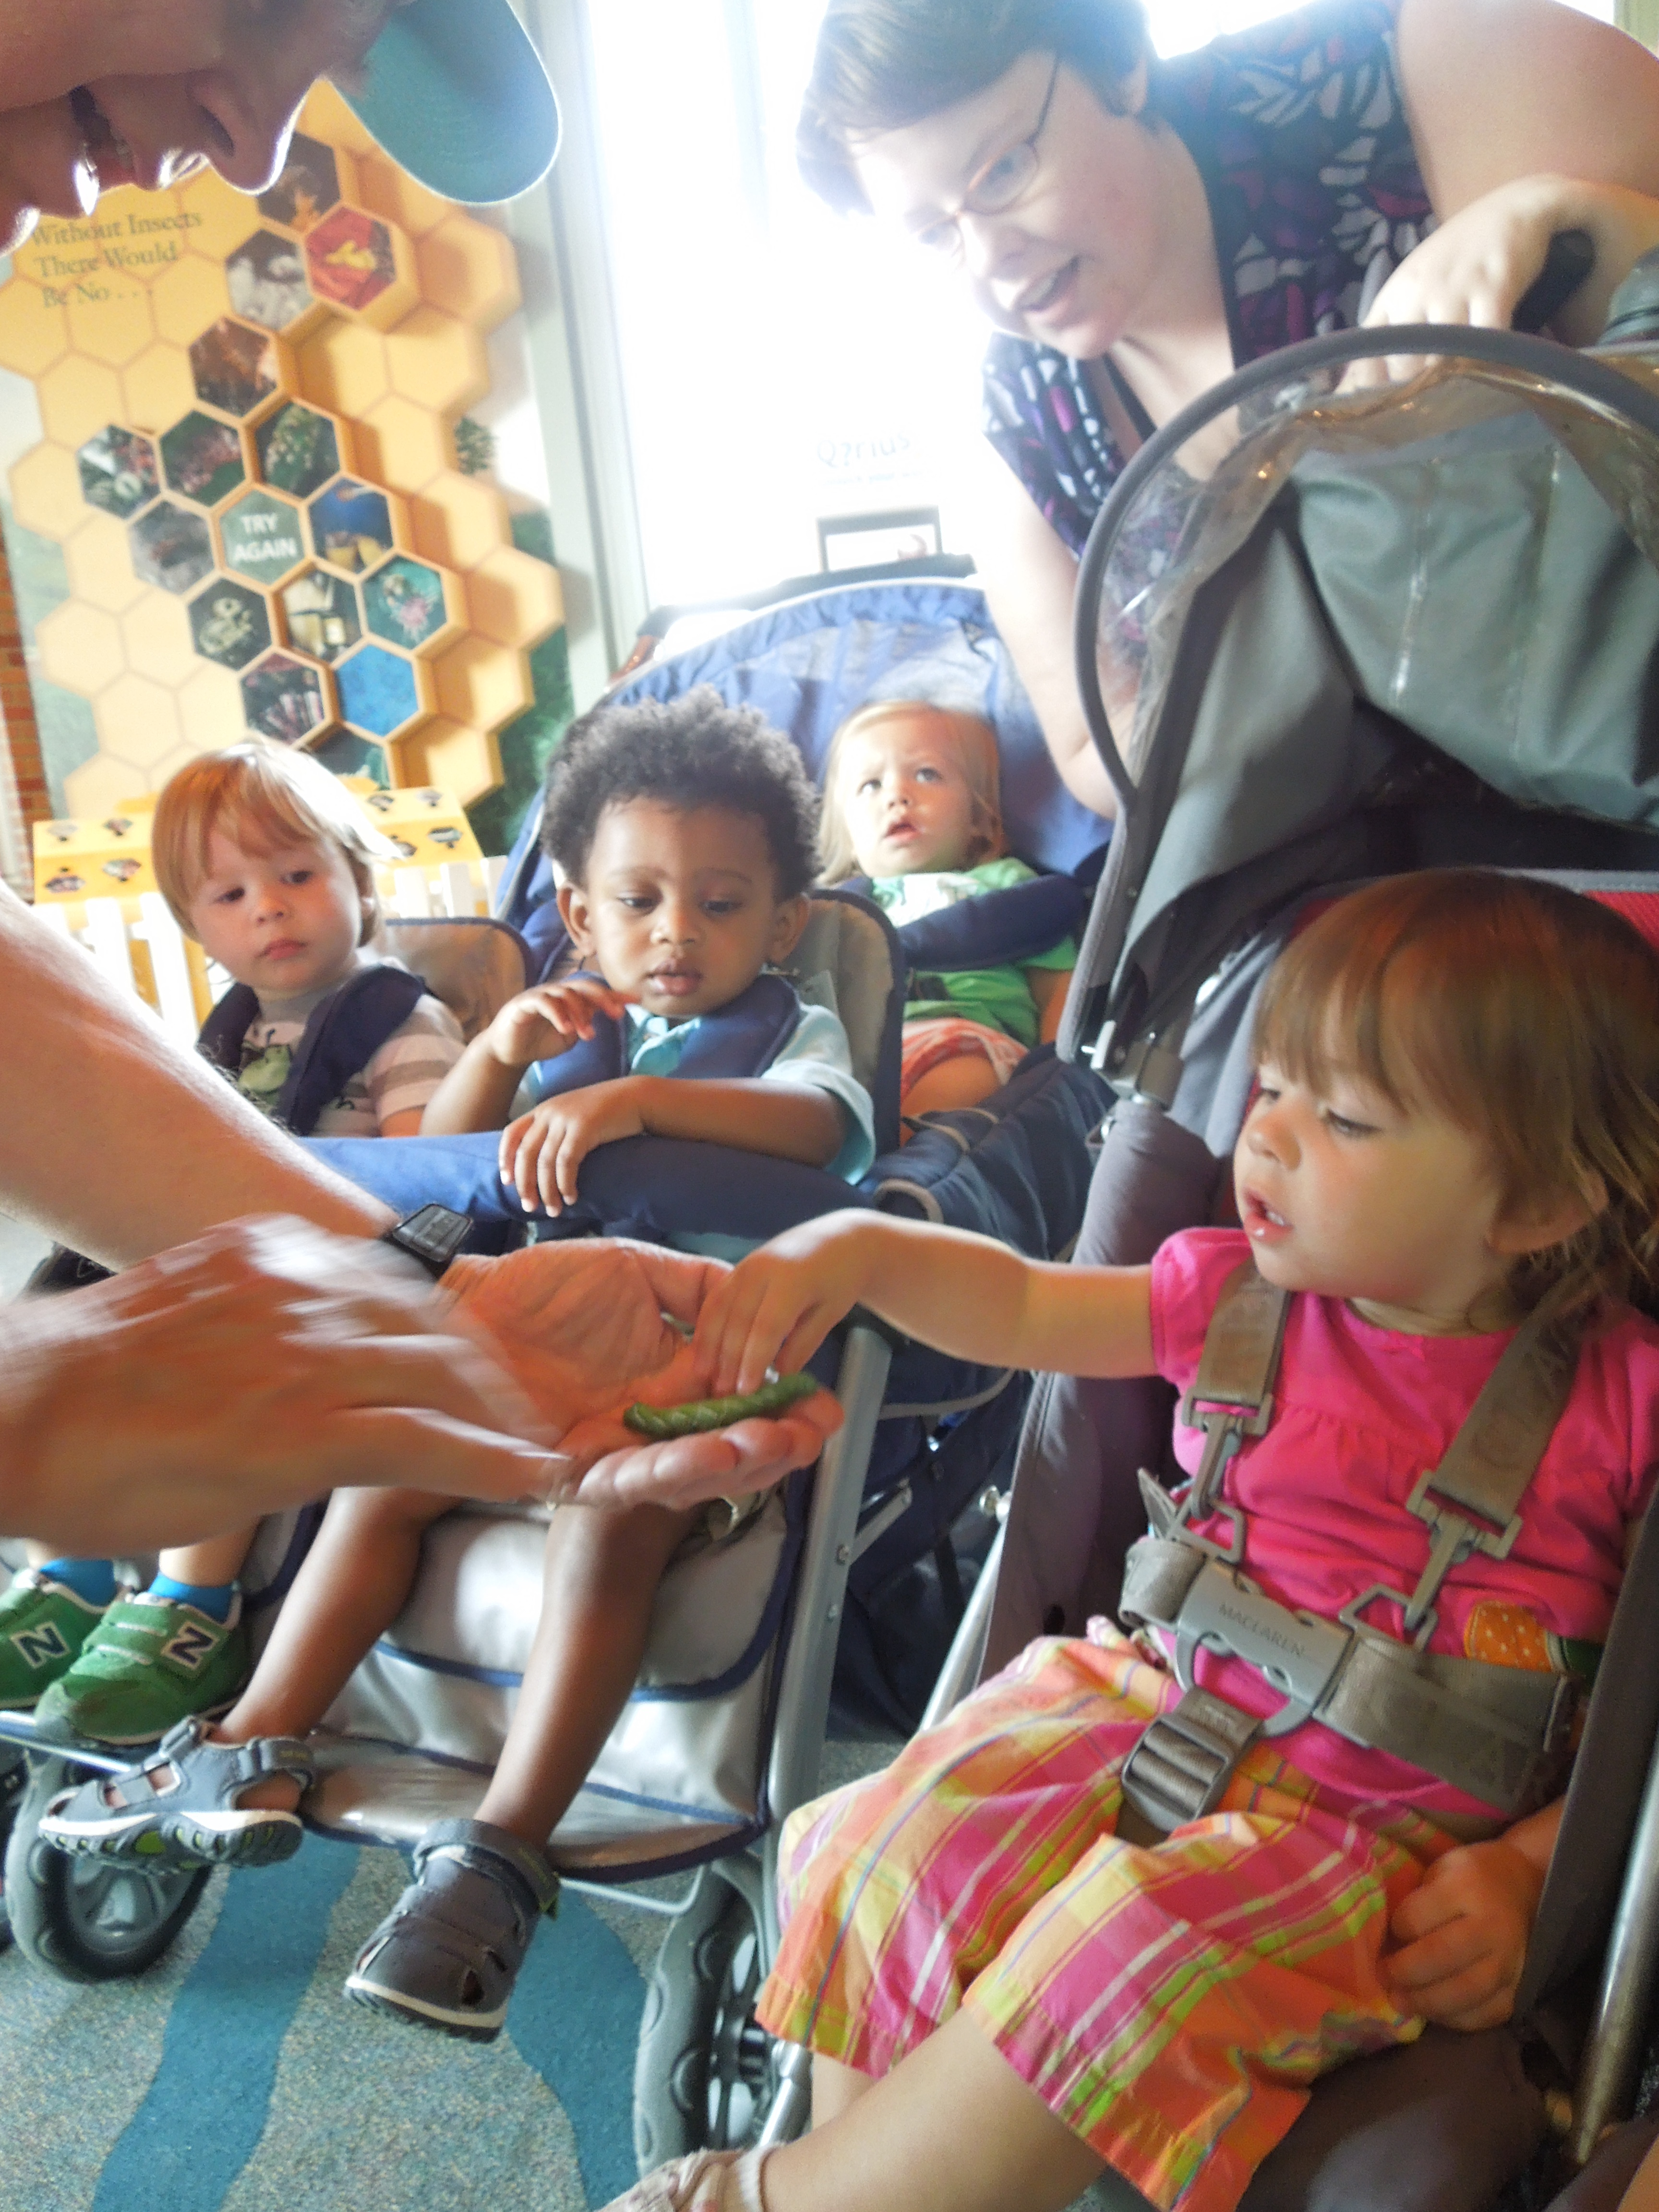
Every Smithsonian Early Explorer (SEE) class was an insightful moment for me to see how children engage with the museum resources in their own playful way. Although I only joined the last classes of the year, I sincerely enjoyed getting to know the children and their caregivers. One girl’s grandmother told me that she asked “Is Miss Hayon going to be there today?” I was amazed at how she remembered my name and was anticipating playing with me despite our limited interactions in class. I am grateful for every moment I experienced within the SEE program and hope to join the class again soon.

The image above I designed for the SEE program was printed on the end-of-the-year gifts for the family, and on SEEC’s gala brochure.


Internship Reflection 2: Art with Infant and Toddler Friends

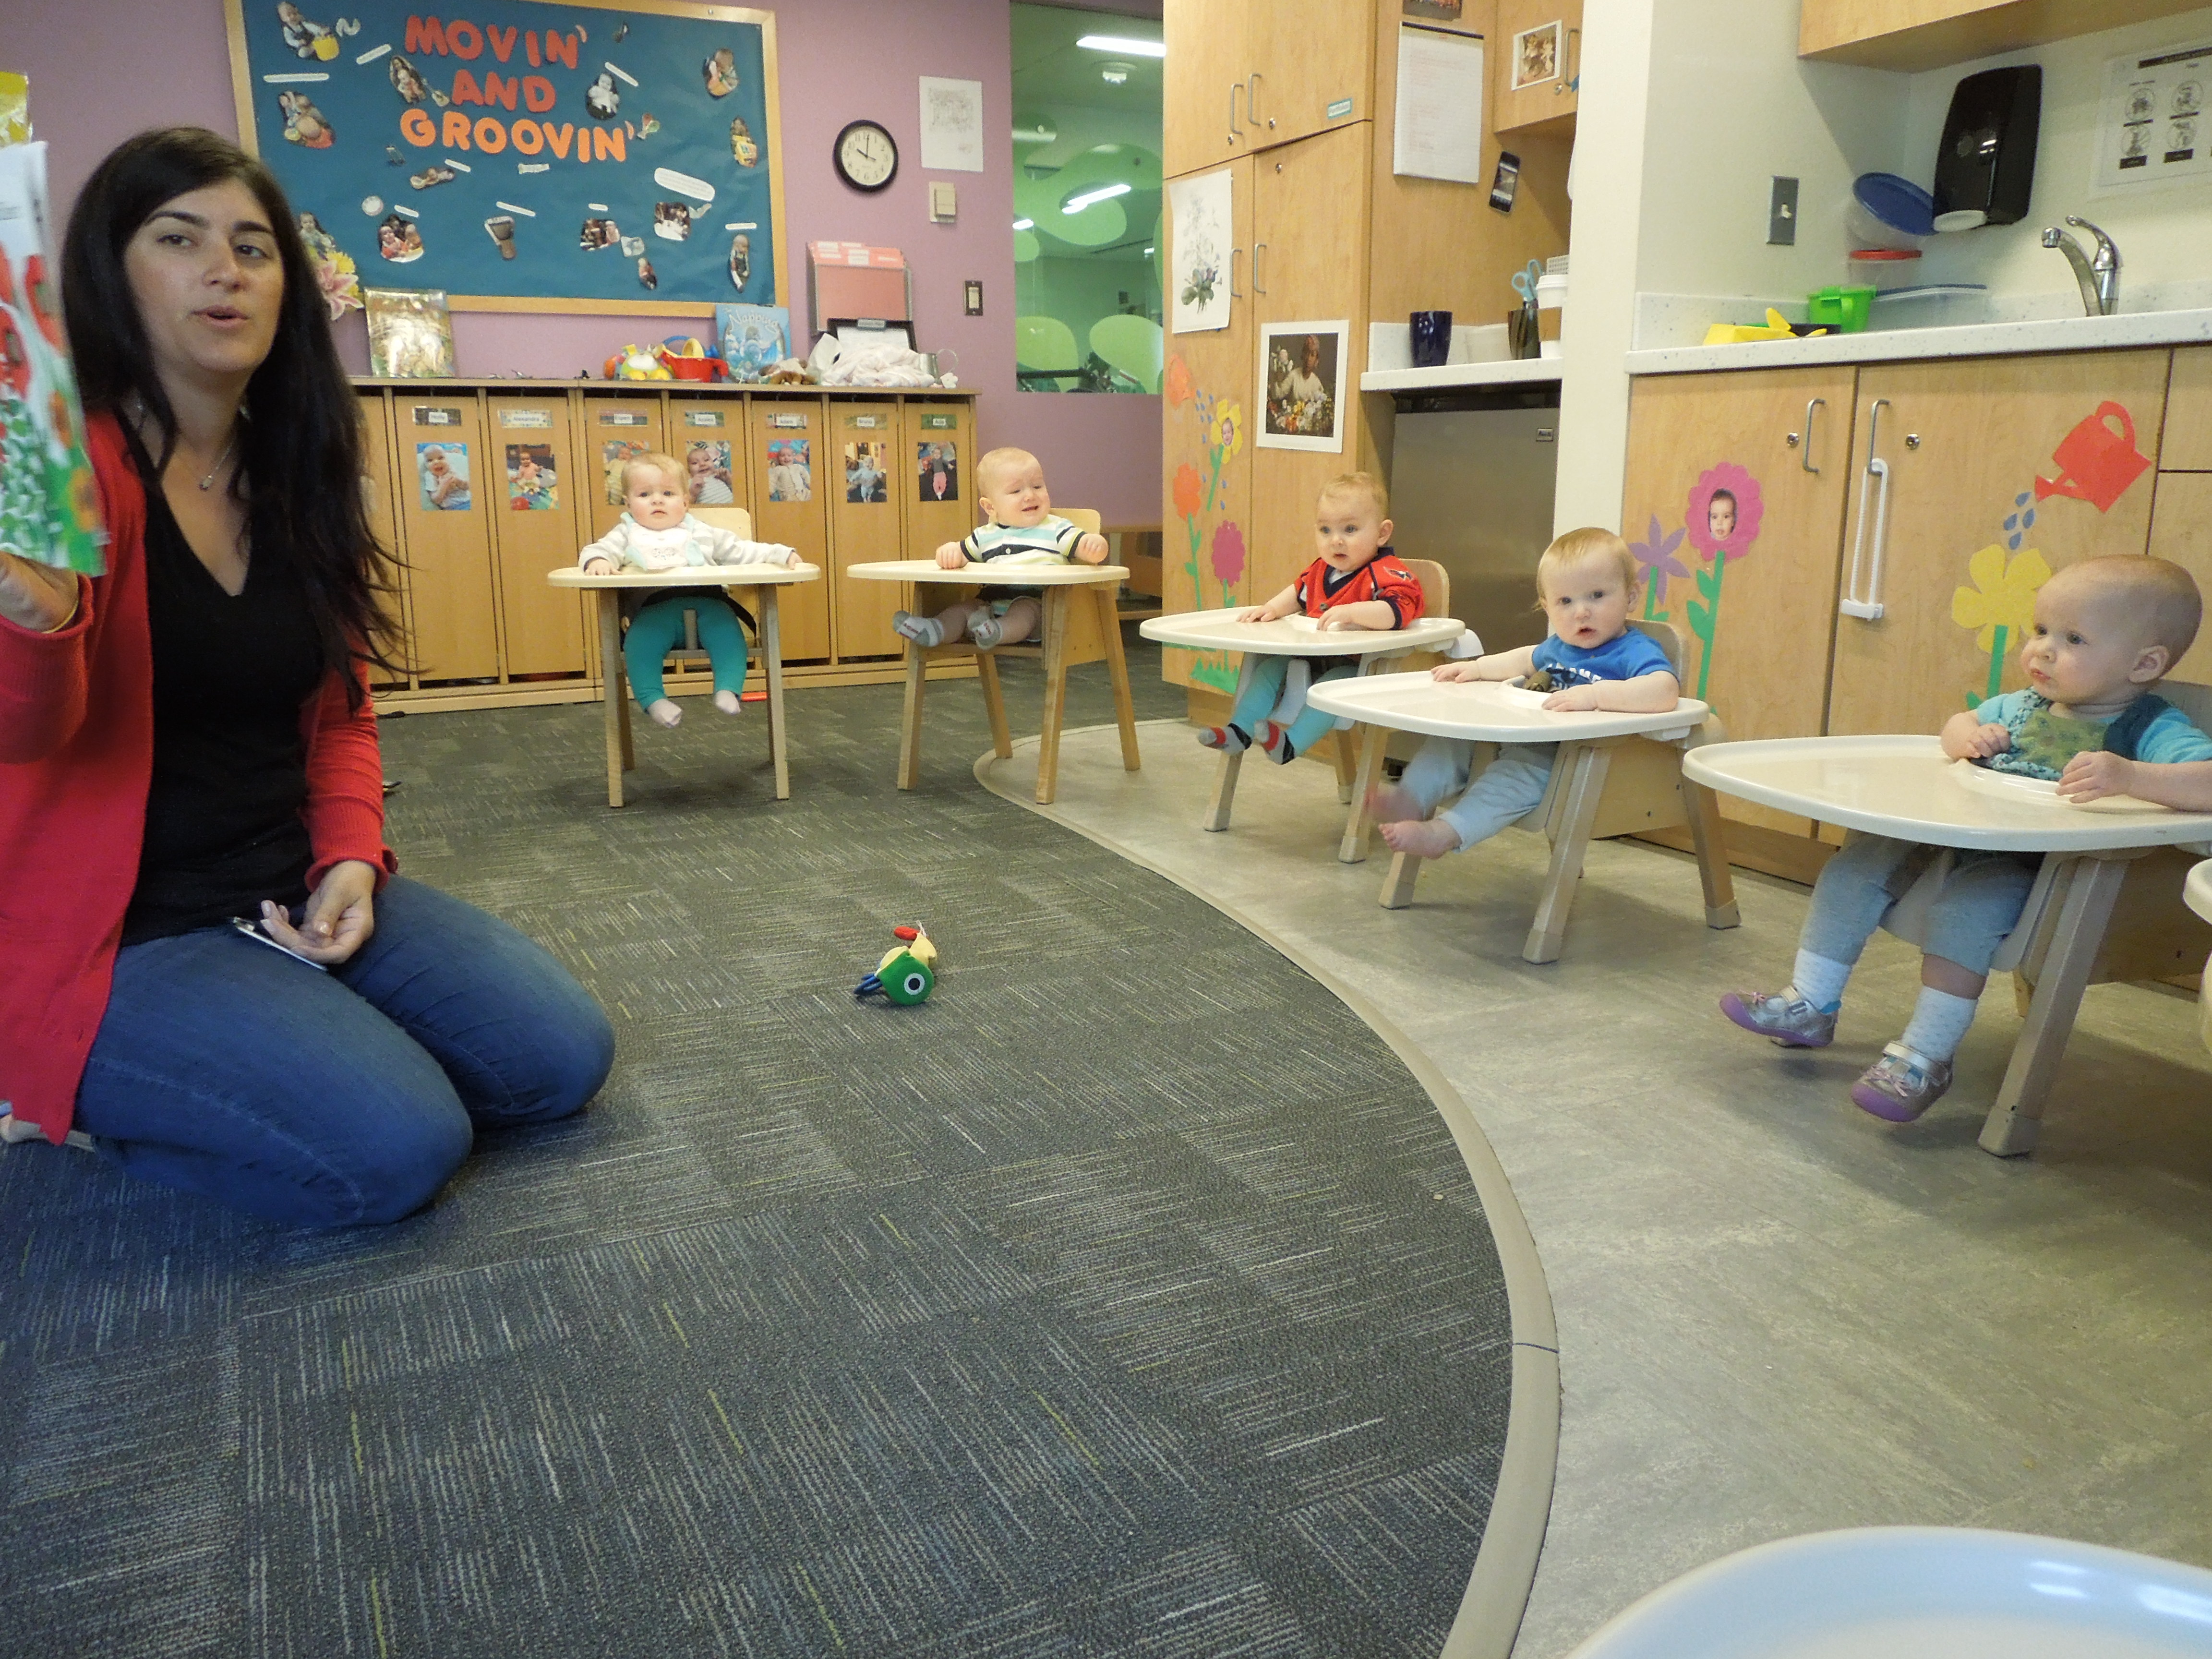
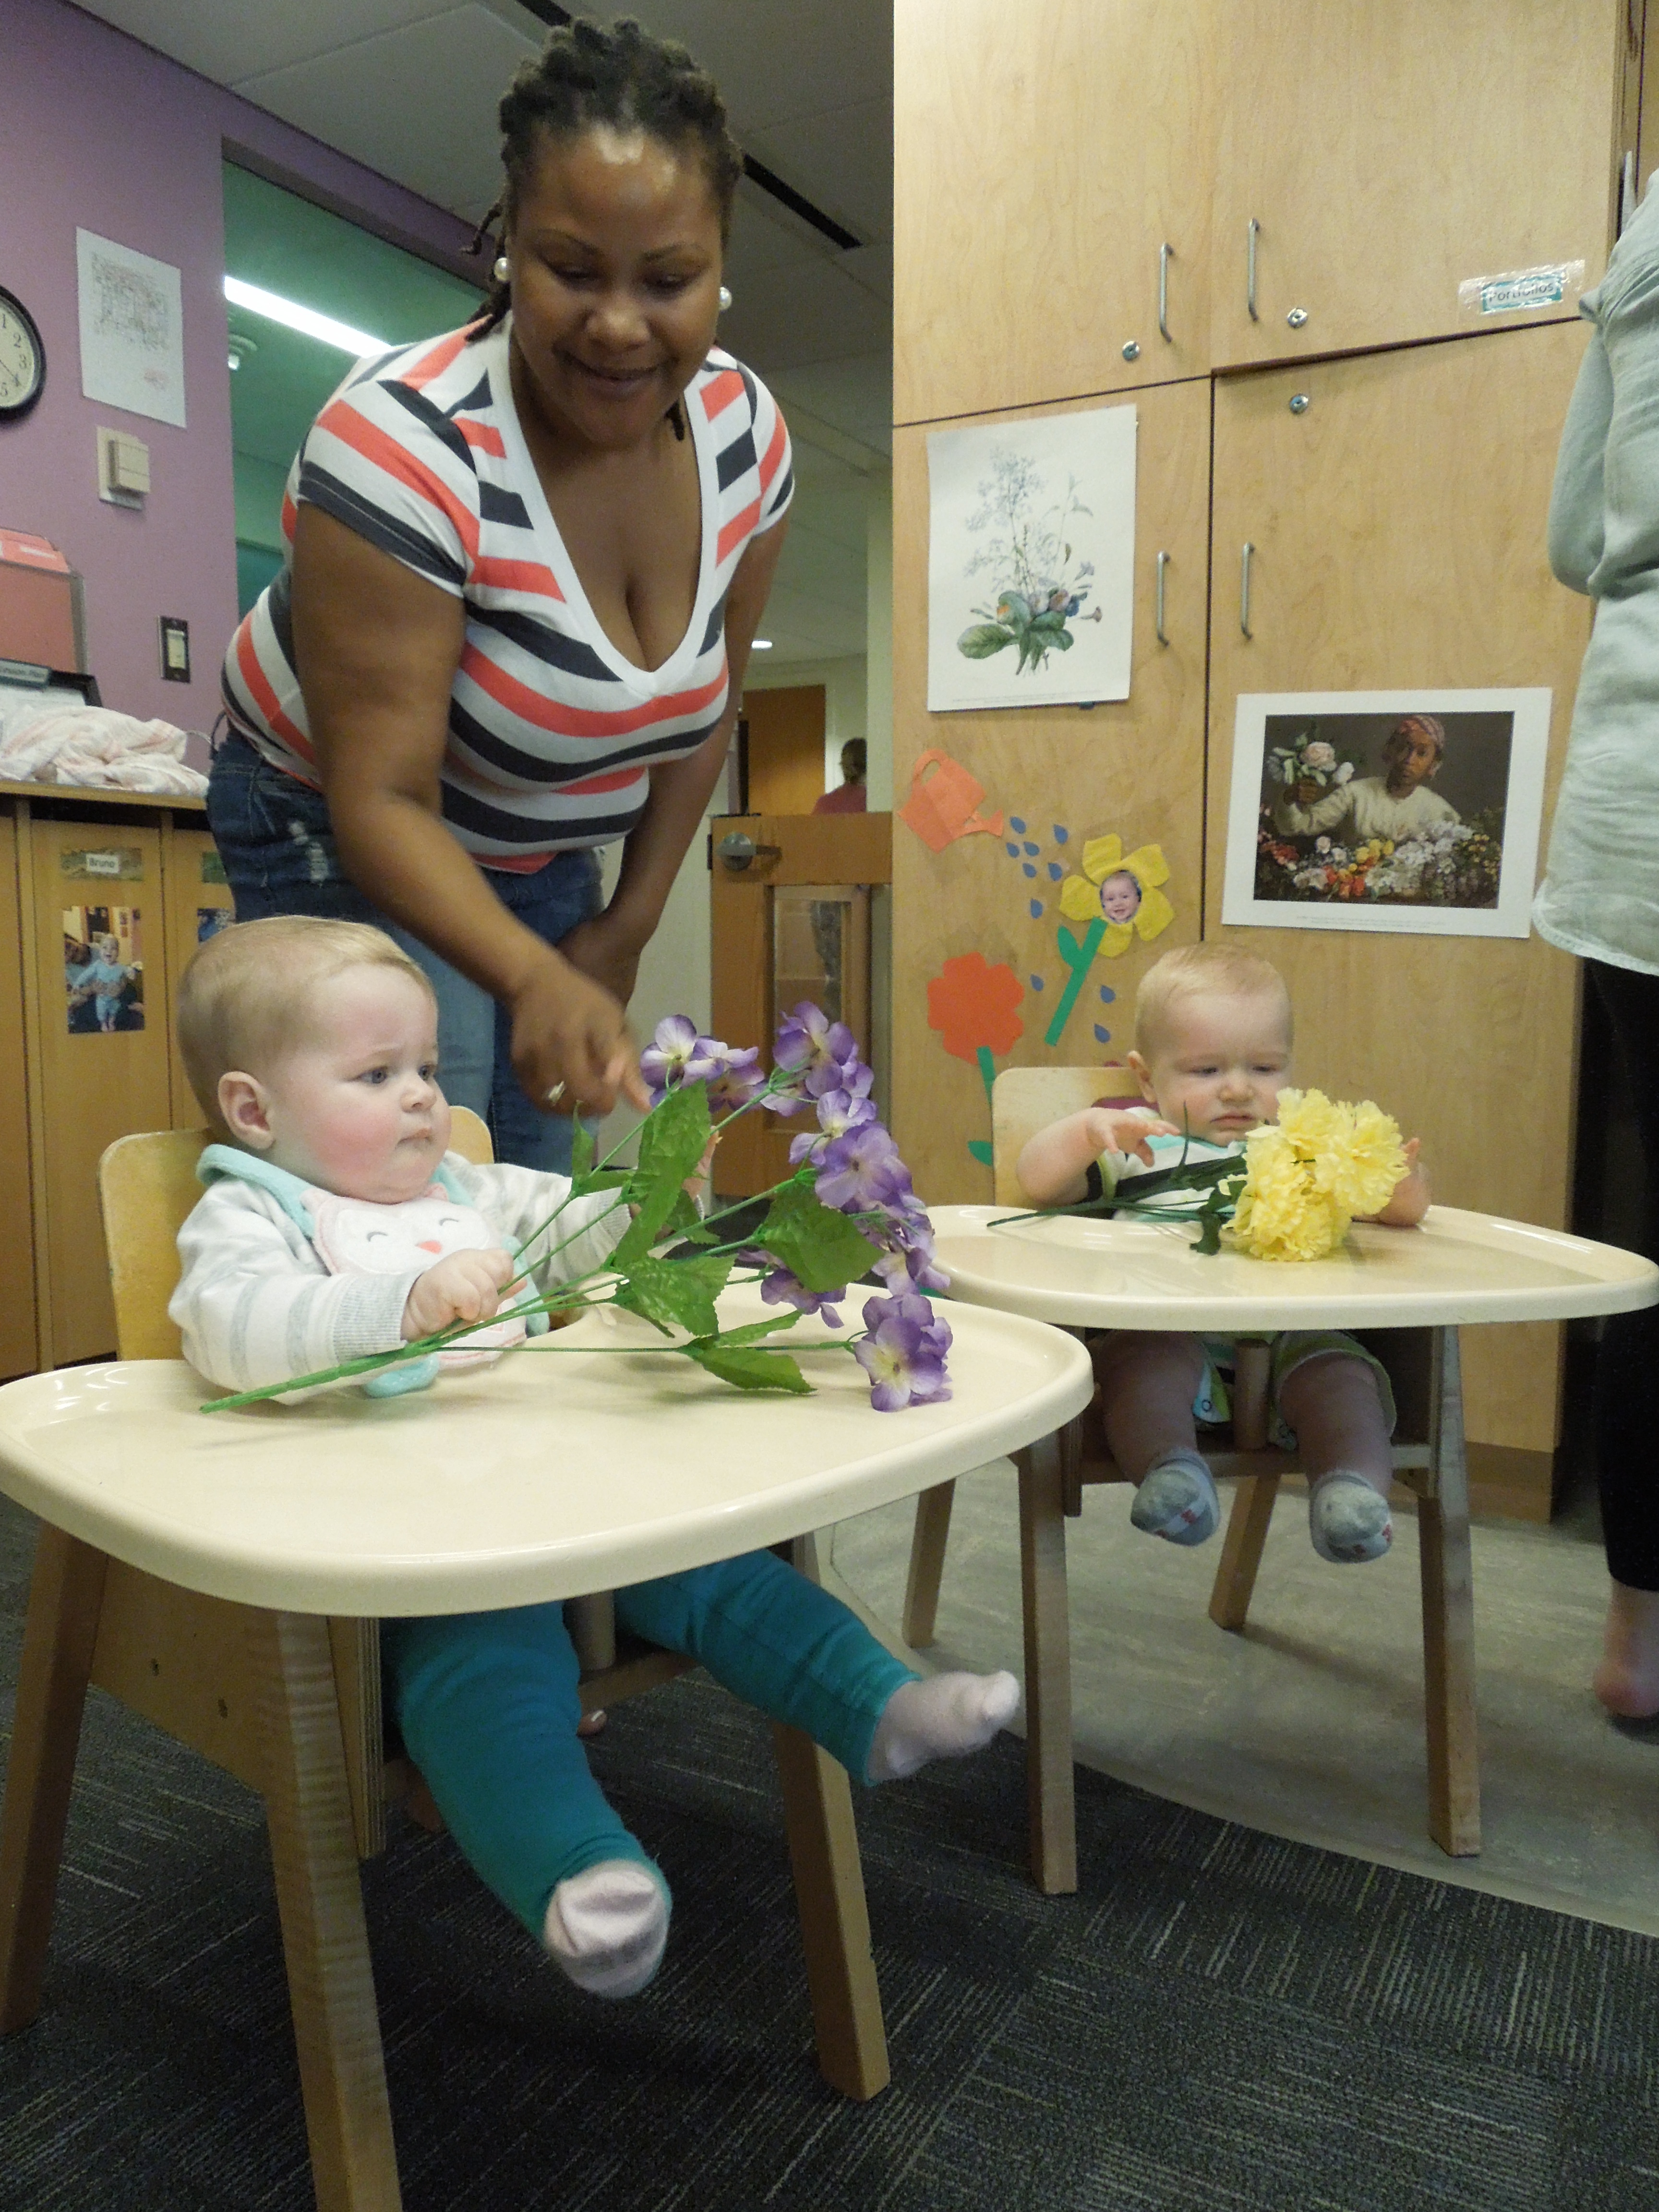
For the last half of my internship, I had the opportunity to do something I absolutely love: making art with young friends. I visited the infant, toddler, and twos classrooms classes twice during the month of July.

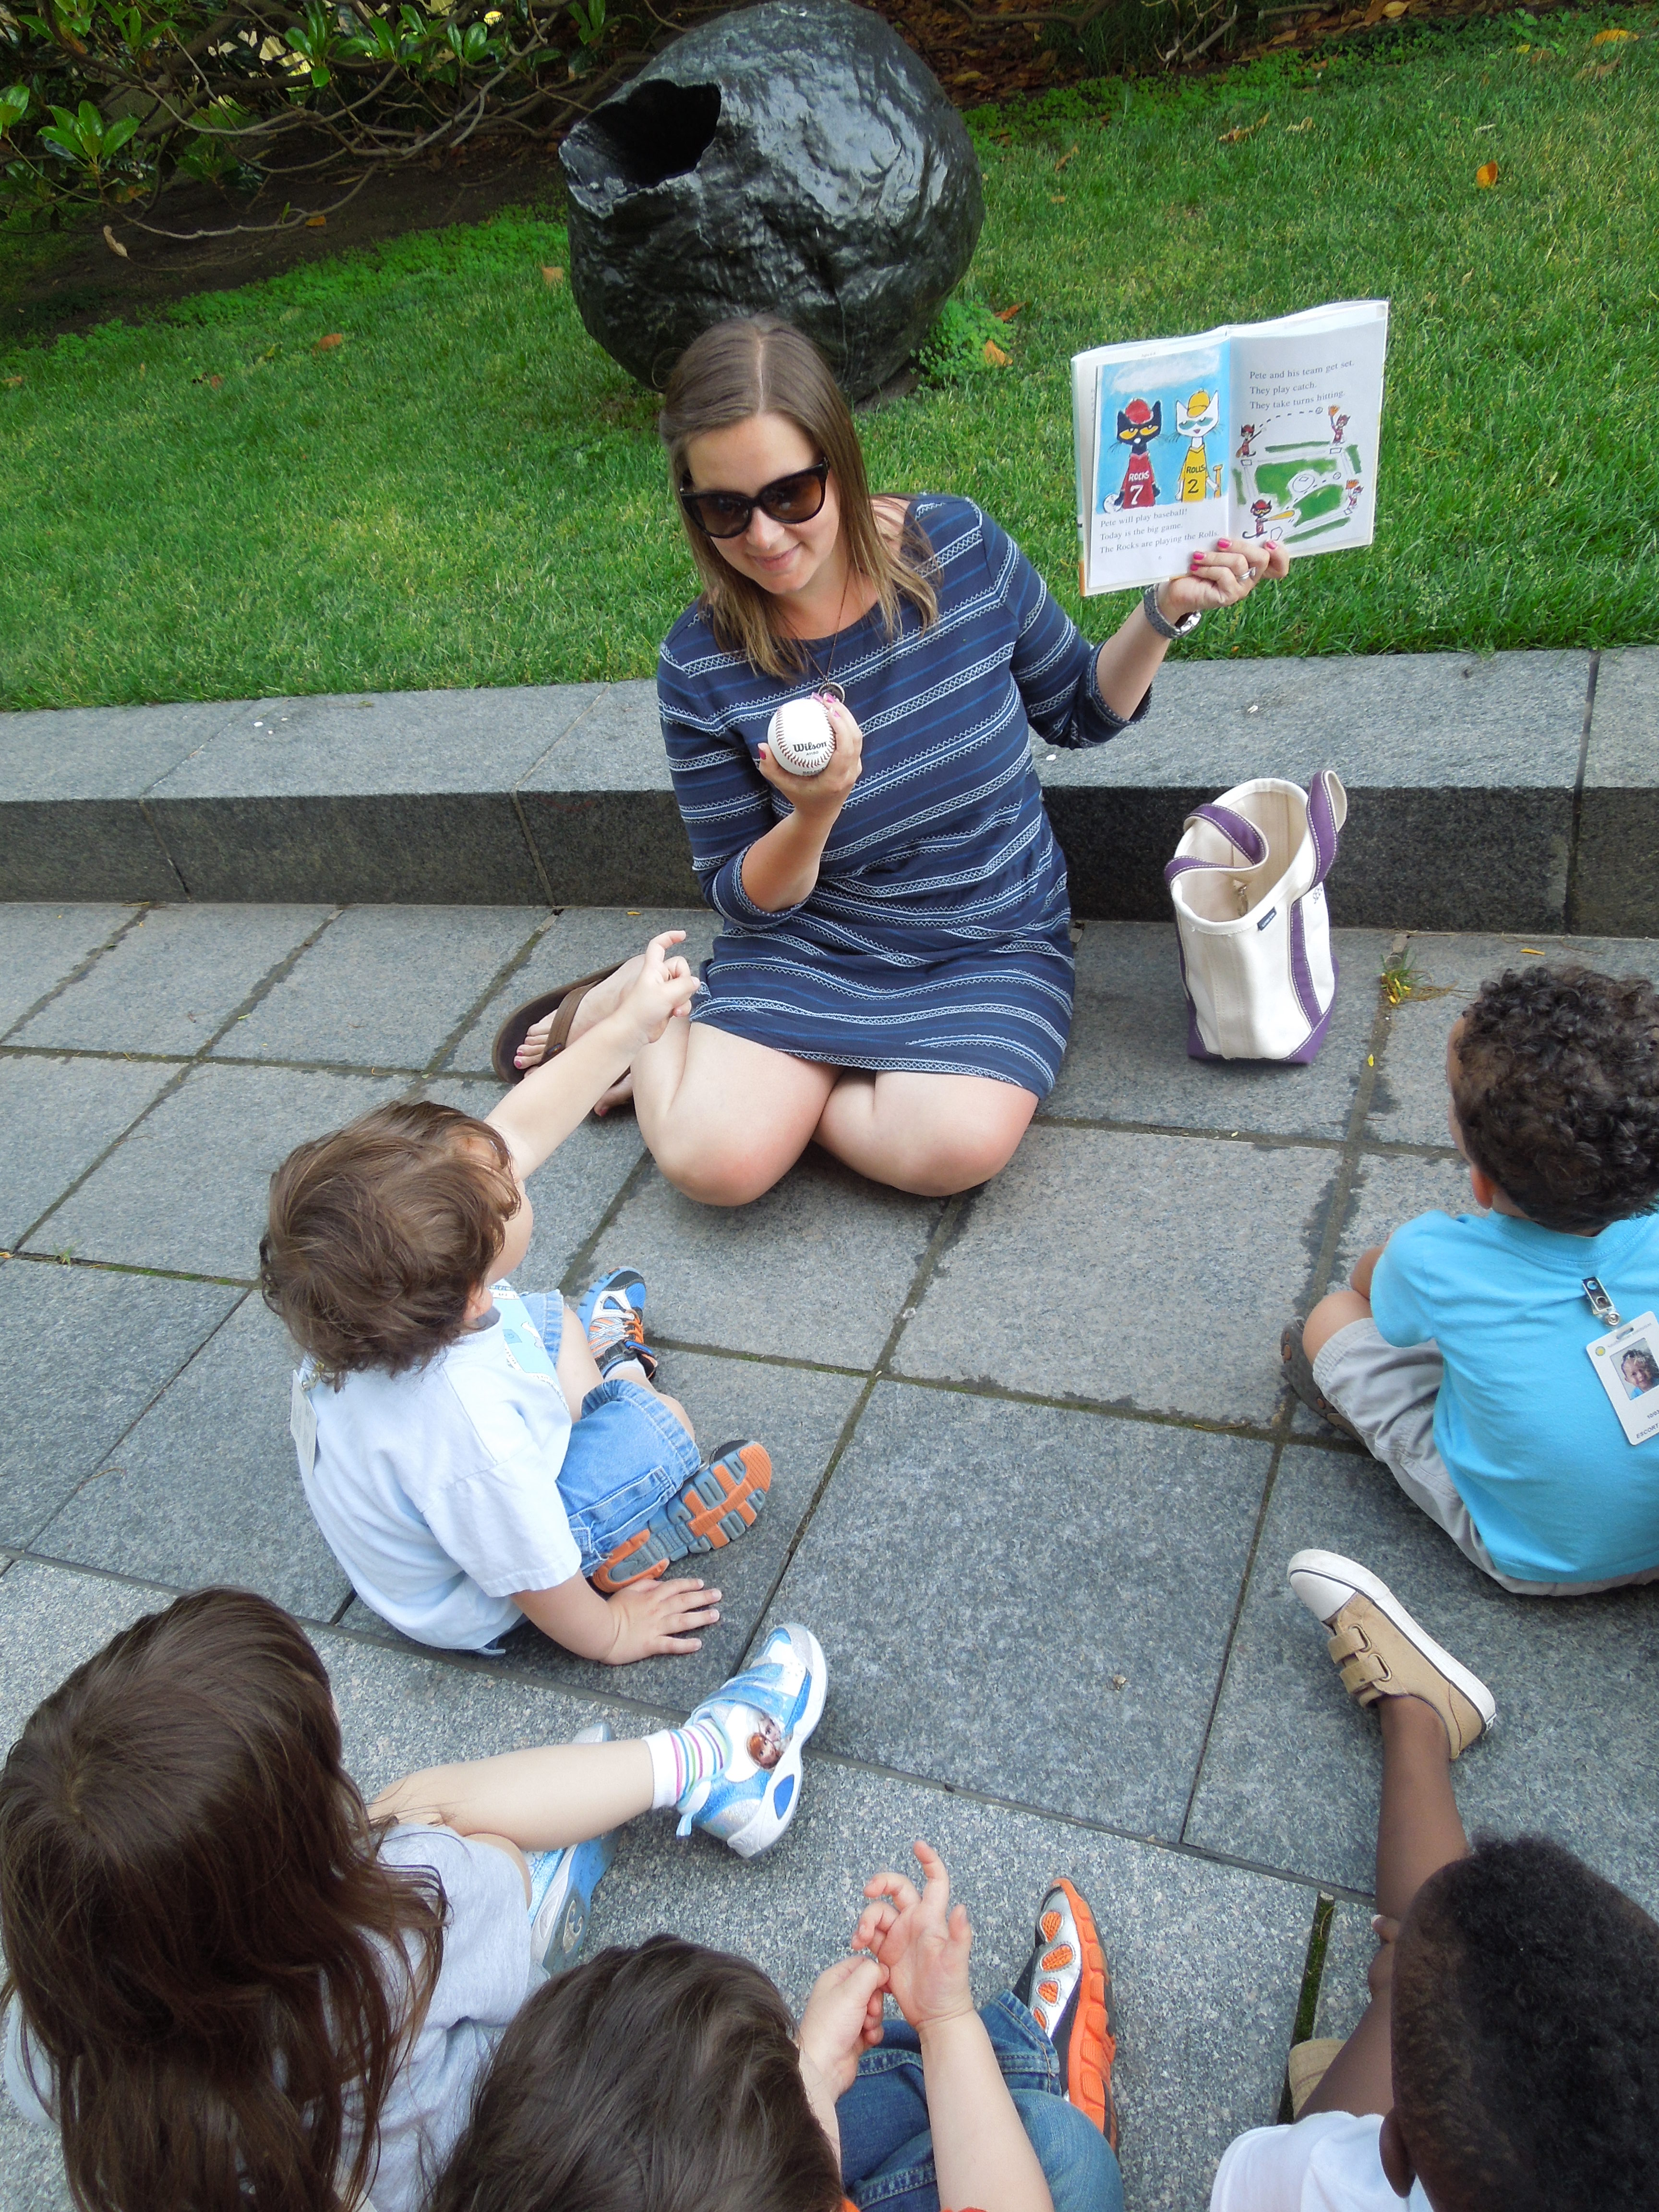
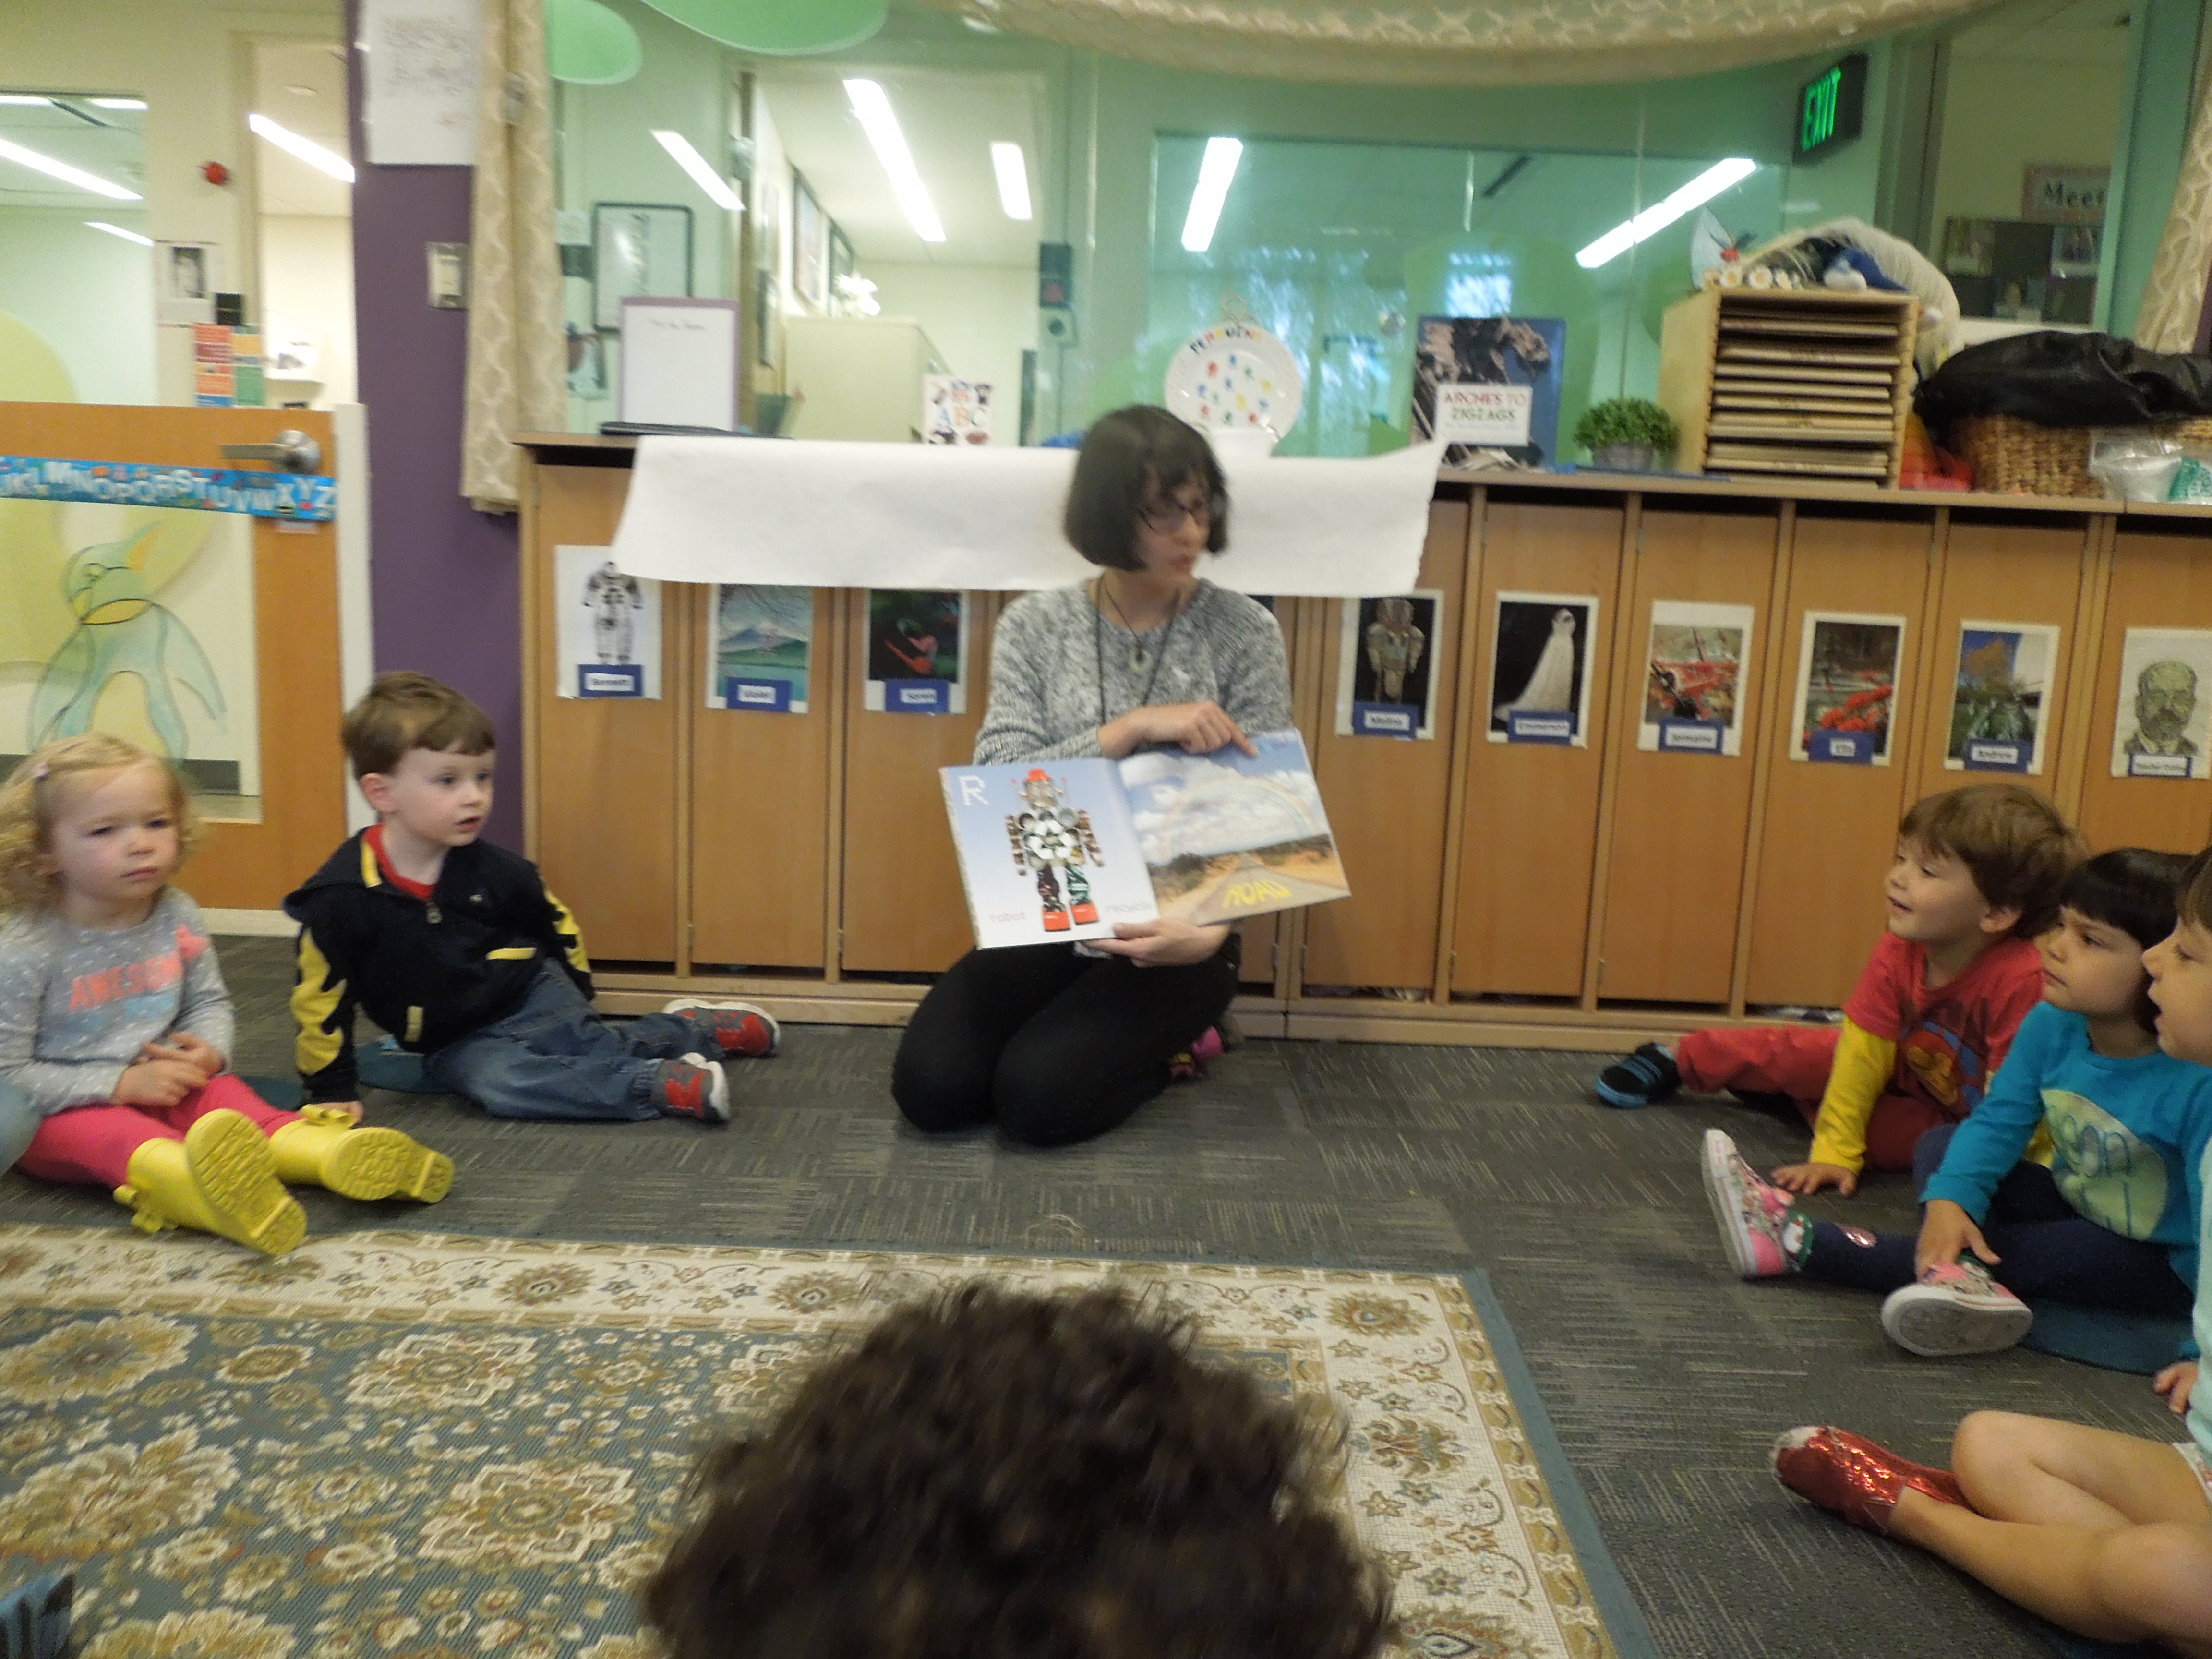
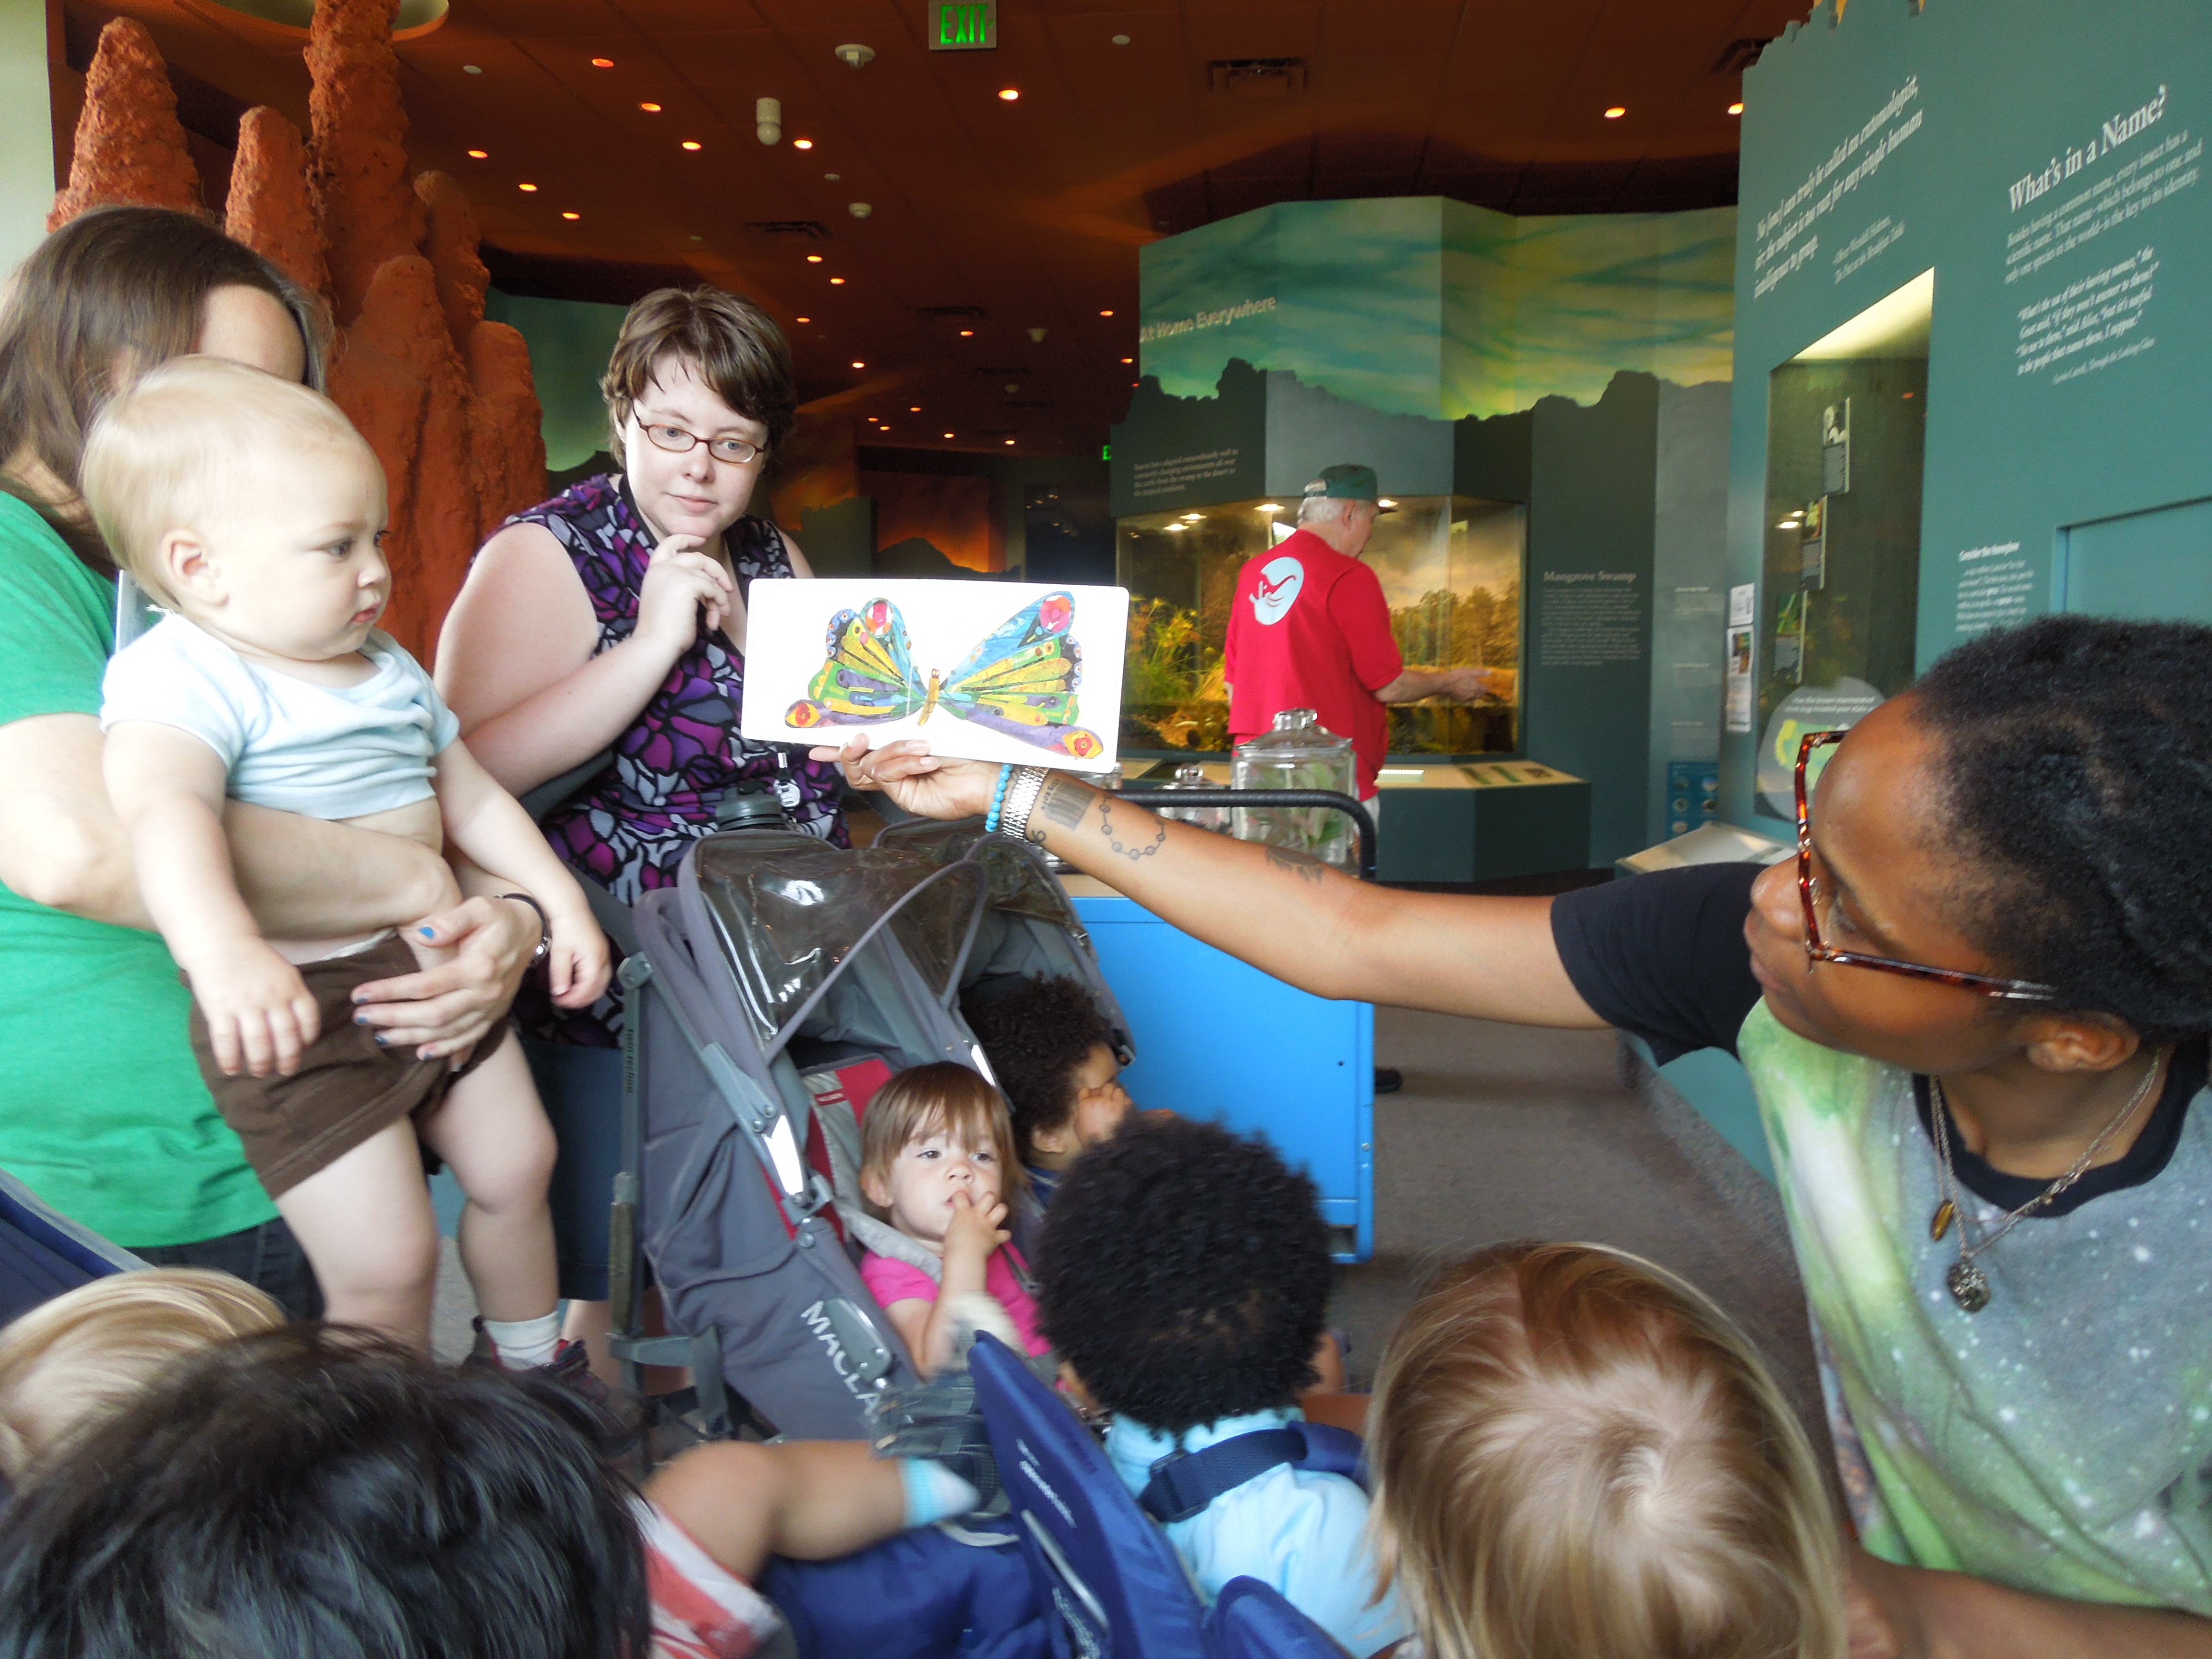
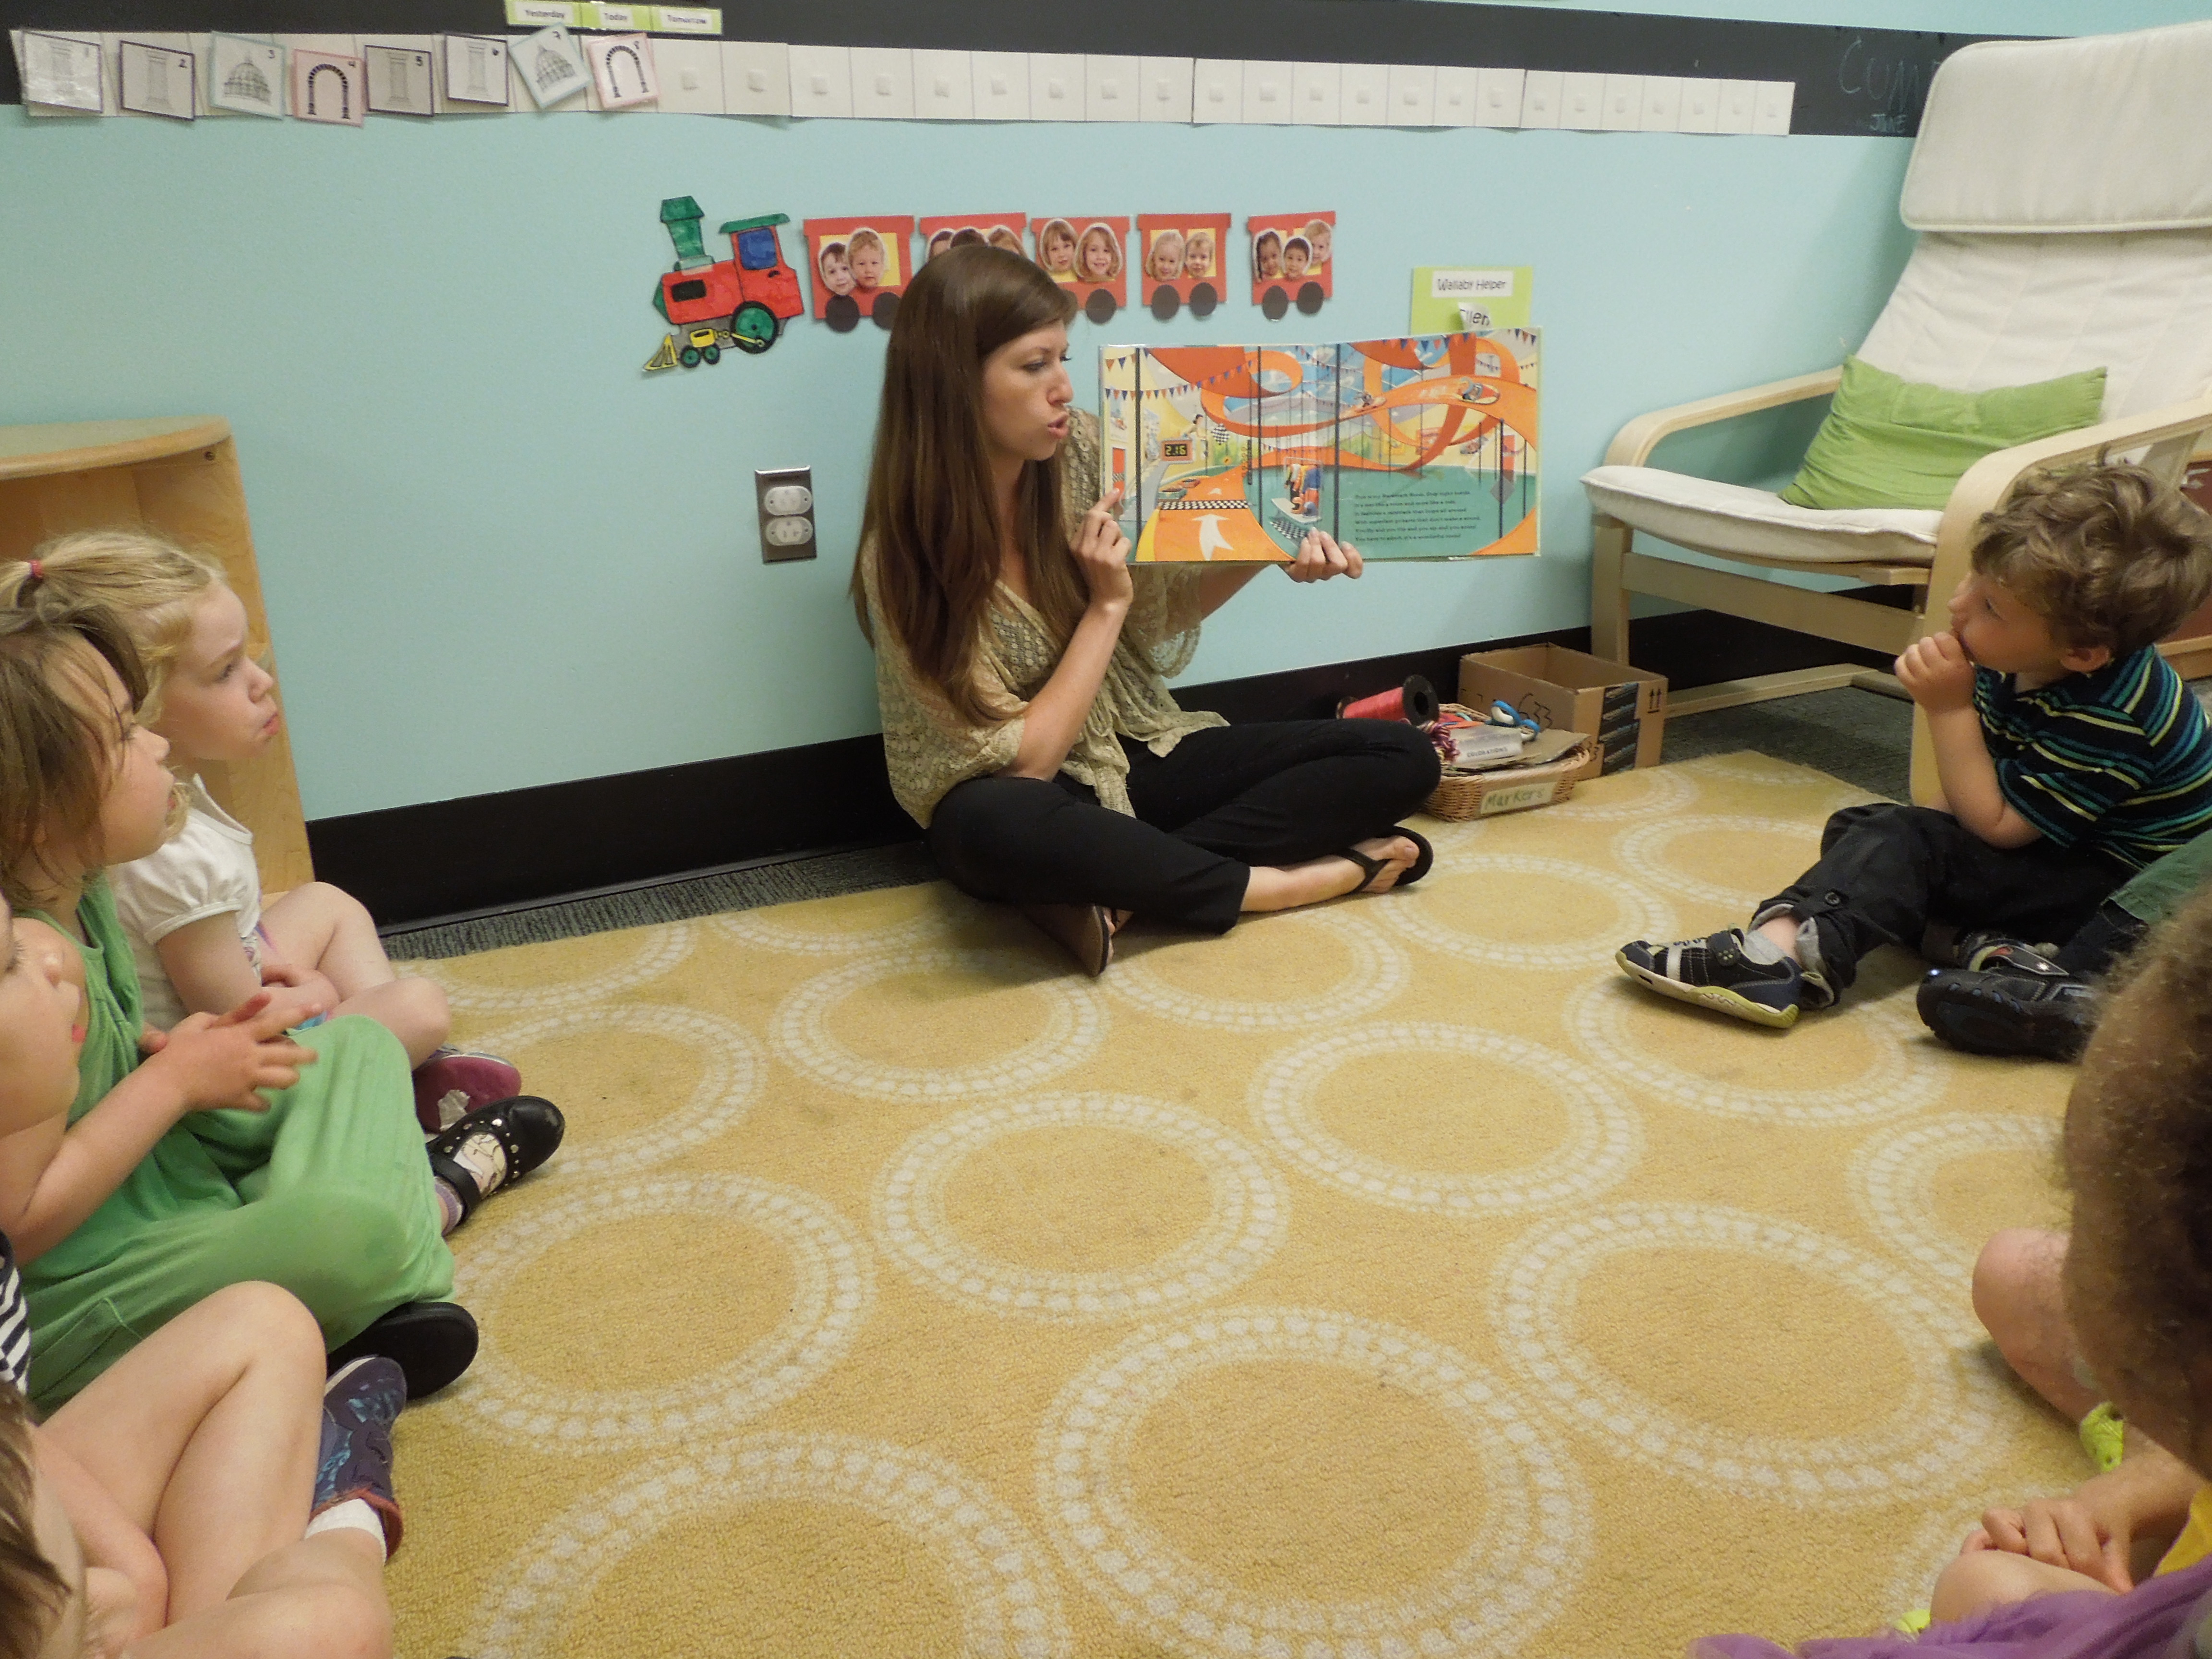
I began every class reading a book that would trigger some ideas for the activity. A short discussion time followed, where children shared their brilliant observations. Then I introduced the main activity and gave a quick demonstration on how to use the materials. Most of the projects were sensory based and open-ended. I was quite nervous if the children would be interested in the activities, but each artwork turned out to be fun and unique. To me, just being there with the children was a joyful moment. 

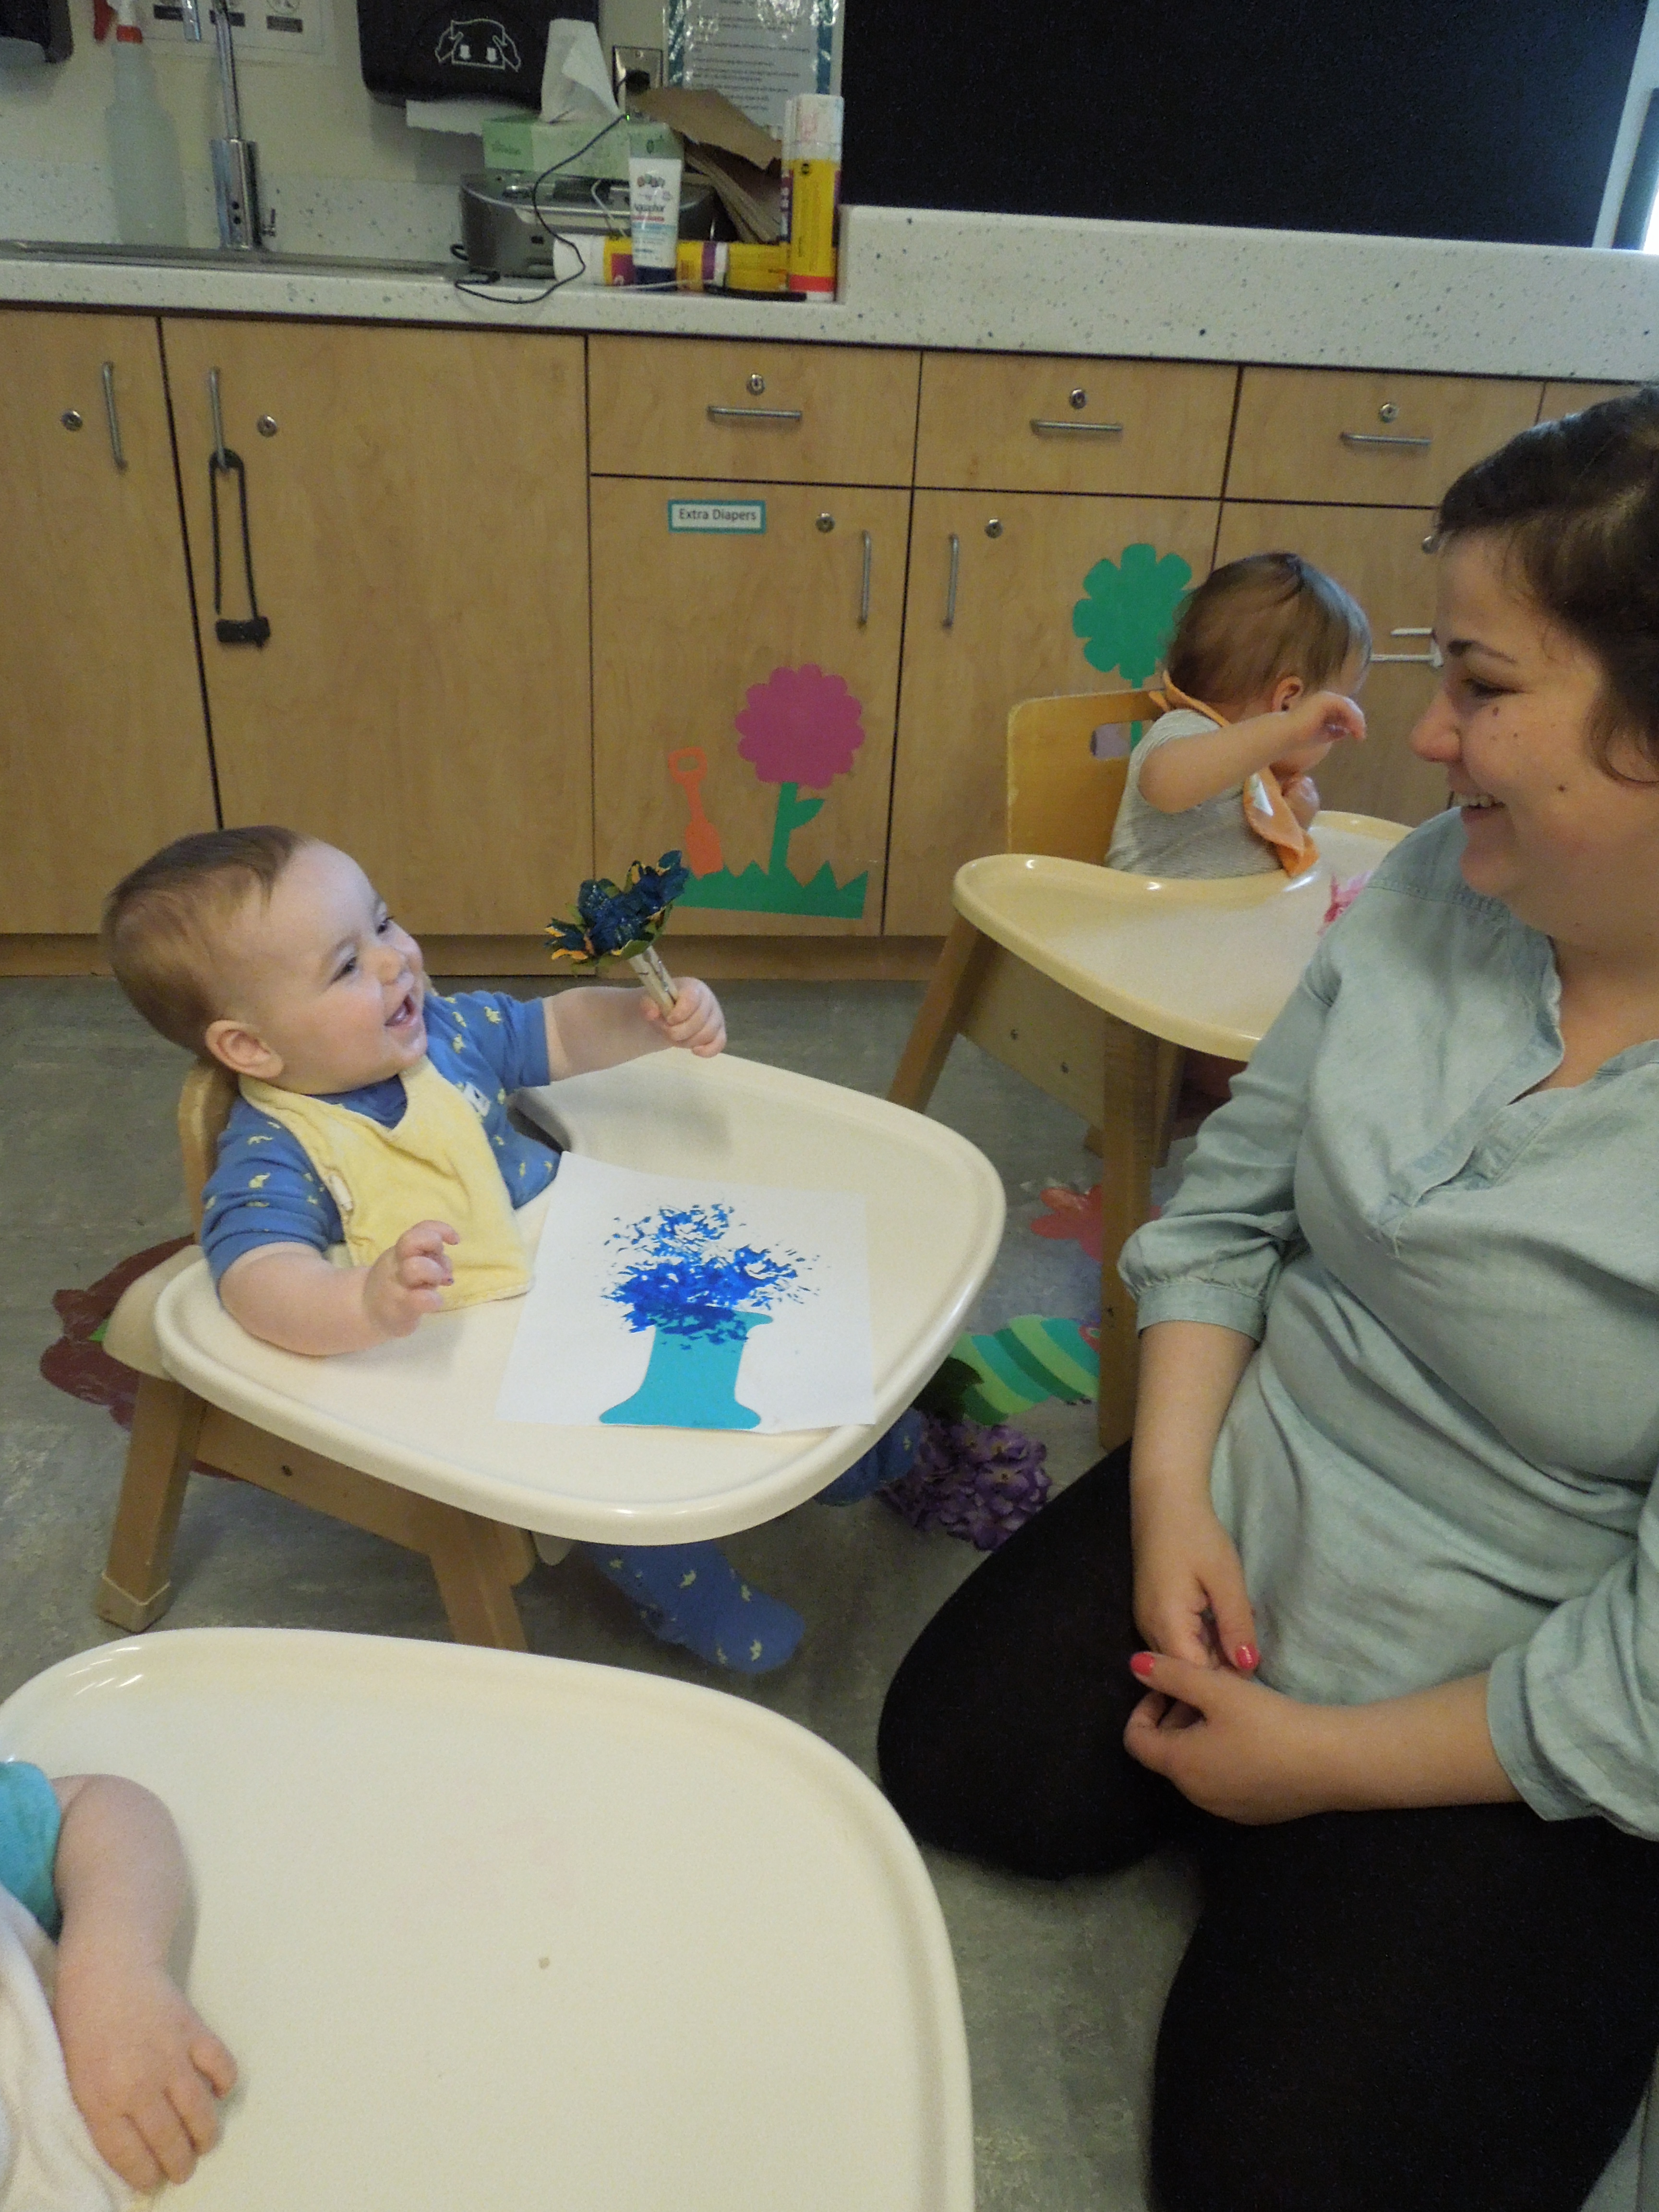
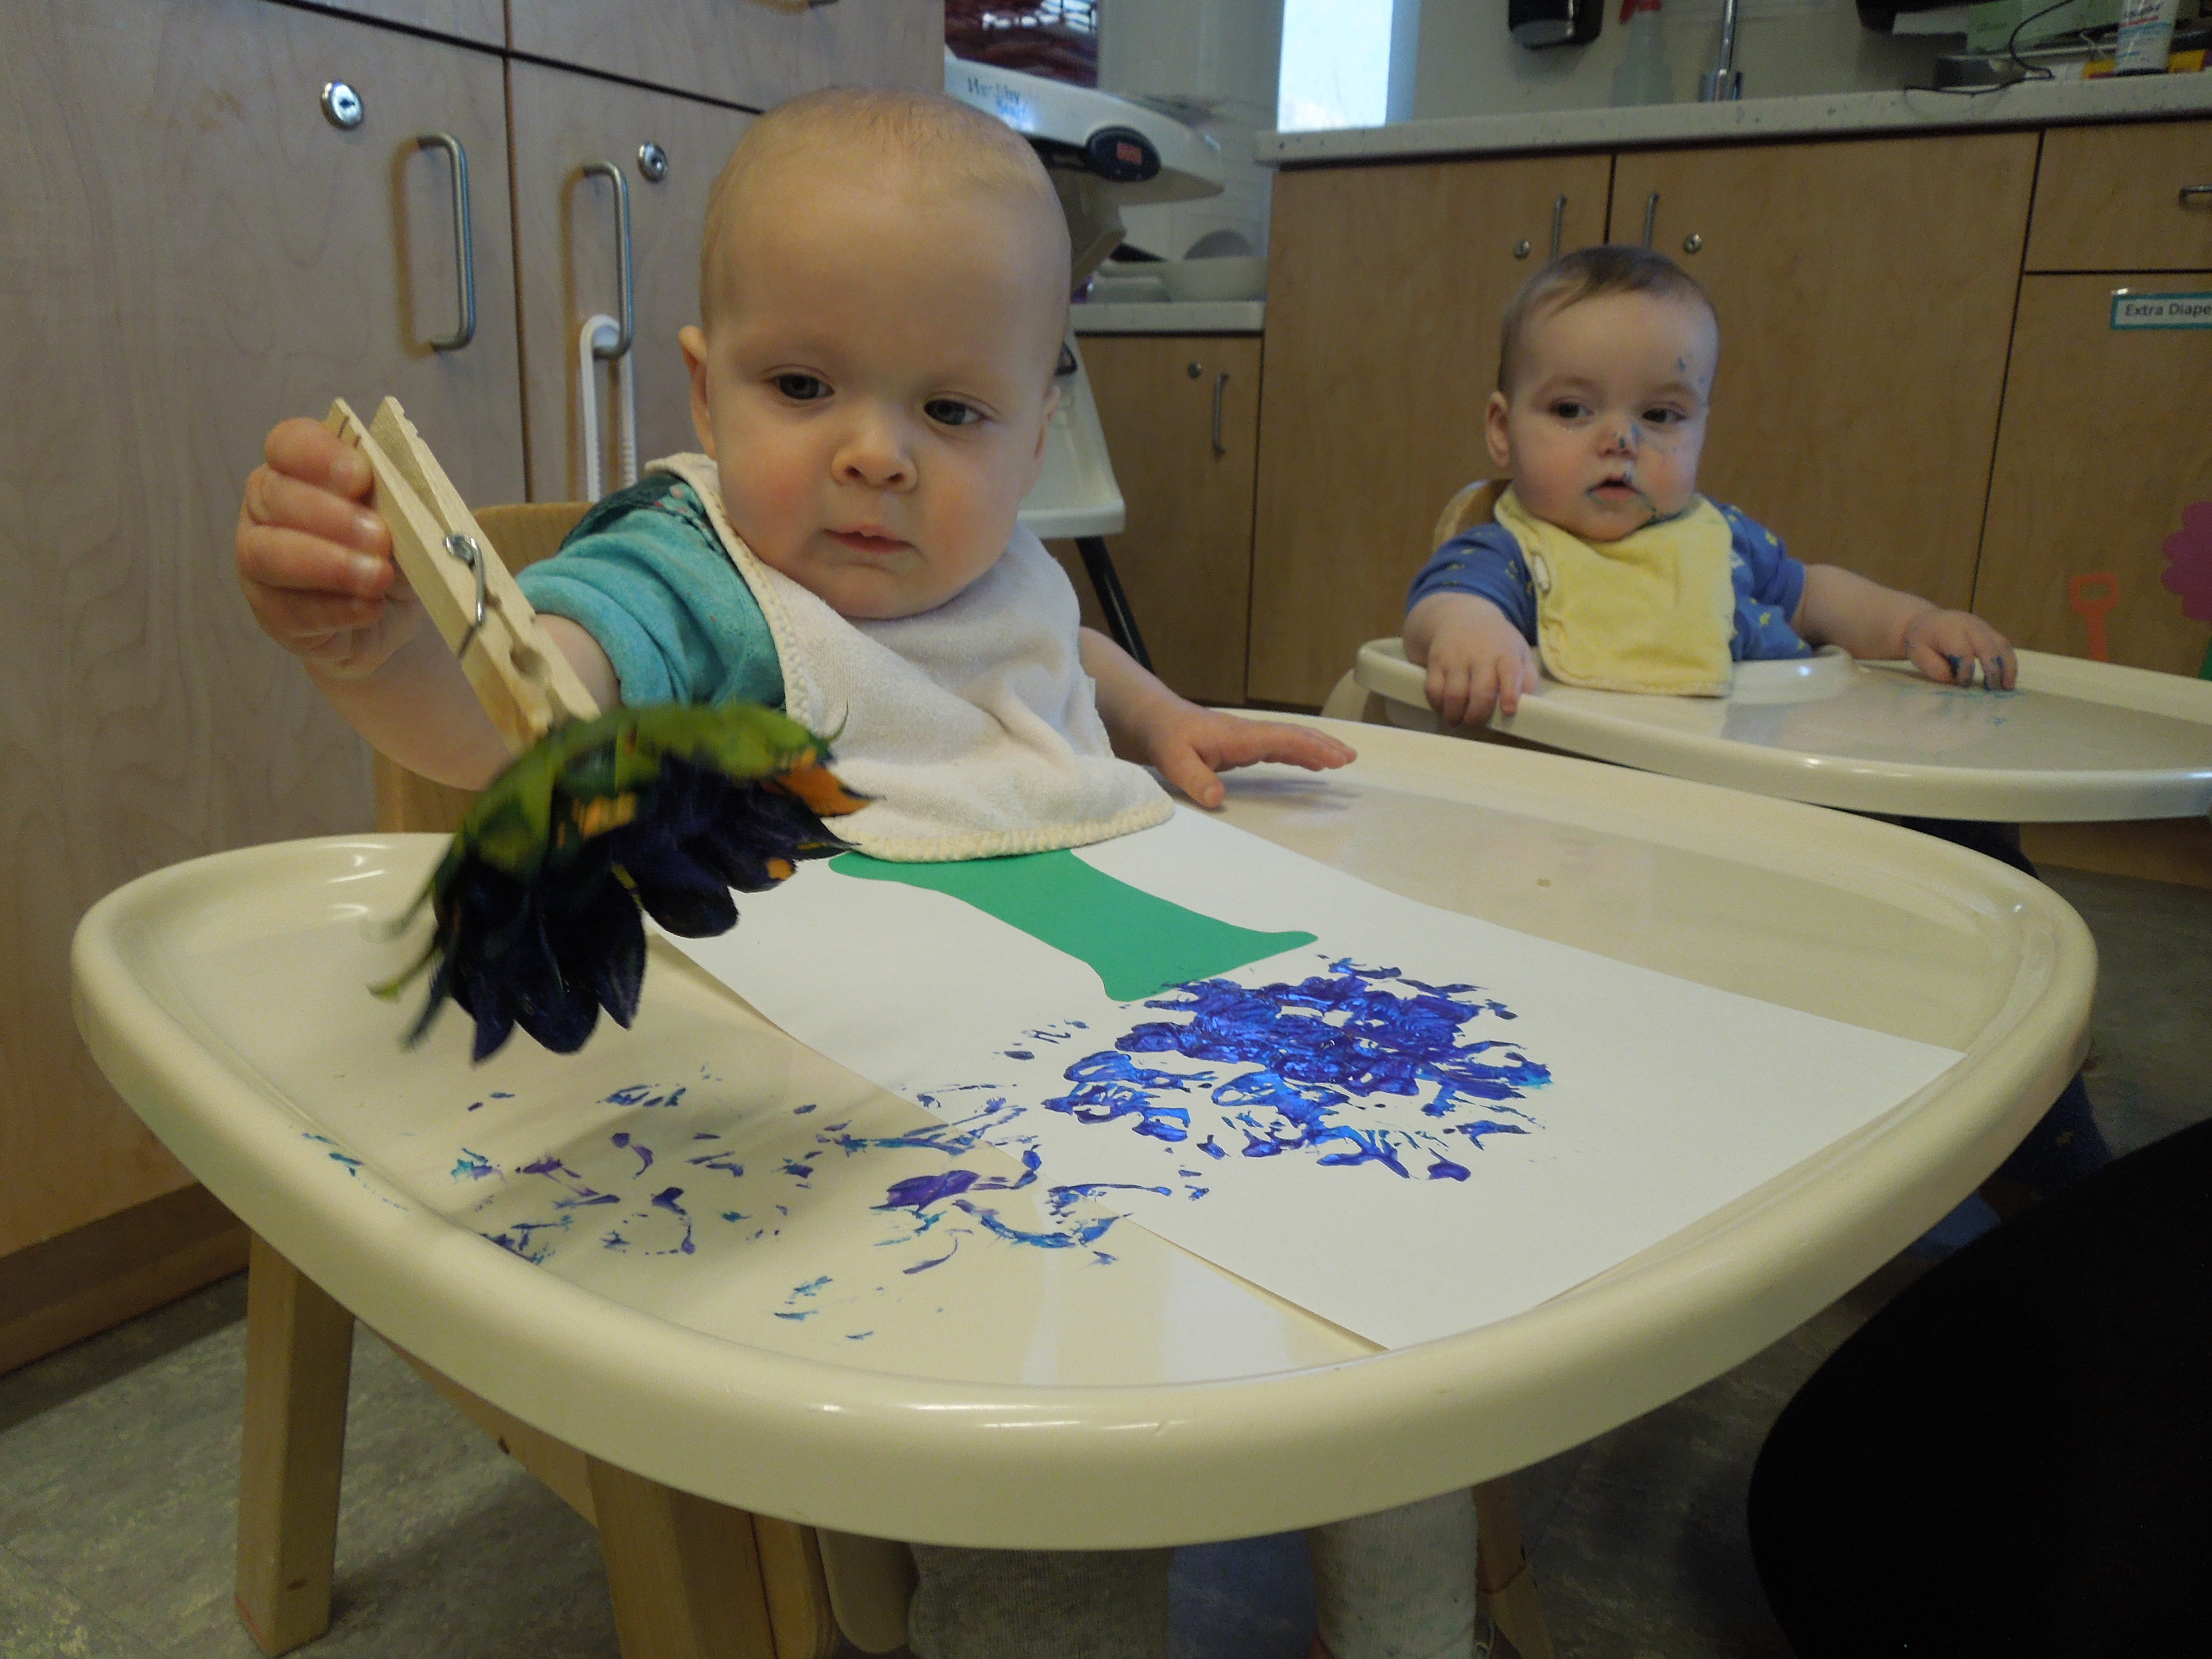
Art with the Infants

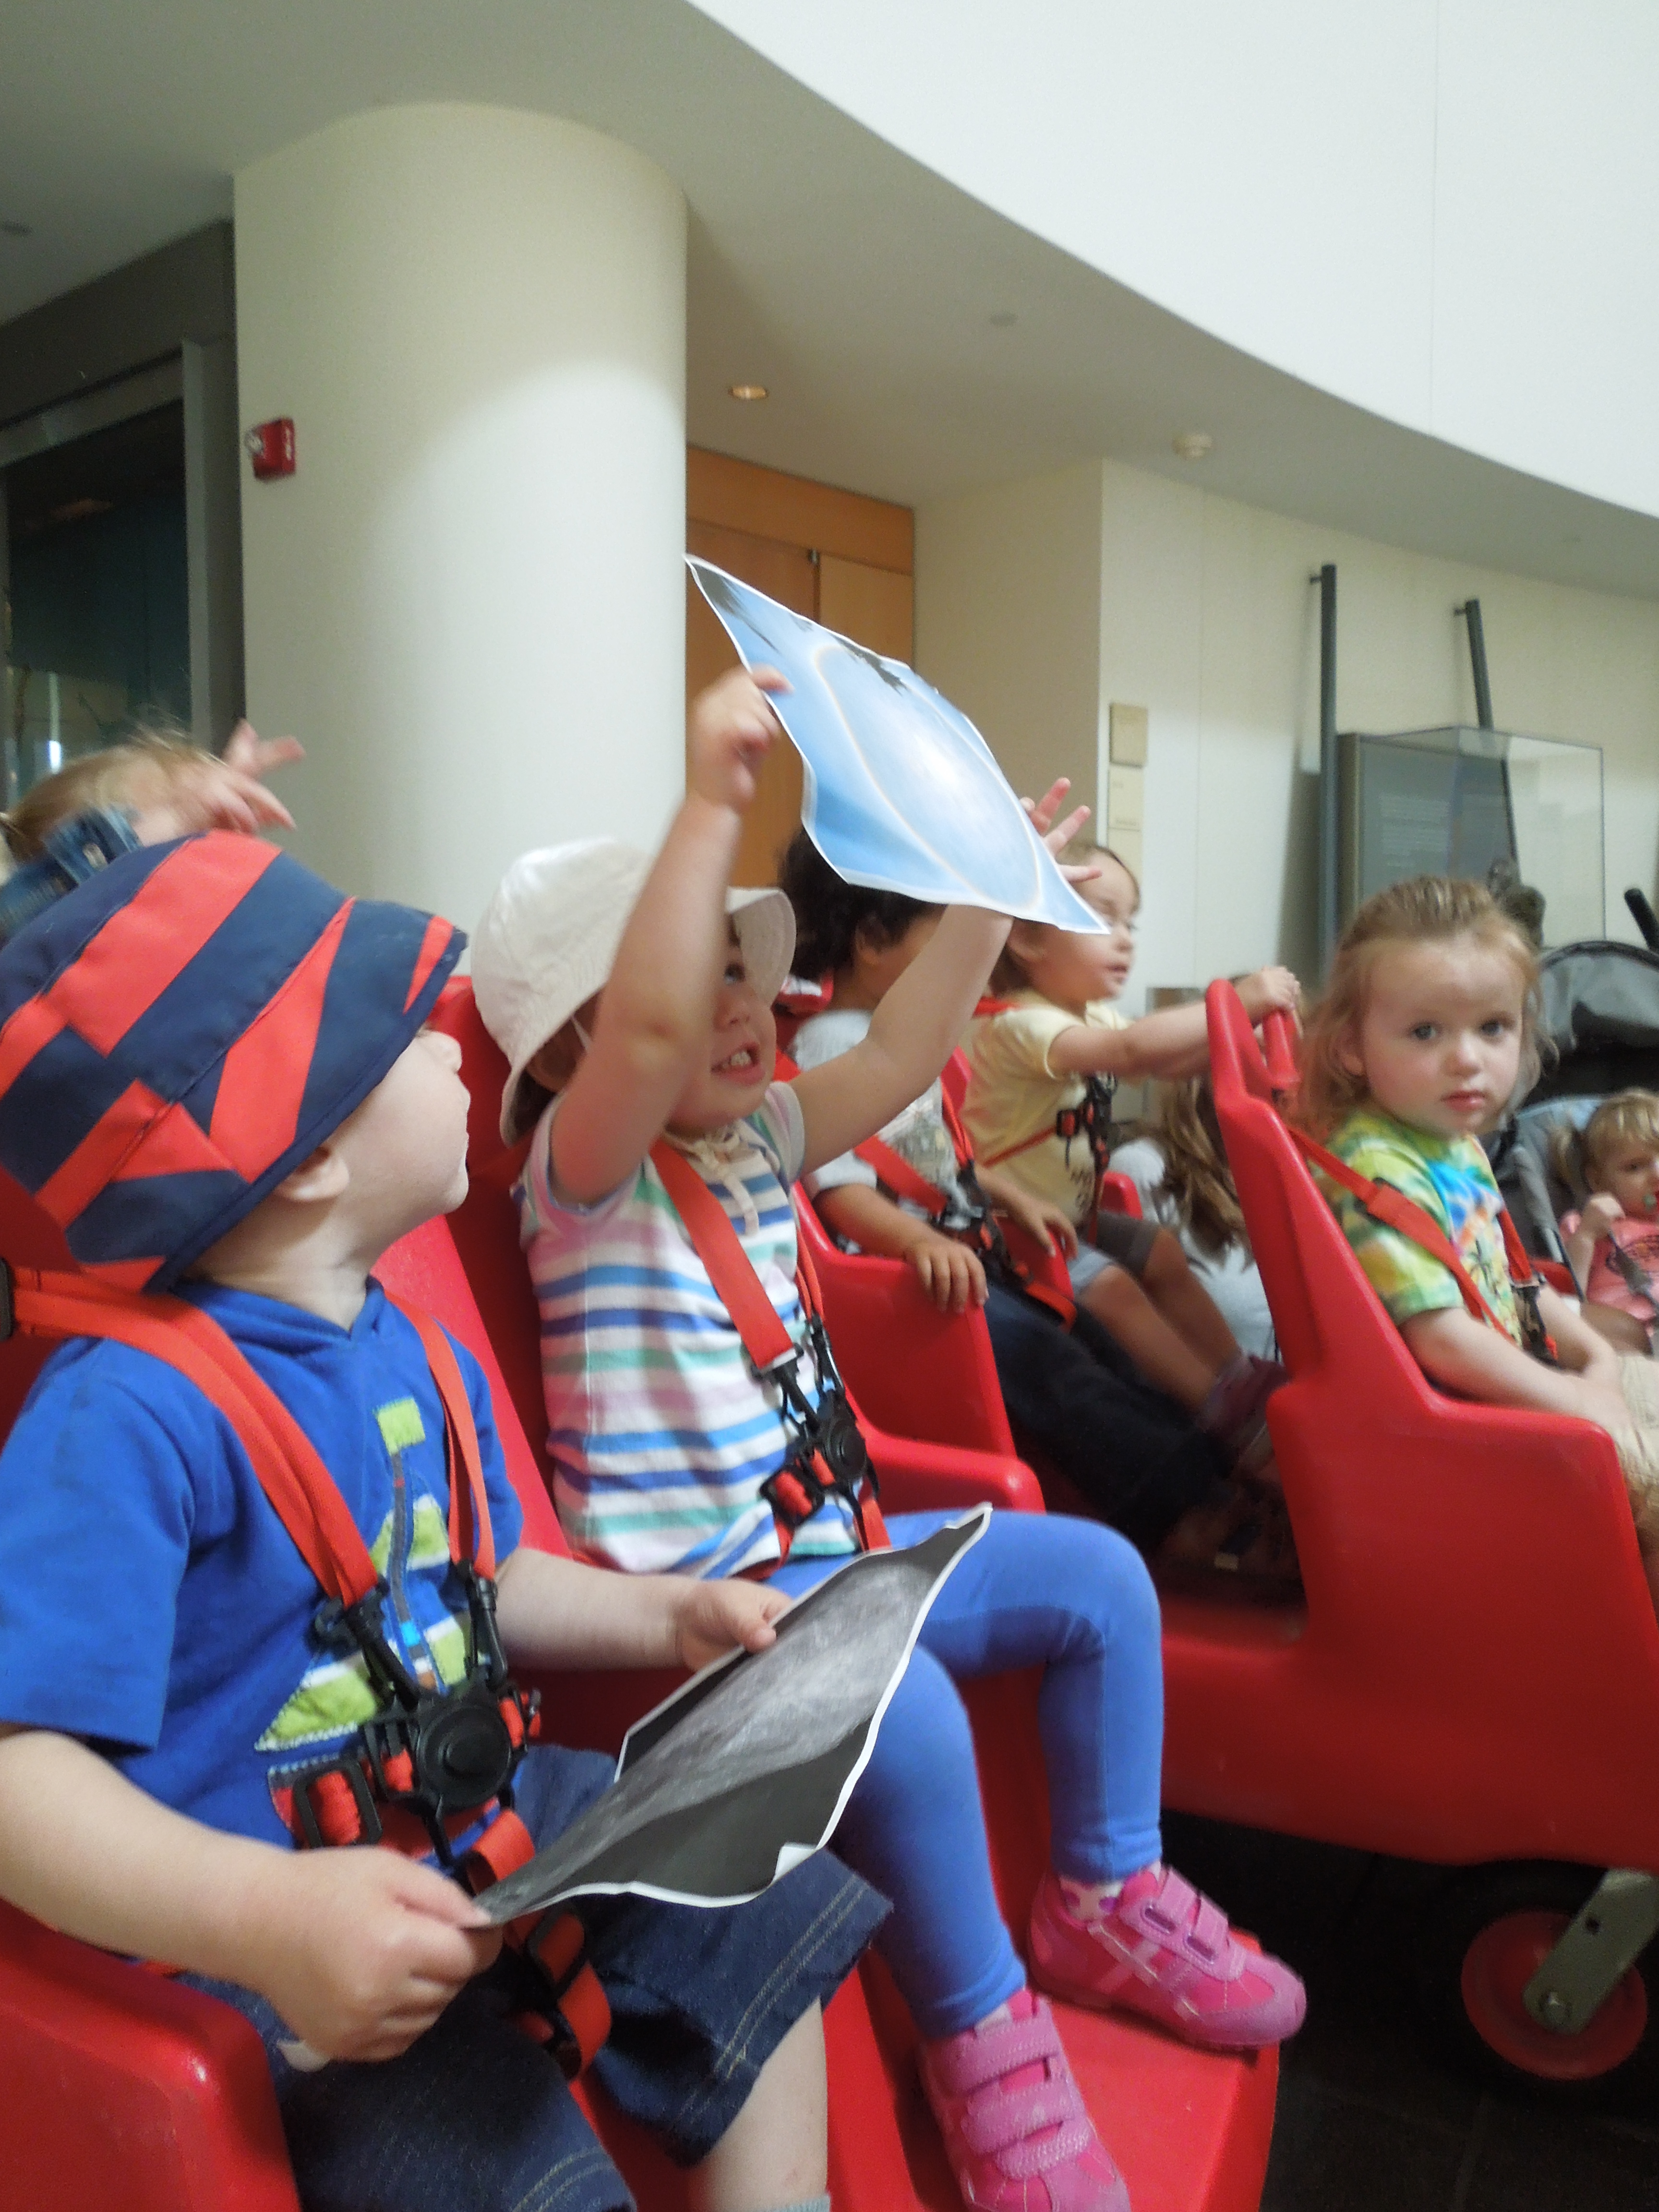
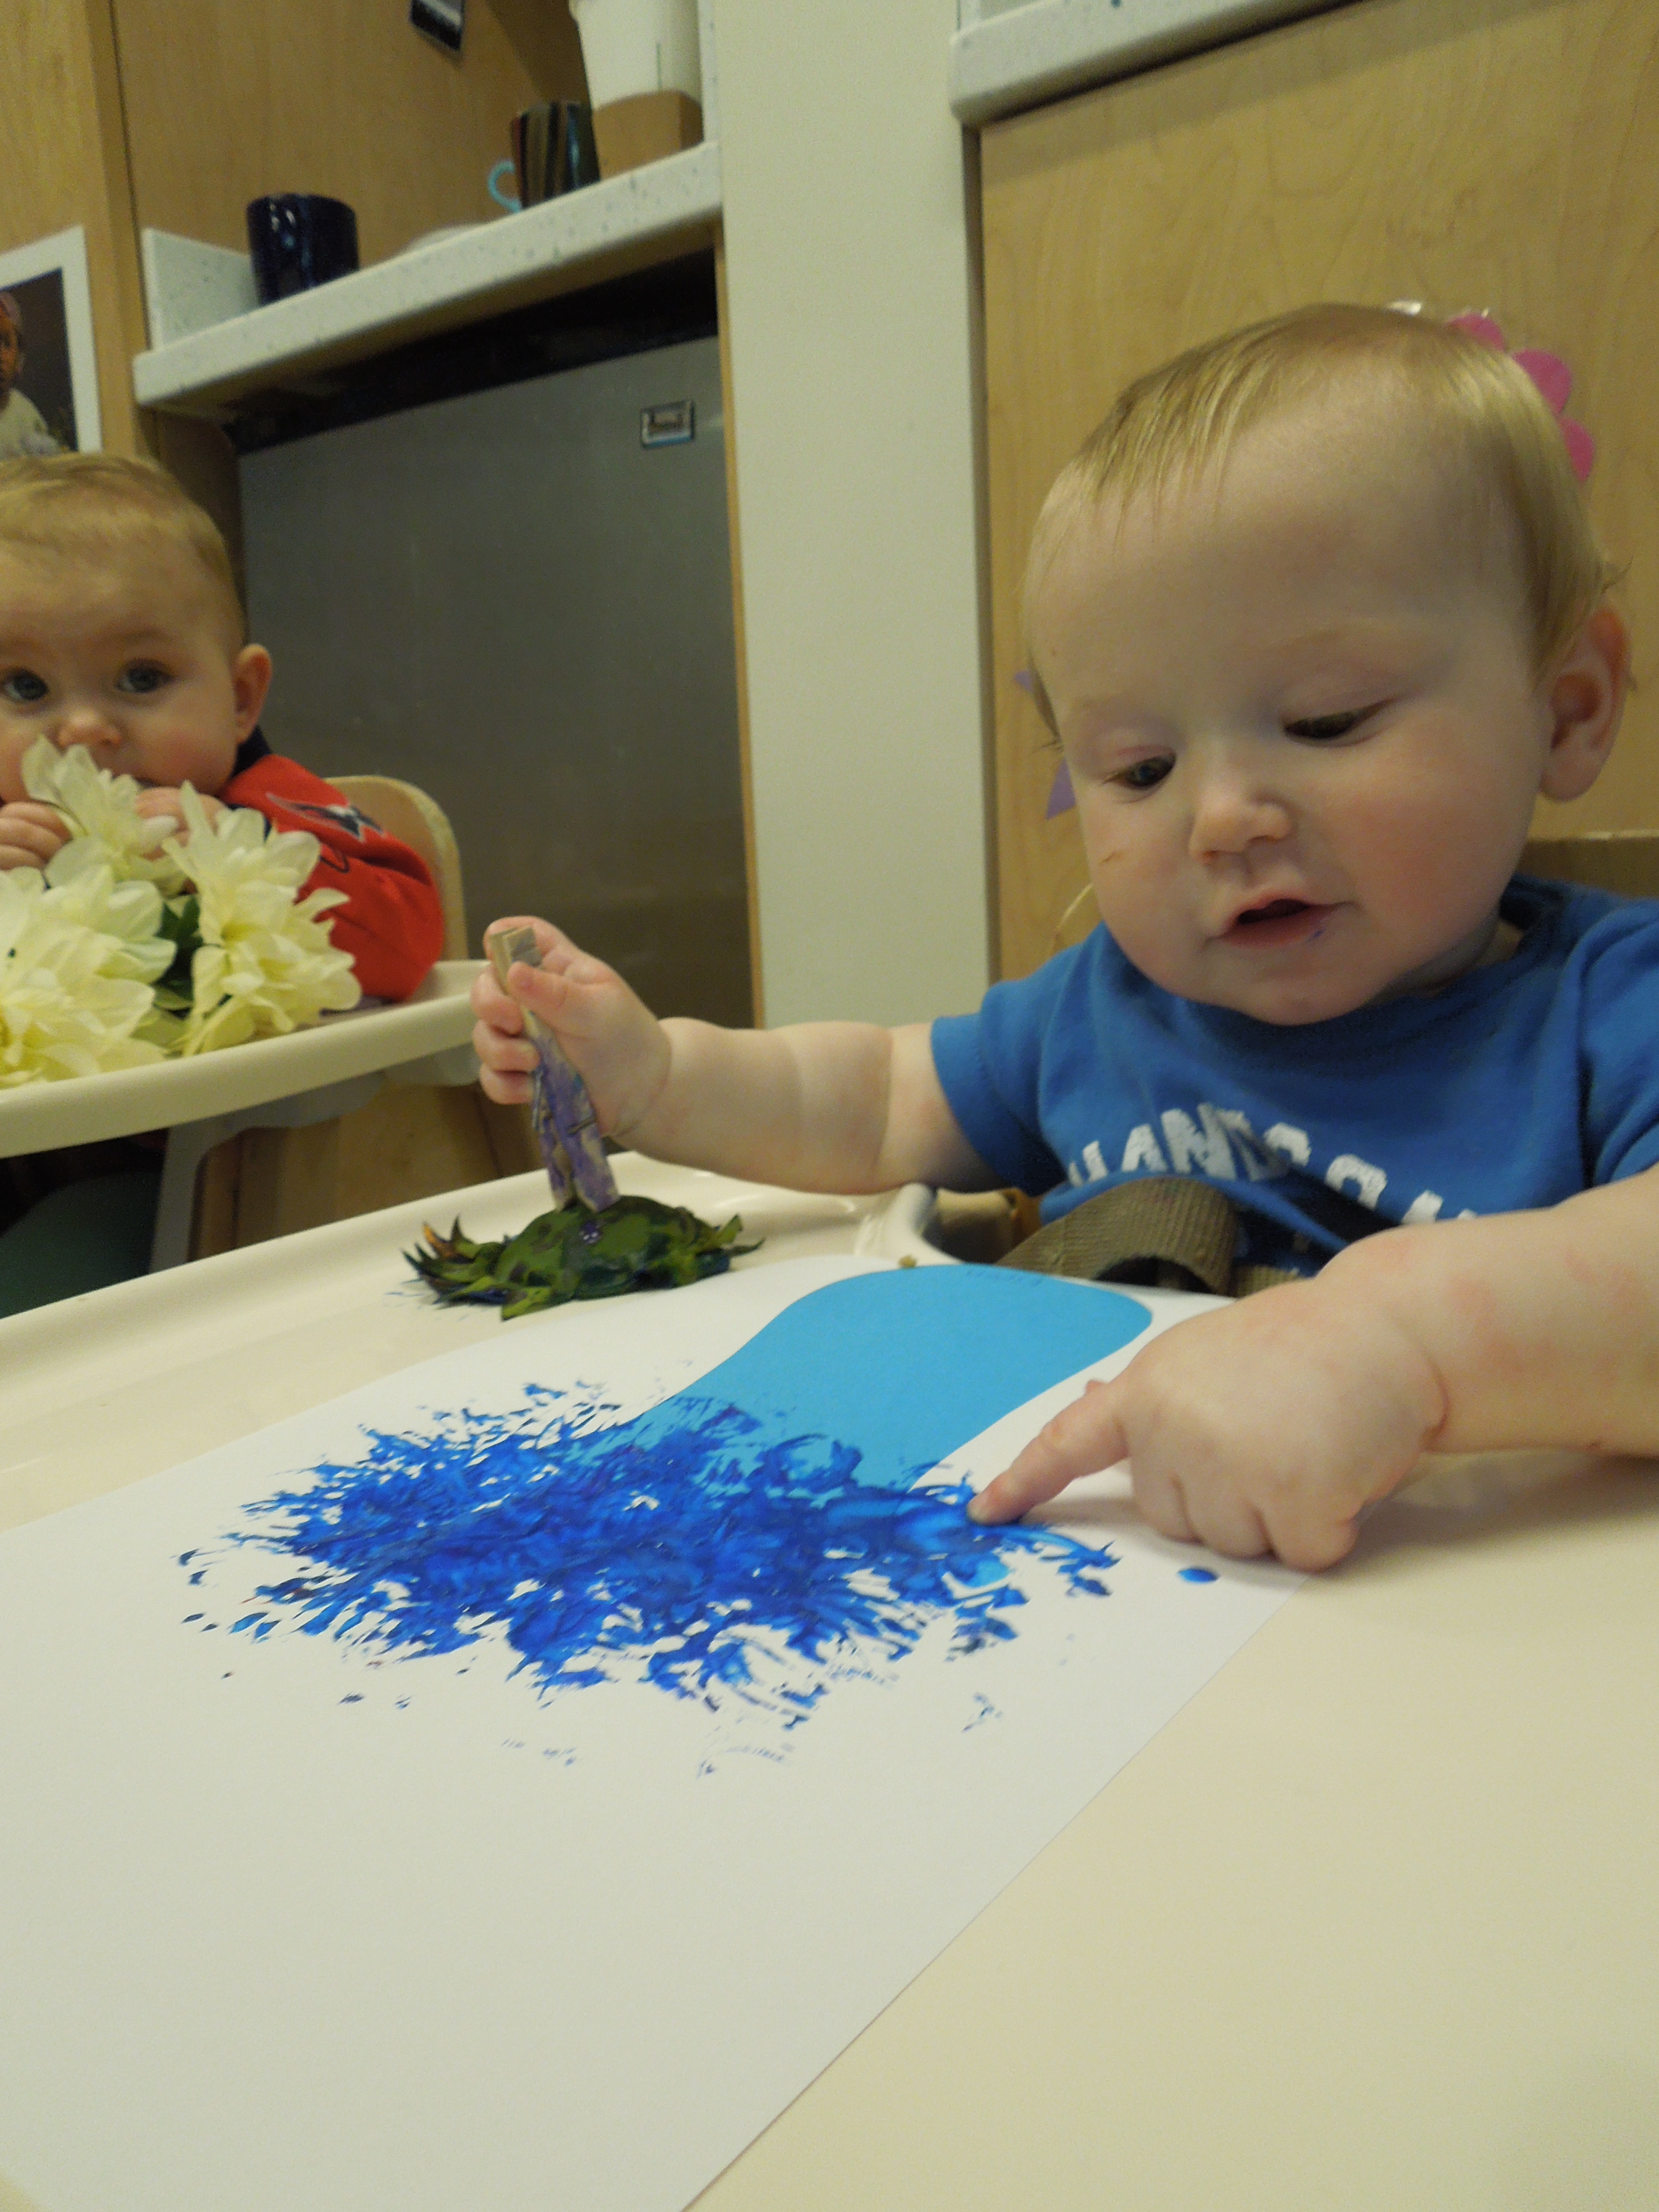
With the youngest friends of the center, I explored ice painting. I first read a short storybook called “Little Blue and Little Yellow” to introduce the color-mixing activity. Then, I demonstrated how they could roll the frozen paint ice cubes on paper. As the ice cubes melted, the primary colors naturally mixed together, making an abstract piece of work. More importantly, our little friends enjoyed the sensory experience of touching and exploring the cold ice cubes.


Art with the Toddlers

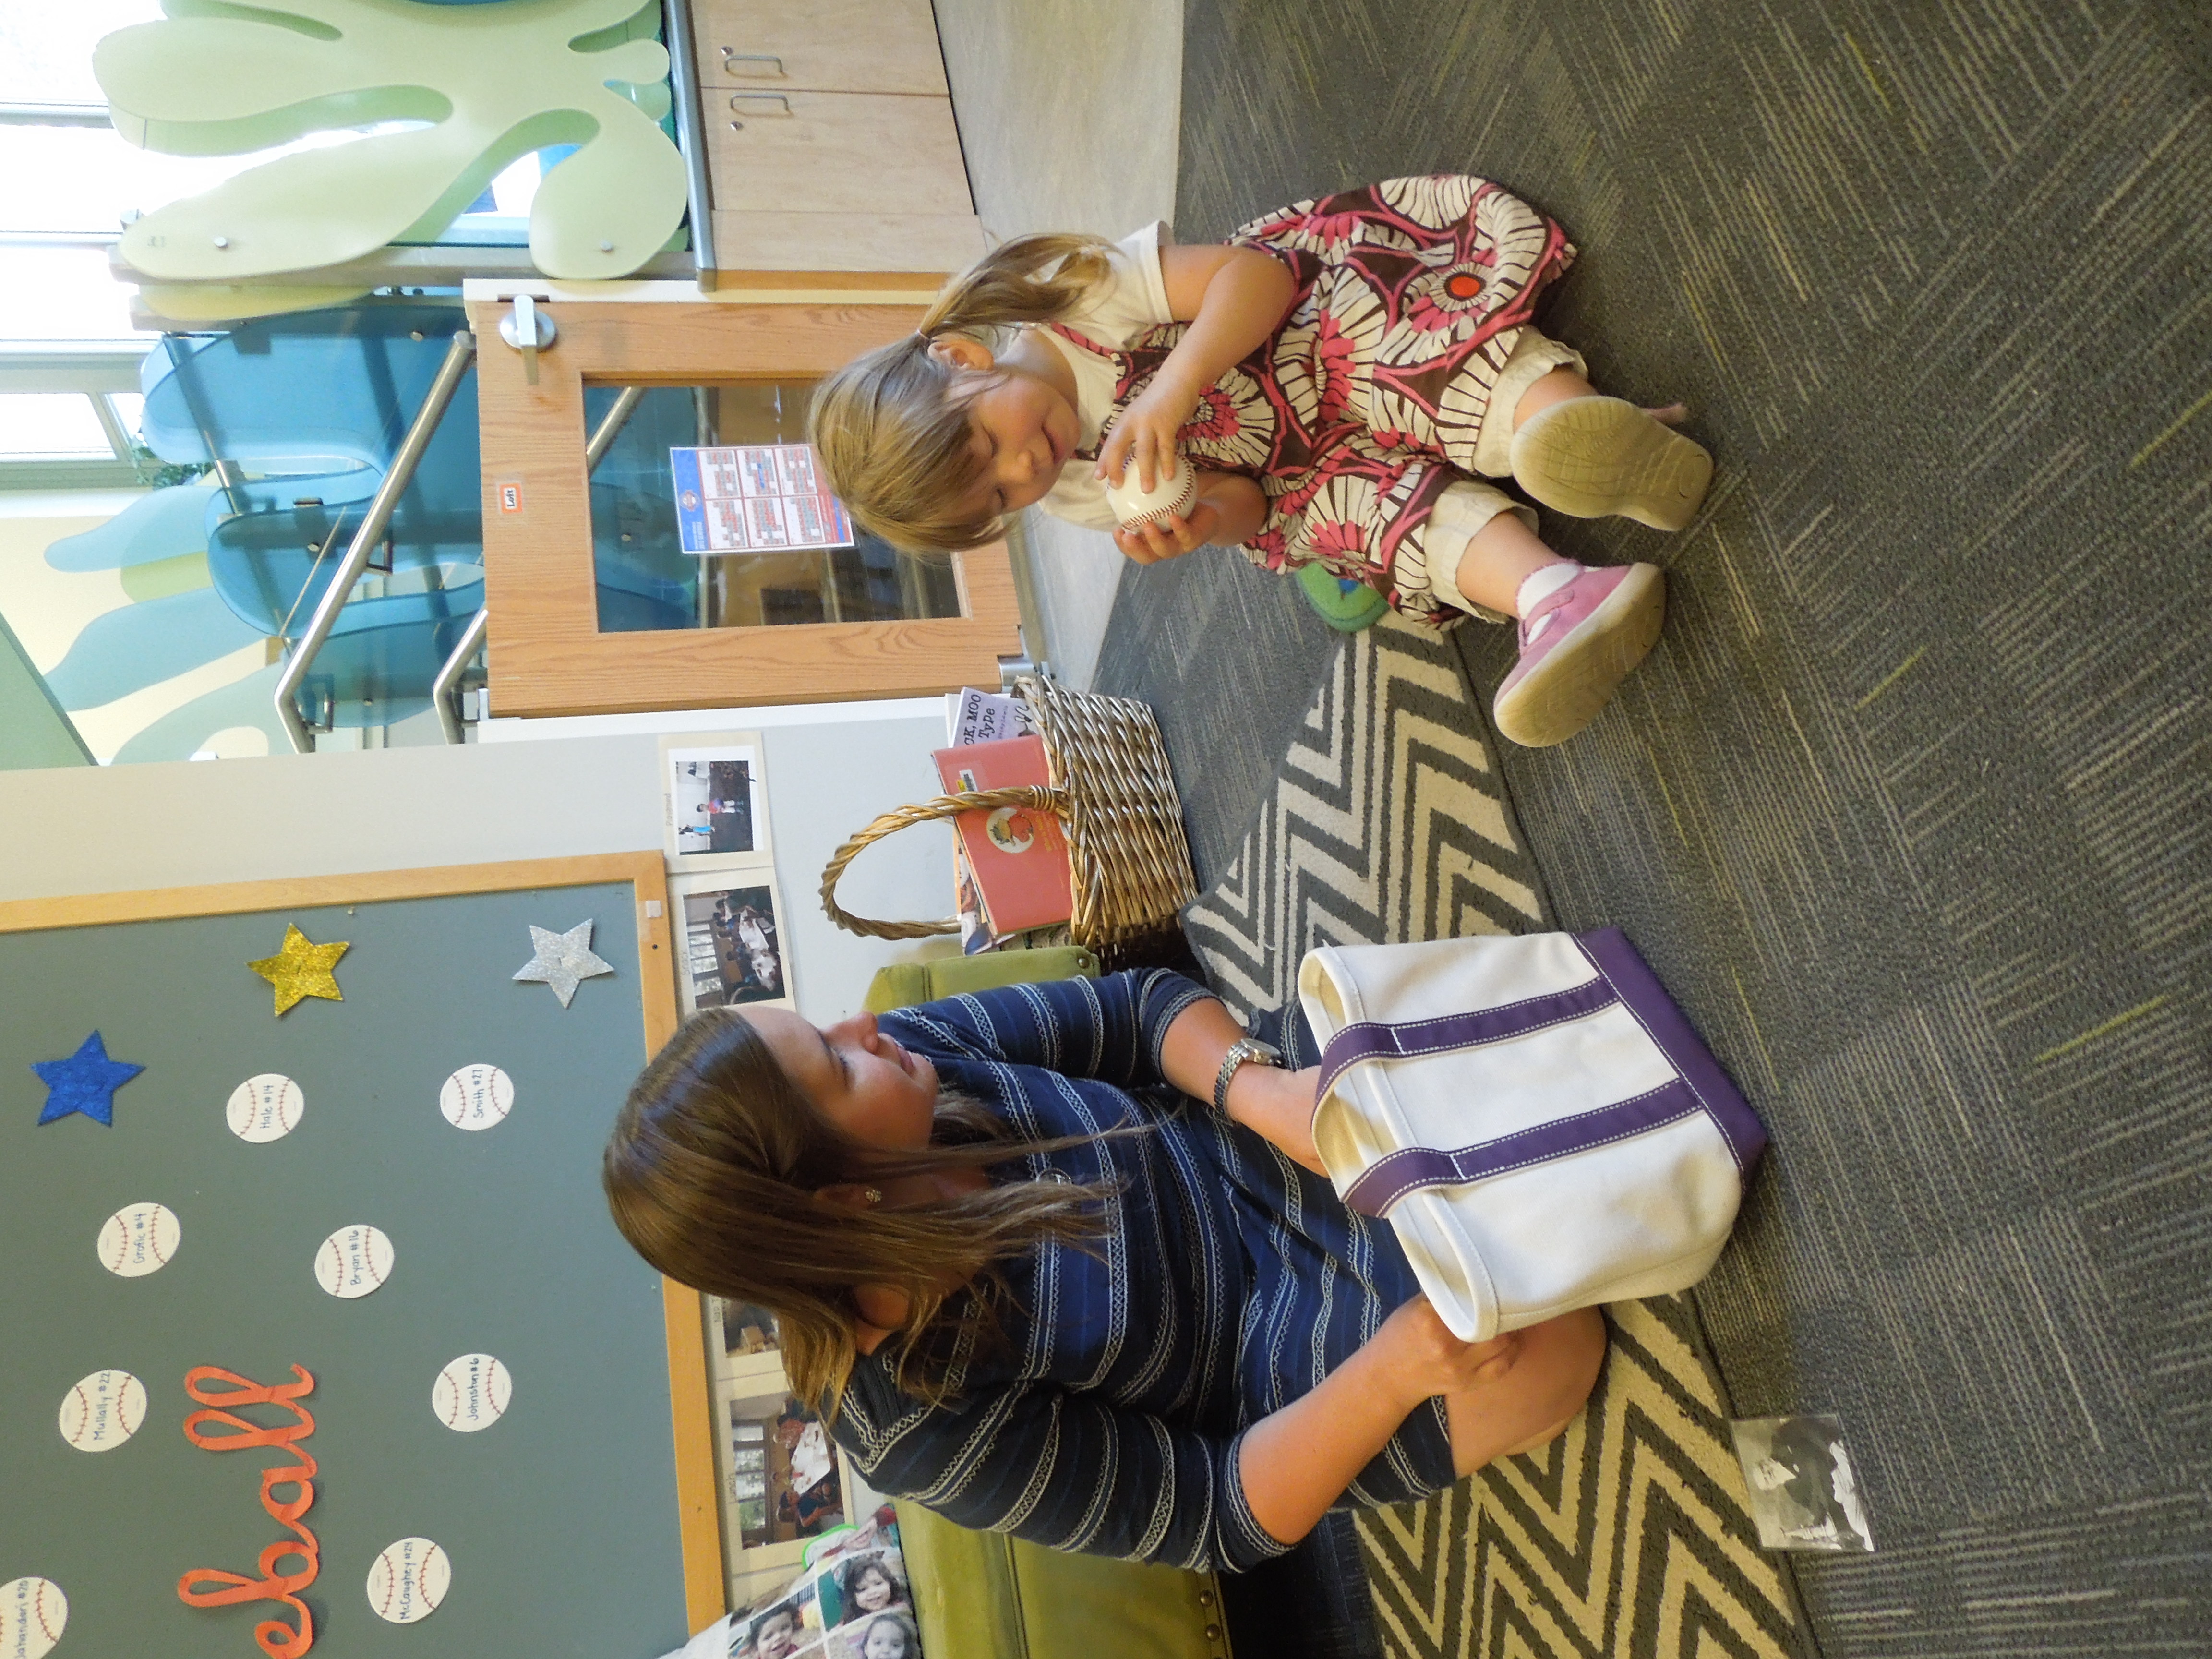
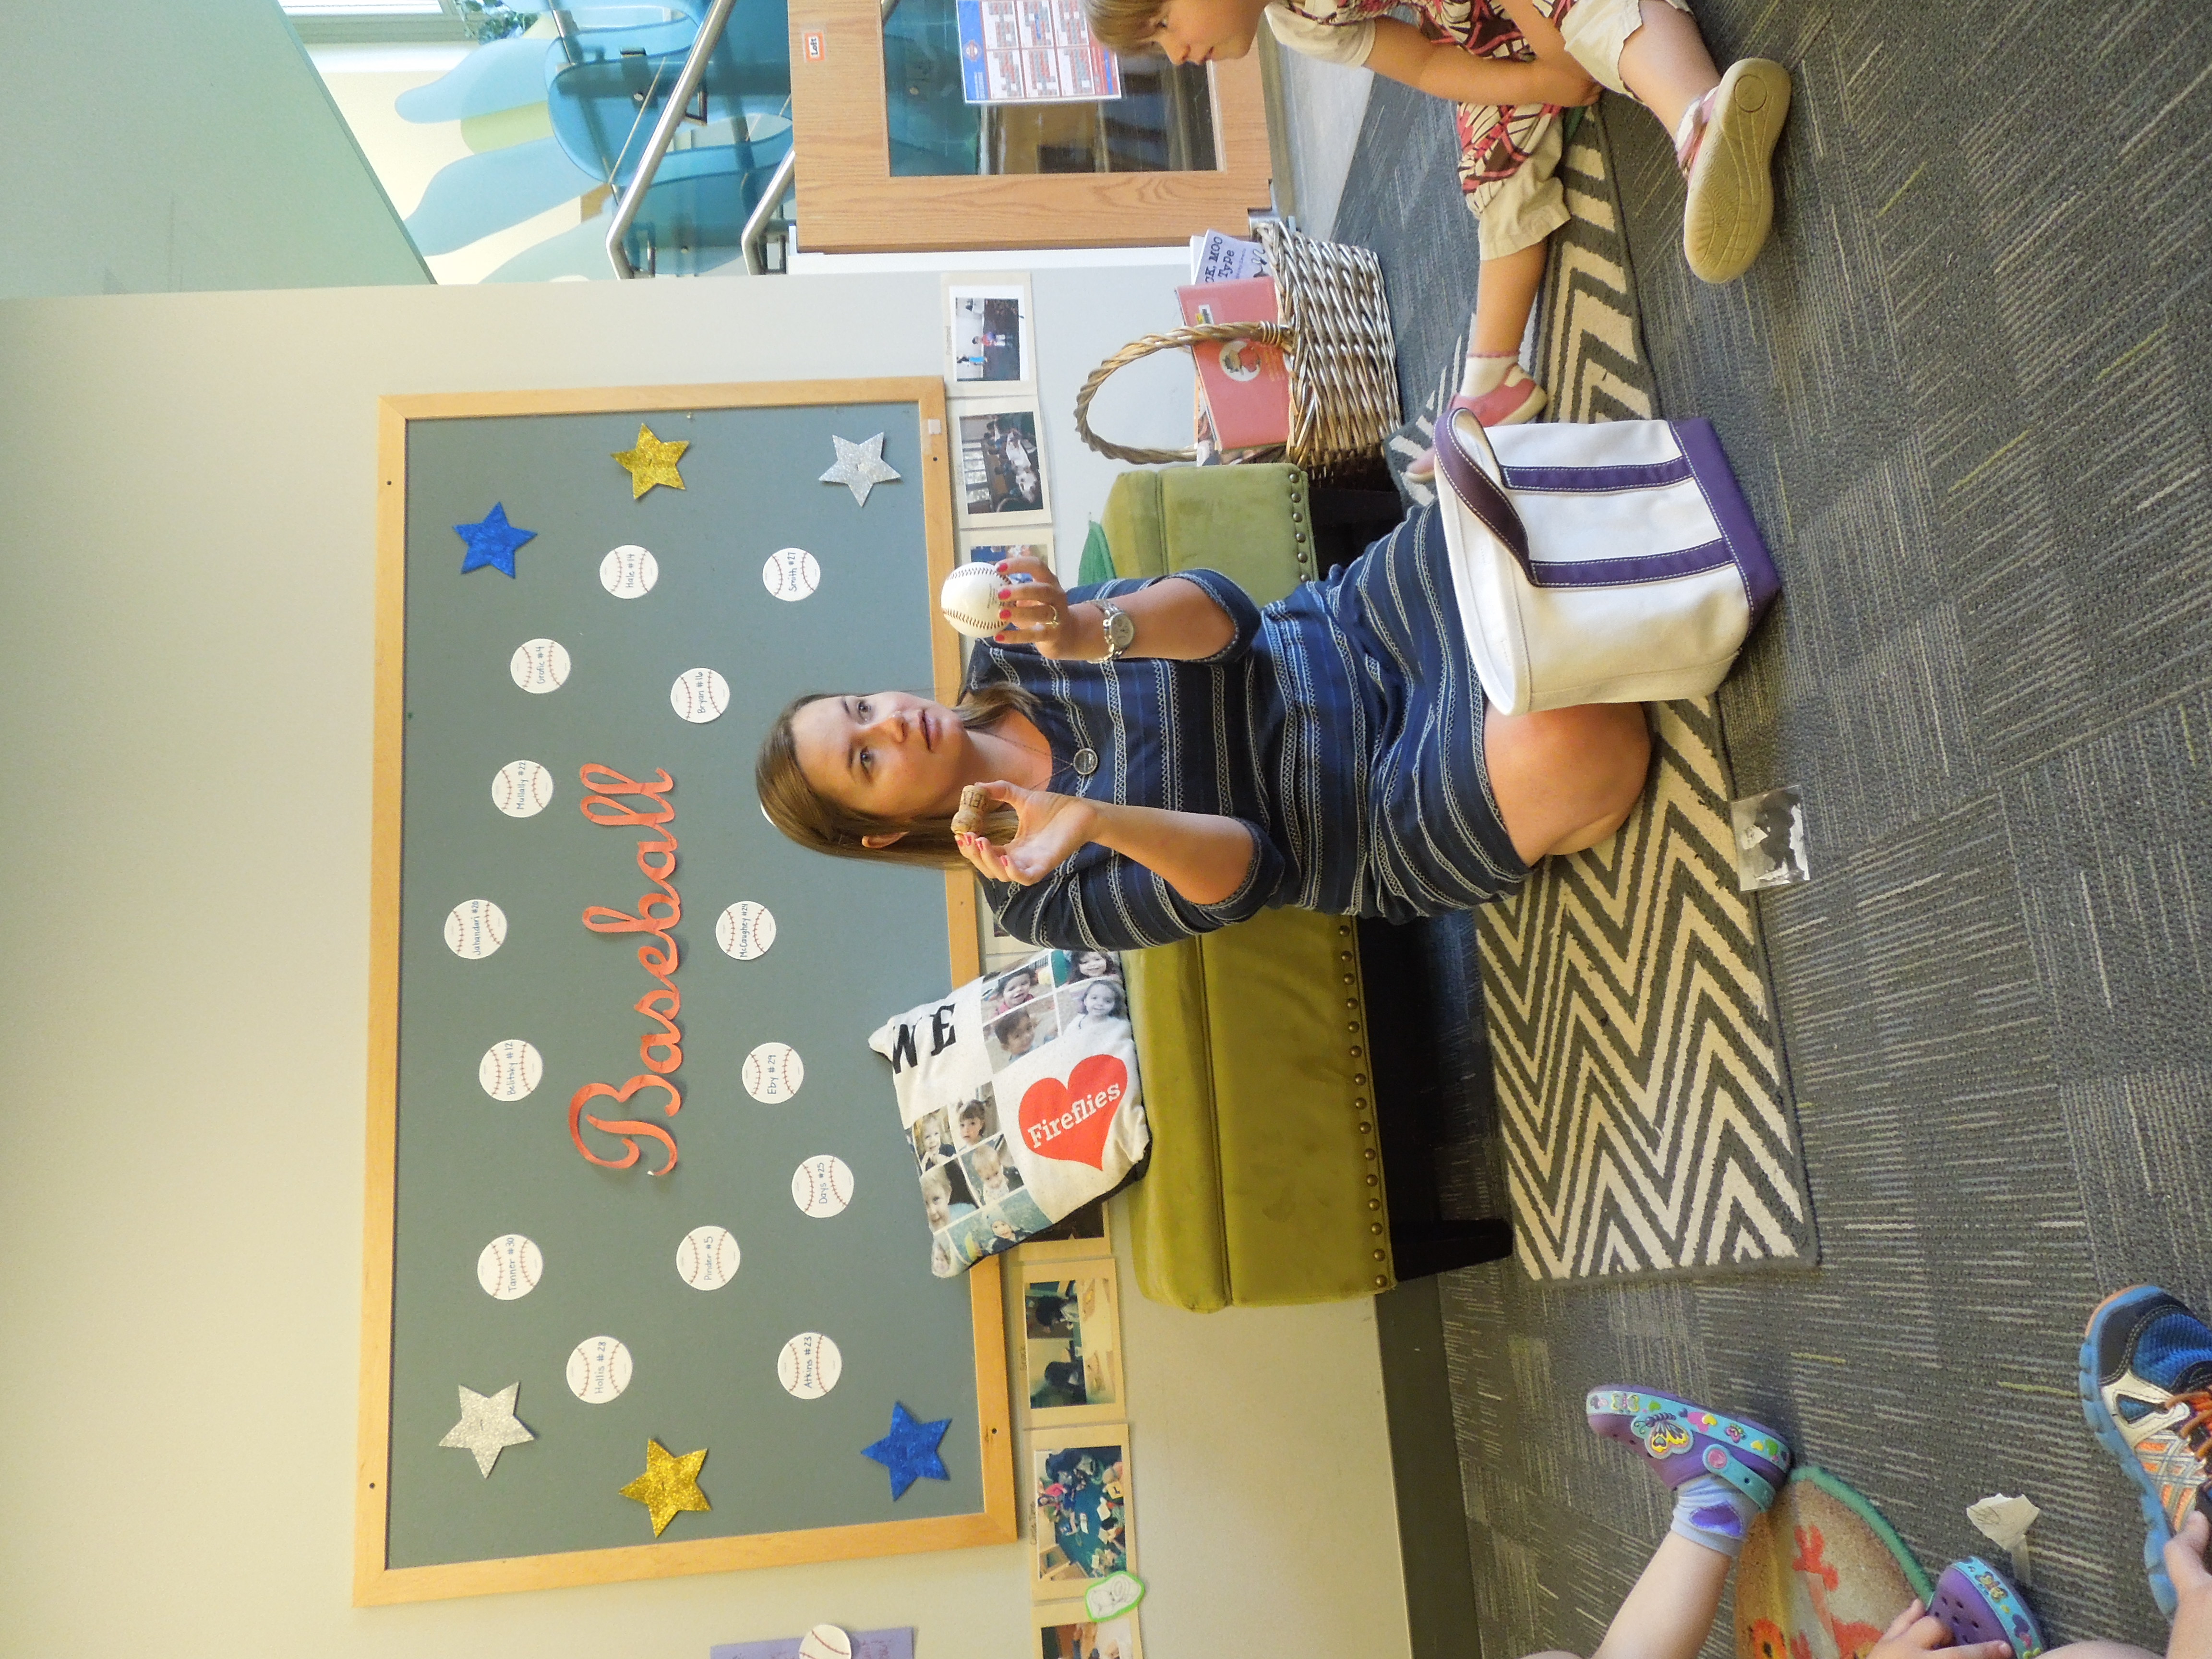
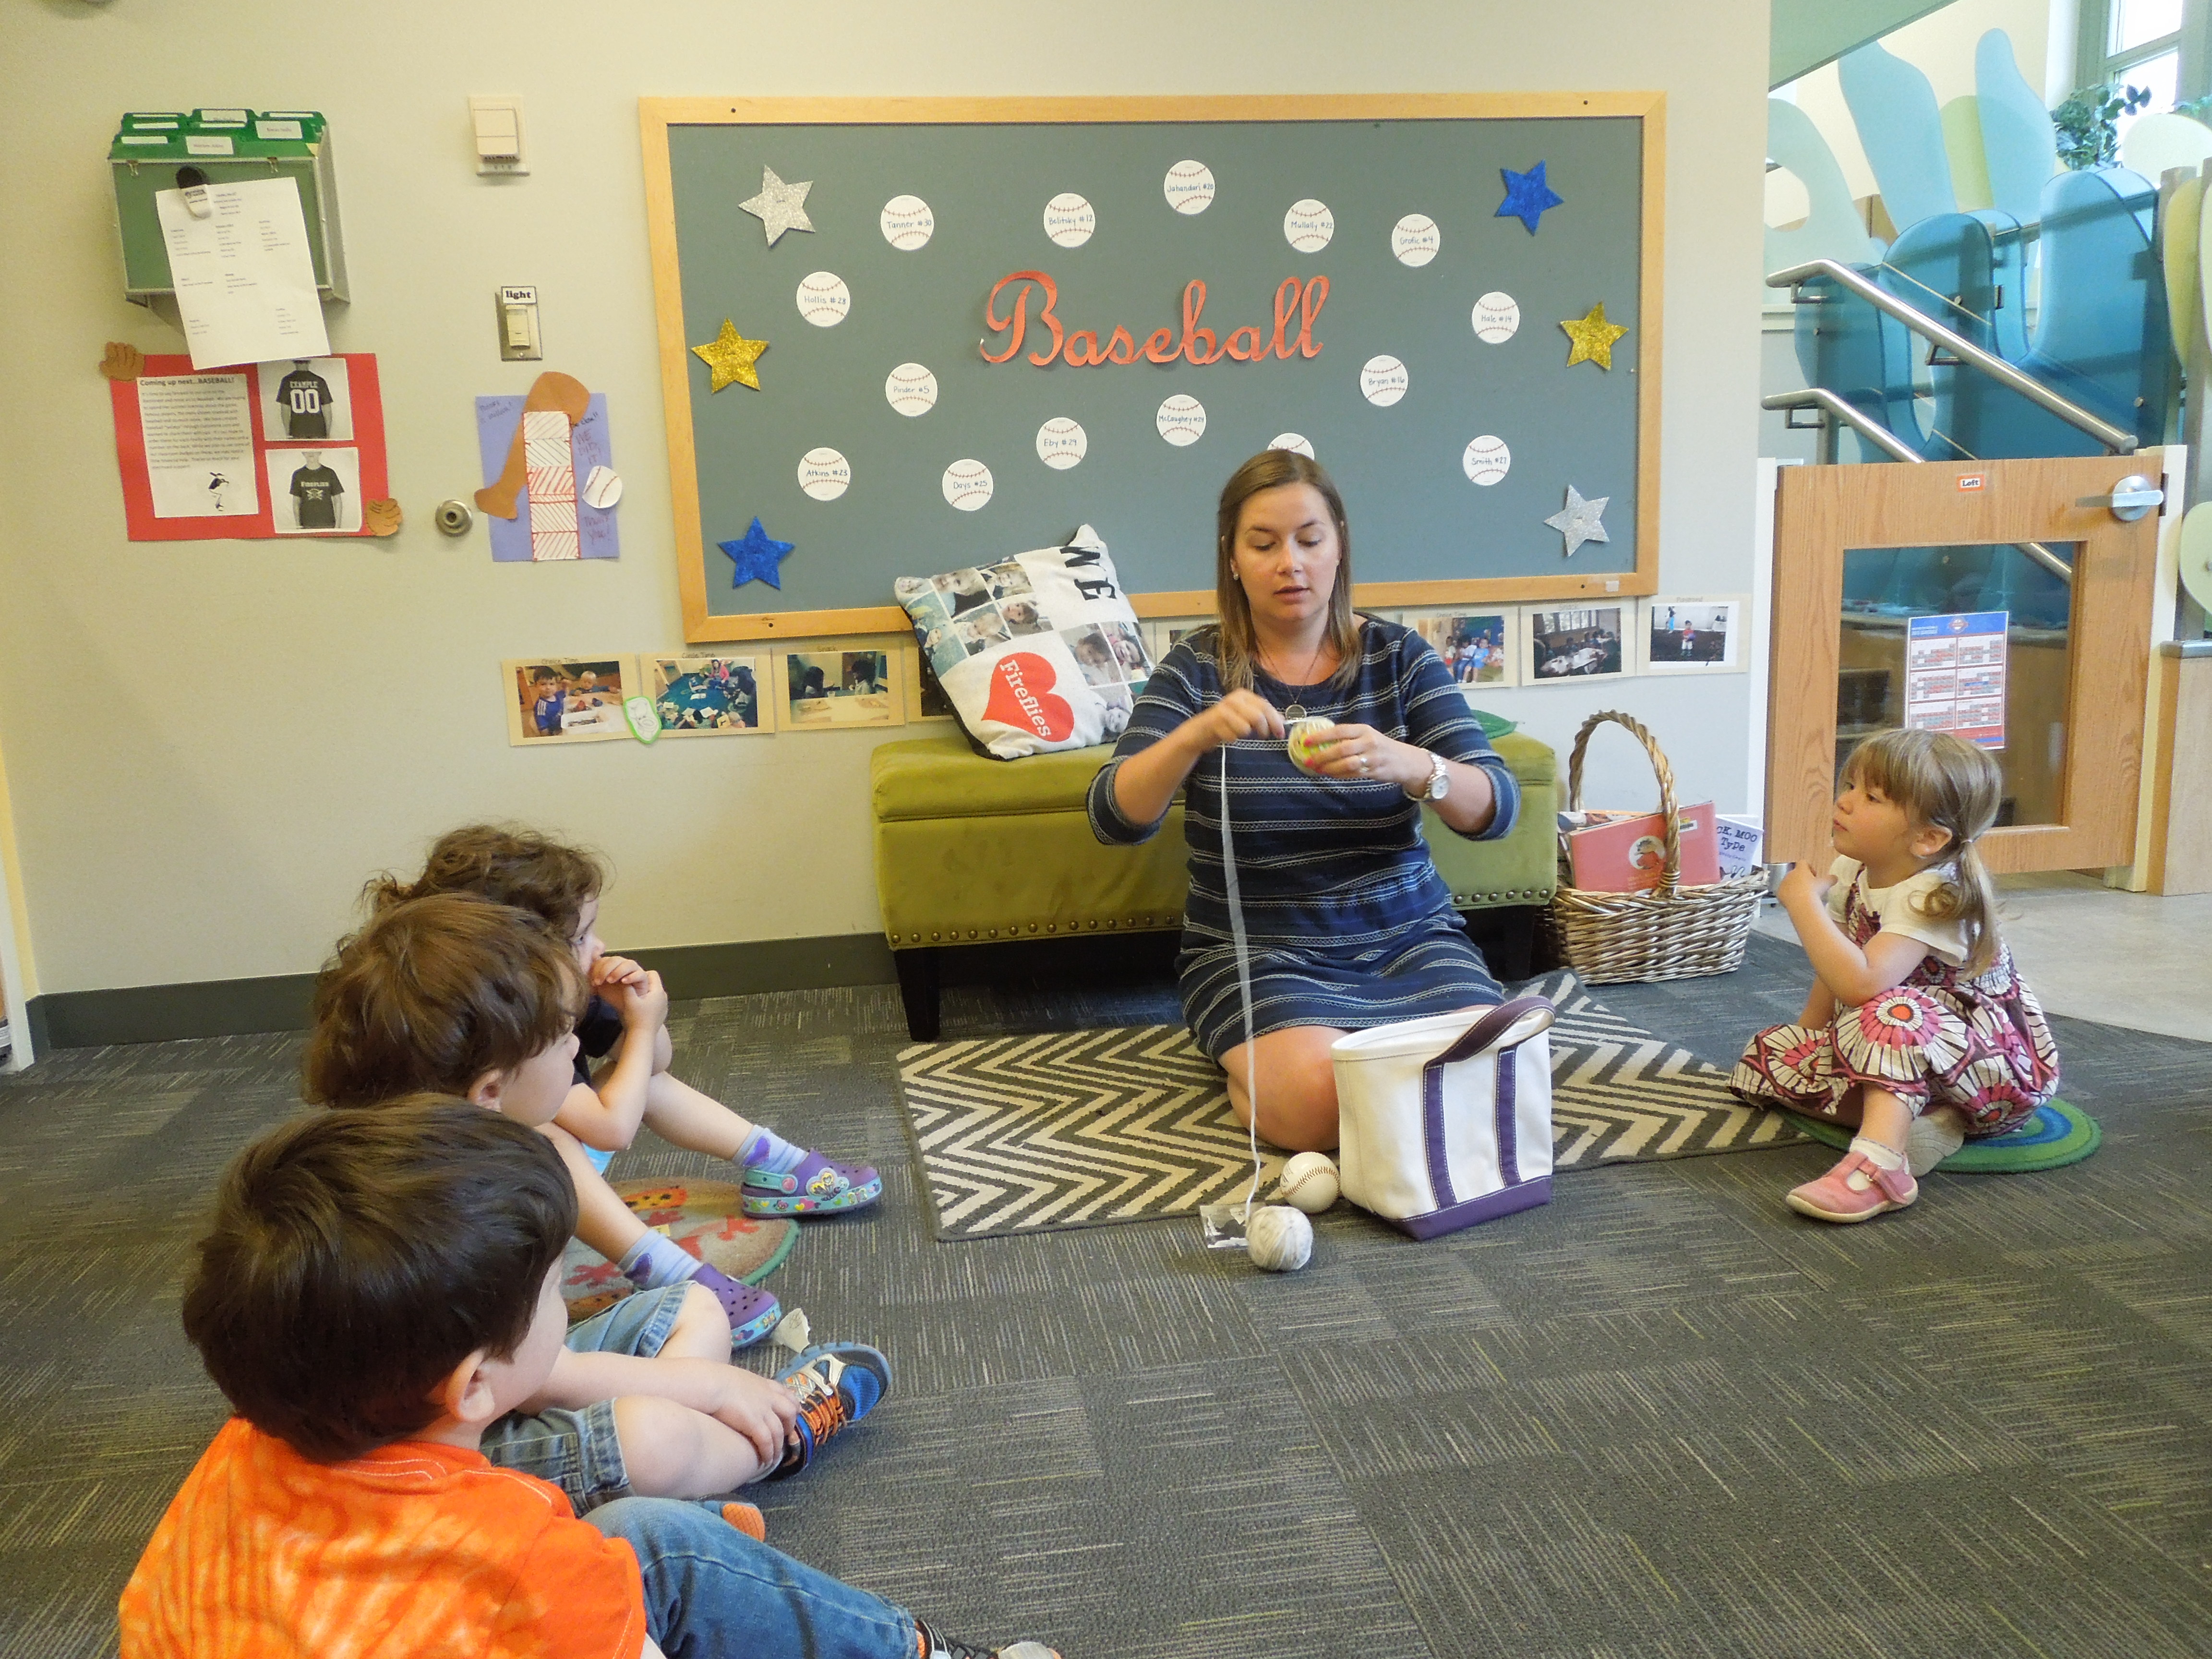
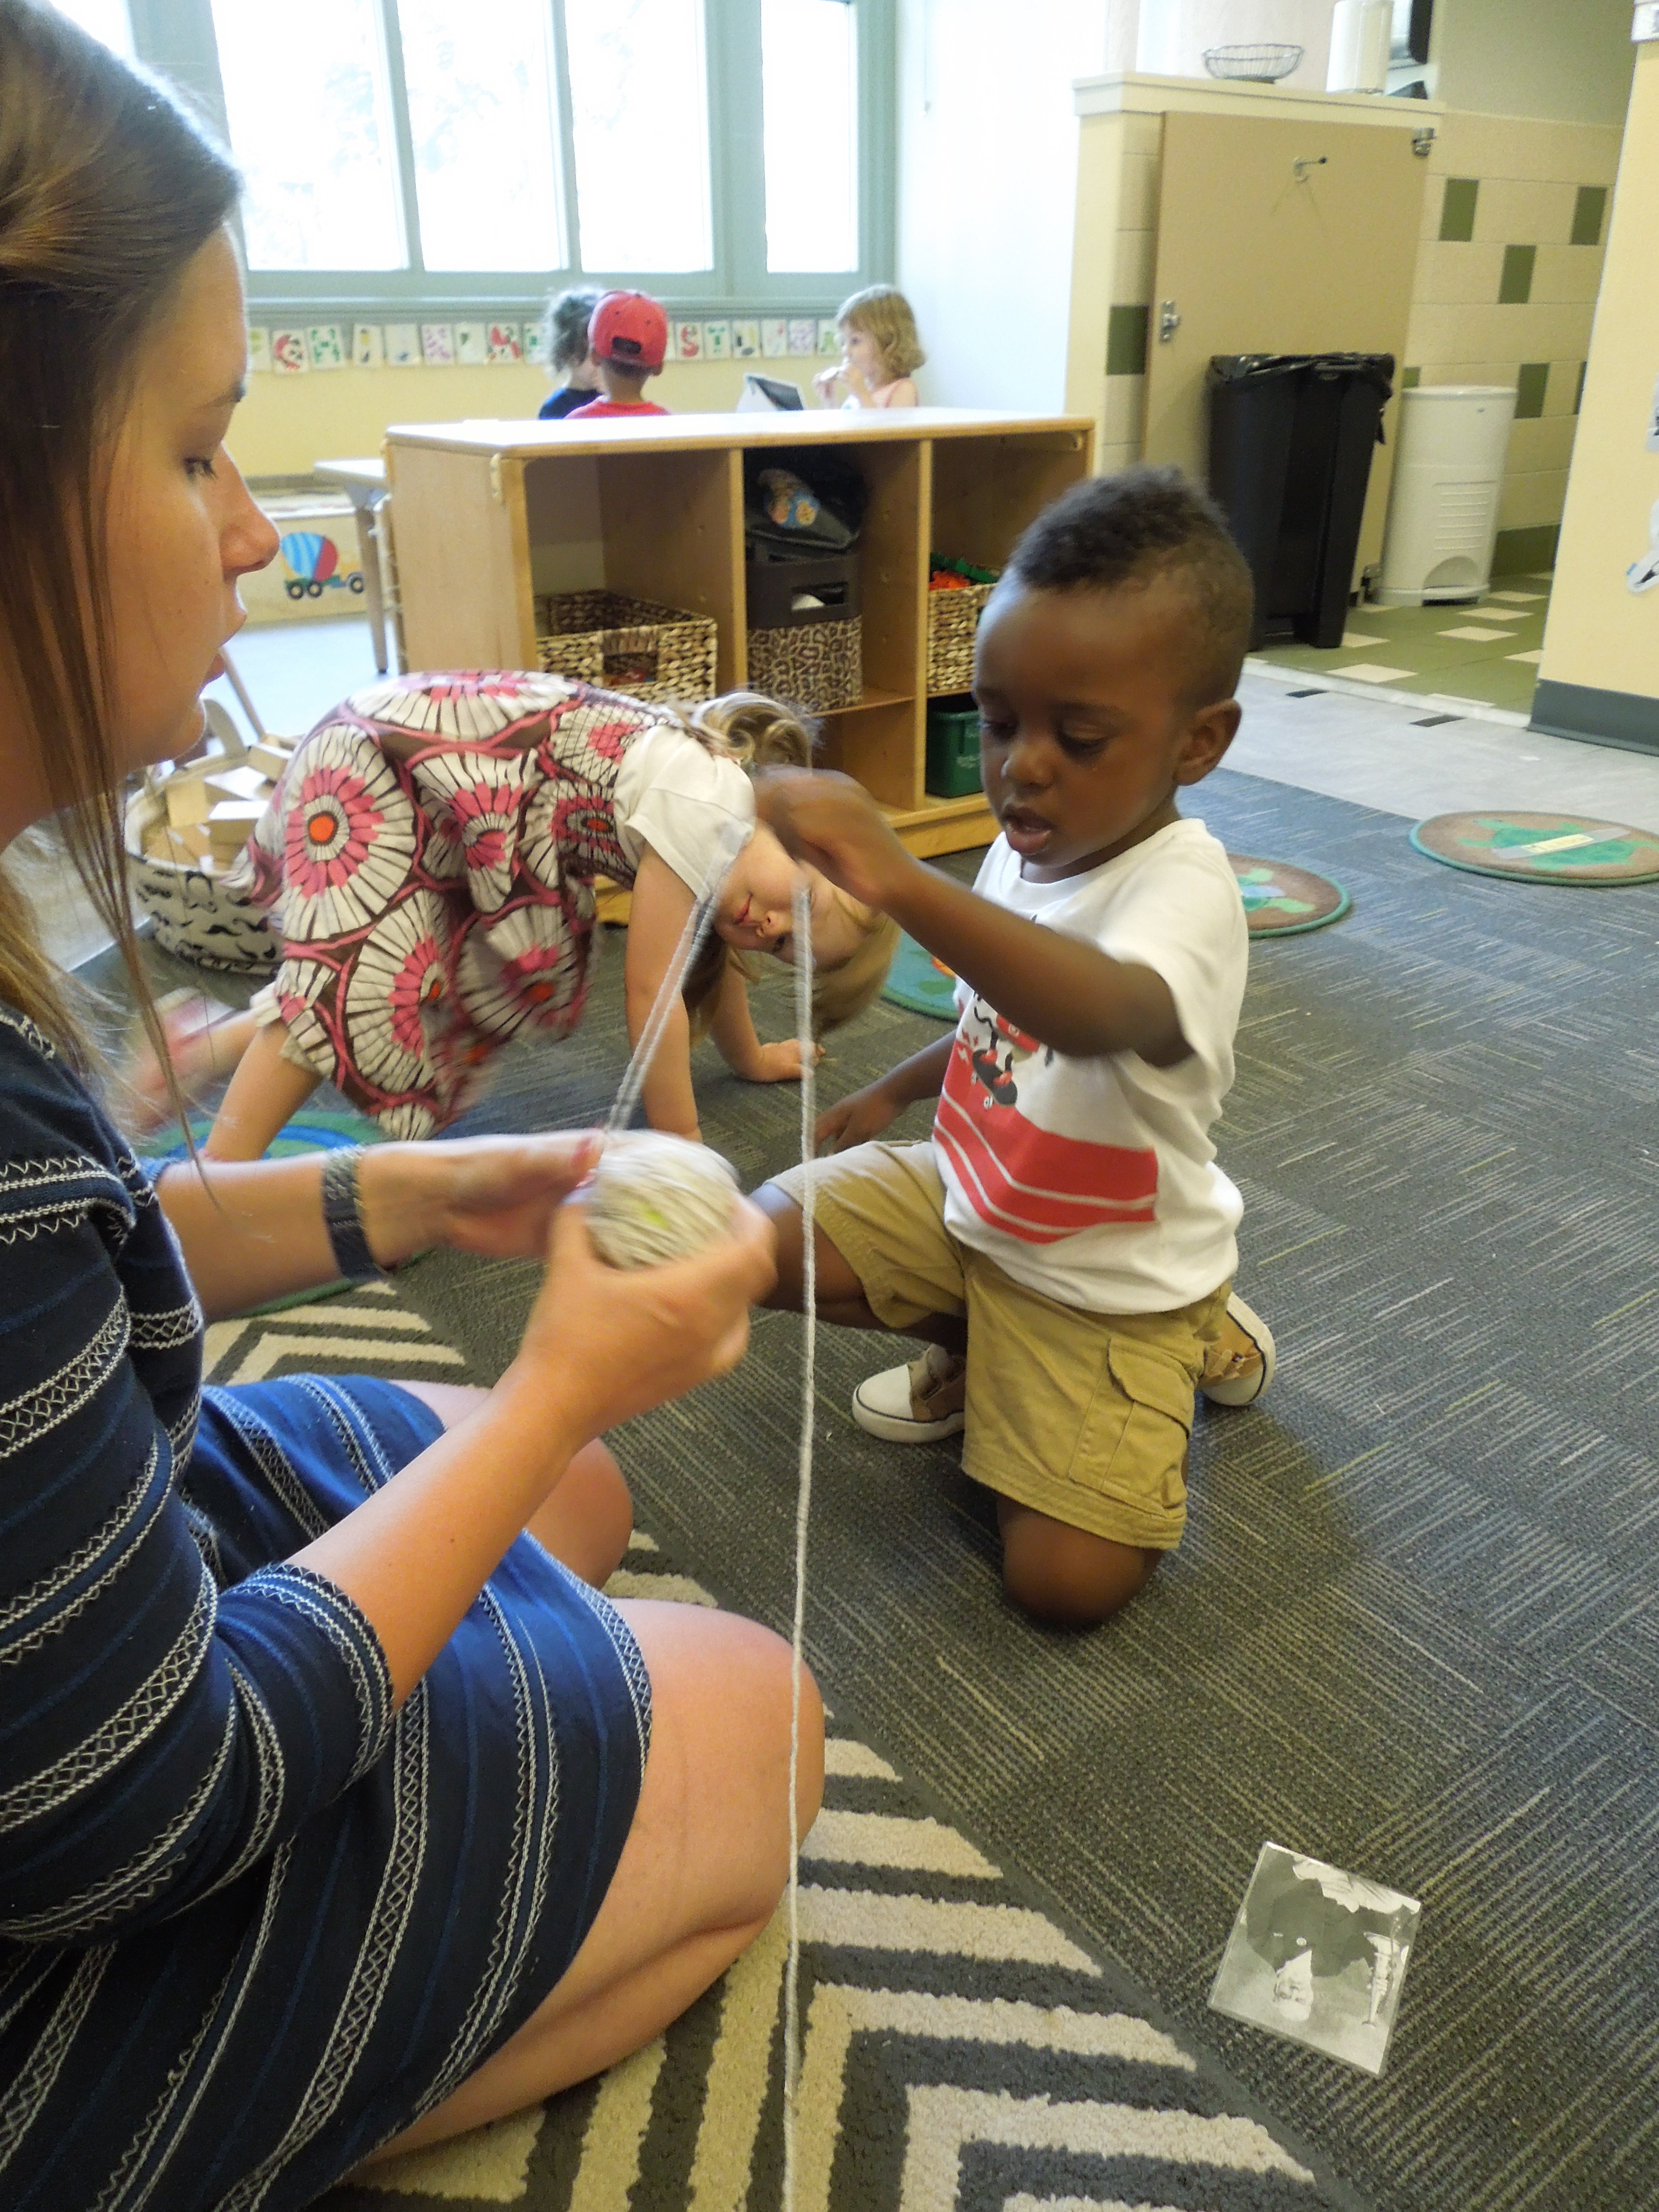
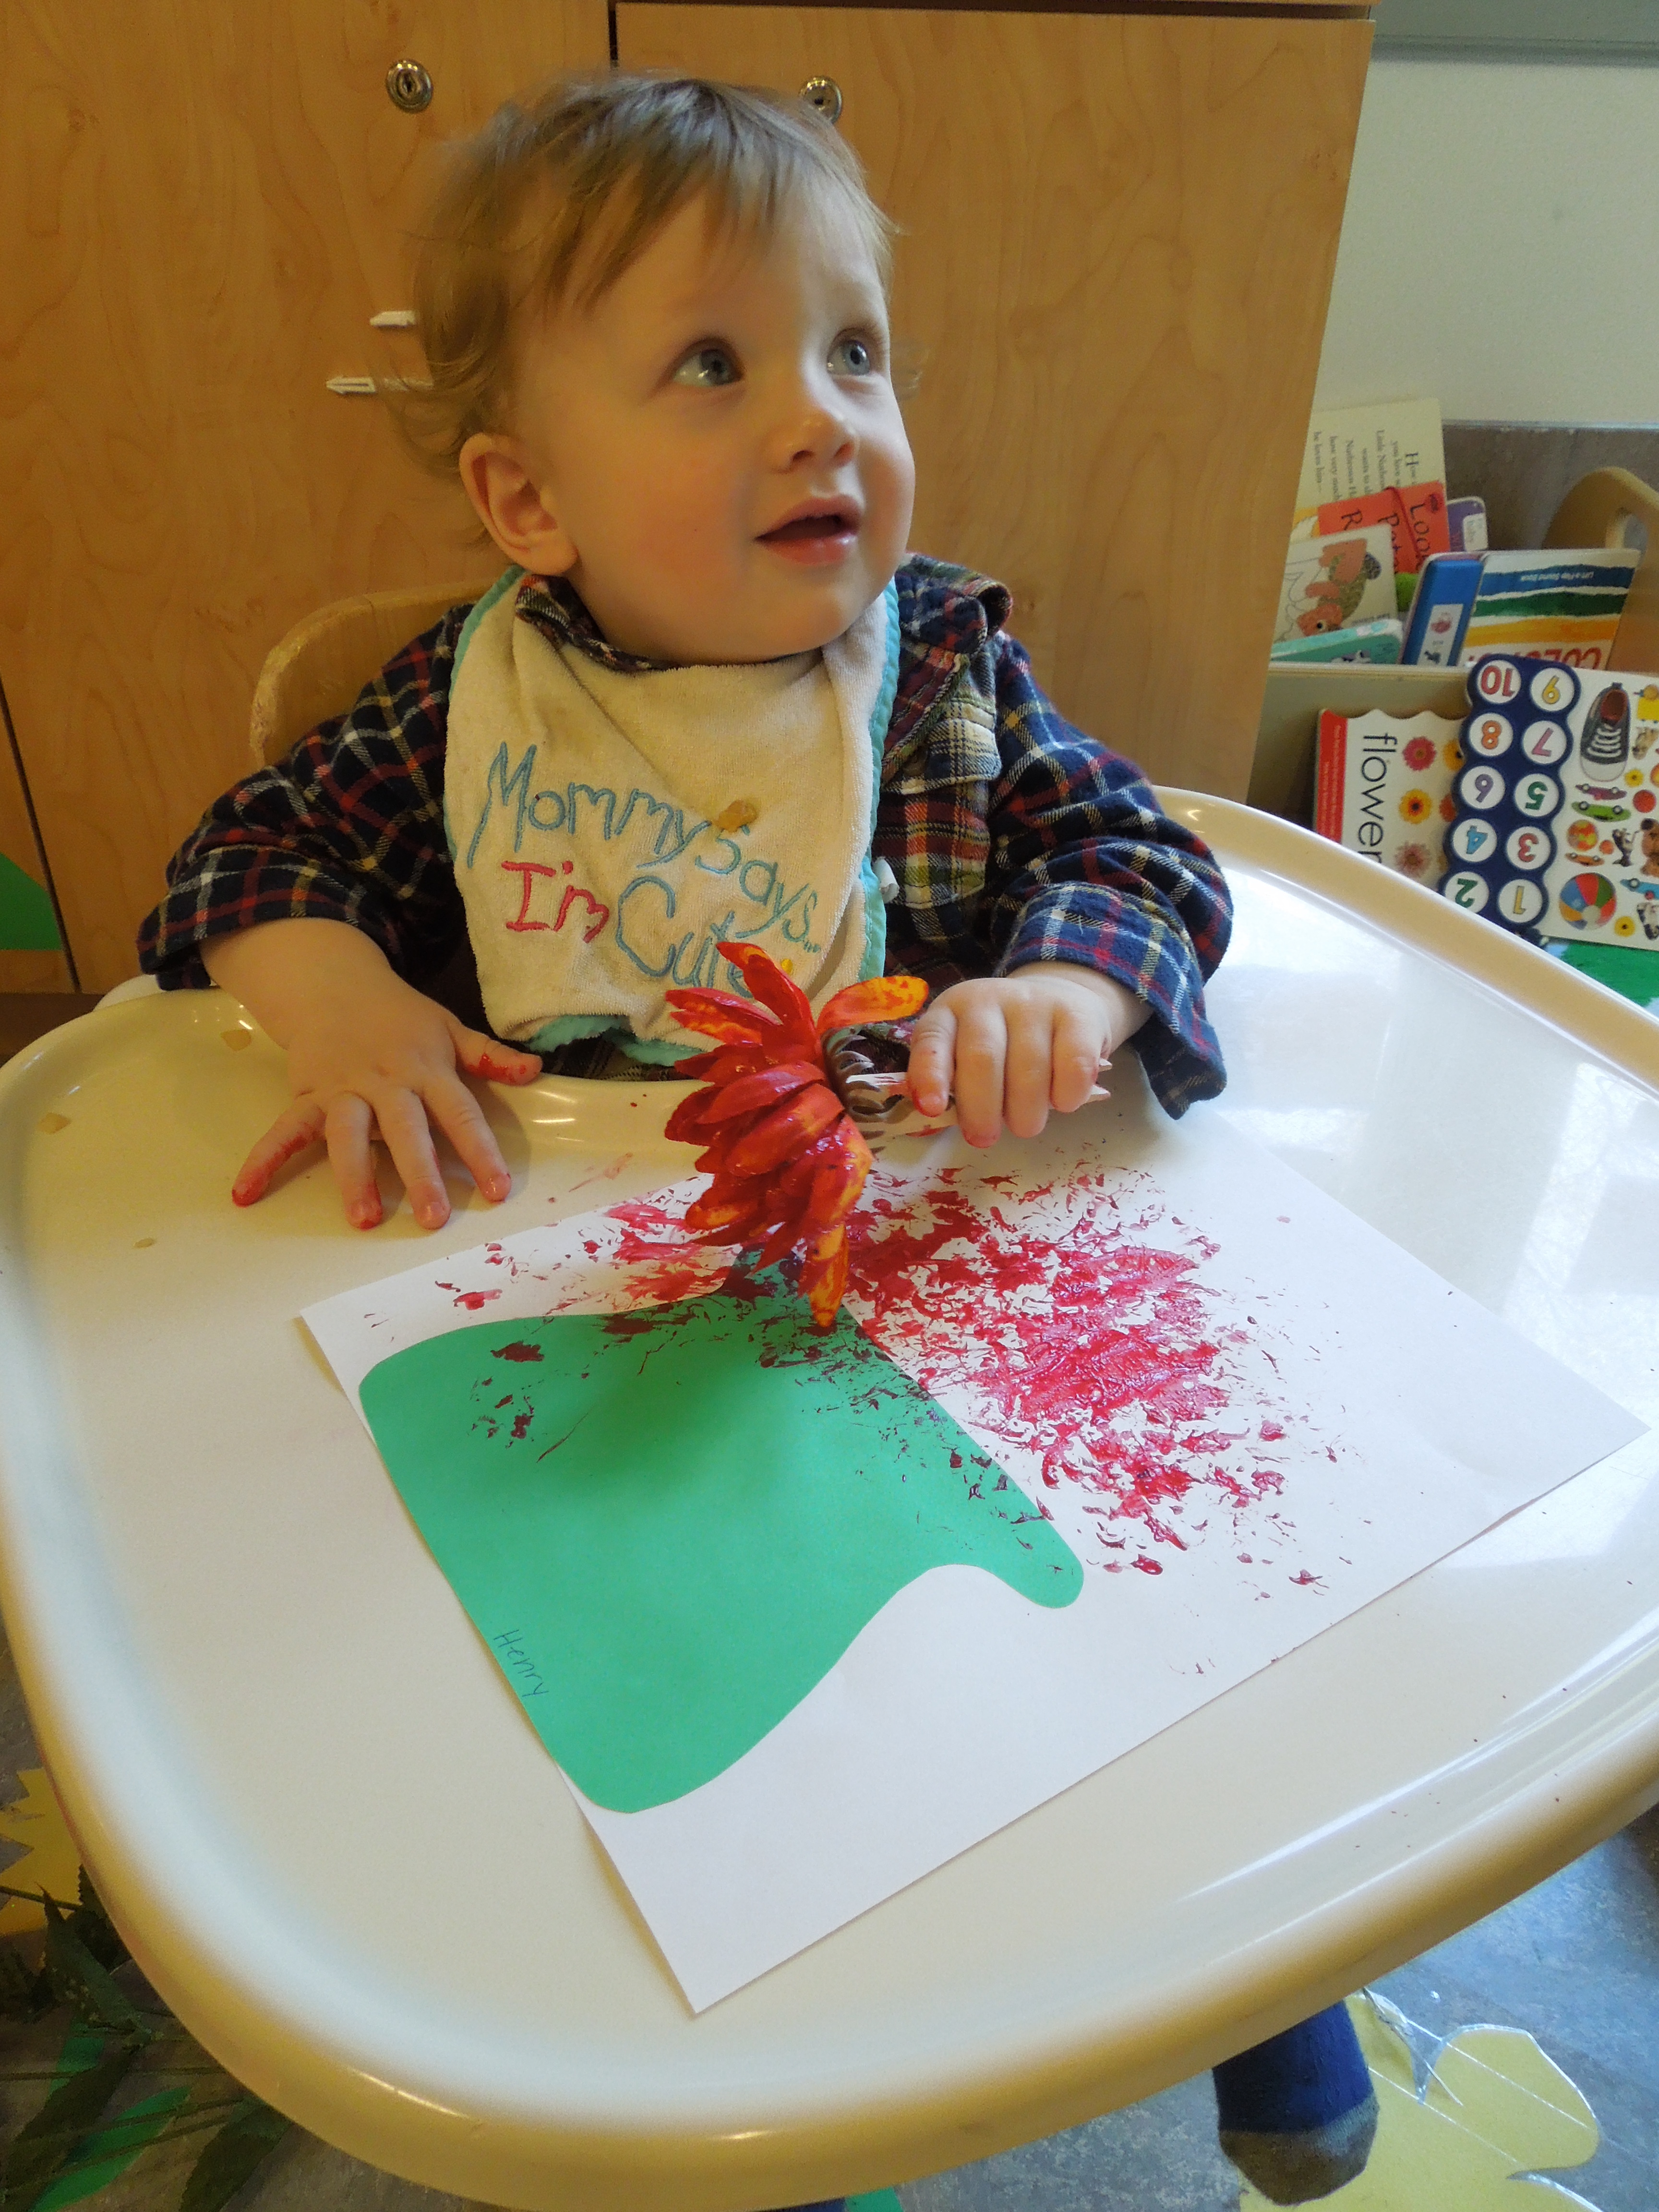
With the toddler classes, I introduced the activity with a book called “Mouse Paint”, a story in which three white mice explore color-mixing by diving into primary color paint jars. We imagined that a white piece of yarn was a mouse and dipped it into red, yellow, and blue paint bowls. The children then made the yarn dance on the white paper. As the yarn playfully danced on the surface, curvy lines and dots appeared and created a Jackson Pollock-like abstract piece of art. They had so much fun with the yarn painting and I loved playing with the little artists as well.

Art with the Twos

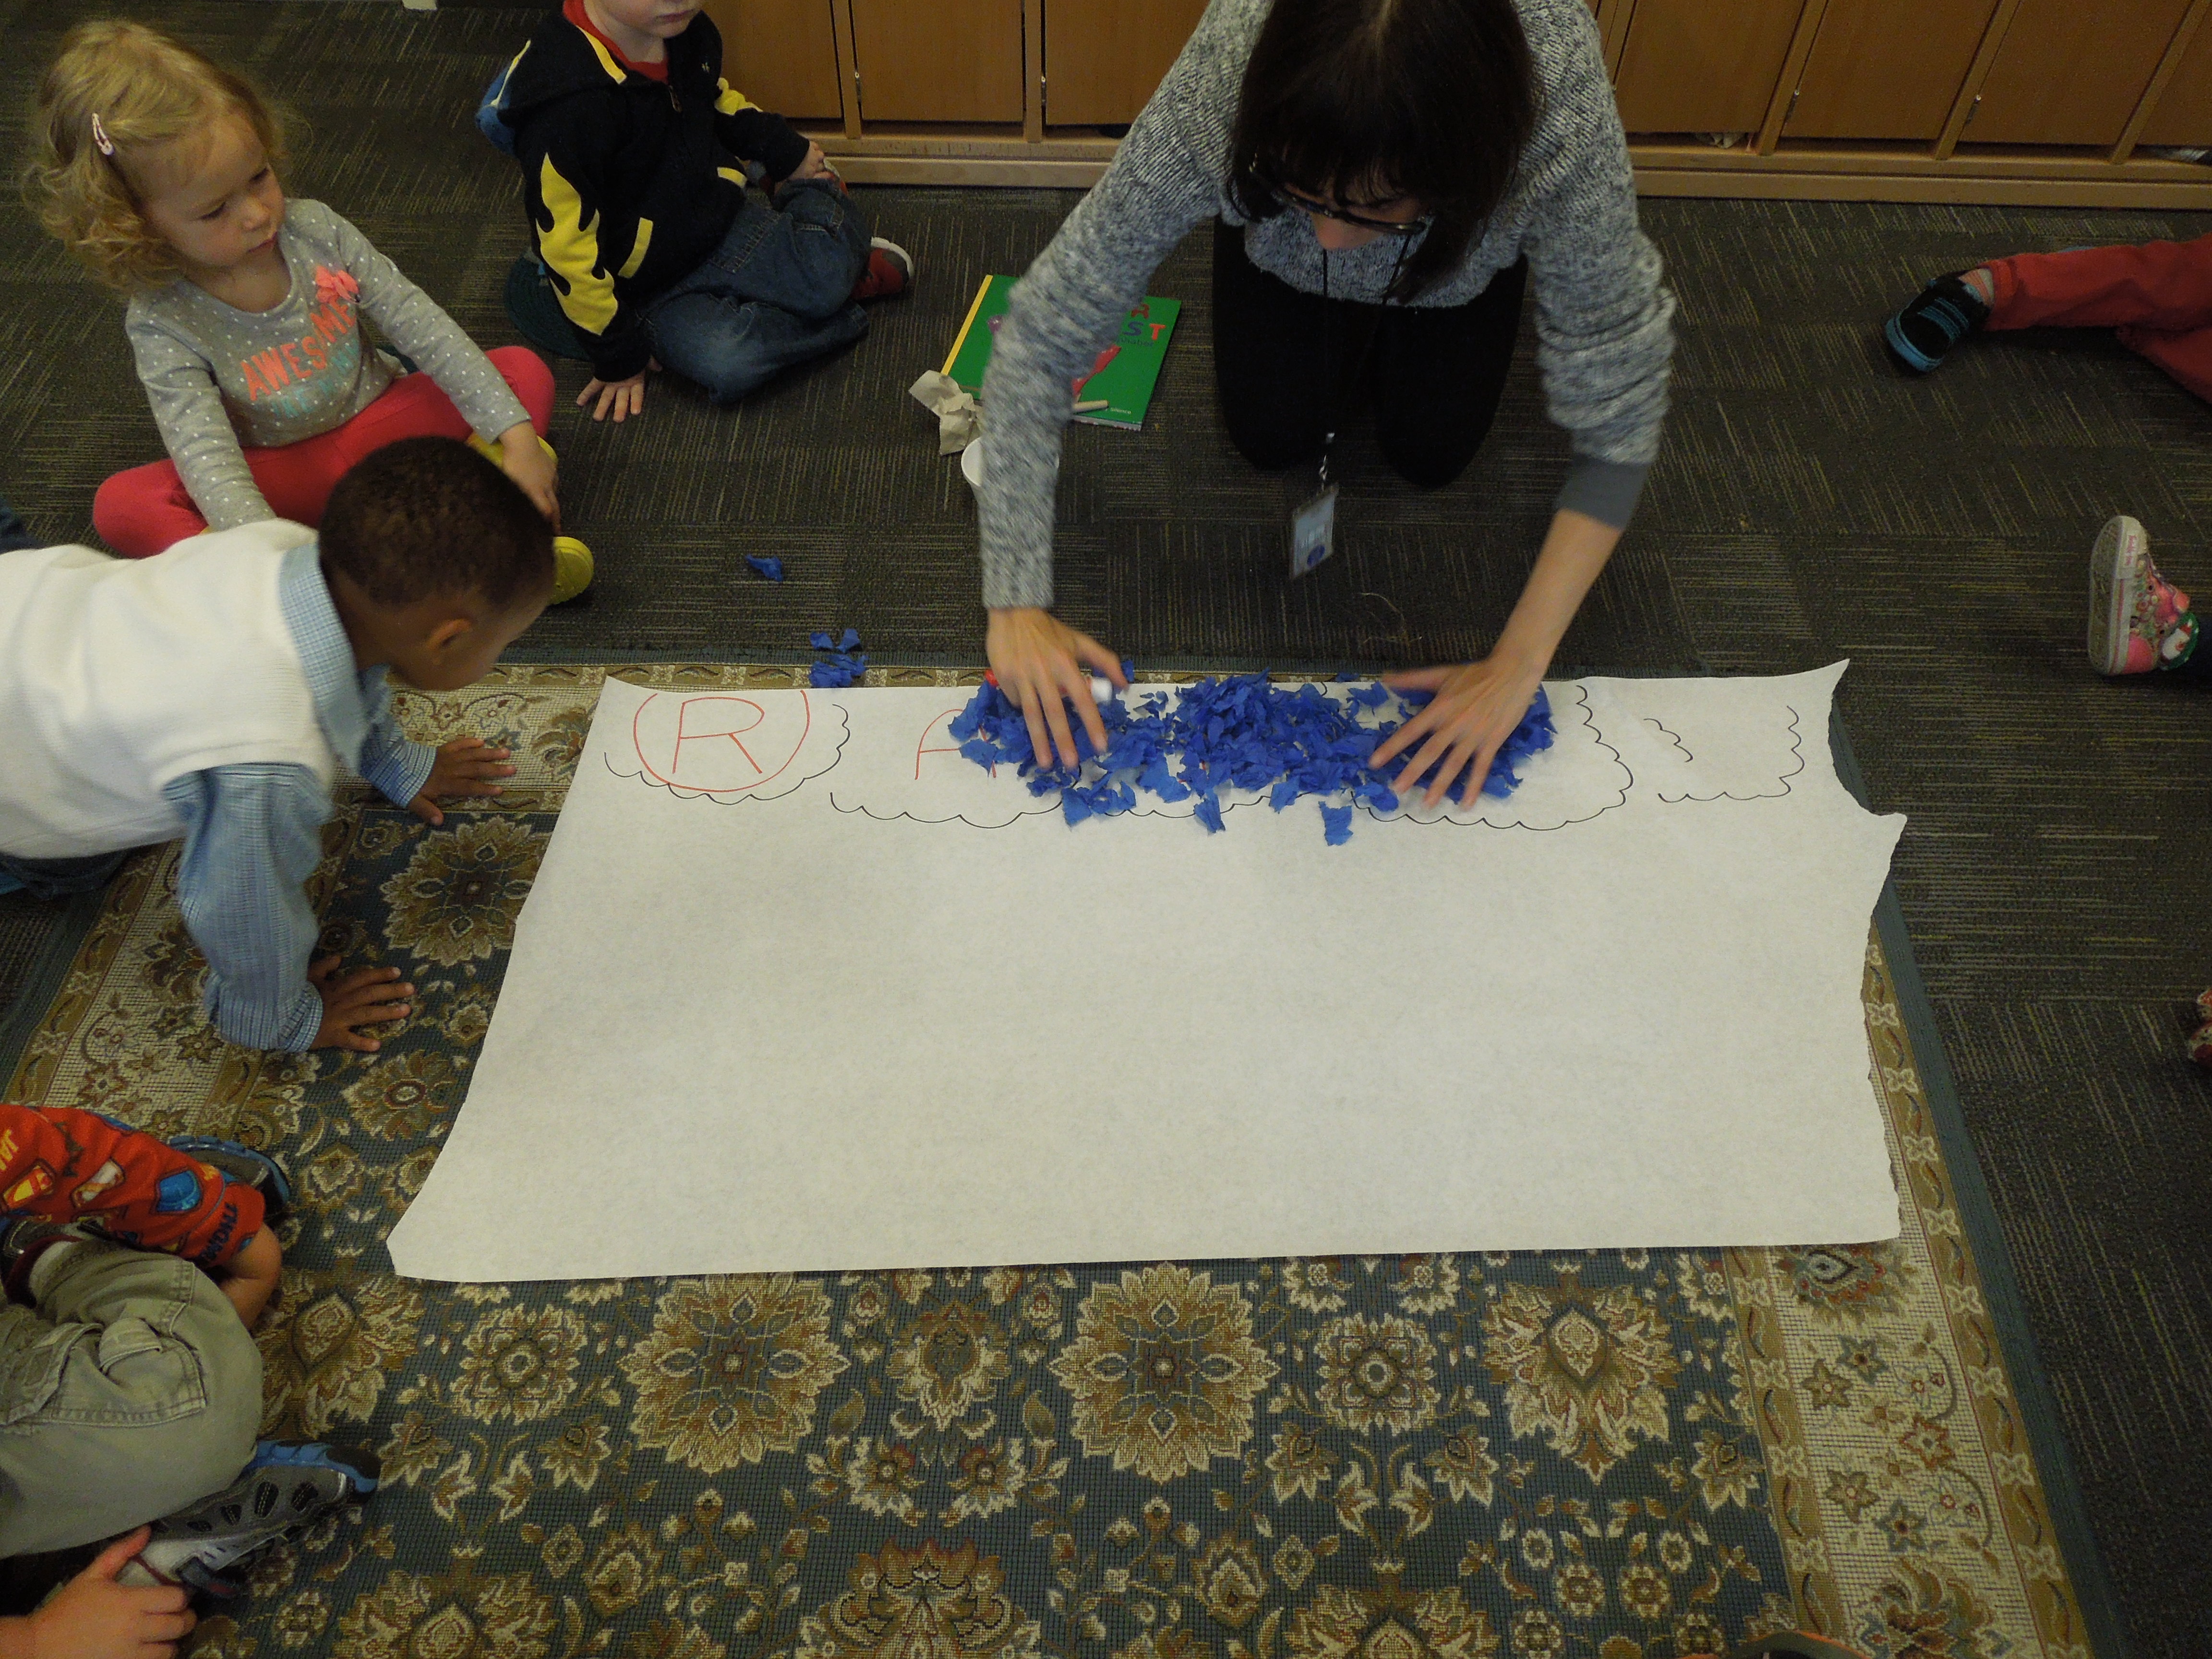
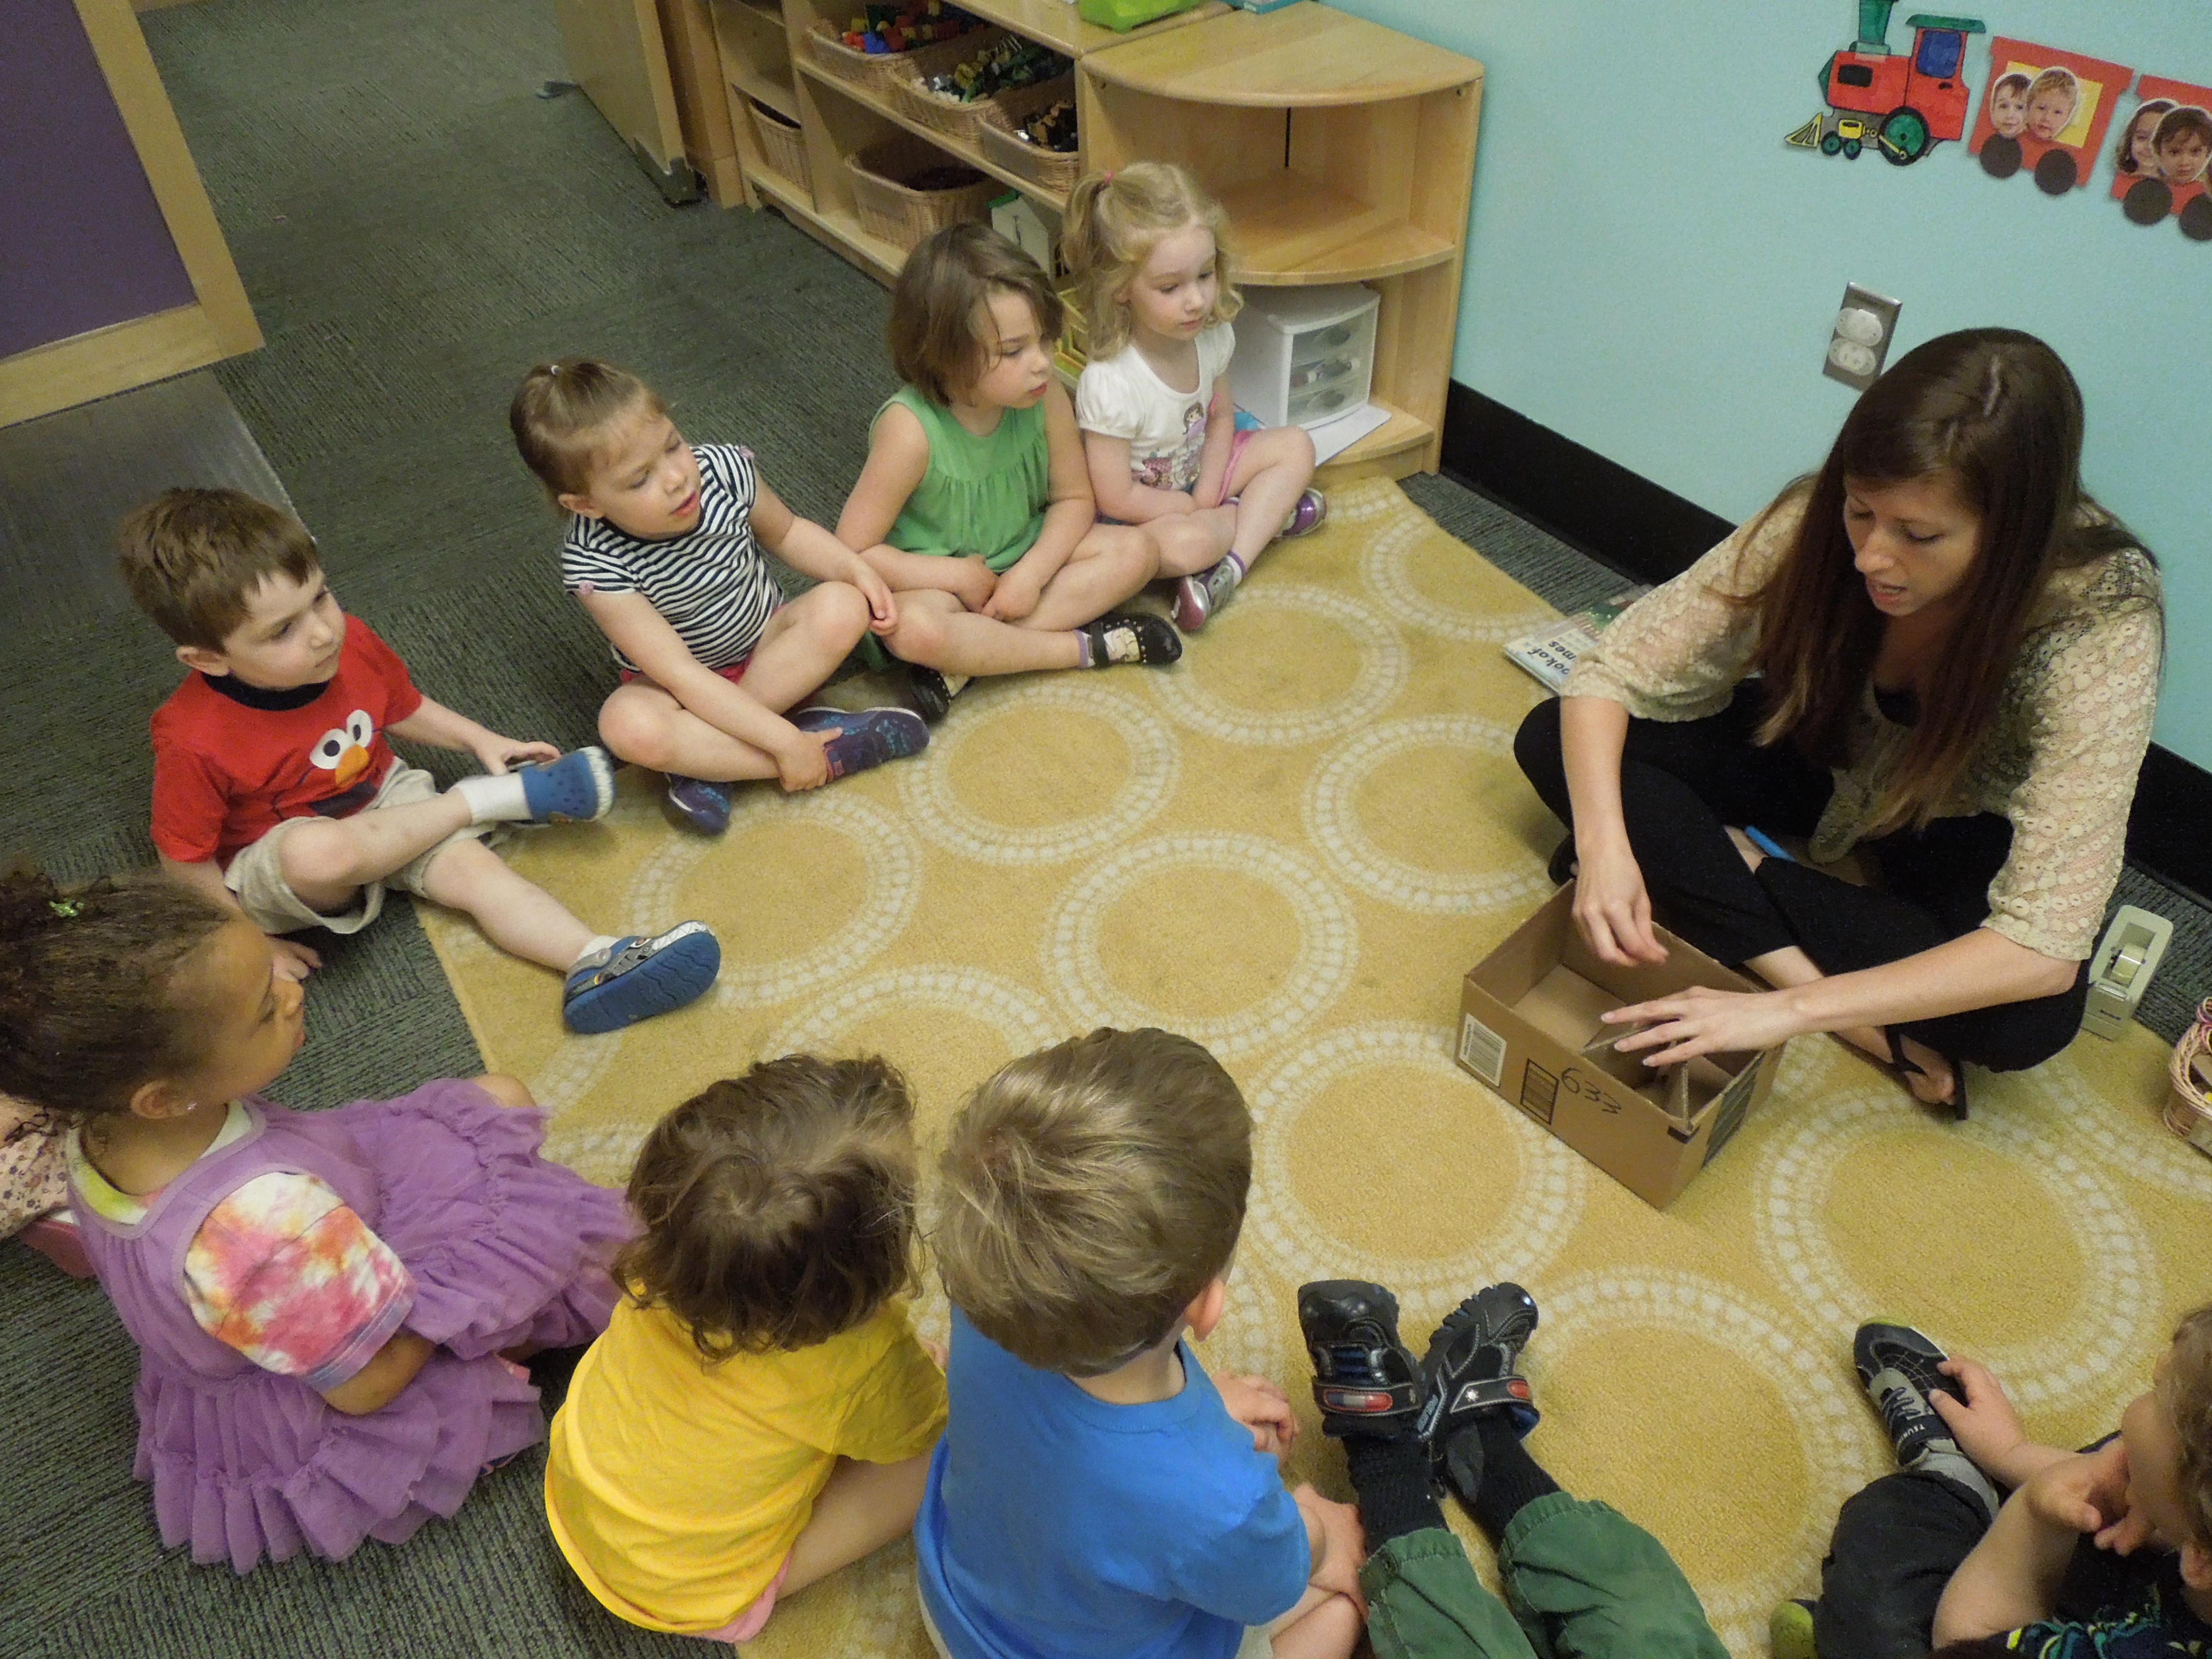
I started off by reading one of my favorite children’s books, “Matthew’s Dream”. I emphasized that ANYTHING could be art, including food, landscape, and even ourselves. I briefly introduced Robert Rauschenberg, an artist who used everyday objects in his artworks, blurring the border between 2-dimension and 3-dimension works. In order to encourage children to explore different objects, I brought in small objects, such as pasta shells, beads, short straws, yarn, stickers, pieces of paper, and pompoms. I handed out cardboard pieces to each student and encouraged them to use glue to attach the different objects to the surface. Some friends were very creative and experimental.  For example, one friend glued the straws to stand on the surface, which made a sculptural piece. There were also friends who showed interest in only using particular materials such as stickers or pasta shells. Overall, everyone spent a lot of time working on their art piece, and each one of them was absolutely fun and artistic.


Internship Reflection 3: Studio time

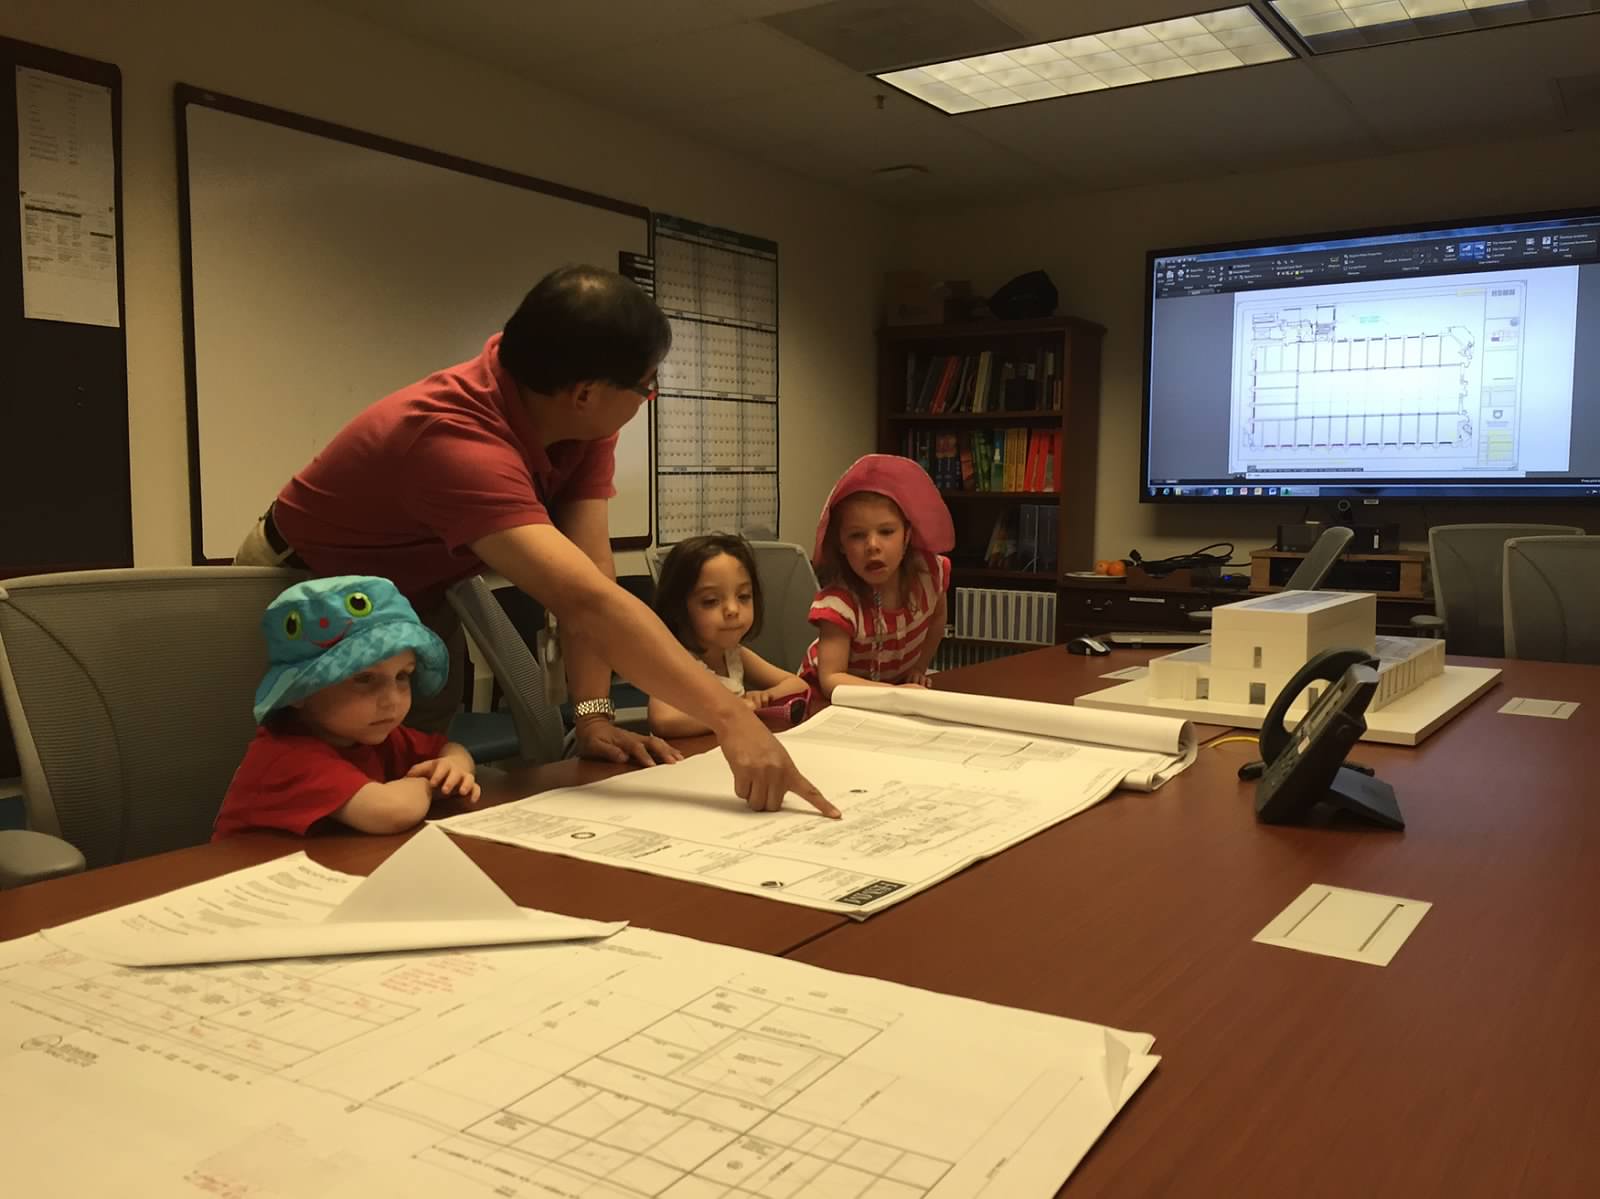
Upon starting the internship, I acquired permission to do research for my Master’s thesis at SEEC. I obtained consent from the parents of the children in the four year old classes. My research focuses on how young children’s environment affect everyday art activities and creativity, especially their drawings and narratives.


Sketchbook Time

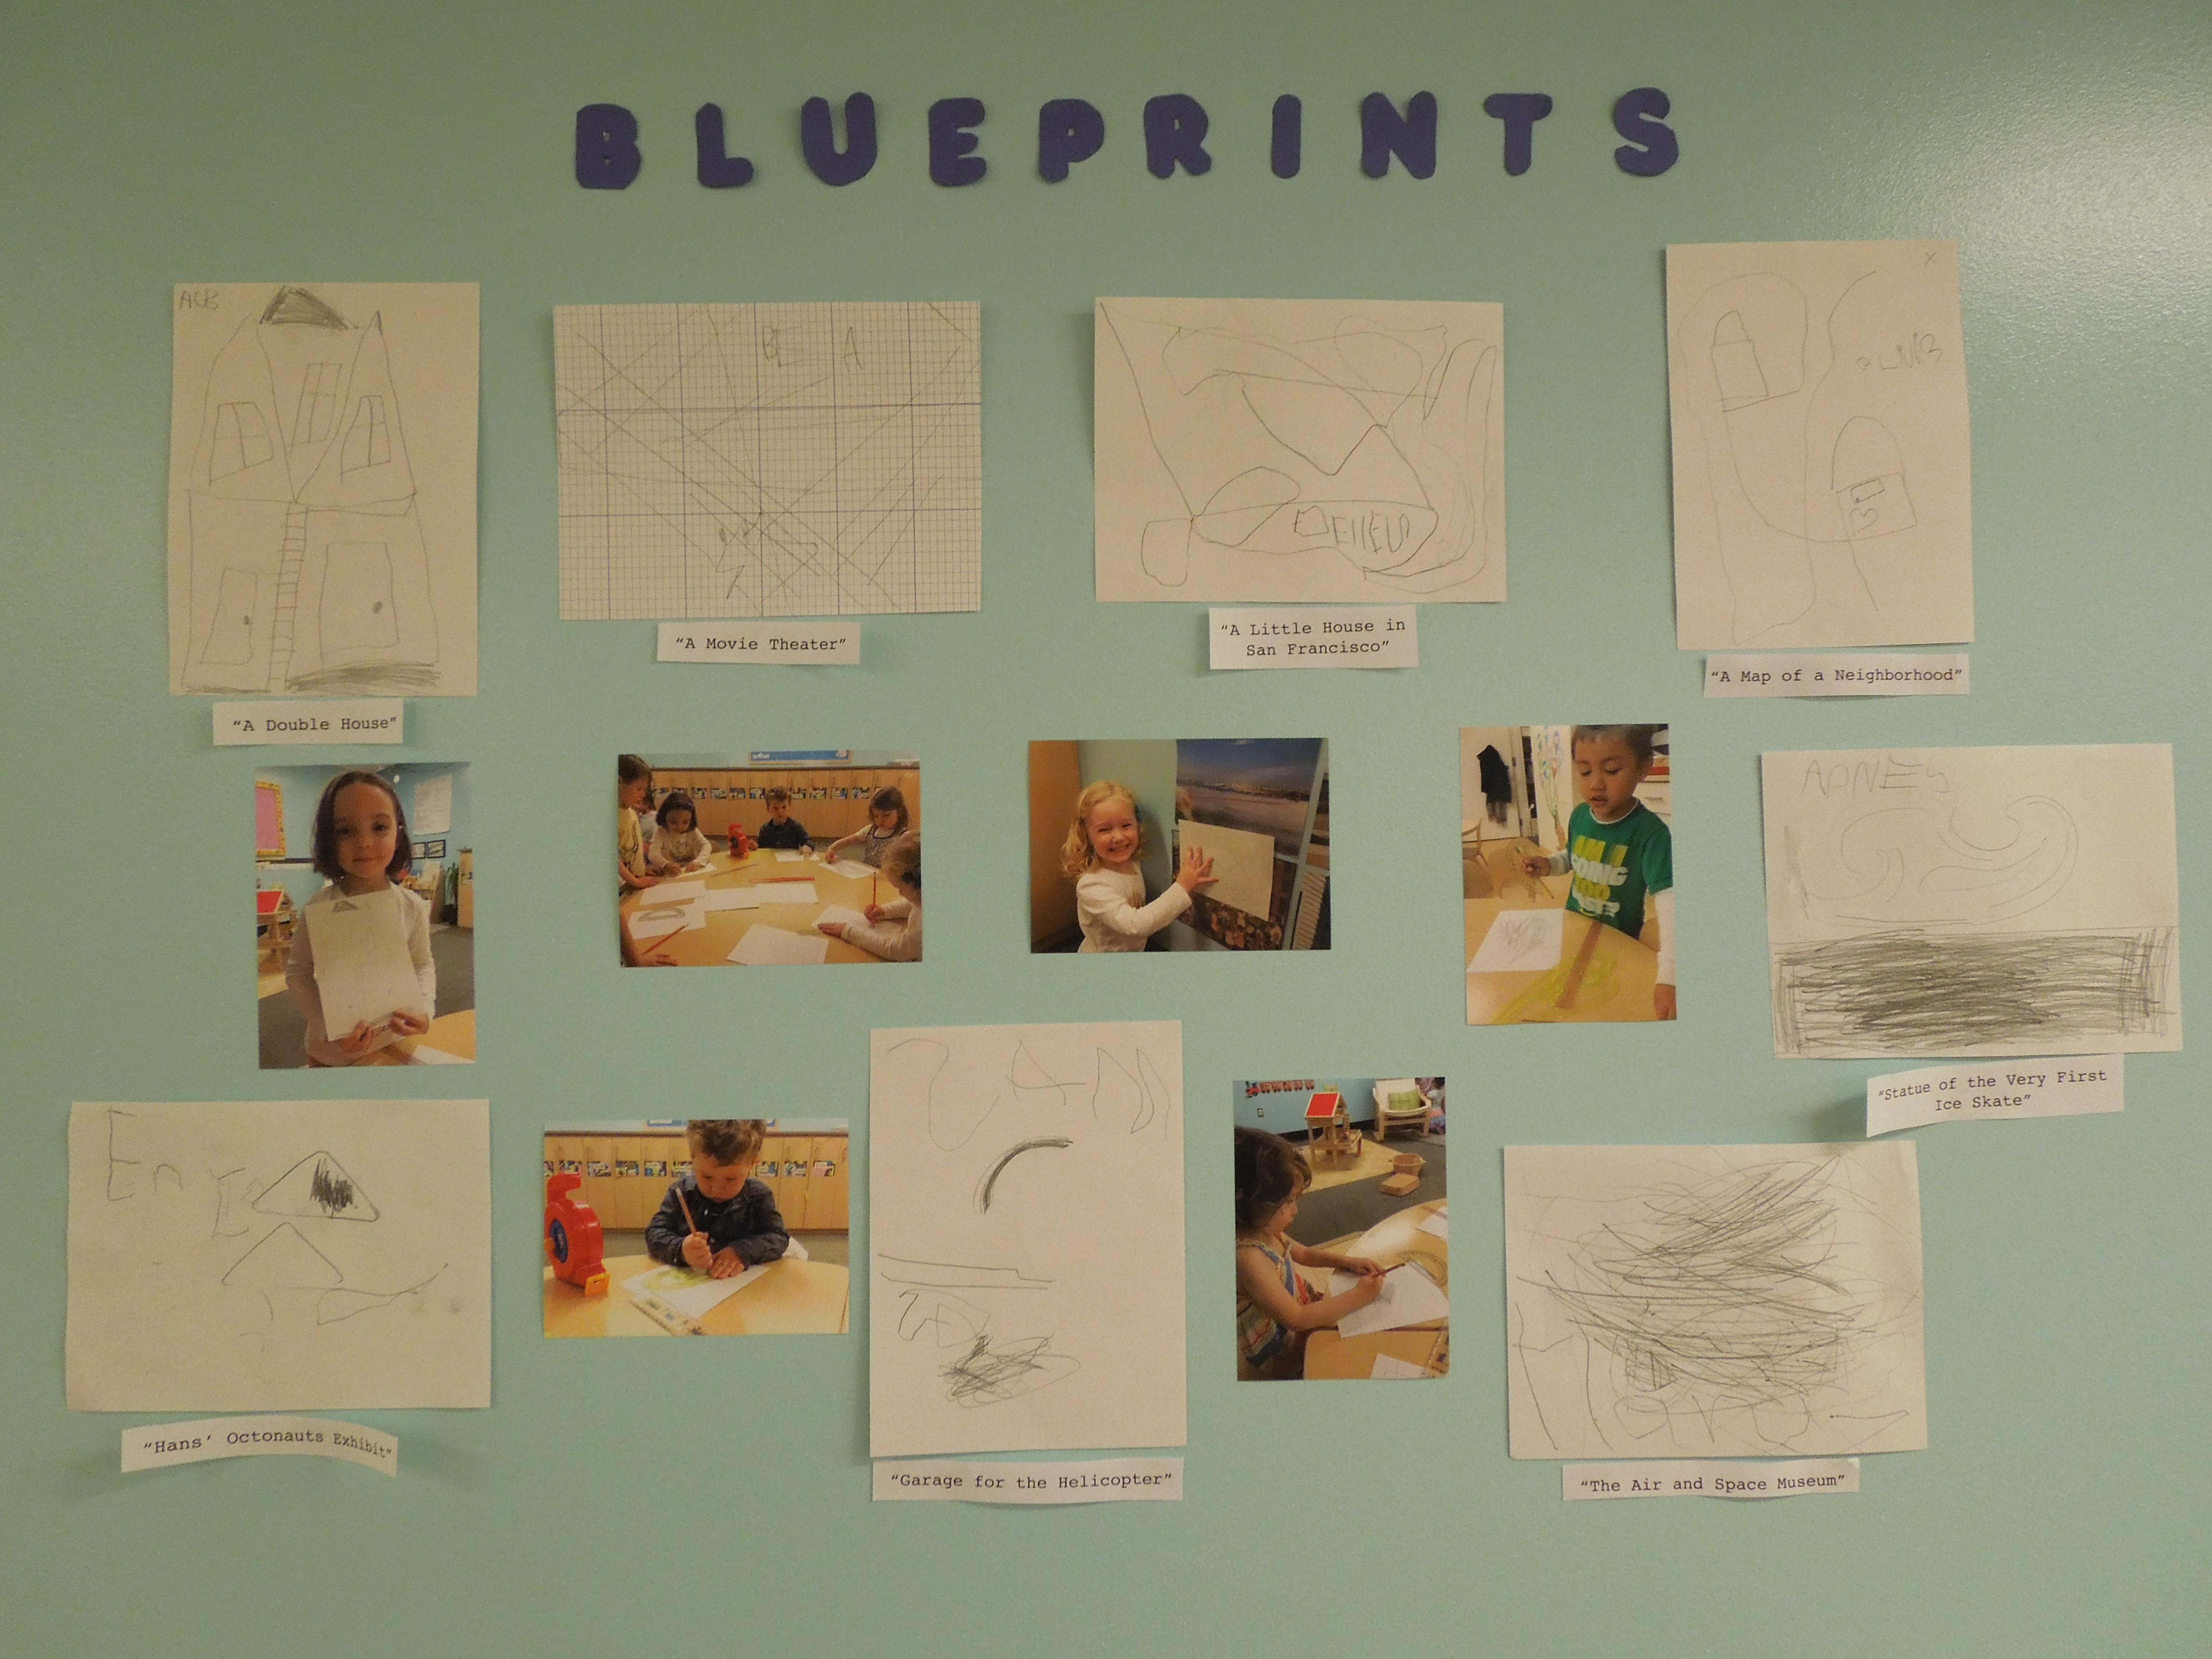
We started art with drawing in our own sketchbooks. I kept the sketchbooks on a shelf, so that kids could  grab theirs as they were coming in to the studio. Amazing conversations emerged during this time while friends gathered around the table and drew.


Snow covered studio

One morning, we had a stack of Styrofoam donated to the school. As soon as children saw the Styrofoam, they began working together to make an igloo. Some friends worked on making windows for the igloo, and some just playfully drew on the surface. The Styrofoam broke into smaller and smaller pieces, and the whole studio space became a snow land!

Homemade play dough

With some simple ingredients, I made a big chunk of play dough and brought in to the studio. The kids loved the texture of the sticky dough. They created imaginative figures by adding other materials and color to the dough and paper plates with markers. It turned out to be pretty awesome.
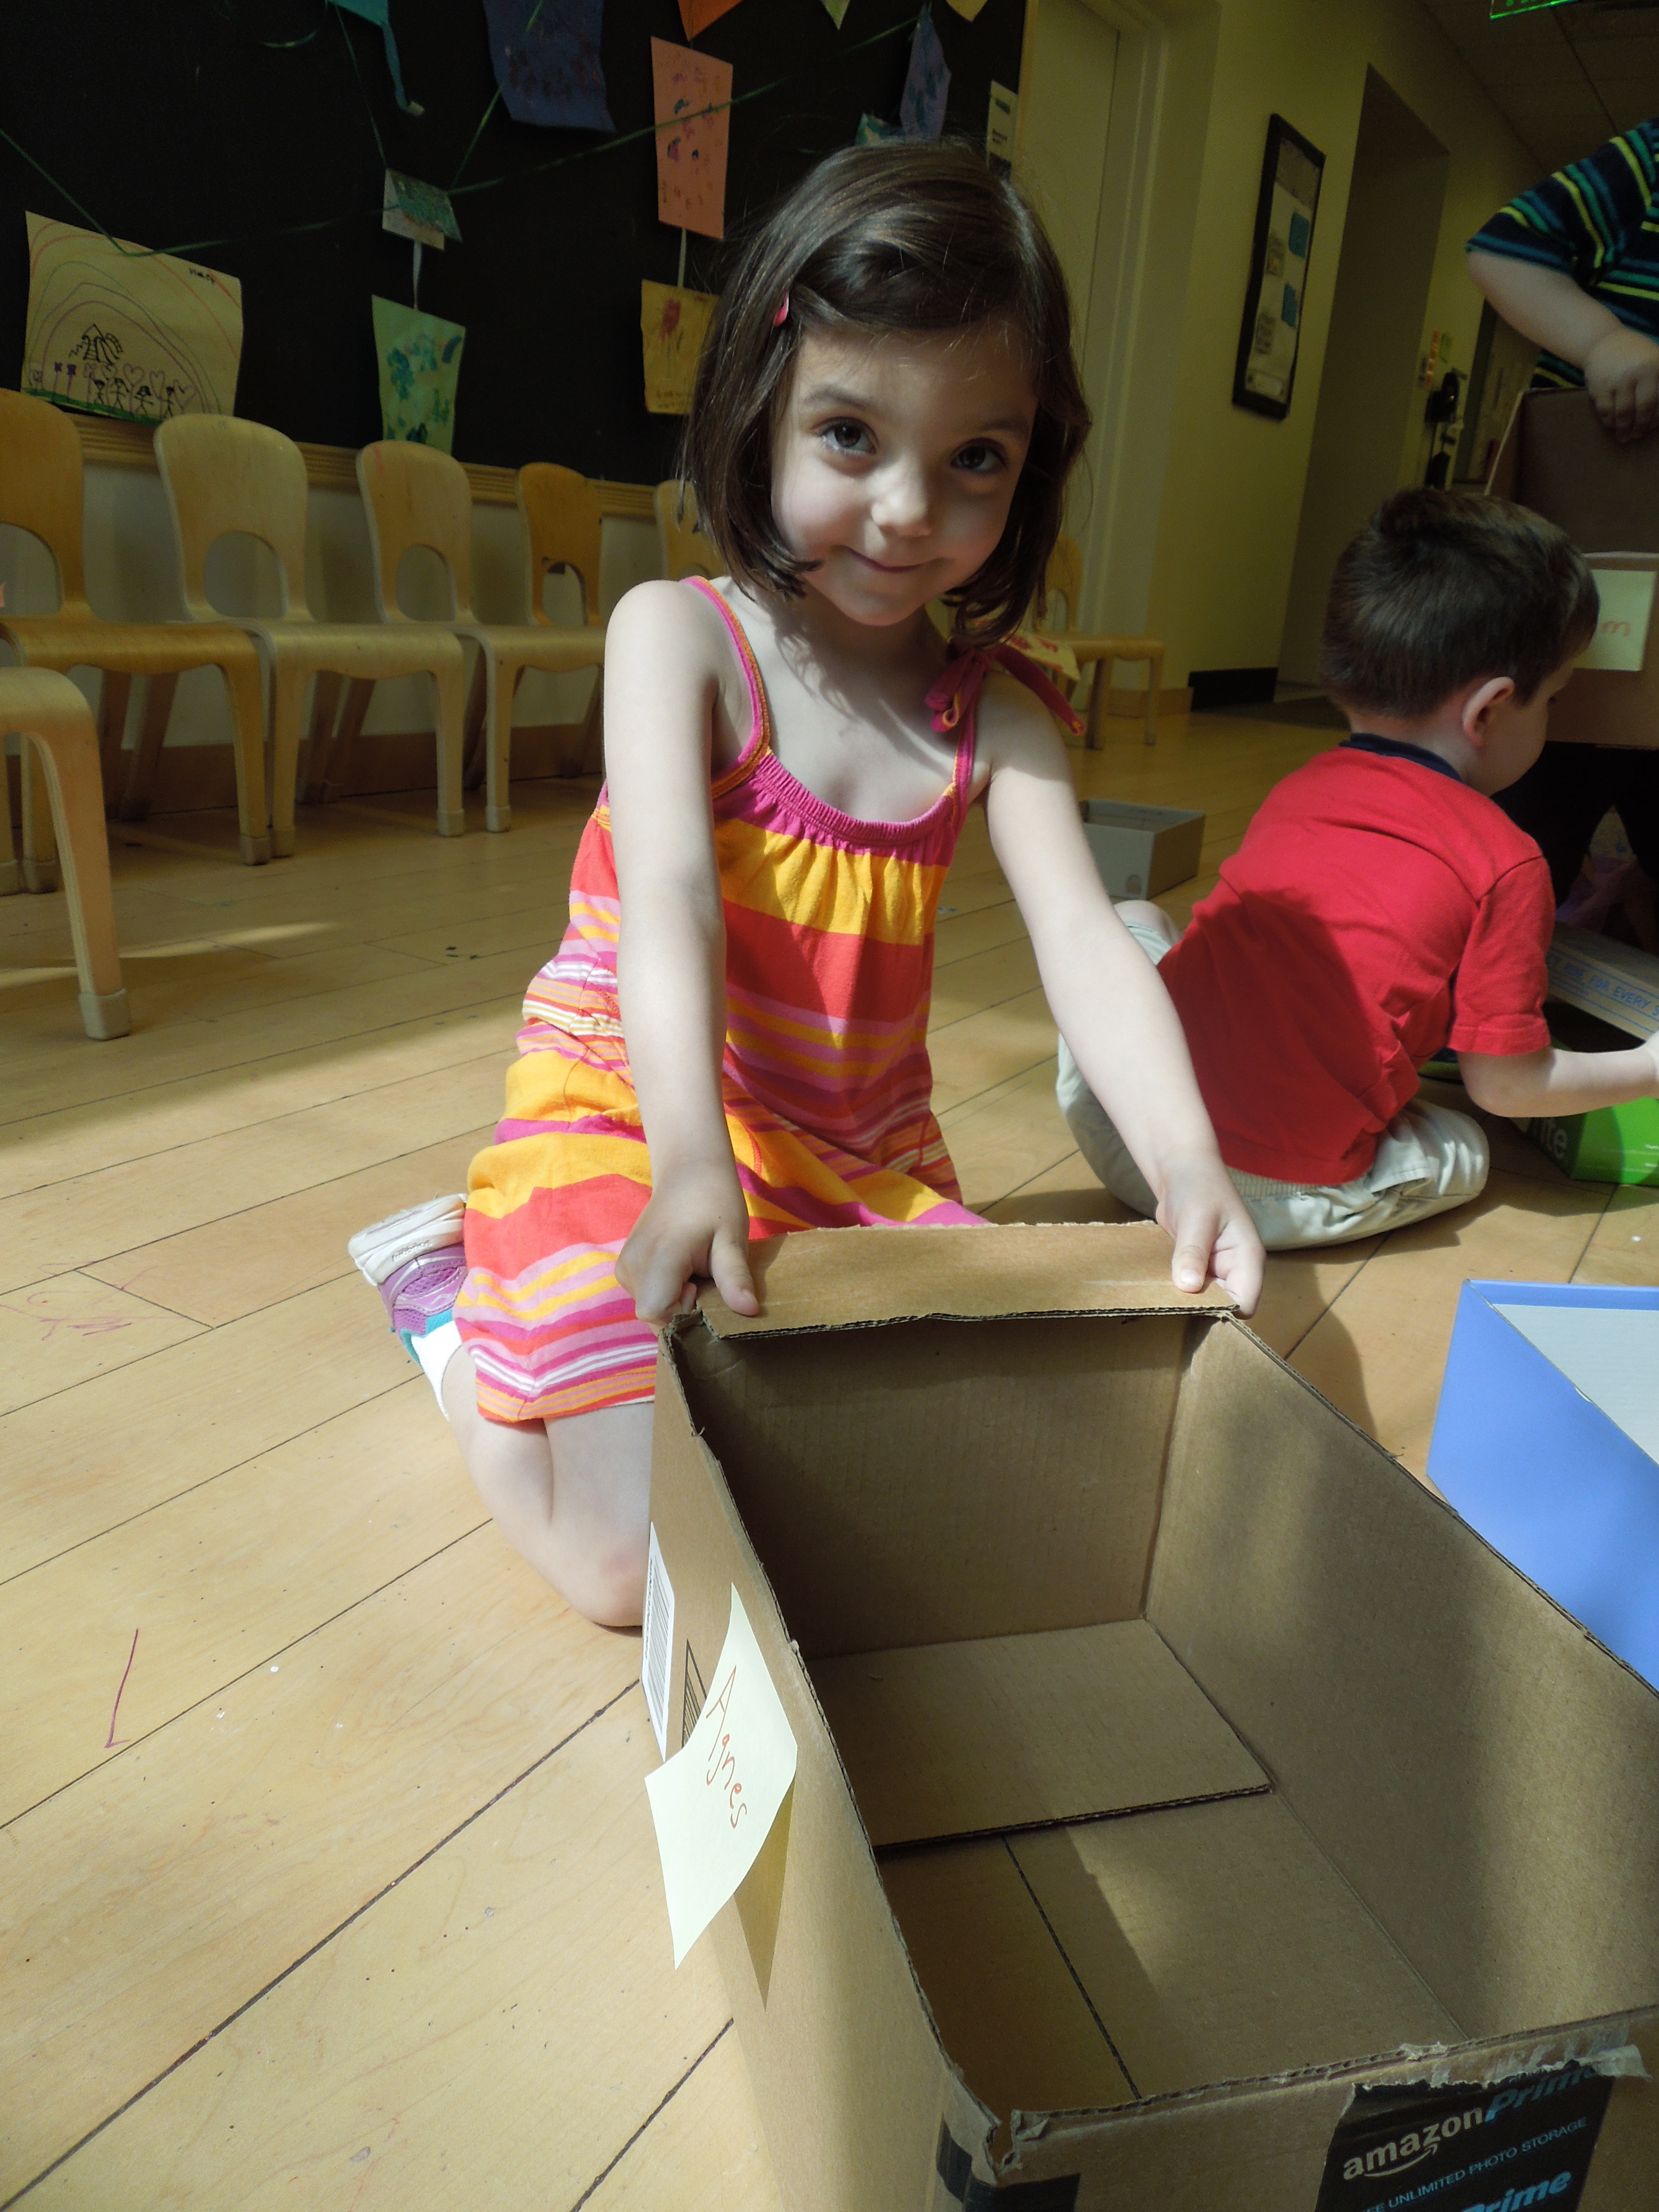
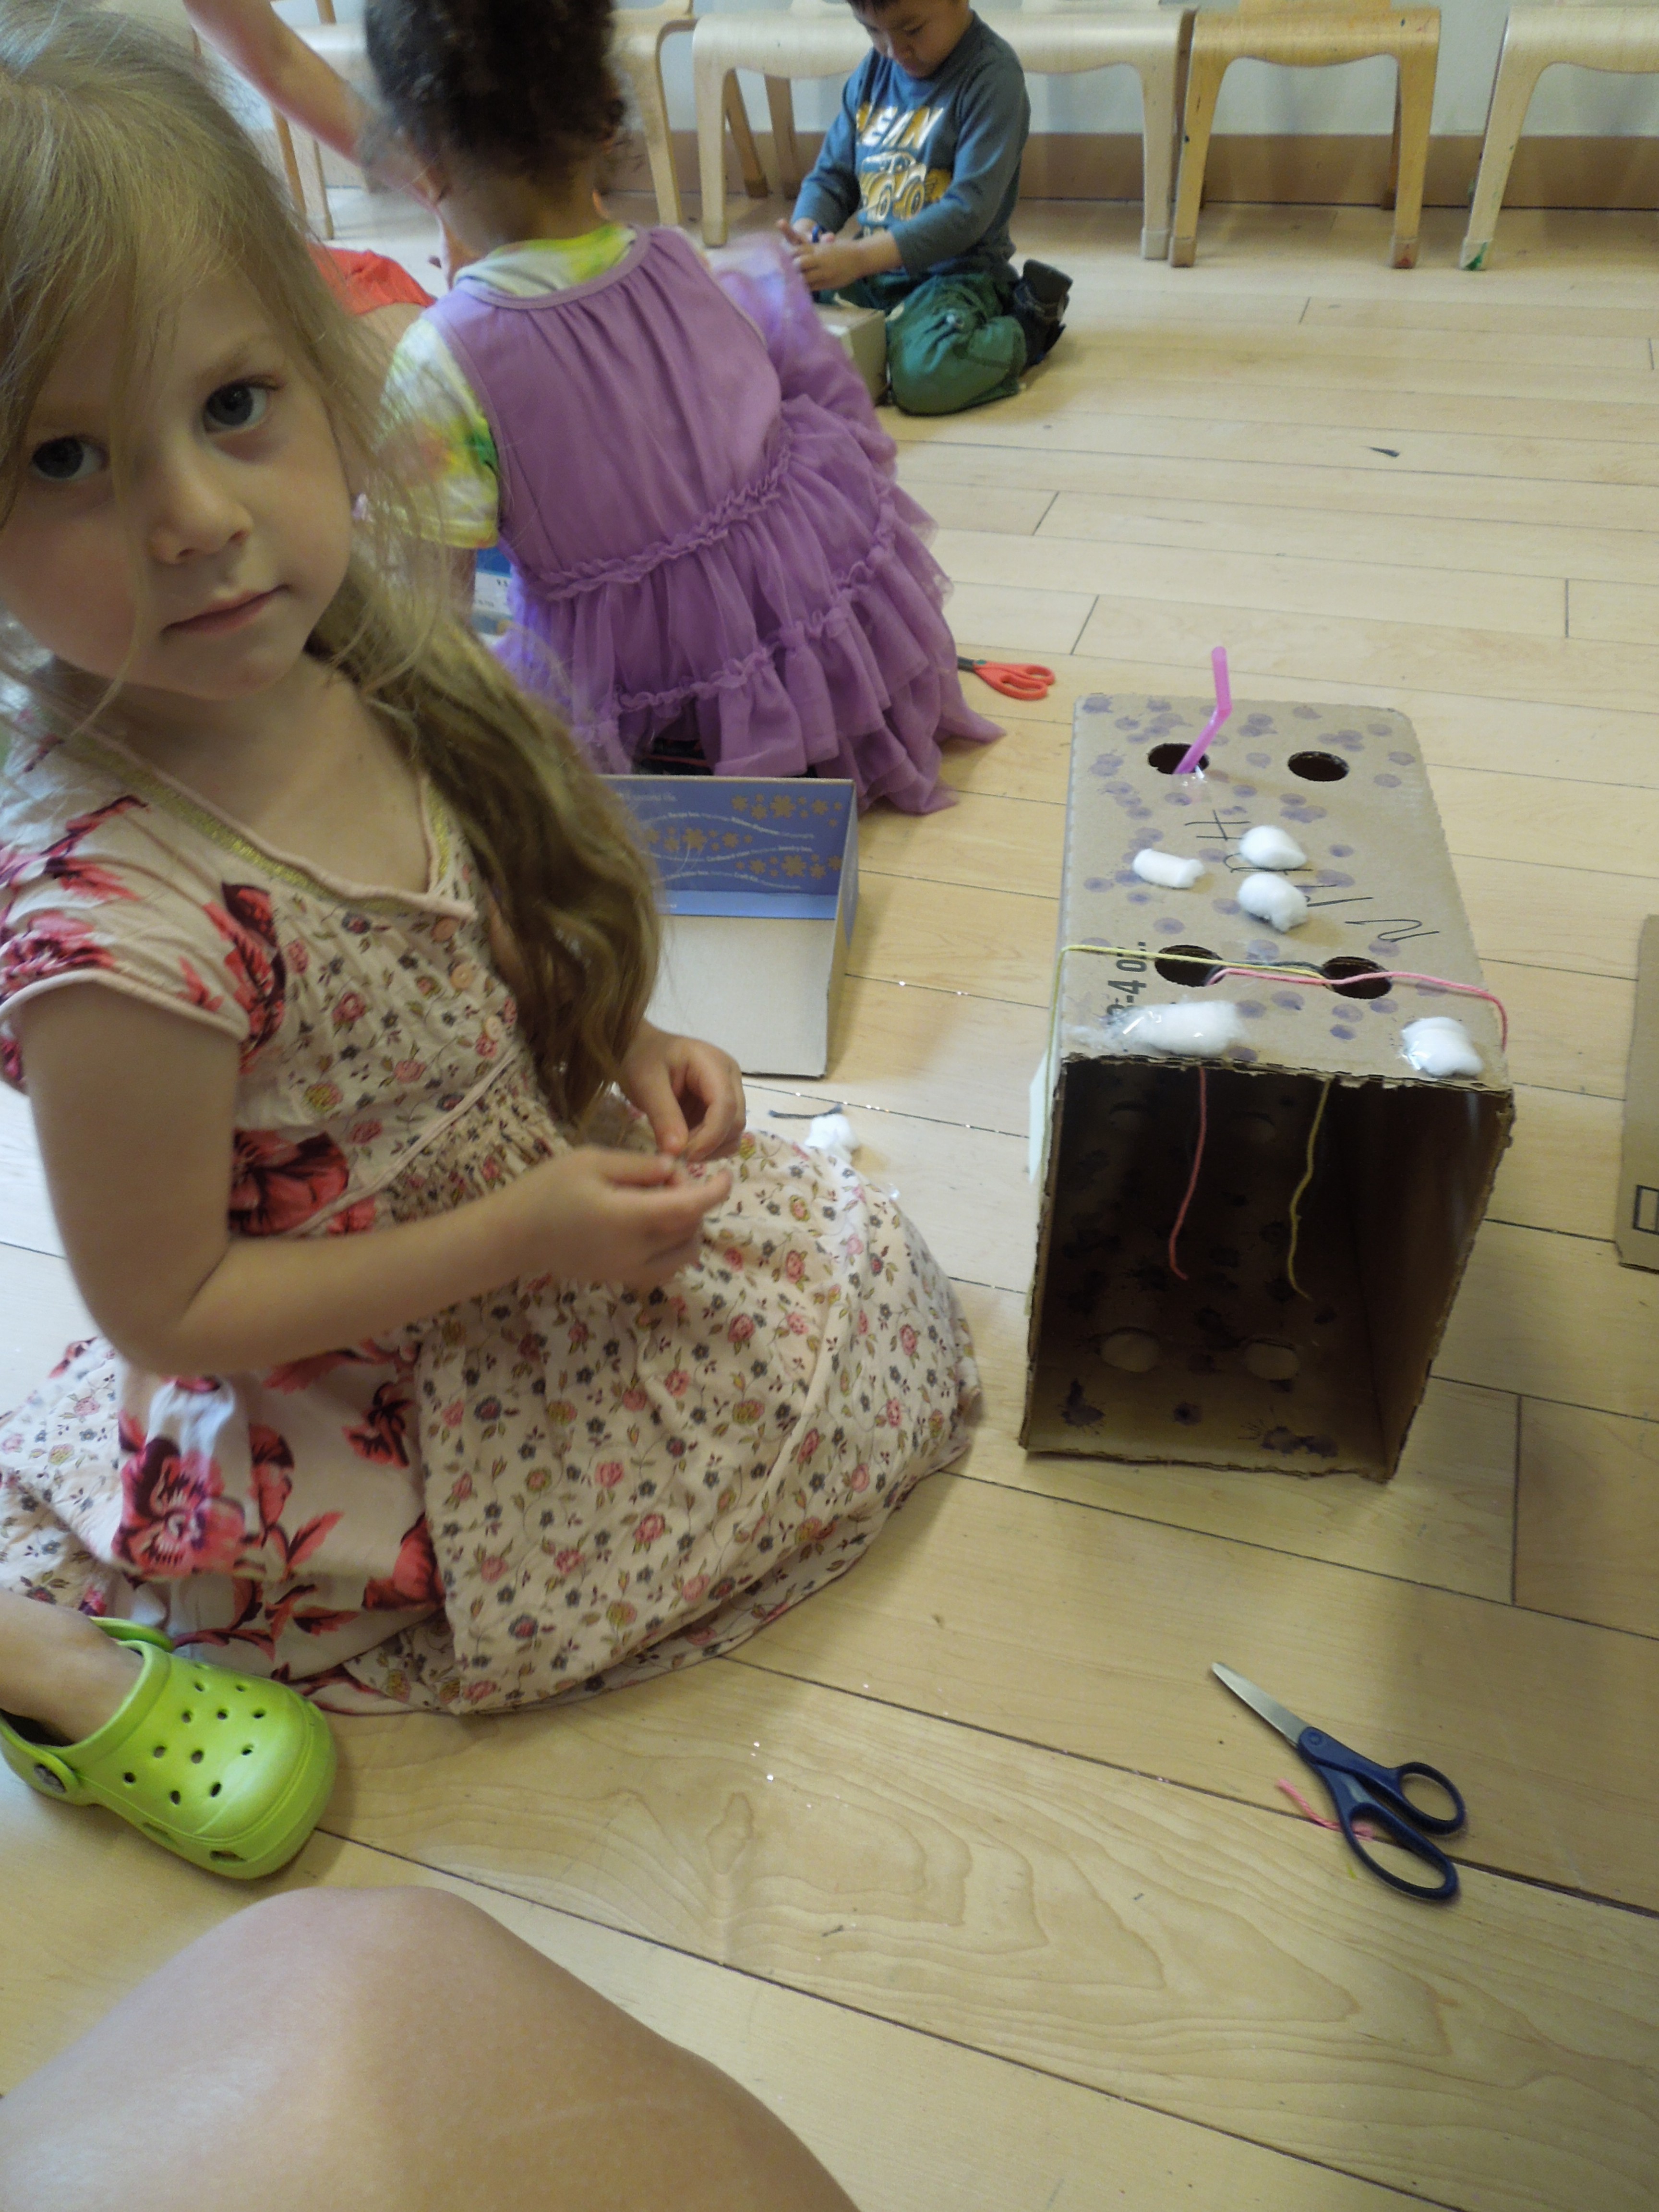
 

pic7


Egg Carton Ideas

A family donated a number of egg cartons from home. The kids loved making stuff with the cartons and used them in ways I never would have imagined. Some of them used other objects like yarn to create a container for spaghetti others created vehicles like trucks and metro trains. I loved watching them explore an everyday object in their own creative way.


Thank you Hayon for all of your hard work this summer! To read the full story and learn more about Hayon’s work visit here and keep an eye out for future artistic endeavors at SEEC with our new, full-time art educator, Carolyn Eby.

It’s been quite a year!: Teacher Feature Highlights

Written by Alex Francis (Liaison and Curriculum Development Specialist @ SEEC):

What a year it has been here at SEEC!  It has been a privilege to bring you Teacher Feature each week and offer a peek into the magical experiences our teachers provide their students. As our school year comes to a close I wanted to take the opportunity to share some of my favorite moments caught on camera during Teacher Feature. Being able to regularly join the classes has only confirmed how AMAZING these teachers are at creating age appropriate and exciting learning opportunities for their students! Here is visual proof of some of the things I believe they are especially great at doing! If you want to read more about the lessons be sure to look back at our archived Teacher Features and  to stay tuned in to the blog in the Fall for the triumphant return of Teacher Feature.

Teacher Feature 2014-2015 Greatest Hits:

1. Use of Authentic Objects in Museum and Classroom Experiences.


2.Lesson Introductions


3. Sensory Experiences


4. Classroom Lesson Extensions


5. Use of Technology


6. Community Visits


7. Museum Visits


Thank you teachers for a great year! We can’t wait to see what’s in store next!

Teacher Feature: Toddlers Explore Oceans

It’s Teacher Feature Thursday!

This week we are featuring Laura Bonilla. Her toddler classroom was learning about oceans and Laura decided to create a sensory bin full of bubbles and ocean animals. Below you will find a reflection from Laura and images from her lesson.

Print


What were your topics of exploration?

We were learning about the ocean as a habitat.

What were your learning objectives? (What did you want your children to take away from the lesson?)

I wanted to provide an ocean inspired sensory experience.

What was most successful about your lesson?

The kids loved the experience and the bubbles nicely replicated sea foam. I was also amazed at how long the bubbles lasted.

What could you have done differently? What recommendations would you have for another teacher trying out this lesson?

I recommend teachers use a powerful mixer to create a large pile of bubbles. I would have also included more objects for the children to use in the sensory table.

Here are a few images from their unit on oceans:

DSCN3705This class had been learning about oceans all month and used this lesson as a way to review the topic. Laura began by reading Smiley Shark by Ruth Galloway. They had read the book before and the children were able to help identify the different sea life depicted.
DSCN3715Then it was time for sensory fun. Laura had the children help create the bubble mixture. She started by adding dish soap. The children used their gross and fine motor skills to help Laura.
DSCN3718Next Laura added corn starch. The corn starch acted as a binder for the bubbles making them last longer.
DSCN3719Lastly, Laura used a hand mixer to create the frothy bubbles. The children were mesmerized and couldn’t wait to get wet.
DSCN3741Then the kids were off! Some of the children liked the discovery sensation when they found a sea creature under the bubbles and other focused on washing the animals in the frothy water. Laura spent time narrating their play and sharing information about the different sea creatures in the bin.


This class had a wonderful time learning about the ocean! Be sure to check back for our Teacher Feature review next week!

Teacher Feature: Toddler Classroom Explores Safari

It’s Teacher Feature Thursday!

This week we are featuring Meg McDonald. Her toddler classroom was learning about safari’s and decided to go on one in the museum. Below you will find a reflection from Meg and images from her lesson.

Safari_Cover

What were your topics of exploration?

We had been studying jungle animals and this week we focused on going on a safari. We began by discussing the items we might need to have a successful safari. We decided on binoculars, safari hats and vests. Throughout the week we spent time creating these items so everyone could have them for our safari. The day of the lesson each child was decked out in the vest, hat, and binoculars and given a wooden puzzle piece of a jungle animal.  It provided the children with something tangible to hold while we read Rumble in the Jungle by Giles Andeae and took our safari through the exhibit.

What were your learning objectives? (What did you want your children to take away from the lesson?)

I wanted the children to gain some understanding of the natural habitat of some of their favorite animals and how we can observe them during a safari. Many books and movies mis-represent the habitats of these animals and I wanted to provide them with authentic information and exploration. I also wanted to provide them with authentic and exploration. I also wanted them to have practice with matching through the puzzle pieces and photographs.

What was most successful about your lesson?

I feel that the most important measure of success is if the children enjoyed what they were experiencing and in this case they definitely did. They got very excited when they found their specific animals and as well as all the animals that we had been learning about previously. They also really liked the photographs and even asked to go back and see them again.

What could you have done differently? What recommendations would you have for another teacher trying out this lesson?

Instead of giving them the wooden animals I would have given them a small photo that had a more realistic representation of the animal. I think that would have made a more concrete connection to the photo exhibit.

Here are a few images from their safari:DSCN3497DSCN3506Earlier in the week the group discussed the type of gear they might need for a safari and worked on making their own for the museum safari. The group got all dressed up and then headed straight to the Into Africa  exhibit at National Museum of Natural History. DSCN3545
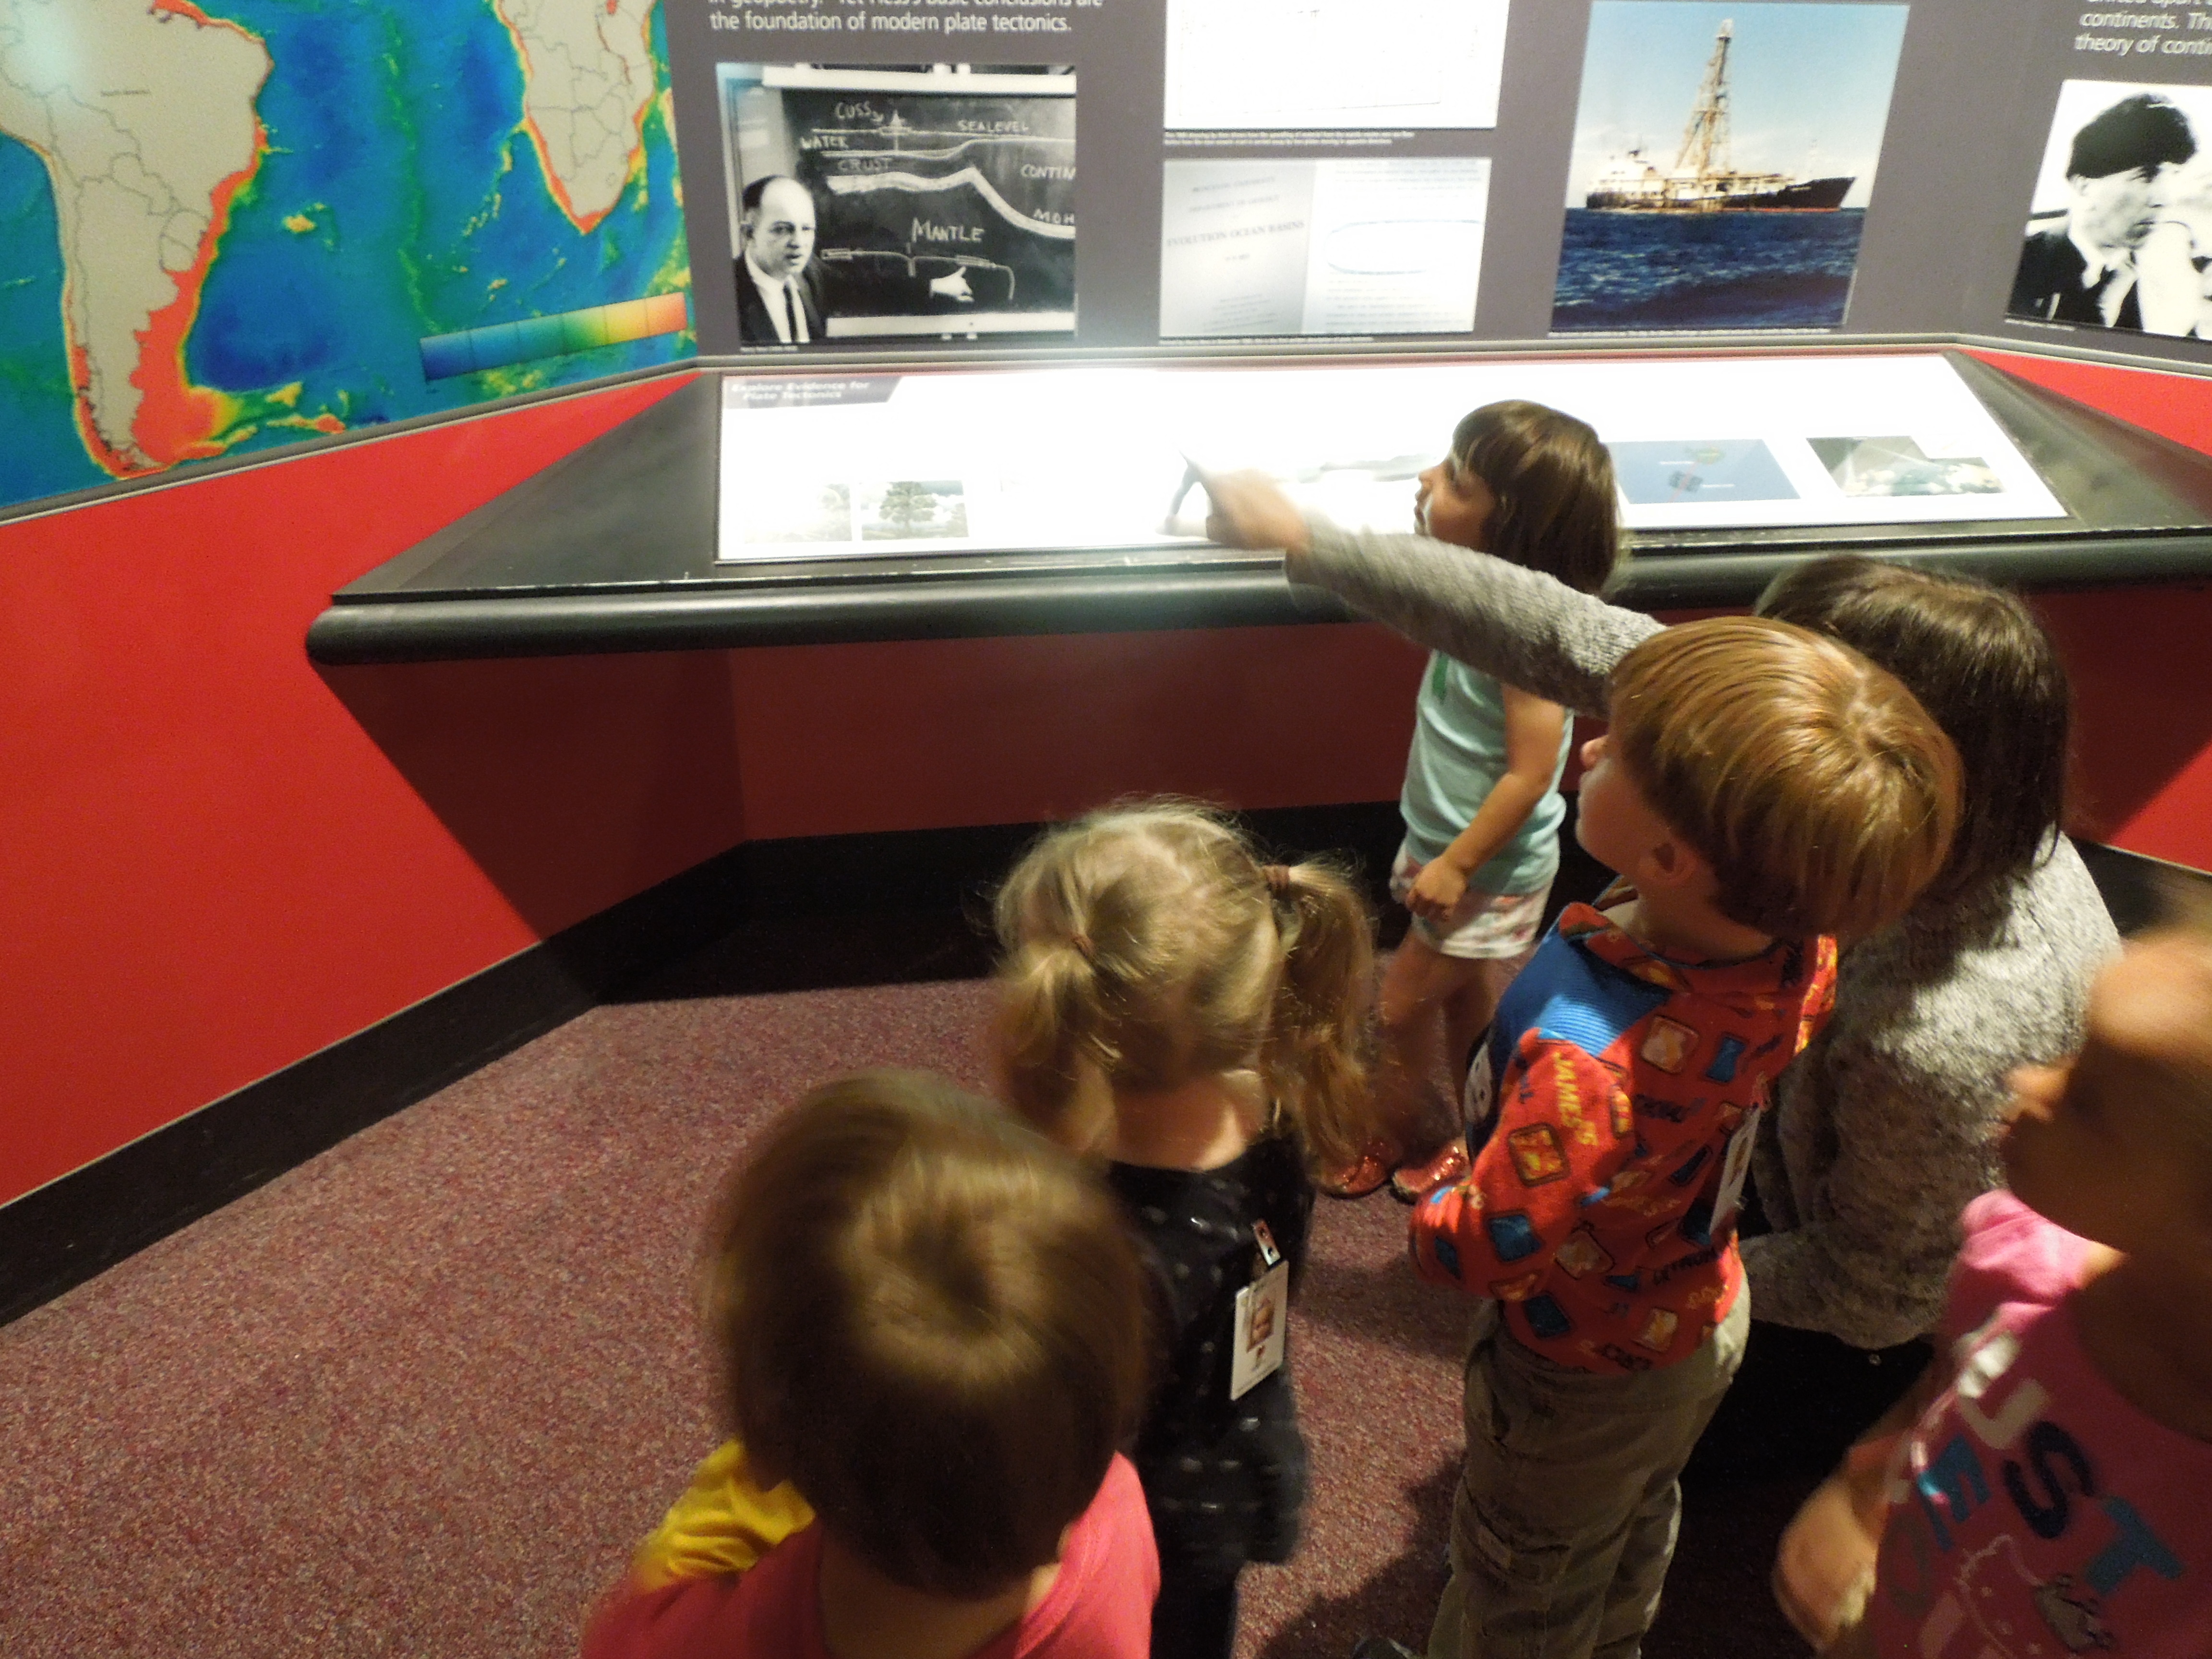
Meg had the group gather at the front of the exhibit. She passed out different animals found in Africa and invited the children to let her know when they saw the same animal in her book: Rumble in the Jungle by Giles Andeae.
DSCN3526DSCN3554They stayed very focused and attentive through the book, carefully watching for their animal to reveal itself. Some of the children worked together to help identify the animals of the different group. 
DSCN3569DSCN3570 DSCN3578Then it was time to head out on their safari. The binocular encourage lots of careful looking and sparked many conversations about the different animals.

This class had a wonderful time learning about safaris! Be sure to check back for our Teacher Feature next week!

Teacher Feature: Two Year Old Classroom Explores Baseball

It’s Teacher Feature Thursday!

This week we are featuring Ashlee Smith. Her two year old classroom was learning about baseball and decided to spend the day learning about what’s inside the ball. Below you will find a reflection from Ashlee and images from her lesson on baseball.

Baseball_Cover

What were your topics of exploration?

The Fireflies have been exploring baseball all summer. During this week, we talked about the baseball itself. We explored what a baseball looks like from the inside out and how it is made. We talked about how all baseballs (MLB) have to be the same size and weight and that baseballs are still hand-stitched.

What were your learning objectives? (What did you want your children to take away from the lesson?)

I wanted the group to understand the materials used to make baseballs and provide them with the opportunity to explore textures of the materials found inside (yarn, string, and cork). I also wanted them to think critically about the shape and weight of the ball, exploring questions such as: “what other known objects are spheres?” and “why is the baseball the weight that it is?” Through the baseball lesson, I was also able to introduce the group to Alexander Cartwright (the proclaimed father of baseball).

What was most successful about your lesson?

I invited each child to help me create our own baseball with a cork, yarn and rubber. They really enjoyed the experience of using the materials to create a ball of our own.  We also ventured to the Hirshhorn Museum after circle time and they were happy to find the spheres that we just learned about!

What could you have done differently? What recommendations would you have for another teacher trying out this lesson?

The children in my class seemed to really enjoy exploring what makes up a baseball. If I could recommend something to another educator, it would be to have more materials to explore. I had materials for the kids to touch, but splitting into small groups with more materials may help them relate to the objects a little more!

Here are a few images from their unit on the baseball:

DSCN3343Ashlee began by asking the group to look closely at the ball and think about its characteristics. The group was able to describe the ball as round and Ashlee introduce the group to the term sphere. She then had the group try to guess what might be inside.

DSCN3357Each child had a chance to touch and explore the ball before making their predictions. One child exclaimed, “a tiny crocodile!” and another said, “a rock!”
DSCN3365The class was very surprised to learn that baseballs have many different layers and at the very center is cork.
DSCN3378After explaining that the next layer of the baseball is rubber she then began demonstrating how the rubber is then wrapped in string and lastly covered in leather.
DSCN3396Ashlee then invited each child to take a turn wrapping the baseball in string.
DSCN3420After a quick snack the class headed over to The Hirshhorn Museum and Sculpture Garden to see Spatial Concept Nature by Lucio Fontana. Ashlee began having the group compare the ball to the sculpture and reinforce the concept of a sphere. She then read the group Pete the Cat: Play Ball! by James Dean.
DSCN3427 DSCN3433Ashlee ended her lesson with a fun game that asked the children to use their imagination to pretend that the ball was something else. The game is called “This is What?” The child says “this is a ___” and the group responds with “a what?” You repeat this exchange three times and conclude with the group saying “ohhhh it’s ____.” The children had a fun time playing this game! One child claimed the ball was an apple and other made it a hat!

This class had a wonderful time learning about baseball! Be sure to check back for our Teacher Feature next week!

Teacher Feature: Two Year Old Classroom Explores Rainbows

It’s Teacher Feature Thursday!

This week we are featuring Camille Frere. Her classroom was exploring the alphabet and spent the day learning about the letter R. The children in her class are almost all 3 years old and beginning to show great interest in their names and recognizing letters. Based on this interest, the teachers decided to guide their exploration with the alphabet, spending a day or two exploring a topic based on the first letter of the word. Providing children with the opportunity to build early literacy skills by exposing them to words and letters through books, songs, language, and storytelling is extremely important in their development.  While there is no expectation that the children will be reading or writing at this point it is important to expose them to letters in a way that provides them with multiple examples of the same concept, especially as they continue to show interest. Below you will find a reflection from Camille and images from her lesson on the letter “r”.

Rainbows_Cover

What were your topics of exploration?

The overarching theme was the alphabet. The day of the lesson, our class was studying and exploring the letter “R”. We looked at Rain and Rainbows to build connections between letters and concepts.

What were your learning objectives? (What did you want your children to take away from the lesson?)

The basic goal was to familiarize the class with the letter “R” and offer them some words and concepts that begin with the letter so that they might recognize it in the future. Since we had been having an unusually rainy week, I thought it would be interesting to have penguins create a rain mural with tissue paper. I also wanted to explore rainbows and the different way they can be created. Since there was no chance of see a rainbow outside, we took the class to the gem hall to see some indoor “rainbows”.

What was most successful about your lesson?

I think the most successful part of the lesson was watching the kids having fun throwing tissue paper “rain” onto the mural. It was also extremely delightful to watch the class excitedly point out rainbows throughout the museum.

What could you have done differently? What recommendations would you have for another teacher trying out this lesson?

It was a busy and rainy day at SEEC. While our trip was delayed by circumstances out of my control, I believe I could have been more prepared more for the unexpected. I also would have liked to have the class create their own rainbow mural to accompany the rain collage that they made. I would recommend that a teacher create some of the materials ahead of time (pre-draw clouds and set out appropriate paints to make a smooth transition into the next art project).  It also might have been a good idea to make real “rain” from colored water and have the children use this to make their mural.

Here are a few images from their unit on rainbows:

DSCN3451Camille began by reading the group A is for Artist by Ella Doran. The class had been reading it throughout the unit so they were able to help identify the images on the page and even remember which letter they started with. When they reached “r” Camille pointed out all the different words that start with “r” on the page.
DSCN3456Camille explained that today they were going to focus on rain and rainbows. She had prepared a simple cloud illustration with the word rain. Camille put small pieces of tissue paper in the cloud to show how the moisture collects and when it gets very heavy it will start to rain.
DSCN3471 DSCN3482Camille then spread liquid glue onto the paper and invited the friends to come up one at a time and spread the rain out below the cloud.
DSCN3490Since it was a rainy day the group stayed in the National Museum of Natural History in the Gem and Mineral Hall and hunted for rainbows. They spotted one created by light passing through a prism. The group talked about the different colors in a rainbow and the ones they saw on the wall.
DSCN3494The children also discovered the rainbow colors on a map!

This class had a wonderful time learning about rainbows! Be sure to check back for our Teacher Feature next week!

Teacher Feature: Infants Explore Nature

It’s Teacher Feature Thursday!

This week we are featuring Brittany Brown. Her older infant classroom decided to spend a day doing a survey exploration of nature. She wanted to introduce the group to the different aspects of nature to see what they were most interested in exploring. Below you will find a reflection from Brittany and images from her lesson on nature.

Nature_Cover

What were your topics of exploration?

We spent the day exploring nature and the environment around us.

What were your learning objectives? (What did you want your children to take away from the lesson?)

I wanted my students to have a better understanding of their environment. I noticed that the children were becoming increasingly interested in exploring the natural world they encounter every day and thought it would be an excellent topic for our group to focus on. I wanted the lesson to be as hands on as possible, and to teach them that it’s okay to interact with the different things you find (bugs, dirt, flowers, trees, grass). I tried to focus on nature in a more broad terms to start because I wanted to see which aspects in particular caught their interest. We could then move to doing a more in depth study on those topics later in the week.

What was most successful about your lesson?

I believe the most successful parts of our lesson were the hands- on materials I brought along to the museum visit. The great thing about exploring nature in the Natural History Museum is that we are able to provide the children with multiple touch points. In addition to the books and objects I brought into the gallery space, we were also able to observe real insects as well as view amazing nature photography. Seeing the children’s reaction to the variety of insects, objects, and images gave me a clear picture of their interest and provided inspiration for future lesson plans.

What could you have done differently? What recommendations would you have for another teacher trying out this lesson?

I decided to spend the entire week exploring nature. While I valued the general exploration of the topic, I think ultimately, it would have been better to break down the topic, maybe focusing on just trees, flowers, or insects. I believe the focused study would have given them a greater understanding of specific topics. Also, I would recommend using as many sensory based activities and books as possible when developing a lesson. I believe the combination really helps children better understand what’s being taught.

Here are a few images from their unit on nature:DSCN3140Brittany began by taking her group up to the Insect Hall at The National Museum of Natural History. On many mornings there is an interpreter in the gallery with different insects for the children to meet.  

DSCN3148
The children got to meet a live caterpillar and compare it to the Eric Carle’s The Very Hungry Caterpillar. The group practiced using gentle hands and loved exploring the texture of the caterpillar.

DSCN3157Brittany then had the group observe the display of chrysalis and butterflies. She explained that the caterpillar they just saw would eventually become a chrysalis and then a butterfly.


DSCN3164 DSCN3176To reinforce the information she was sharing with the group, Brittany read The Very Hungry Caterpillar. She was sure to point to the corresponding exhibits as she read.


DSCN3186
DSCN3197Brittany then led the group around the gallery to look at the other insects. She brought along a sensory bag full of dirt, small insects, and foliage for the children to touch in the exhibit.


DSCN3206
The group went up to see the Wilderness Forever: 50 Years of Protecting America’s Wild Places photography exhibit. The class had fallen in love with the book Tap the Magic Tree by Christie Matheson so Brittany read the book in front of one of the photographs in the exhibit.

DSCN3230The last stop was to the edge of the Butterfly Garden (located outside of the Natural History Museum) to interact with plants and insects in their natural environment. Brittany encouraged the group to feel the textures and smell the different plants.

This class had a wonderful time learning about nature! Be sure to check back for our Teacher Feature next week!

Teacher Feature: Toddler Class Explores The Moon

It’s Teacher Feature Thursday!

This week we are featuring Melinda Bernsdorf. Her toddler classroom was learning about opposites and decided to spend a week learning about the sun and the moon. Below you will find a reflection from Melinda and images from her lesson on the moon.

TeacherFeatureTemplate

What were your topics of exploration?

In our classroom, we have been talking about opposites. This week, we looked at day and night, something very familiar to the kids, and discussed the differences between these two concepts. We talked about the noticeable differences in the level of light, and the different objects we see in the sky during day and night. We started in the atrium of the National Museum of the American Indian. There is a large skylight that has metal work resembling a sun which lets sunlight shine into the space. There is also a set of prisms, and as the outside light shines through, rainbows move across the walls. We then looked at the amazing star scape on the ceiling of Our Universes in the National Museum of the American Indian. To focus our attention, we brought “telescopes” we made earlier in the week, and found shapes in the stars. To deepen our discussion on the moon, we talked about the texture of the surface, and each child was able to imprint their own Styrofoam moon with finger shaped craters. We also talked about how our actions are different in the day and night. There was lots of discussion about sleep and play.

What were your learning objectives? (What did you want your children to take away from the lesson?)

Exploring opposites is always a great way to involve our kids in scientific discovery and early math skills. I want the kids to become more familiar with the vocabulary on these subjects. We compare and contrast, and talk about observation and investigation. In this lesson, I wanted to bring the attention of the children to a more complex conversation about an everyday experience. I also wanted them to have a great immersive experience, reading about the sun and brightness in the atrium where they could see it shining through the prisms, casting rainbows on the walls, as well as talking about the moon and stars while sitting with “telescopes” under a night sky.

What was most successful about your lesson?

The kids really enjoyed the telescopes. They recognized their work from earlier in the week and felt a sense of ownership and pride as their art project became a tool. They focused on the stars and moon longer when using the telescopes, and having a tactile object that related to the lesson helped lengthen their attention span.

What could you have done differently? What recommendations would you have for another teacher trying out this lesson?

Trying to extend our lesson with the Styrofoam moon would have worked better in the classroom. I was hoping for an art activity that would lend itself well to the museum environment, however I ended up asking toddlers to sit for too long. Between the time in the atrium and then the time under the stars, we became a bit antsy. When I attempt this lesson again, I think we might talk a little more about the moon and its surface on a different day. I would also like to expand this project by having the kids paint the newly-cratered surfaces of their Styrofoam moons with a mud or clay based liquid, and decorate the other side of the Styrofoam with orange and yellow tissue paper. This will give them a tactile object that represents both the moon and the sun. Like the telescopes, these could be made ahead, and brought with us to the museum to bring both aspects of the lesson together.

Here are a few images from their unit on opposites:

DSCN3274Melinda took the group straight to the National Museum of the American Indian for their lesson. When they first pulled into the museum she had the group stop and observe the light coming from the ceiling portal.
DSCN3277Melinda then showed the group an image of the sun and asked them to compare it to the light that was coming out of the portal. They talked about the shape and the amount of light they could see.
DSCN3282Melinda gave each child the chance to look closely at the image.
DSCN3284She also referenced a book they had read earlier in the week about the sun.

DSCN3300
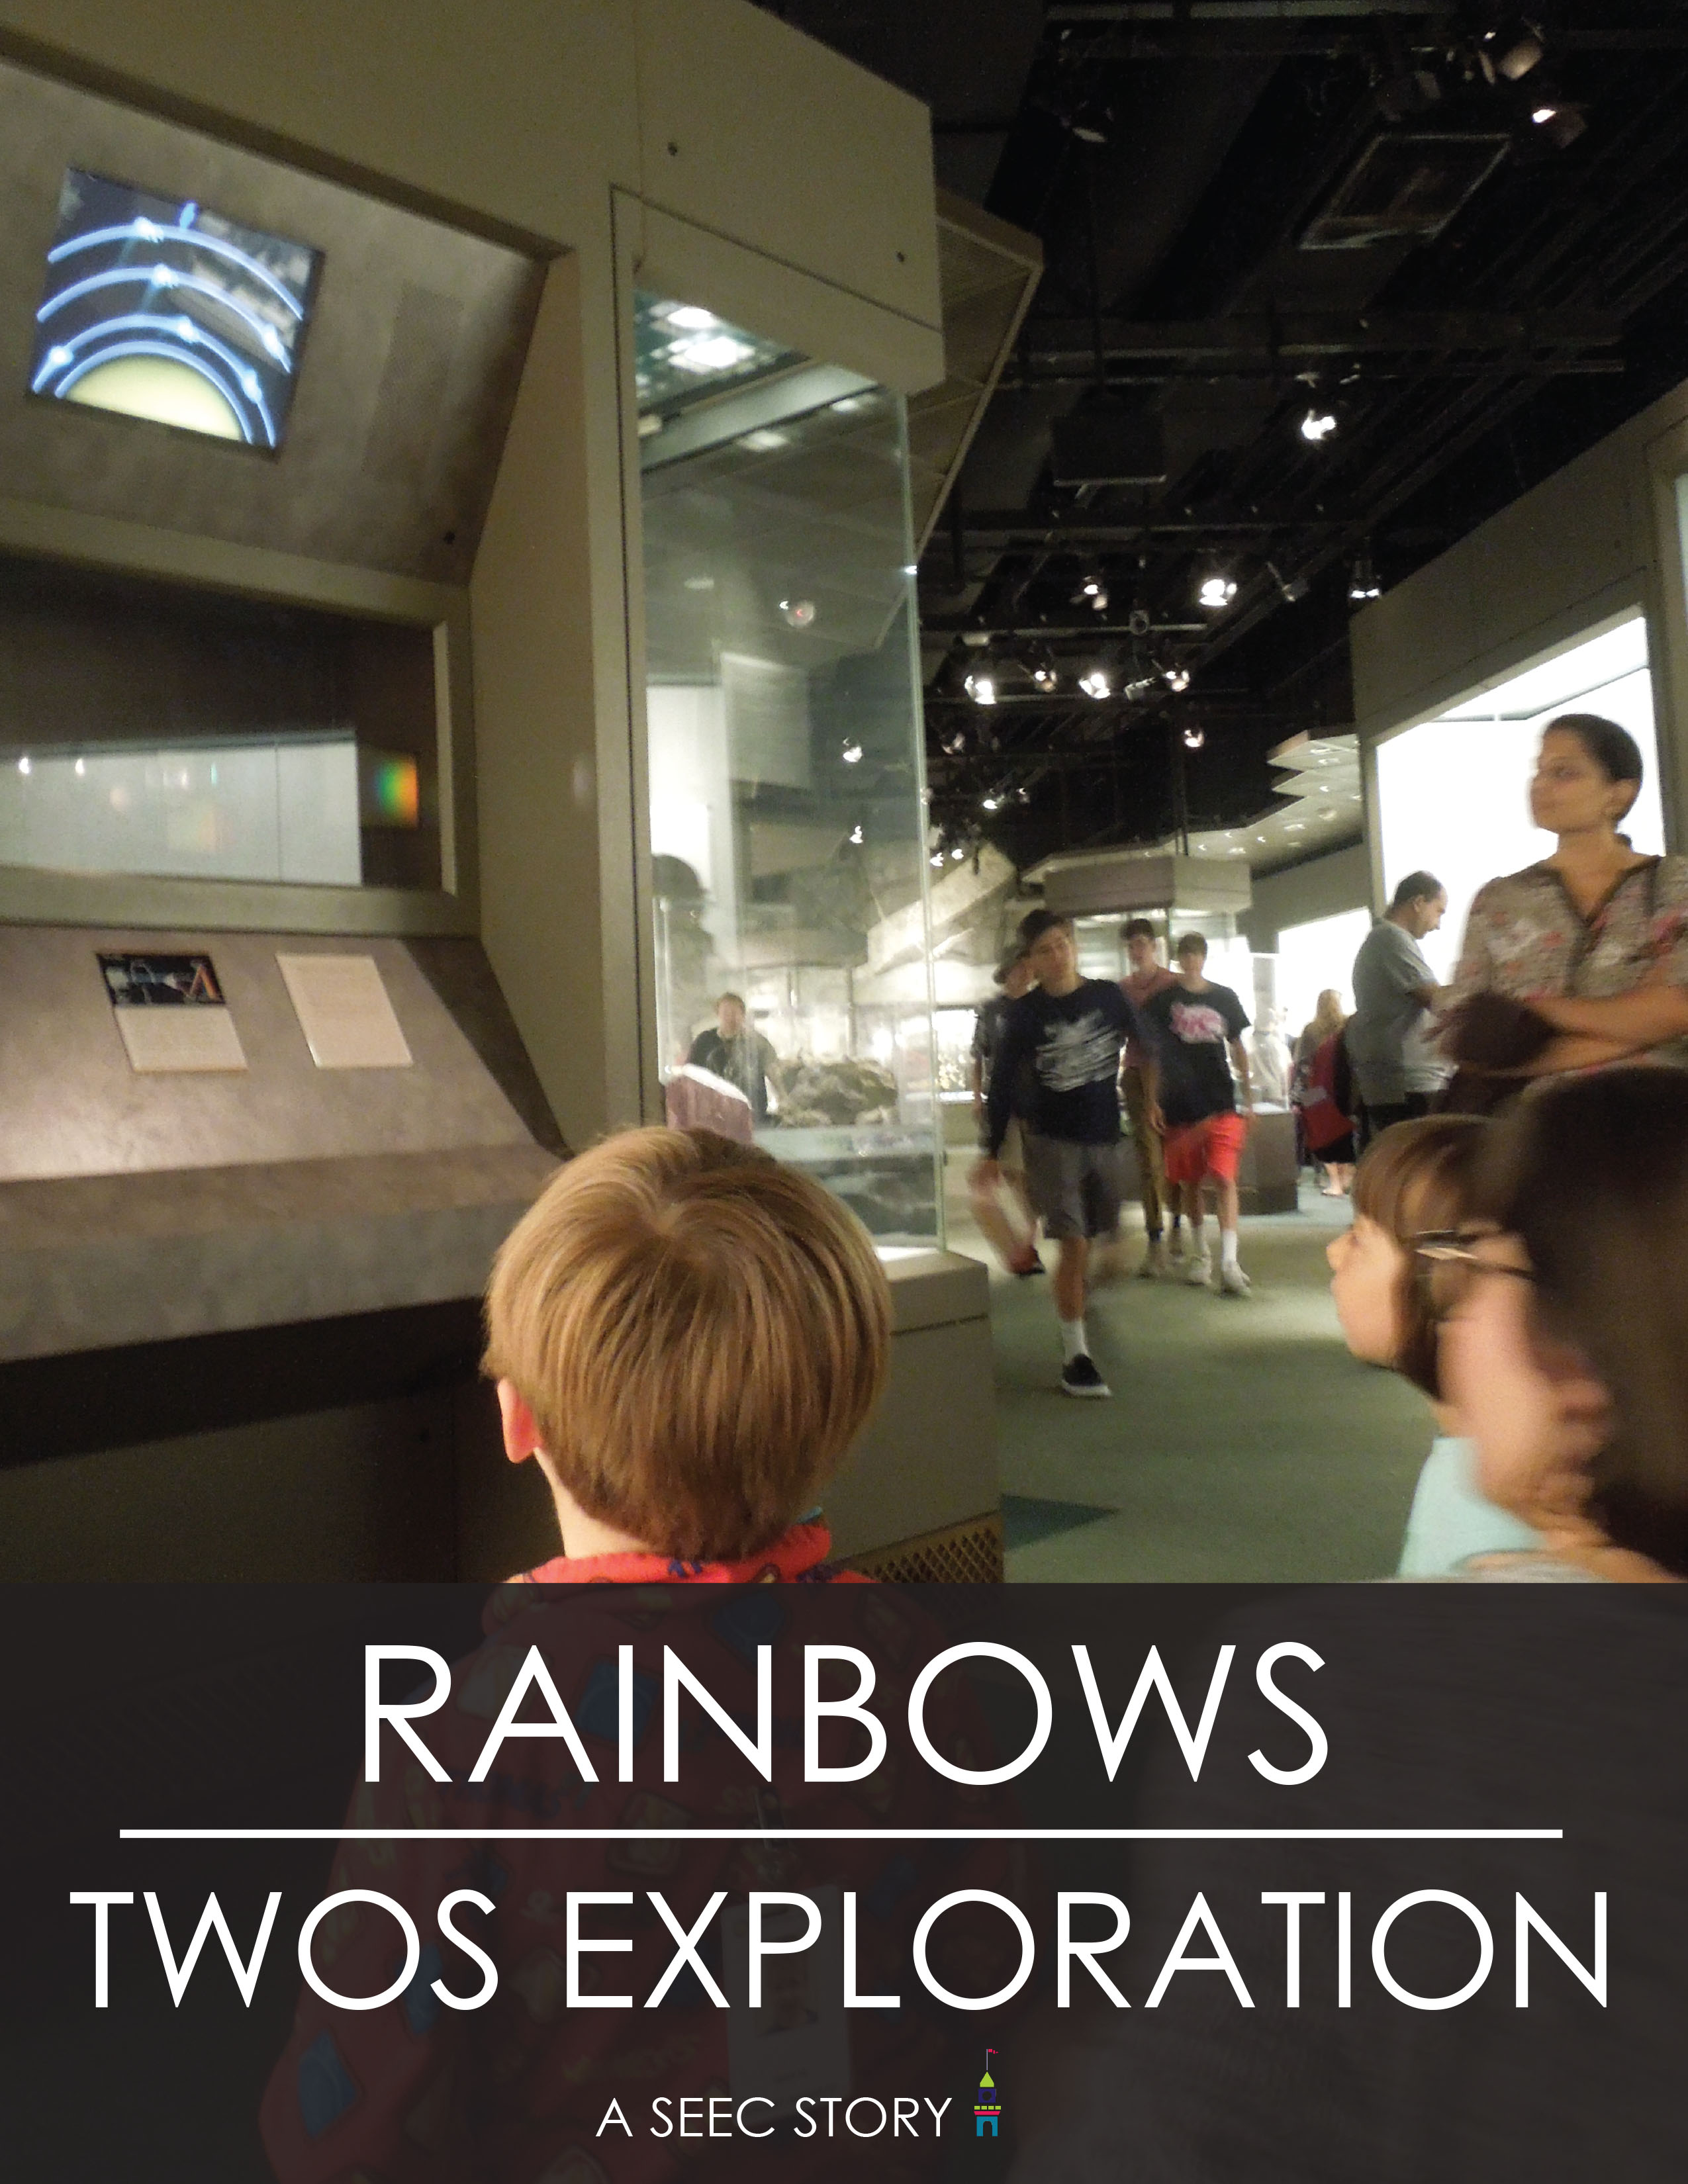
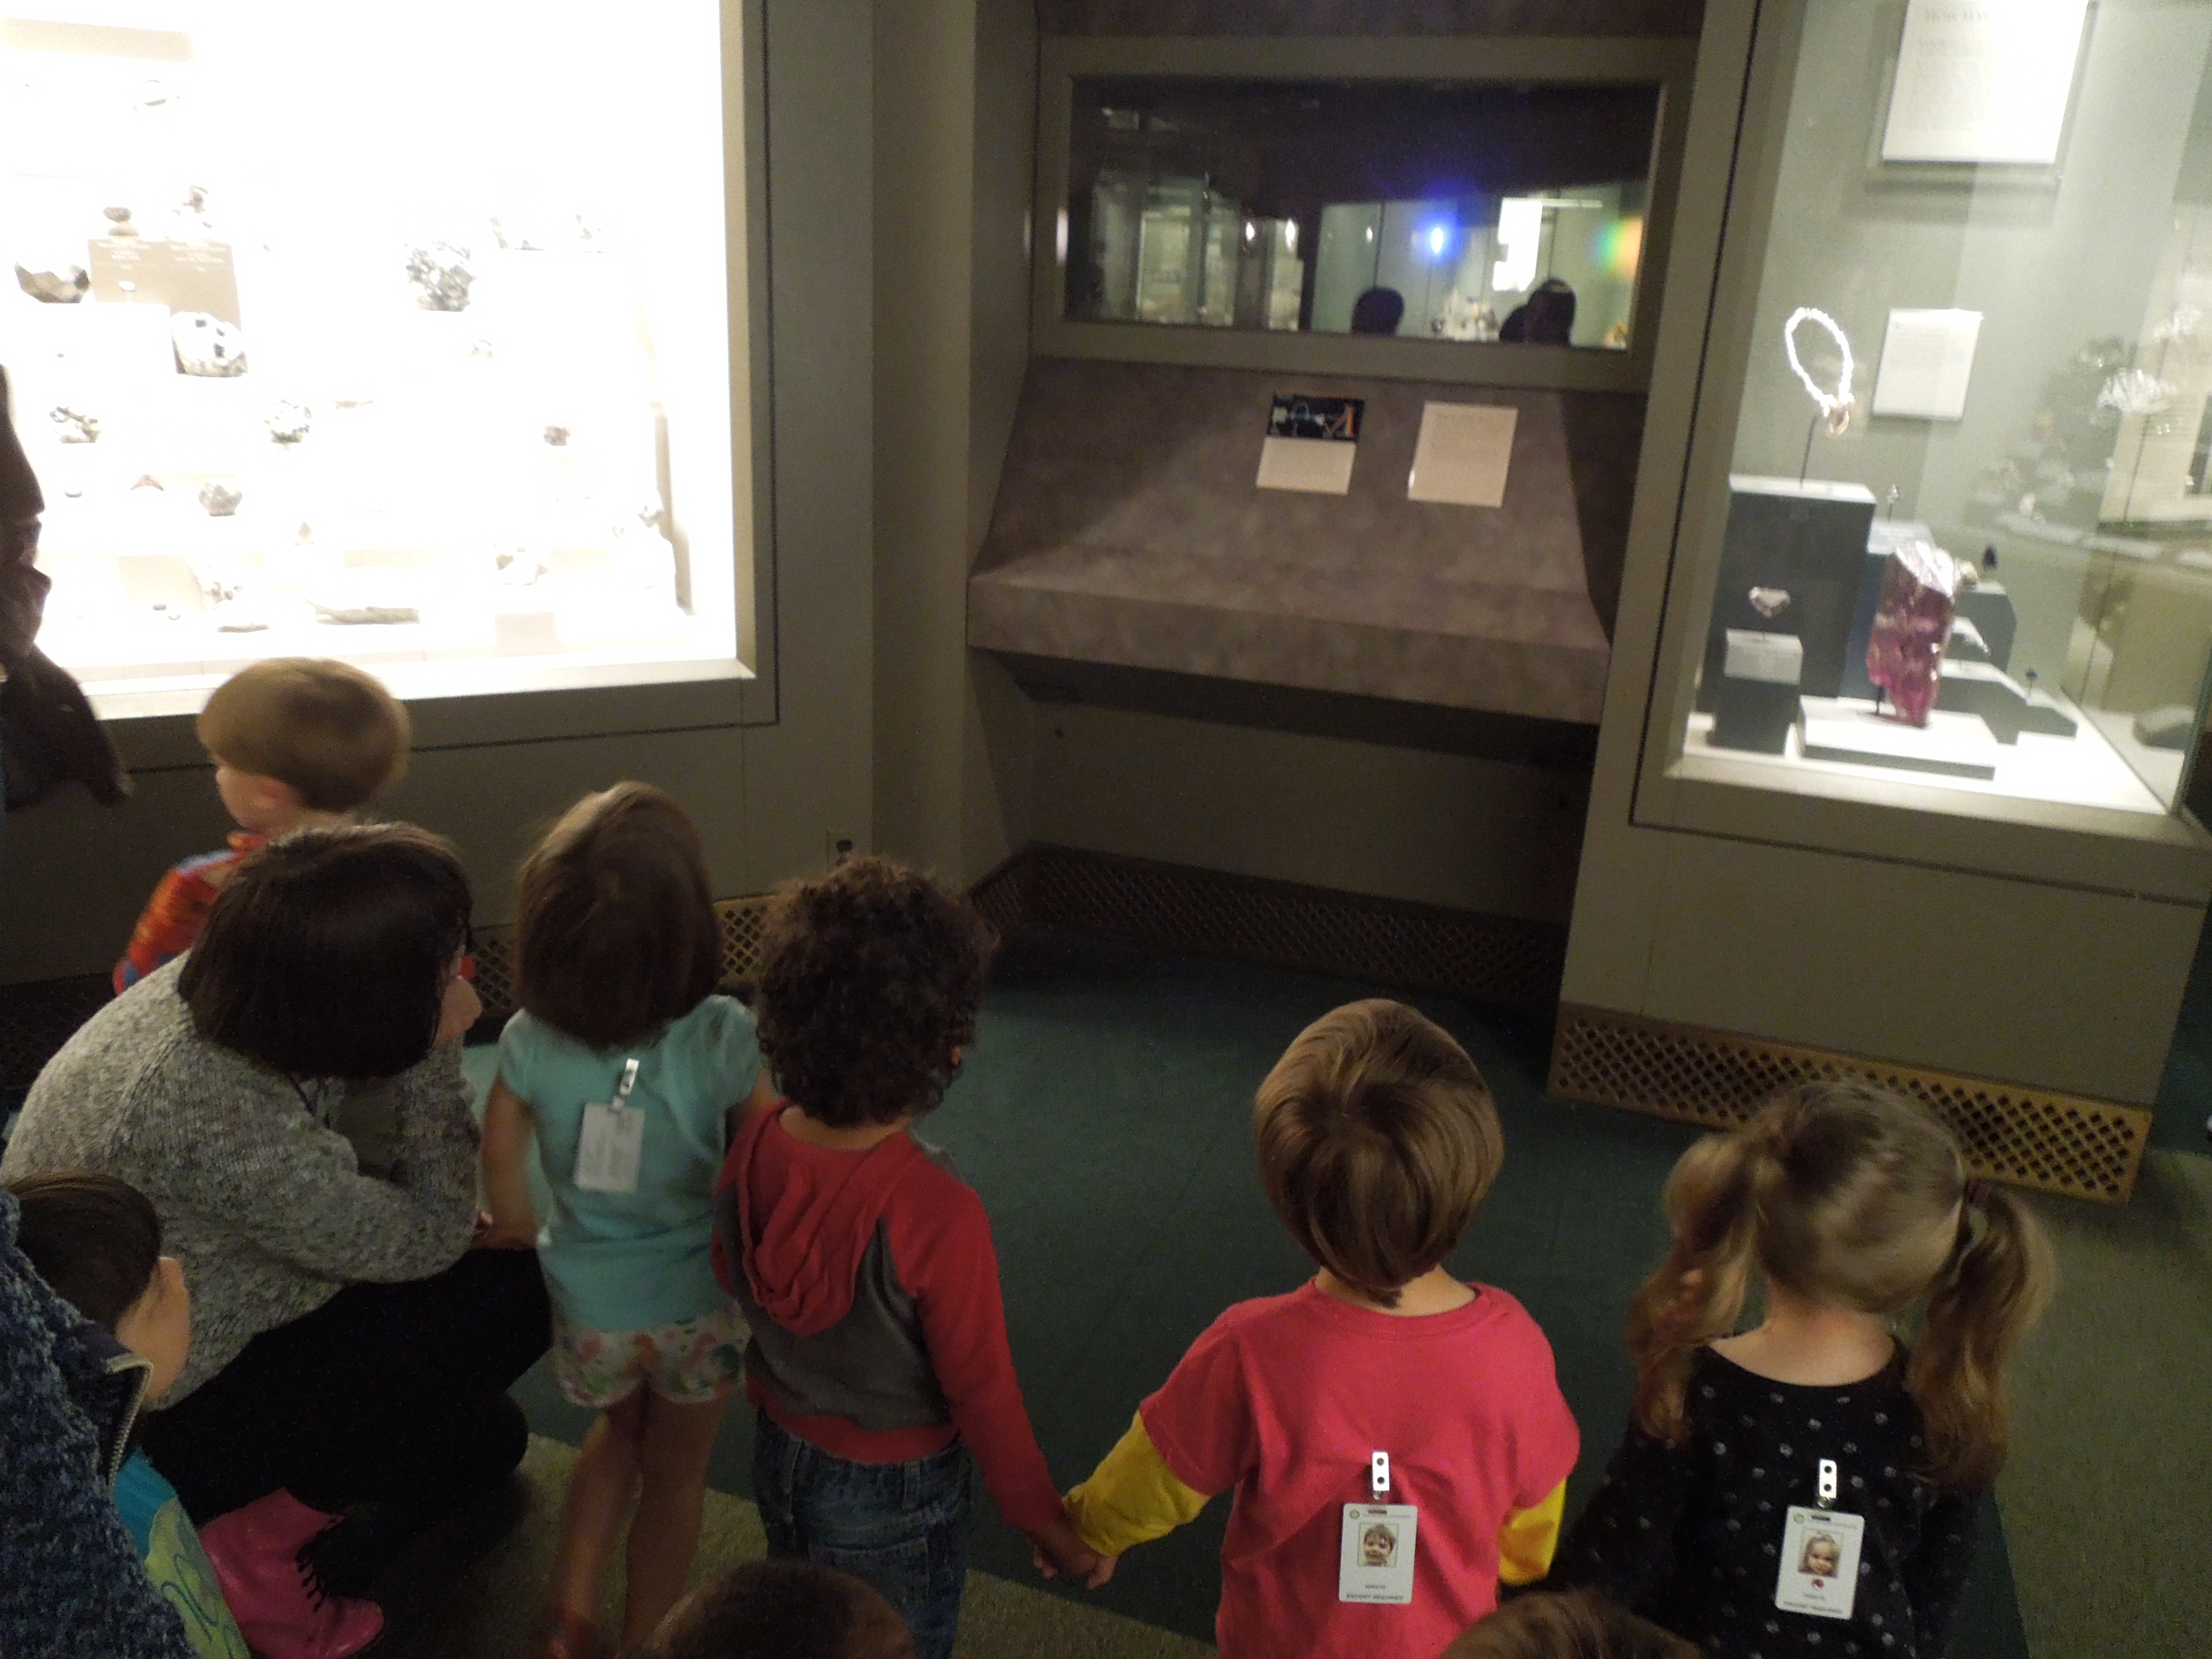
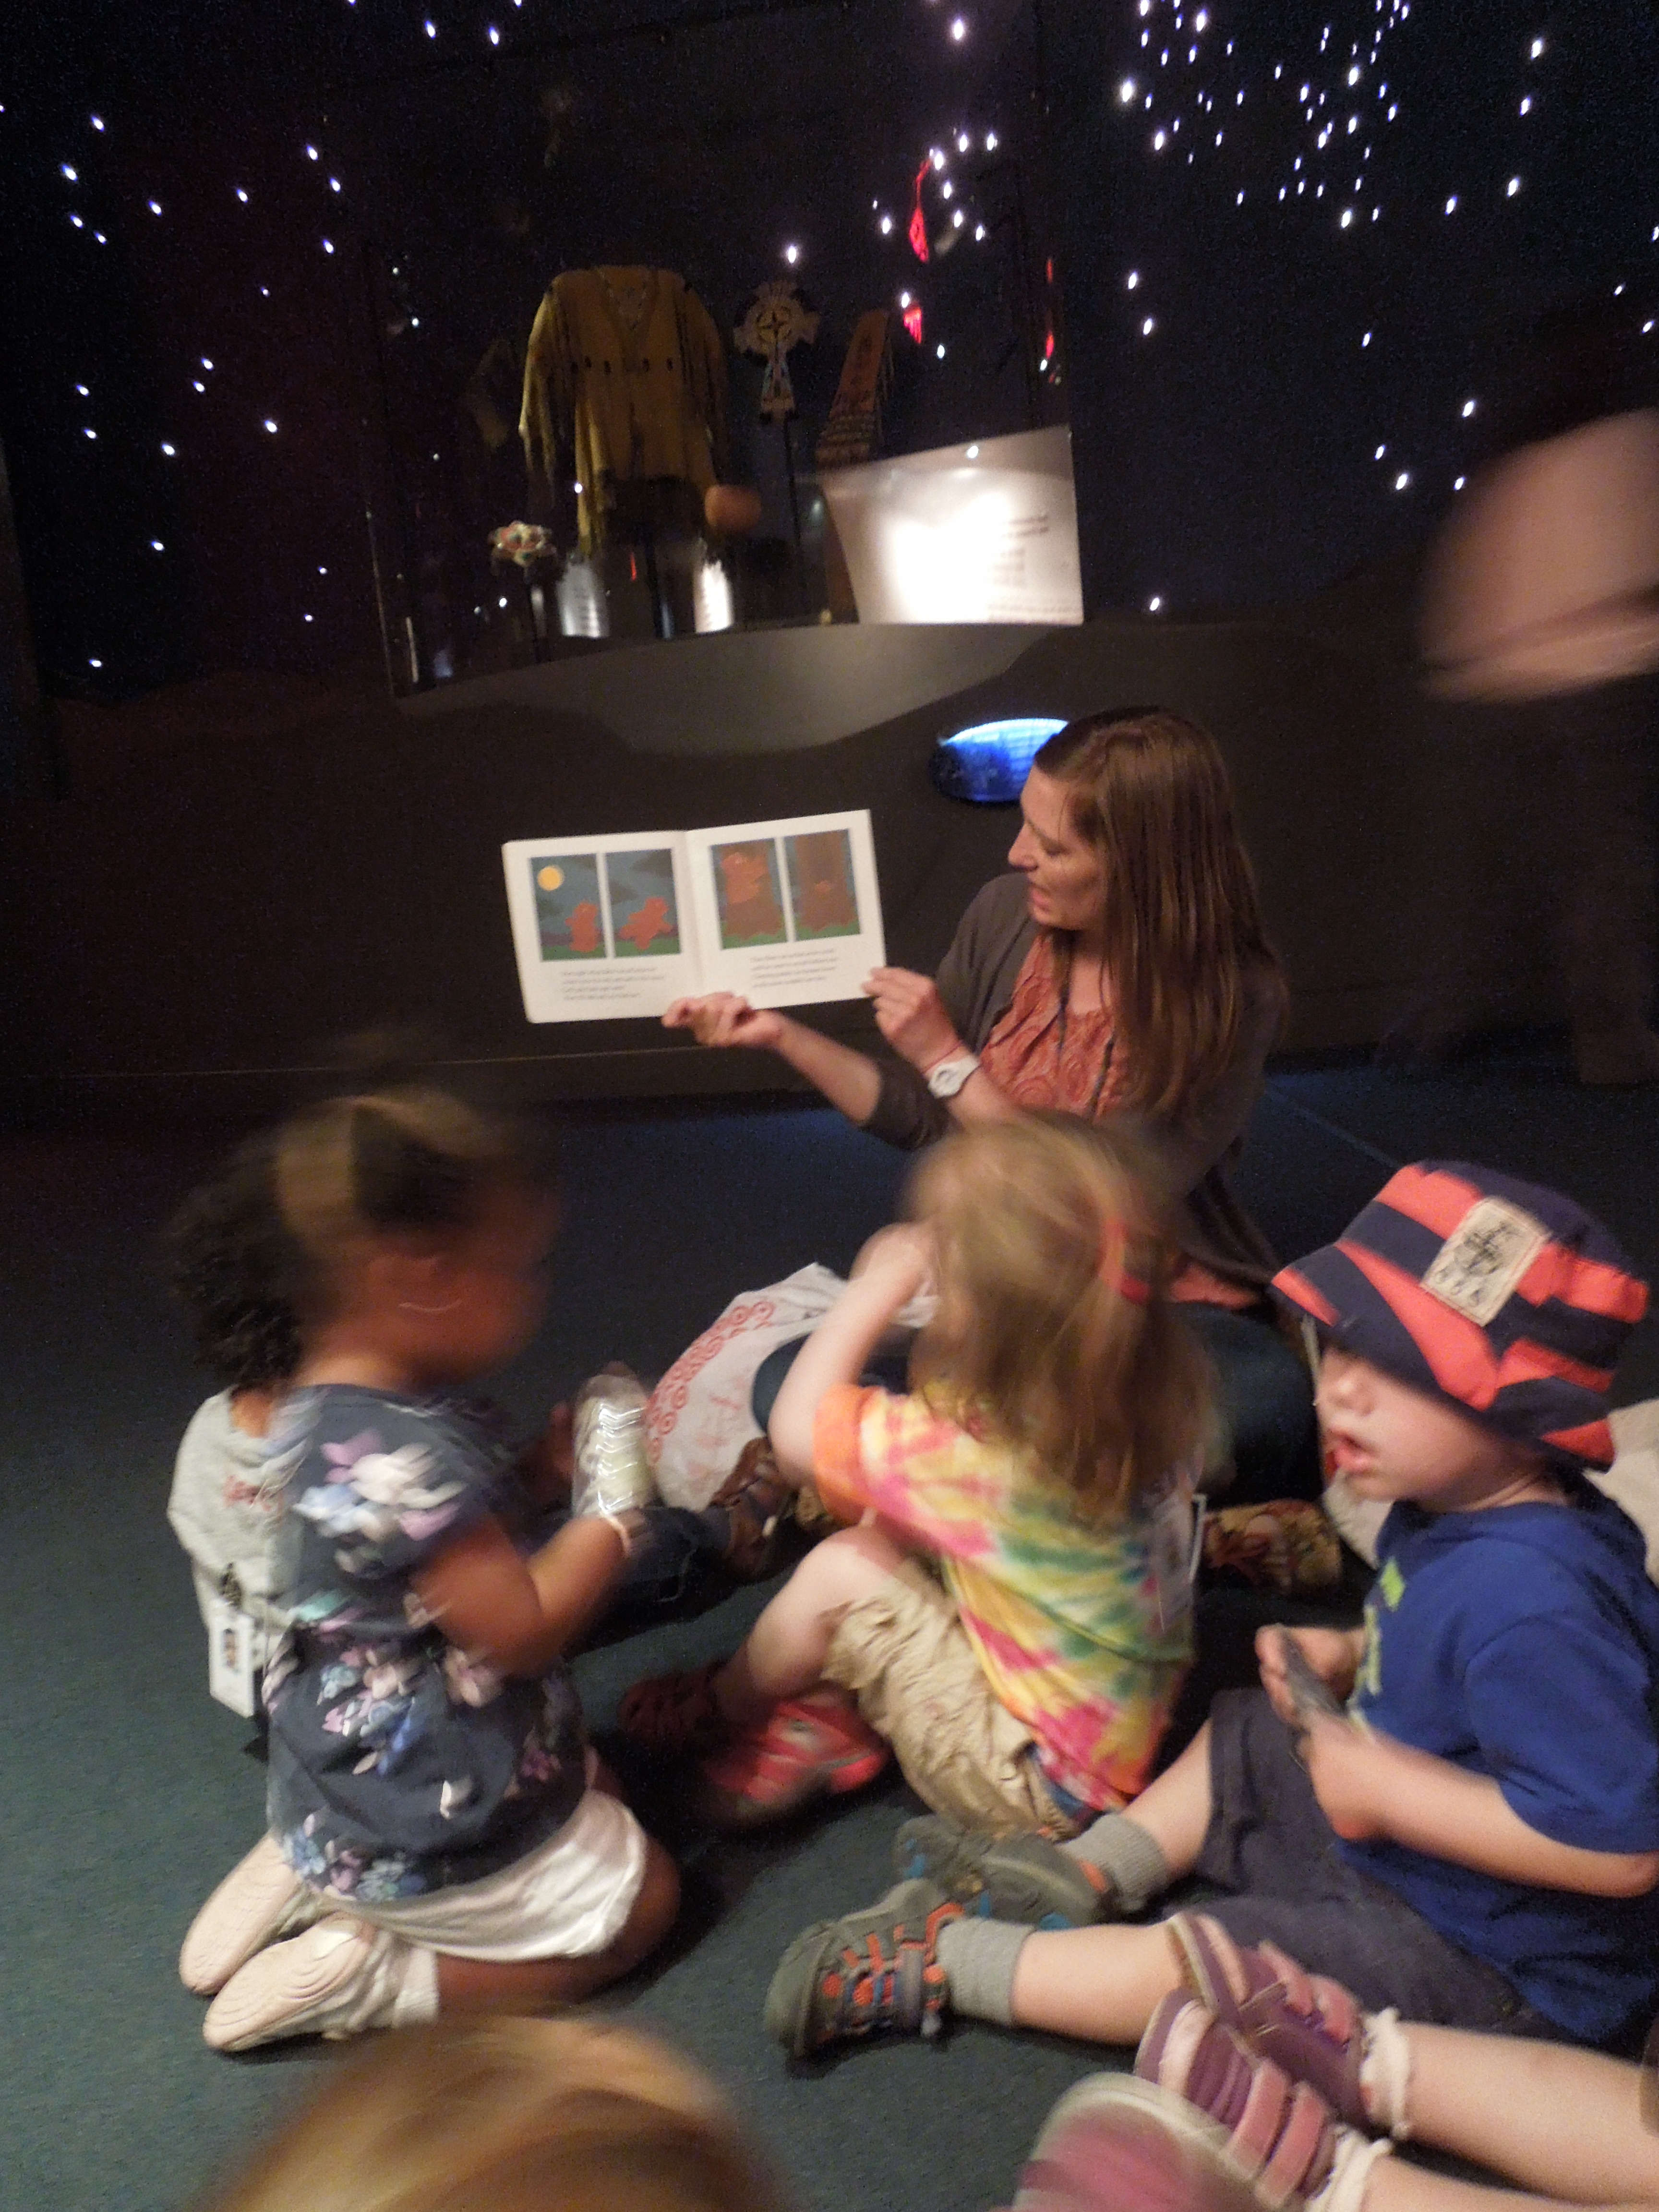
They then headed up to the Our Universes exhibit. The ceiling of the exhibit has a moon and is covered in stars. Melinda passed out telescopes that the children had made to help them look closely at the night sky. While the children were looking, Melinda read them Moon Game by Frank Asch.
DSCN3298The group loved looking closely at the book through their telescopes. 

DSCN3317Melinda then shared with the group an image of the moon and styrafoam circle. She talked about how the moon is covered in craters and that they were going to use their fingers to squish the foam and make their own craters.
DSCN3313They enjoyed the sensation of the foam squish beneath their fingers.
DSCN3324One little girl especially liked comparing her circle to the moon.
DSCN3329Melinda also had the group look at the House Post from the Dís hít (Moonhouse) of the Kwac’kwan Clan. She pointed out the circle shape and how the carved image on each post could reflect the different phases of the moon.

DSCN3335 DSCN3337They took one final look at the sun coming through the portal and compared the two images of the sun and moon before heading back to the classroom.

This class had a wonderful time learning about opposites! Be sure to check back for our Teacher Feature next week!

Teacher Feature: Preschool Classroom Explores Architecture

It’s Teacher Feature Thursday!

This week we are featuring Jessie Miller. Her three year old classroom was learning about architecture and decided to spend a day creating models. Below you will find a reflection from Jessie and images from her lesson on architecture.

Architecture_Cover_1

What were your topics of exploration?

During our exploration of architecture, we talked about the process architects and builders go through to create houses. With the help of Chris Van Dusen’s book If I Built a House, we discussed what kinds of things we would want to include in our own dream house. After the architects make blueprints they often create models of what they want to build. The students used their previous knowledge of architecture and their new ideas from the story we read to create their own model of a house. Each child was given a shoe box as a starting point and they used materials such as cardboard, paper, ribbon, tape, markers, scissors, etc. to build their model homes. During this activity, we talked about making sure the houses have a solid foundation on which to build and what kinds of essential elements they needed to function as a home. It was also a way to show them how models are created to help architects visualize what they want something to look like before they actually begin building it.

What were your learning objectives? (What did you want your children to take away from the lesson?)

The class had been studying architecture for a few weeks prior to this lesson and I wanted them to have a hands on experience related to this topic. We had read countless books on architecture, created our own blueprints, observed the architecture around us, learned about building materials and tools, and even met with some real architects! I wanted the children to use all this knowledge they had learned and apply it to this project. After this lesson, they should understand the concept of what a model is and why they are an important tool for architects. I also wanted the class to take on the role of the architect and see how they can use their own ideas to create something. They should also be able to compare the things they were putting in their model to real life. For example, if they added cardboard to the top of their shoe box it could represent a roof or if they cut a hole in the side it may be a door.

What was most successful about your lesson?

This lesson was a great way to have the class express themselves in a creative way without many restrictions. They were given a lot of space and a range of materials to work with, which allowed them to all work on a project at the same time but at their own pace. There were three adults and twelve children so there were extra hands when the children needed help with something. I think the most successful part of the lesson was that the children were able to create something of their own and have fun with it. The lesson was structured in a way that allowed them to move around a lot and not be confined to sitting in one place or having to wait long periods of time to get a turn. The Wallabies really impressed me with all of the conversations they were having about what they were building and how they were able to take their ideas and turn them into something real. This lesson also leaves the children with a final product they can keep and be proud of.

What could you have done differently? What recommendations would you have for another teacher trying out this lesson?

This was a fun activity for the Wallabies but it takes some time and effort to complete. We were able to do the activity on the floor of a large art space which was much more conducive then tables in the classroom. However, because of the amount of children and materials it could get a bit cluttered at times and the clean up is a process as well. One issue that arose was how much tape the children needed. Because they still needed help from teachers to get tape, it was hard for me to pass it out as quickly as they needed it. Therefore, I would have more of that ready for them beforehand. Doing this activity with smaller groups could be helpful as well so the teachers can work with more children one on one. It is also important to either have a set time when everyone stops or have something for them to do once they begin finishing the activity. Some children get really detailed with their models, while others may rush through it quickly so it is important to be mindful of this difference.

Here are a few images from their unit on the architecture:

DSCN3089

Throughout the week the group studied blueprints and worked on their own sketches.

architect

The group even visited with Natural History Museum’s building manager to look at blueprints for the museum and learn about the role of an architect.

DSCN3091

For this lesson, Jessie wanted to focus on the children creating models of a house of their own design. She read the group If I Built a House to inspire them to think creatively about what their dream house might include.

DSCN3097

Jessie then explained that each child was going to get a box and could use any of the materials she collected (string, ribbon, cardboard pieces, dot paint, straws, etc) to create their model. Jessie had the group work together to help build her model before beginning to work on their own.

DSCN3108 DSCN3114

The children were able to get lots of fine motor and problem solving practice during their construction.

DSCN3133

When the children were finished, they would describe their house to one of their teachers. This little girl explained: “I love the house. The strings are woggly and there are dots on the bottoms and dots on the top. The cotton balls are windows up top.”

This class had a wonderful time learning about architecture! Be sure to check back for our Teacher Feature next week!


Teacher Feature: Infant Classroom Explores Flowers

It’s Teacher Feature Thursday!

This week we are featuring Noel Ulmer, Nessa Moghadam, and Katy Martins. Inspired by the spring weather and blooms, their infant class decided to paint with flowers.  Below you will find images from their painting experiences with flowers.

Flowers_Cover


Here are a few images from their unit on the flowers:DSCN2973Nessa began the lesson by reading Planting a Rainbow by Lois Ehlert. The team had the children sit in high chairs so they could have a nice flat and accessible surface to do their painting.

DSCN2977The children were first provided with silk flowers to touch and explore.

DSCN3003The children used all their senses!

DSCN2999Then it was time to try out painting with the flowers.  The teachers had pre-made sheets with a vase for the children to add their flower prints.

DSCN3008The teachers added a clothes pin to the shortened stem of the silk flower so they would be able to get a better grip. This was great activity for them to work on their fine motor skills. In addition, the babies began to notice that the painted blossom leaves marks where ever it lands.

DSCN3012DSCN3030The children were interested in exploring the painted flower in many different ways, including smelling and touching the wet paint.

DSCN3023They had a great time!


DSCN3045The teachers decorated their room with images of flowers, art prints, and images of the children. After painting, this little girl came over to check out the paper flowers on the wall.

This class had a wonderful time learning about flowers! Be sure to check back for our Teacher Feature next week!