Reflection: Bisa Butler Project

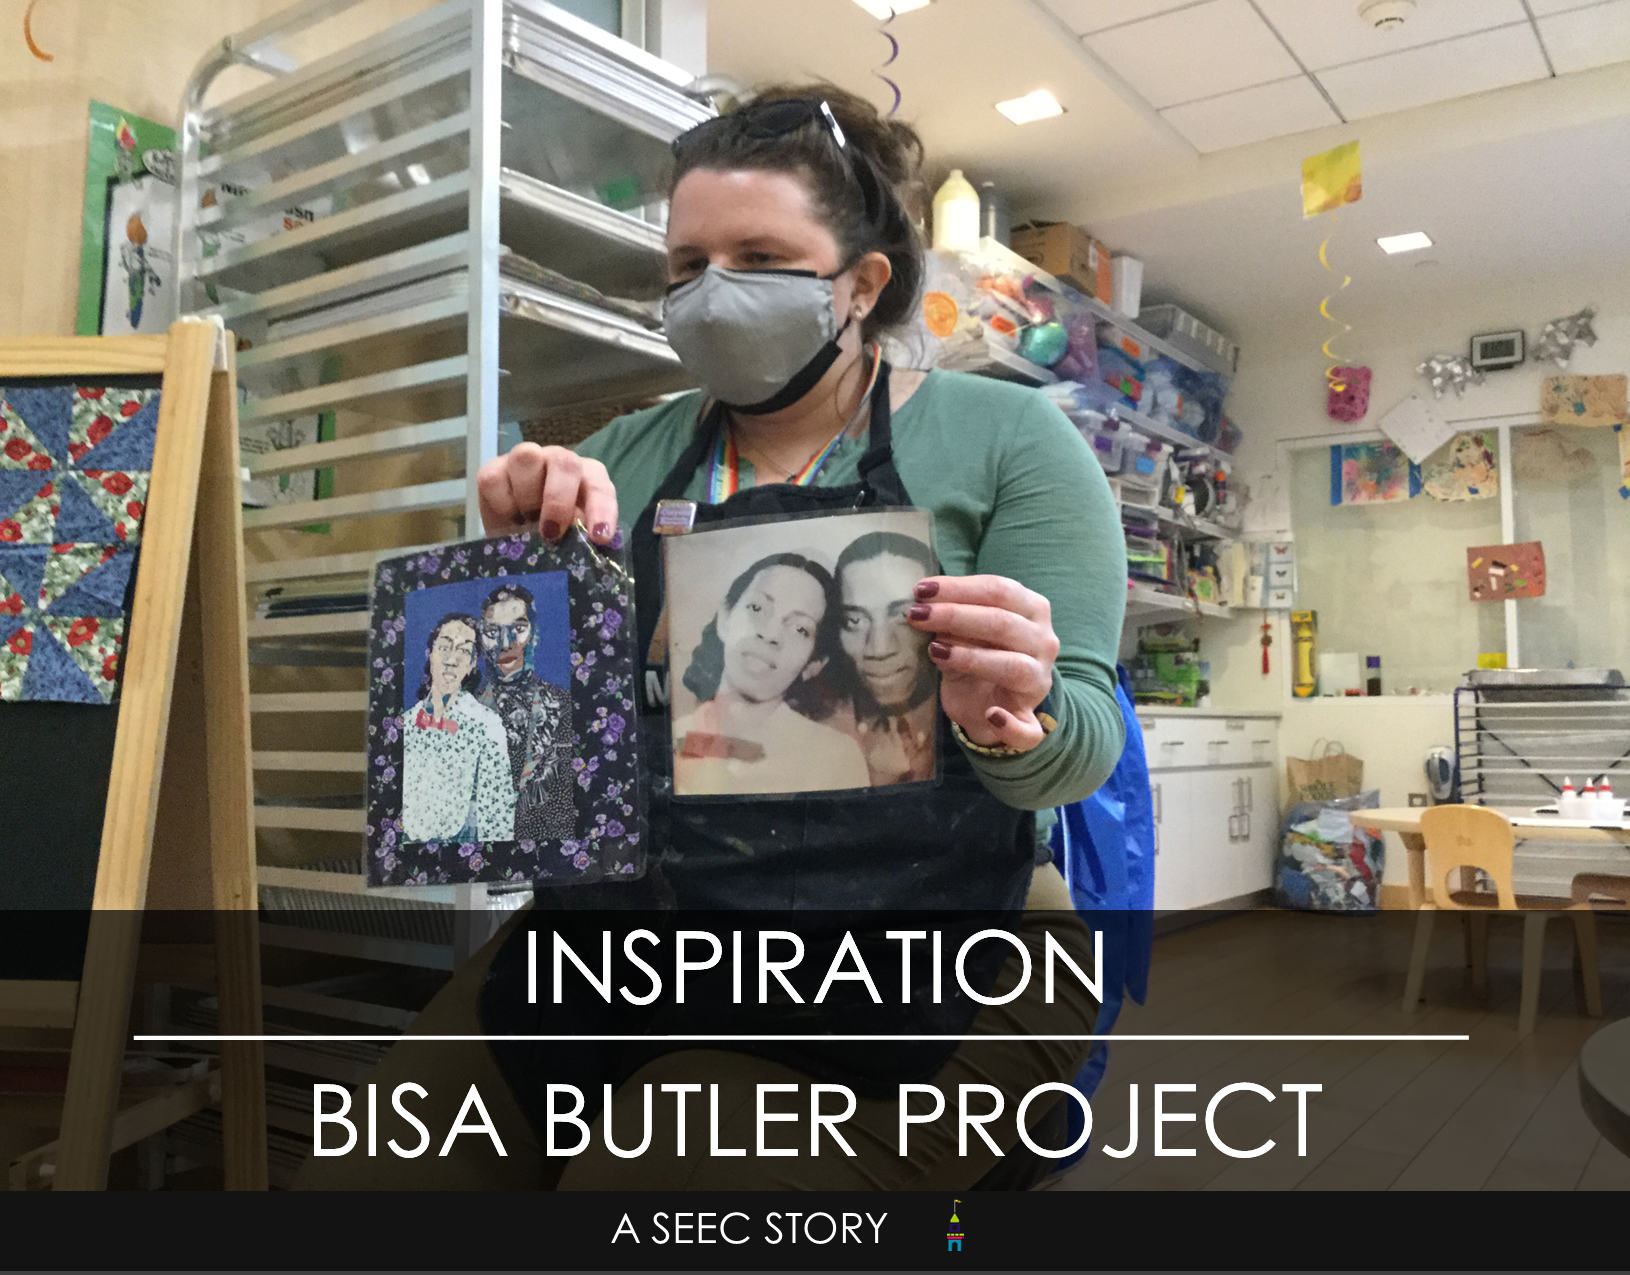
This is the final blog of a six-part series on a project inspired by Bisa Butler. In this blog, SEEC’s former art educator Carolyn Eby reflects on the entire project which is discussed in-depth in the previous blogs – Inspiration, Batik, Collage, Sewing, and Kente Cloth 

A chose up of a child's project in process, squares of colorful fabric has been glued to a batik inspired fabric background which is mounted on a sturdy tag board base. Text at the bottom says: Reflection: Bisa Butler Project: A SEEC Story

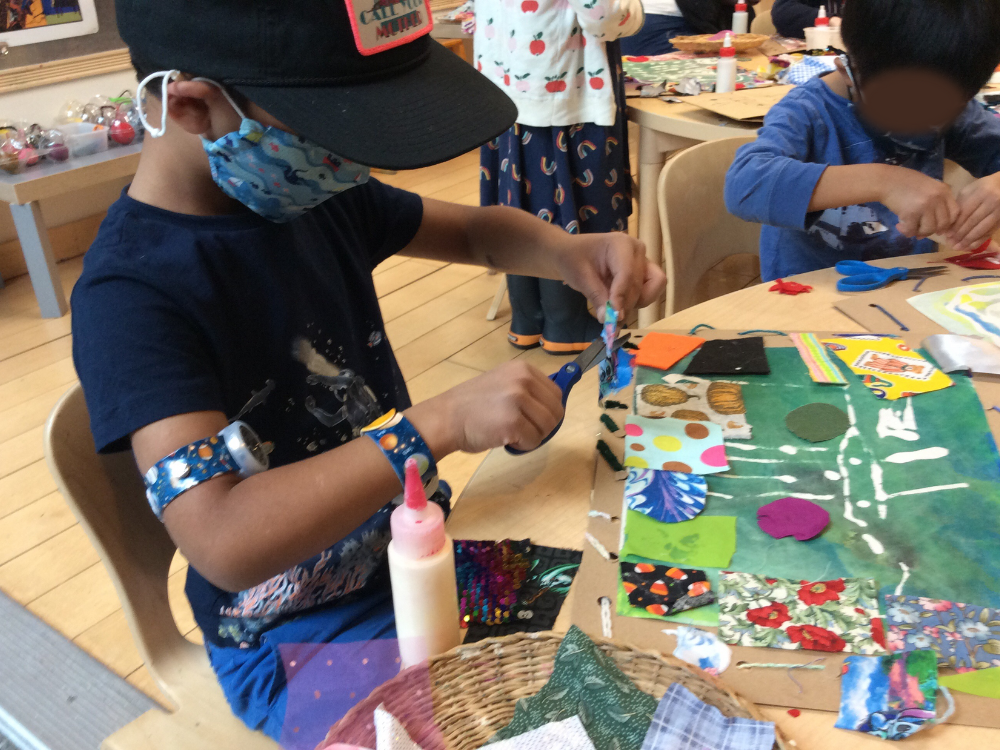
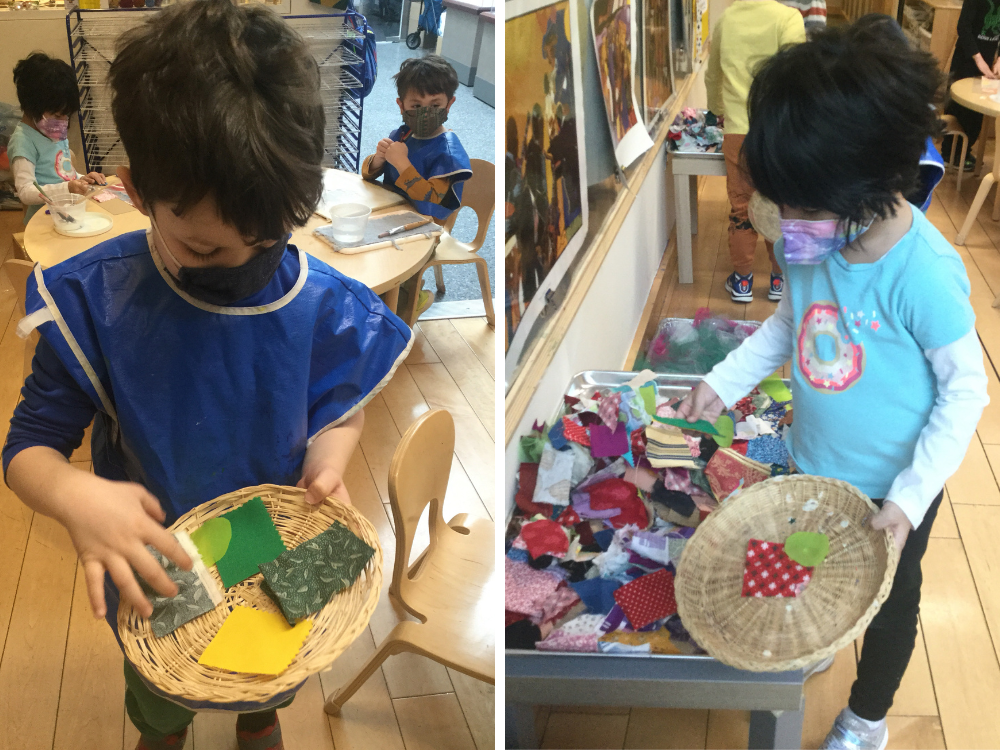
Overall, the Bisa Butler inspired project could not have been more of a success. The process gave the children the opportunity to learn new skills like cutting fabric and sewing. It allowed them to explore textiles, learn more about the clothes they wear, and make connections between fabrics and their personalities.  

Carolyn points to a an example fabric resist to show the children what their resist fabrics will look like, children watch from the carpet
Carolyn shows the children examples of what their finished glue resist fabric pieces will look like during a lesson on batik.  

The project also introduced them to the artwork of Bisa Butler who the classes fell in love with. They even decided that Bisa Butler should represent the letter “B” in their classroom alphabets. Carolyn was excited to highlight the work of a Black, contemporary, female artist. She explained that she is continuously searching for more black, indigenous, people of color, and other underrepresented artists. She says that what we are currently doing, in terms of teaching diversity, is not enough. She cited the fact that most art museums show majority white men as their artists. As an art teacher, she strives to introduce young children to a wide variety of diverse artists so that the children are able to embrace artists like Bisa Butler.  

Children sitting at various tables use brushes to spread glue on batik inspired fabrics so they can attach fabrics they collected in their baskets.
The children became immersed in working on their Bisa Butler inspired fabrics.  

When thinking about what she might have done differently, Carolyn explained that she could have slowed down and taught even more classes on the subject. Even though they worked on the project for a long time, six classes, Carolyn said that the children “didn’t seem tired of it.” If she had taught more lessons on the subject, she would have gone more in depth about how fabric is made. She explained that slowing down and truly breaking down ideas into their core components is something that she is always trying to do as an educator and is constantly surprised by how much further and deeper she could go with a subject.  

On the left a child spread glue on their batik inspired fabric to attach fabrics gathered in a basket to their left, on the right a child attaches a piece of fabric to their batik project using a paintbrush with glue
Using textiles as a medium was a new experience for many of the children. They painted, cut, glued, and stitched as part of this project.  

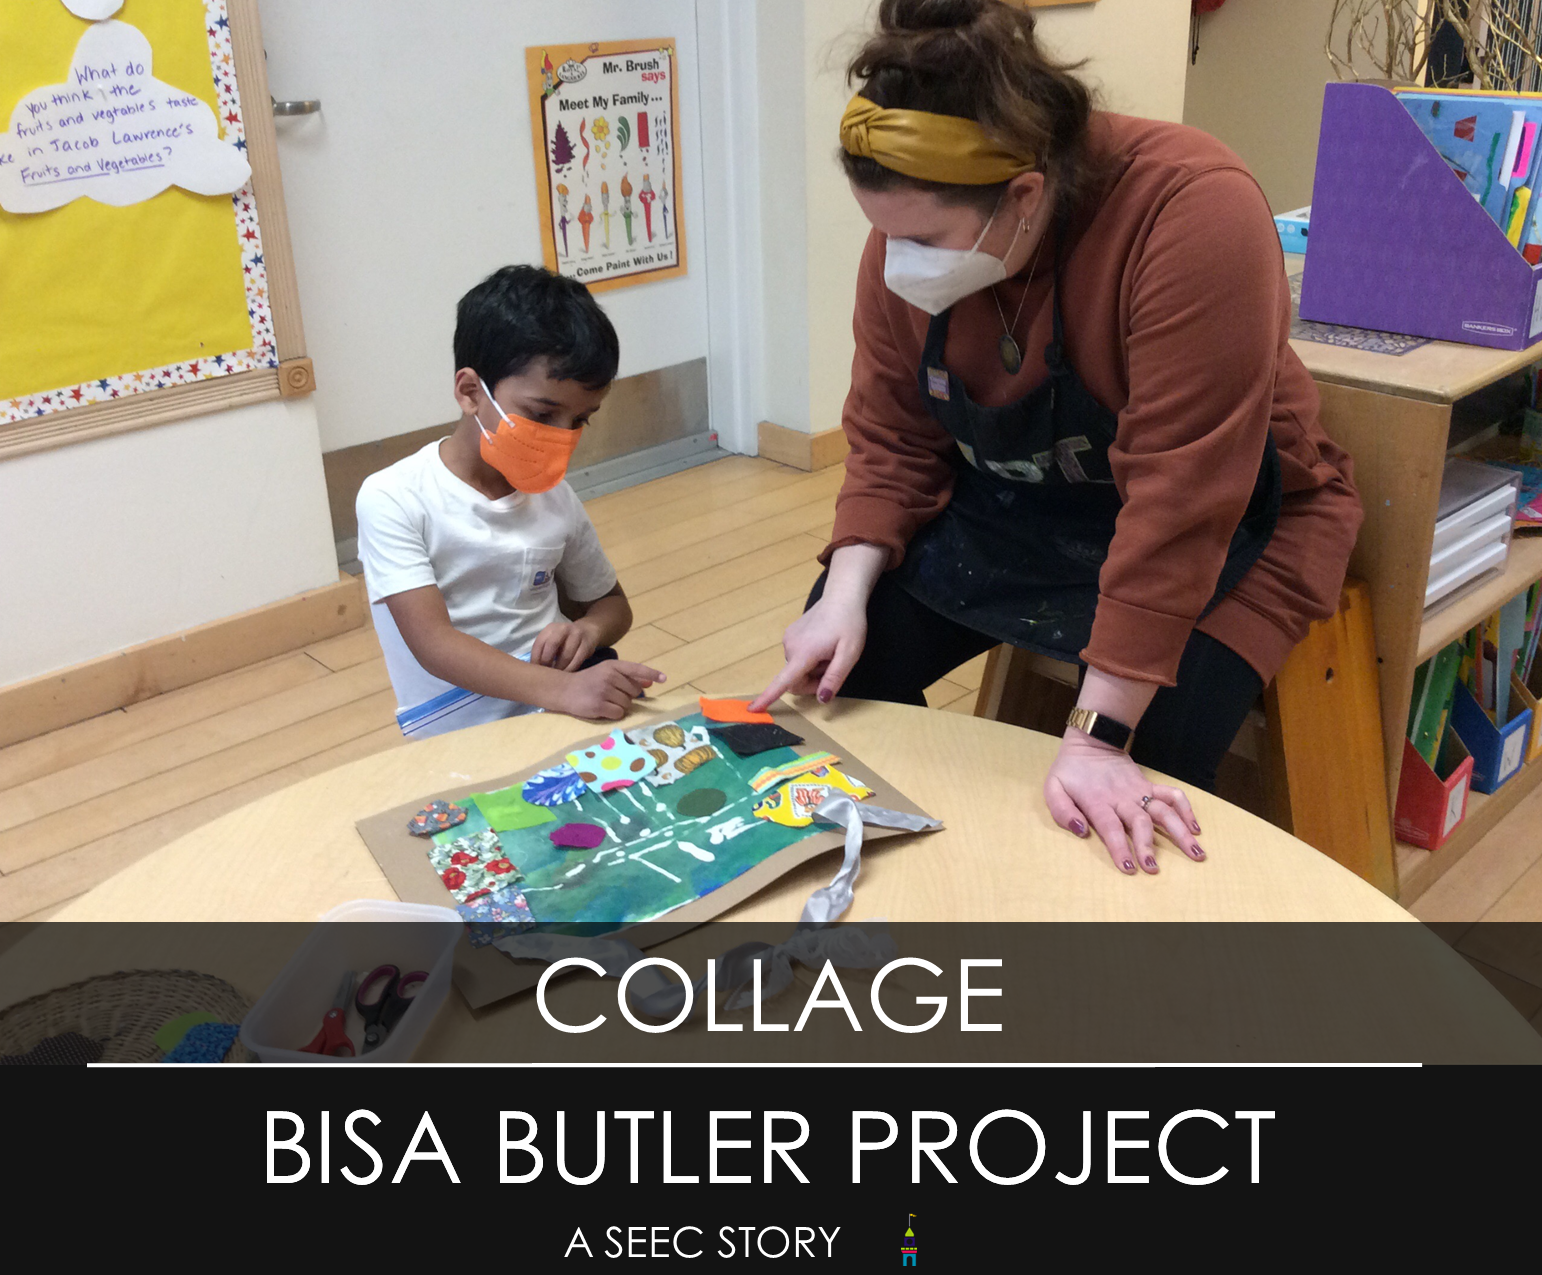
Another challenge for Carolyn was how the children interpreted the layering of fabric. Carolyn designed the project to allow the children to layer freely but as the children collaged fabric to their pieces, Carolyn noticed that they were beginning to cover up the beautiful batiks they had previously made. Even though she was excited for the children to use layering as an artistic aspect since Bisa uses layering as a technique a lot, Carolyn had not anticipated just how into layering some of the children would become. She felt conflicted because she wanted their batiks to be a visible part of the finished pieces, but she wanted the children to be free to express themselves. Upon reflection Carolyn said, “that was sort of a learning exercise for me, this is their art, these are their choices. You can encourage but you don’t want to move things or change things.”  

Additionally, Carolyn had some concrete recommendations for anyone trying out this project:  

  • Make collaborative batiks to use in the collage. Rather than individual batiks as the base of the project 
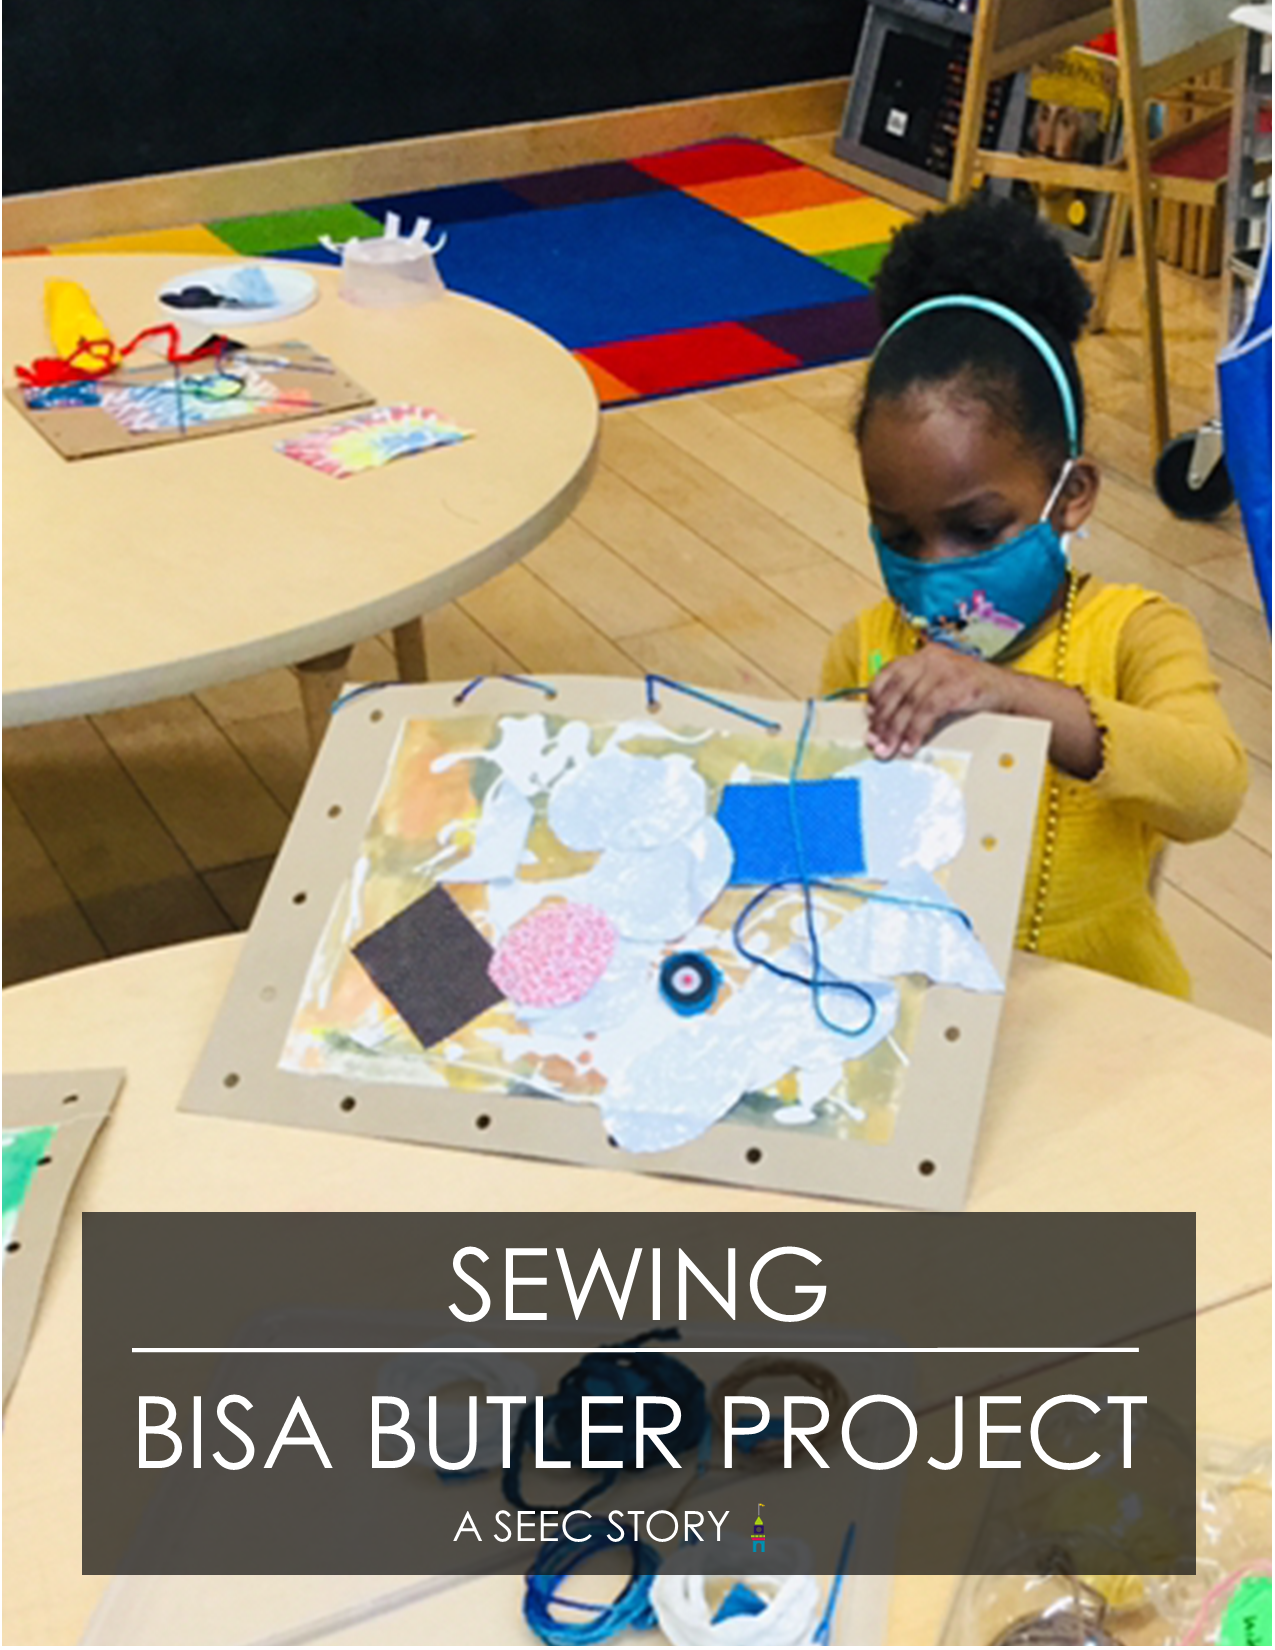
  • Use thick string (not loose yarn) when sewing 
Carolyn pauses wiping the table to talk to a child, they are painting a piece of fabric with blue, red and black paints
While tidying up, Carolyn pauses to check in on a child who is working on their batik inspired fabric.

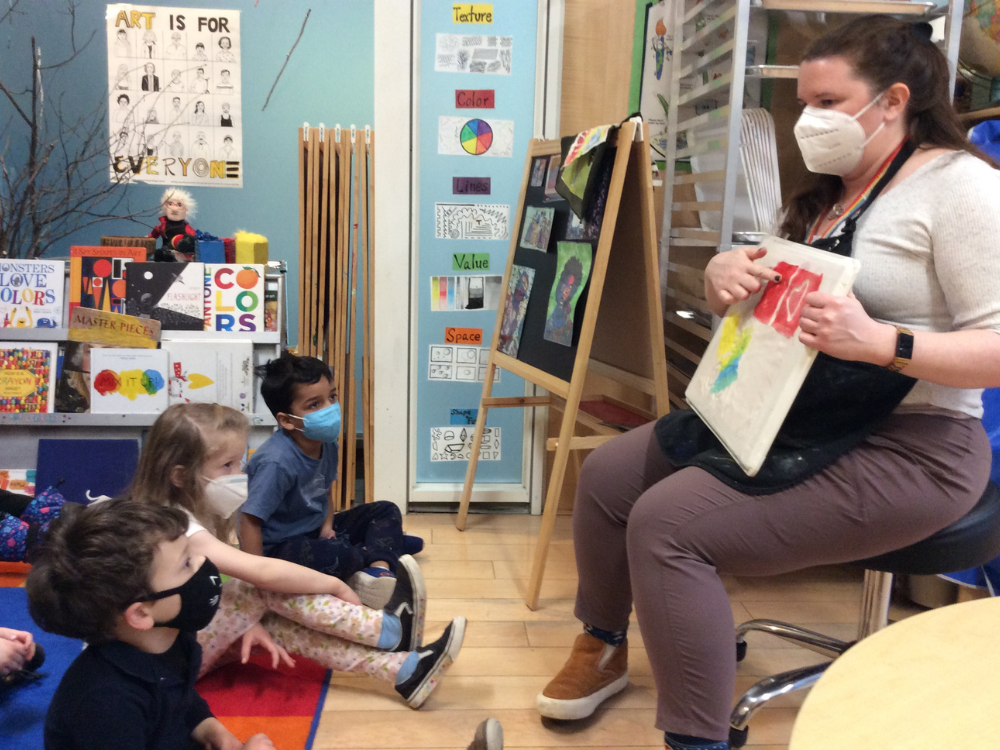
Lastly, Carolyn noted that a huge goal, for this project and all her projects, is for the children to “walk out feeling successful and capable.” She explains that her goal is not even for them to love art; it is more important to her that they feel capable. She wants to help give them the support so they can feel like they can keep going even if some of the skills are new or difficult. That was one thing that was great about the Bisa Butler project. By introducing them to making art out of textiles, the children were exposed to a whole new skill set. Carolyn worked closely with each child so they could feel both independent and secure in their abilities at the same time while working with a new medium for them.  

Thanks for reading our six-part teacher feature on Carolyn’s Bisa Butler Project! You can read all six parts here.

Learn more about Bisa Butler and the story of batik fabric on our Learning Lab Page!

Kente Cloth and Weaving: Bisa Butler Project

This blog is part of a six-part series focusing on an art project lead by former art educator Carolyn Eby on Bisa Butler. This blog is part five and will focus on exploring Kente cloth. The previous blogs in this series include, Inspiration, Batiks, Collage, and Sewing. The last blog is a Reflection on the whole project. 

Carolyn demonstrates weaving using fabric strips and a large wooden table top loom. Words at the bottom read "Kente Cloth, Bisa Butler Project"

For this lesson, the children learned about kente cloth. Like batiks, Bisa Butler regularly uses kente cloth in her designs, but she does not create or weave the fabric she uses. kente is probably the best-known African fabric. It originated with the Asante and Ewe peoples. Historically kente cloth was worn by kings; today, it is worn as a symbol of pride. People wear kente cloth to important ceremonies like weddings or graduations. kente cloth differs from batik because batik designs are printed onto existing blank fabric, while the designs on kente cloth are created in the weaving process. Learn more about kente cloth here. 

3 image collage, to the left carolyn uses a clear bin with tape strips on top to demonstrate the back and forth motion of weaving. On the top right children touch their bellies mimicking Carolyn, there is a loom in the foreground, on the bottom right Carolyn points out images of Bisa Butlers work on an easel as children lean forward to see better.
Carolyn uses a large plastic bin to demonstrate the weaving process on a large scale.  

While Carolyn did not want the children making or cutting up kente cloth, she did want to introduce the children to the idea of weaving. They handled woven cloth and compared the front of the cloth to the back of the cloth. The classes learned that the root of fabric is in hand woven cloth but that much of the clothes that they wear today have been made by a machine. Carolyn gave the children a couple of different opportunities to experience weaving. She set up a simple standing loom for them to explore and she created her loom using a large plastic bin with duct tape holding down the wrap fabric. This allowed her to space out the warp so the children could more easily weave the weft fabric.  

Carolyn also wanted to carefully discuss the importance of the kente cloth. The children talked about why they do or do not wear kente cloth depending on their cultural background. She also wanted to highlight how this fabric is worn with pride and can represent aspects of a person’s cultural heritage. To explore this idea, she encouraged the children to choose cloth with patterns that might represent who they are.  

On the left a child looks at their piece which features some fabric with special prints and sequins. On the right a child adds some additional printed fabrics
Children added additional fabrics to their pieces that had special meaning to them.

She reached out to the families and invited them to send in old clothes or fabric that they felt comfortable with their child cutting up for this project. In her email to the adults, Carolyn explained that Bisa would use her parents’ clothing when creating her art. Many of the children instantly understood the importance of these clothes from home and many did not want to cut them up even though families had sent these fabrics for the purpose of being used in this project. 

While some children choose not to cut up their old play clothes, others used these family fabrics in unexpected and beautiful ways. One child cut up pieces of their grandmother’s dress to add as finishing touches to their collage. Another child’s family sent in a skirt with bells on it. The child used only the draw strings and bells on their piece; carefully gluing only the strings so the bells could still move. 

A child uses scissors to cup a piece of fabric to add to their collaged batik.

Adding the special fabric was the last step of the project. The children started by creating a batik inspired base, added fabric collage, layered that with sewing designs, and finished their piece by selecting cloth that represented them for finishing touches. Both the children and Carolyn could not have been more thrilled with how the artwork turned out!  

Read Carolyn’s reflections on the whole project in our next blog.  

Sewing: Bisa Butler Project

This is part four of a six-part blog series on textile artist Bisa Bulter. The previous blogs were on Inspiration, Batiks, and Collage. The future blogs are on Kente Cloth and a Reflection on the project. This blog is on Sewing. 

A child holds up their artwork to add stitch, their art work is a piece of self created batik style fabric mounted to a piece of cardstock, fabric scraps have been collaged on top and holes hammered around the edge for the child to use to add stitches.  At the bottom are the words "Sewing/Bisa Butler Project/A SEEC Story"

After the children finished collaging, Carolyn gathered up their artwork. Carolyn then started the labor intensive and noisy process of hammering holes using a leather working tool along the border of each of the pieces. Carolyn noted that using a hole punch would not have been ideal because it would have been hard on her hands and might have hurt the fabric that the children had already glued onto their art.  

Top left, Carolyn helps a child turn their project as they choose where to start their stitching, bottom left, a child has run out of yard for their stitching and is cutting off the extra, right, Carolyn demonstrates how to use a small folded rectangle of cardstock to thread a needle.
Children used large plastic sewing needles to thread yarn through the holes Carolyn created on the edges of their projects. They were invited to add stitches wherever they liked, even through the middle of their work.  

Carolyn then replayed the video of Bisa Butler and had the children focus on her sewing techniques. The children loved watching Bisa use her huge sewing machine. It reminded them of driving a car or using a joystick to play a game. Carolyn encouraged the classes to observe how Bisa used the machine to make different types of lines with the thread. Carolyn explained to the class that they “don’t have to go around the outside. You can make lines going through the middle” with their thread. Knowing that they could stitch in any pattern they wanted was very freeing for the children; it really let them be creative. 

A child places the end of a piece of yarn into a small folded rectangle of cardstock.  This "hotdog" will be used to help the child more easily thread the needle
Children learned to thread their needles by folding the end of their yarn into a piece of paper, they would then use this “hot dog” into the eye of their large plastic needles.  

The children had to be taught the basic components of sewing. To show them how to thread a needle, Carolyn taught the children to use a “hotdog bun” technique that she learned from art teacher Cassie Stevens. Carolyn explained that “sewing is very different from any other art making activity” and the children had to learn a new skill set. But rather than getting frustrated, “they loved the stitching” and continued to use the techniques learned in future projects.  

On the left, a child pulls a piece of yarn through the eye of a plastic needles, on the right, a child pulls up a piece of yarn from a ball of yarn, the ball of yarn is contained in a spherical clear plastic compartment of grocery store apple packaging
Carolyn set up a yarn station where children were able to choose and cut their own yarn. She repurposed the plastic packaging used to hold a set of apples from the grocery store to corral balls of yarn as children pulled and cut.    

Learn more about the last step of the project in our blog about exploring Kente Cloth and read Carolyn’s Reflection on the entire project. If you would like to learn more about this project you can access our Smithsonian Learning Lab collection based on this lesson.

Fabric Collage: Bisa Butler Project

This blog is part three in a six-part series. The first blog post focused on the inspiration and preparation of the Bisa Butler focused project. The second blog post showed how the children made their own batiks which would serve as the base for the rest of the project. Part four is about sewing. Part five is on exploring kente cloth and part six is a reflection on the whole process. This blog post focuses on how the children approached the fabric collage.  

An educator sits at a table next to a child, they both point to a piece of cloth the child has glued to their projects.  At the bottom Text reads " Collage/ Bisa Butler Project/ A SEEC Story"

After making their batiks, the next step for the children was to add fabric to their piece. To show Bisa Butler’s process, Carolyn showed the children a video that starts with Bisa Butler walking through a fabric store and touching fabric. After watching the video, the class talked about how Bisa Butler used both her sense of sight and her sense of touch to choose fabric. Carolyn wanted to emphasize the role of touch and texture in Bisa Butler’s process. The classes looked closely at Bisa Bulter’s portrait of Questlove for the New York Times Magazine and noticed the lace and beading that she used to emphasize the texture of his afro. Then Carolyn gave the children swatches of fabric to touch and asked them how they might correlate with elements of their personalities. 

On the left, a child holds out a flat basket with several pieces of green and yellow fabric scraps, on the right a child adds fabric scraps to a flat basket from a large tray of fabric
Children were given baskets and invited to “shop” for the fabrics they wanted to use in their pieces. 

Carolyn set up a store in the art studio where the children could go shopping and choose their fabric to use for the collage. Each child had their own shopping basket and she encouraged them to choose whatever fabric they wanted from the wide variety that she had placed out. The textiles in the class’s store included sequin flip fabric and themed fabric like Zelda and Cars. As the children shopped, Carolyn observed and noted, “it was interesting to see what they picked.” 

A child sits and uses scissors to cut a scrap of patterned fabric
Children approached working with fabric in many ways. Some cut them up into very small pieces while others added them onto their pieces directly. Some kept the fabric to the edges of the batik fabric they created, and others opted to cover it up completely. 

After choosing the fabric they wanted to work with, the children started cutting the fabric into various shapes. Carolyn explained that the children “really connected with collage in a different way than they would have if we used paper or any other mixed media.” Cutting fabric, which requires tension to make smooth lines, posed a challenge to many of the preschoolers but they were eager to continue working with the material. Some children spent the whole class cutting fabric into tiny pieces to add to their collage and Carolyn loved seeing all their styles come through.  

For the children, being able to cut something that you might wear as clothing was genuinely exciting. Carolyn had invited families to send in clothing that they were comfortable being cut to use for the project. Families sent in a variety of clothing including clothes that belonged to people important to them like their grandmother. Some children were excited to cut up their old clothing while others did not want to cut up their old play clothes. Carolyn talked to the children about how Bisa Butler reused clothing from her family to create her portraits.  

on the left, a child examines a fabric swatch, on the right the same child child sits at a table and picks scraps of fabric from a flat basket, they are holding a paint brush used for glue in one hand.
The children were able to choose the textiles that appealed to them and add those pieces to their collage.  

As they explored the textiles through their sense of touch while shopping and cutting while collaging, the children were growing their knowledge of fabric and fiber arts. They were becoming more aware of the fabric that they wore while learning about the types of textiles that Bisa Butler used. As the sessions progressed, the children started saying, “My t-shirt feels silky” or “I feel the seams on my pants.” For Carolyn this represented a goal of the project. As she explained, the children began to make “the connection with the fibers all around them and the fibers that Bisa used.” 

Learn more about the rest of the project in the upcoming blogs on Sewing, Kente Cloth, and Reflection on the project. You can also check out part 1 and part 2 of this series. Connect more deeply with this lesson through our Bisa Butler Learning Lab collection.

Making Batiks: Bisa Butler Project

This blog is part 2 in a six-part series about the Fiber Arts unit our art educator Carolyn Eby created inspired by the work of textile artist Bisa Butler. Throughout this unit children explored important aspects of Bisa Butlers works from batik to collage, to sewing, to kente cloth and a final reflection from Carolyn. This blog is about how the children explored batik.  

Children use brushes and paints to apply color to pieces of fabric taped to plastic trays.  At the bottom is a heading reading "Batik, Bisa Butler Project, A SEEC Story"

To start their Bisa Butler inspired project, the children created their own batik inspired cloth as a base for their project. Batik fabric is one of the many types of fabric that Bisa uses in her artwork. While batiks are quite popular in West Africa with many meaningful prints, the fabric did not originate there.  Batik is a method of creating designs on fabric using wax resist that originated in Indonesia. Through 19th century colonialism, European copies of batiks became popular in West Africa where they have taken on their own unique significance.  

A group of sitting preschool looks at a picture of Bisa Butlers quilted piece "I Know why the caged bird sings" held by Carolyn. Carolyn is seated in a chair and pointing toward the picture.
Carolyn introduces the children to the art of Bisa Butler. She highlighted the different batik fabrics that Bisa used and discussed how different batik patterns can have different meanings. In this piece “I Know Why the Caged Bird Sings” they noticed the print called “Michelle’s Shoes.” 

Carolyn explained that while Bisa Butler does not create batiks, she purposefully chooses the batiks based on the meaning embedded in the fabric patterns. She had the class look carefully at Bisa Butler’s I Know Why the Caged Bird Sings (2019) which shows the portraits of four African American college students sitting on the steps of Atlanta University in 1900s. For this work, Bisa Butler used a piece of batik called “Michelle’s Shoes” which represents Michelle Obama’s shoes. The children discussed how “Michelle’s Shoes” represented progress, but Michelle Obama needed to lean on the bravery of the young women in the original portrait. To help the children connect to these concepts, Carolyn had the children reflect on the principles of “fair” and “unfair.” 

Two images show children squeezing bottle of glue and using the glue to create images. On the left the child has made abstract blows, on the right there appear to be pencil lines the child is trying to follow wit the glue
Children were given glue bottles to draw their designs on their fabric. Some children used them to draw defined designs like shapes or smiley faces, while others enjoyed exploring the medium and allowed the glue to flow and pool. 

Carolyn then encouraged the children to think about the messages their own fabric art could convey. When creating their own batiks, Carolyn began by encouraging the children to think about their families or people they are close with because Bisa Butler’s first quilt was a portrait of her grandmother and grandfather. She had the children think about the lines and shapes that might represent them or their family. After brainstorming, she gave the children bottles of glue and they drew patterns with glue on white fabric. Some children immediately understood the concept of drawing with glue. They drew things like donuts, dinosaurs, or smiles because their family makes them smile. For the younger children, it was more about the experience of exploring the glue; they drew scraggles or let the glue pool into large circles. In the end, all the styles made beautiful batiks. 

Children sit a round a round table and use brushes and paints to apply color to their batiks. they are wearing masks and  smocks
To avoid colors of the batiks being mixed and muddied children chose two primary colors and then were given white and black to create tints and shades when painting their batiks. 

The next class was about color. They began the class by talking about the colors they saw in batiks. The children noticed the batiks were vibrant, beautiful, and full of colors. Carolyn then let each child pick two primary colors of acrylic paint. When mixed, the two primary colors will create a second color. She also gave the children black and white so they could create shades and tint their colors. The children used their paint to add color to their fabric with the dried glue shapes and symbols that they had previously made.  

Three images showing the glue batik making process, in the top left a child uses a bottle of glue to squeeze blobs of glue, in the bottom left a child uses a brush to apply red and blue paint to their dried glue batik, on the right Carolyn shows examples of what the shape left by the washed away glue will look like.
Carolyn demonstrates to the children how adding paint to the glue batik will result in a result in a white resist where the glue is blocking the paint from the fabric. This technique is similar to the way wax is used as a resist in making Batiks. 

After the paint dried, Carolyn soaked the fabric in hot, soapy water and then peeled off the glue which left white marks on the fabric where the glue had been creating a glue resist batik. Carolyn washed, ironed, and adhered the newly created batik cloth to cardstock. The children would use their batik as the base for the next steps in the project.  

Learn more about the rest of the project in the upcoming blogs on Collage, Sewing, Kente Cloth, and Reflection on the project. You can also read part 1 of this series on Carolyn’s Inspiration. Connect more deeply with this lesson through our Batiks Learning Lab collection.

Inspiration: Bisa Butler Project

This blog is part one of a six-part blog series. Upcoming blogs will be about exploring batiks, collage, sewing, kente cloth, and a reflection on the entire project. This blog is about the inspiration for the Bisa Butler project. 

Art educator holds up two pictures. One picture shows a photograph of two people. The other picture shows the same image that has been made into a quilt.

SEEC art educator, Carolyn Eby, regularly creates lessons around particular artists for our SEEC classes. When she was looking for a new artist to highlight, she came across the artwork of Bisa Butler. She was inspired and immediately knew that she wanted to highlight Bisa Butler in her classroom. Carolyn was struck by how Bisa Butler’s quilted textile artwork looked like it might be painted instead of being created with fabric. 

A class of preschoolers sits on the floor looking at an art educator who is holding a piece of textile for the class to look at and talk about.
Carolyn shows a class an example of other types of textile art.  

 As Carolyn looked at Bisa Butler’s pieces, she noted the colors, patterns, and fabric that Bisa Butler used. Carolyn was excited to create projects that encouraged her classes to explore these topics. In early childhood art classes, moving beyond crayons, markers, and paper, makes the projects particularly special. For this project, the children were able to use exciting materials and use them in novel ways. Children used fabric as their canvas instead of paper and used glue as a marker or crayon instead of using it simply as a tool that sticks things together. They were introduced to the techniques of sewing and weaving and cut up pieces of clothing that they had previously worn. Through this process the children began thinking about the fabric all around them in different ways.  

Carolyn strived to be thoughtful about how she presented Bisa Butler to the class.

While it was the artwork that drew Carolyn into teaching about Bisa Butler, she was thrilled to be able to present the class with a contemporary black female artist. Carolyn strived to be thoughtful about how she presented Bisa Butler to the class. She spent a lot of time researching her background, techniques, and philosophies.  

Art educator is holding up an early piece of Bisa Butler and gesturing as if asking a question
Carolyn shows the children an example of Bisa Butlers early textile art. The children talked about the fabric and textures that they saw.  

As she researched, Carolyn decided against the children creating their own portraits. She discovered that Bisa Butler makes portraits of people that she has kinship and ancestry with, people that she wants to dignify and whose stories she wants to share. Carolyn decided that this idea was not one that the children should try to imitate because this portrait part of Bisa Butler’s artwork felt sacred. 

While the classes did not create their own portraits as part of this project, they did spend time talking about how Bisa Butler makes portraits to dignify people and share their stories. Throughout the project, the classes looked carefully at many of Bisa Butler’s portraits and discussed the people represented and wondered about why Bisa Butler used specific fabrics with certain individuals. For example, when the class looked at The Storm, the Whirlwind, and the Earthquake, a portrait of Frederick Douglas, the children noticed the letters on the fabric which make up his sleeves. Carolyn used this as an opportunity to tell Federick Douglas’s story and the class talked about how it is unfair that some people were not allowed to learn to read or write because of the color of their skin. As the children added to their projects, they continued to be exposed to both the artwork and the process of Bisa Butler and learned more about the individuals represented in her art. 

An example of an unfinished piece of textile art that a child created inspired by the work of Bisa Bulter.  

Over the course of five sessions, SEEC’s preschool three-year-old and four-year-old classes created their own textile artwork while exploring the fabrics and techniques that Bisa Butler uses in her artwork. We will be posting additional blogs that focus on how the children (1) made batiks, (2) collaged with fabric, (3) added sewing elements, (4) explored weaving and Kente cloth, and (5) final reflections from Carolyn.  

Carolyn noted that Bisa Butler could not have been a better inspiration for a project like this and that the children fell in love with her artwork and her story.  

Learn more about the rest of the project in the upcoming blogs on Batiks, Collage, Sewing, Kente Cloth, and Reflection on the project.